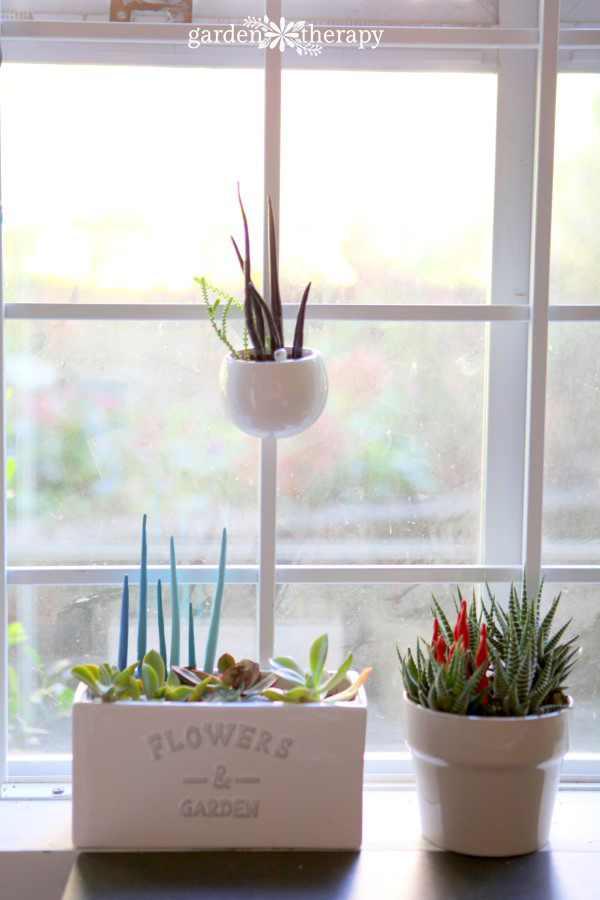
Add pizzazz to indoor plants, terrariums, and container gardens with quirky clay planter ornaments. These miniature sculptures are a fun rainy day project for adults and children if you are lucky enough to have a helper. Make them from clay and display the organic shapes in container arrangements and miniature gardens. They add just the right touch of whimsy and color to spice up your already lovely plants.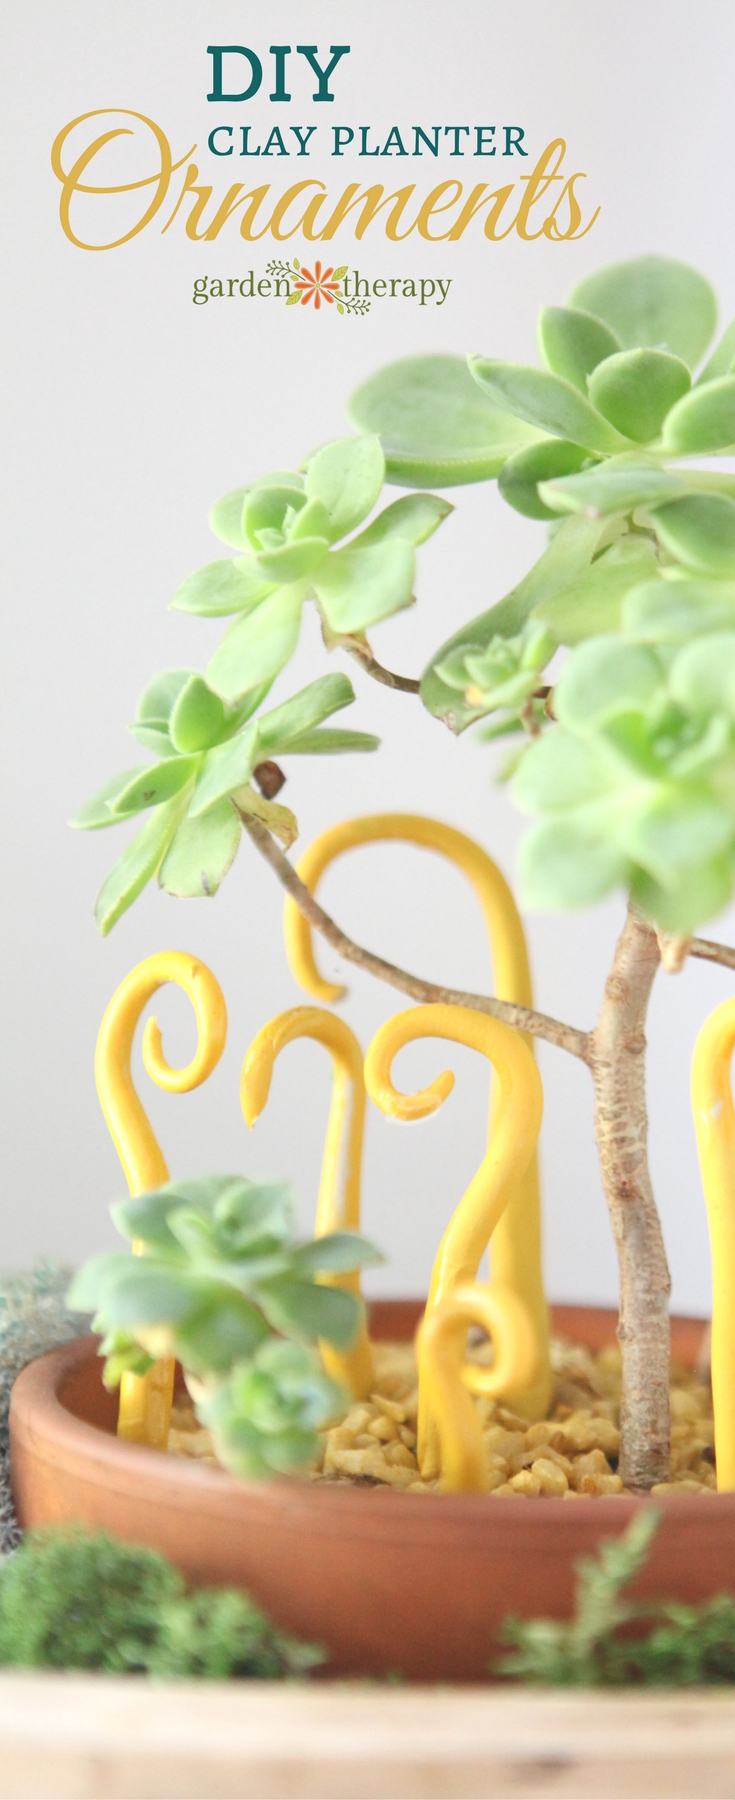
After speaking at the Northwest Flower and Garden Show in Seattle in 2016, I was taken by the gorgeous glass art everywhere to be found. The Chihuly glass garden has stunning displays of glass in all the colors of the rainbow. I thought of shrinking these larger-than-life art pieces to fit into my indoor wall garden and terrariums. I bet they would look lovely in a miniature garden as well.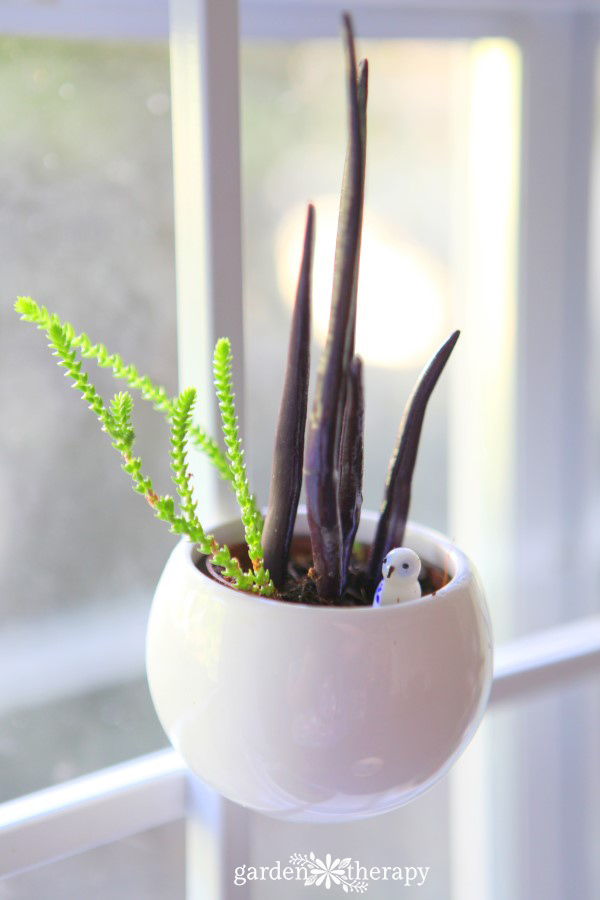
I made these from air dry clay, which will work well in an indoor setting. For outdoors, try making kiln-fired pieces at a pottery club.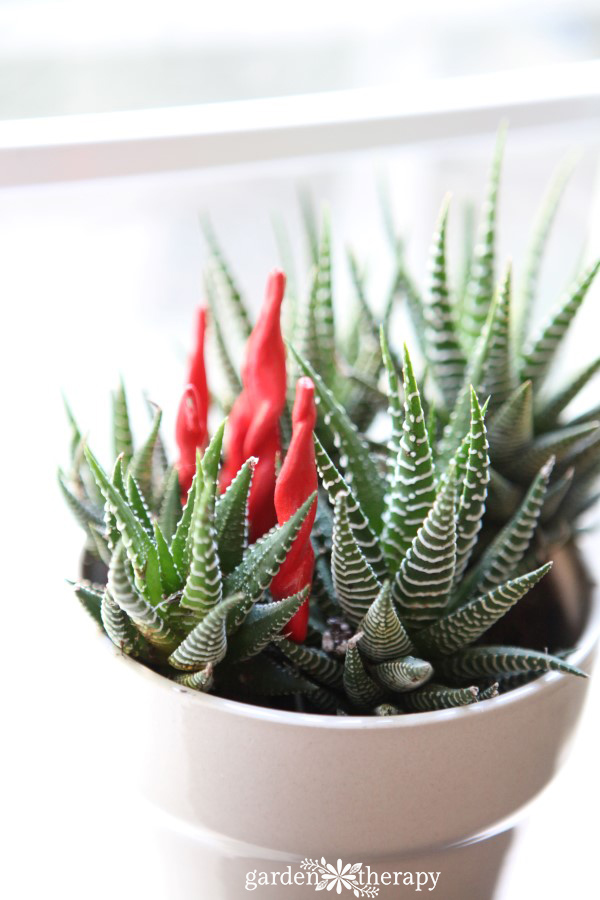
Whimsical Clay Planter Ornaments
Materials
 Make it!
Roll a little ball of clay on a work board into a long snake-like shape. I found that having a small foam paintbrush and a glass of water was handy. Use the brush to add a bit of water to the clay to keep it from cracking.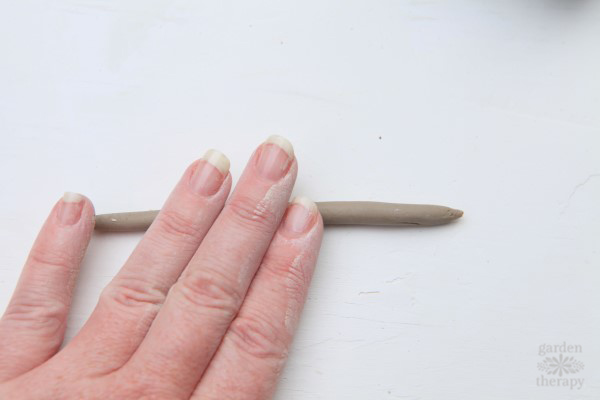
Roll a few different lengths of these. Taper one end slightly by rolling the end with your fingertips.
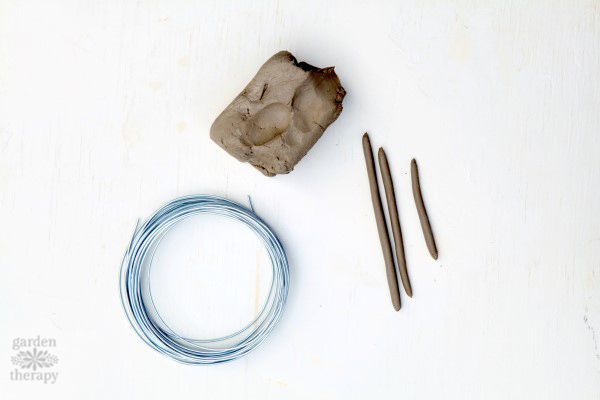
Cut a length of wire and feed it into the clay.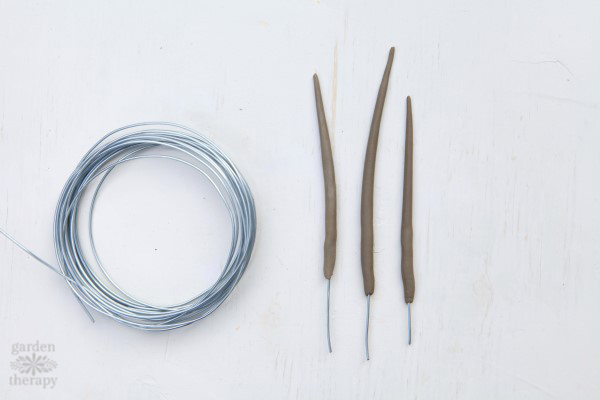
Allow them to dry, then paint with craft paints. Use a clay sealer on the paint when dry. 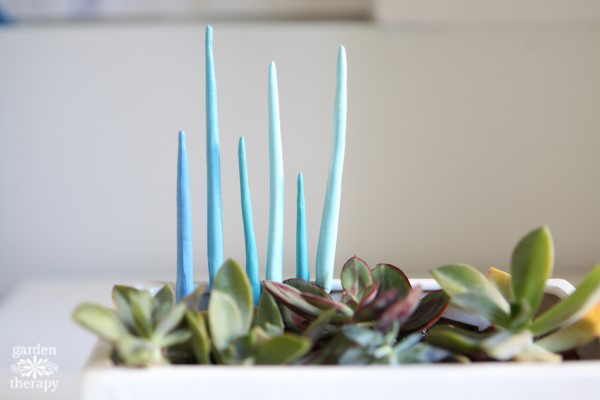
I started with the basic tapered shape and then played with the design.
Curved Clay Shapes
Bend the tapered shapes slightly.
Twisted Clay Shapes
Gently twist the clay starting at the bottom and working up. This is best done with wet fingers and it will take a bit to get the hang of it. I broke off the ends of a bunch of them as I was getting the hang of it. I balled up the clay and started again. No waste here!
Curlicue Clay Shapes
Make extra-long clay shapes and curl the ends into a curlicue. Again, this is best done with wet fingers and accepting some will break.
Mushrooms!
Add a cap and make mushrooms.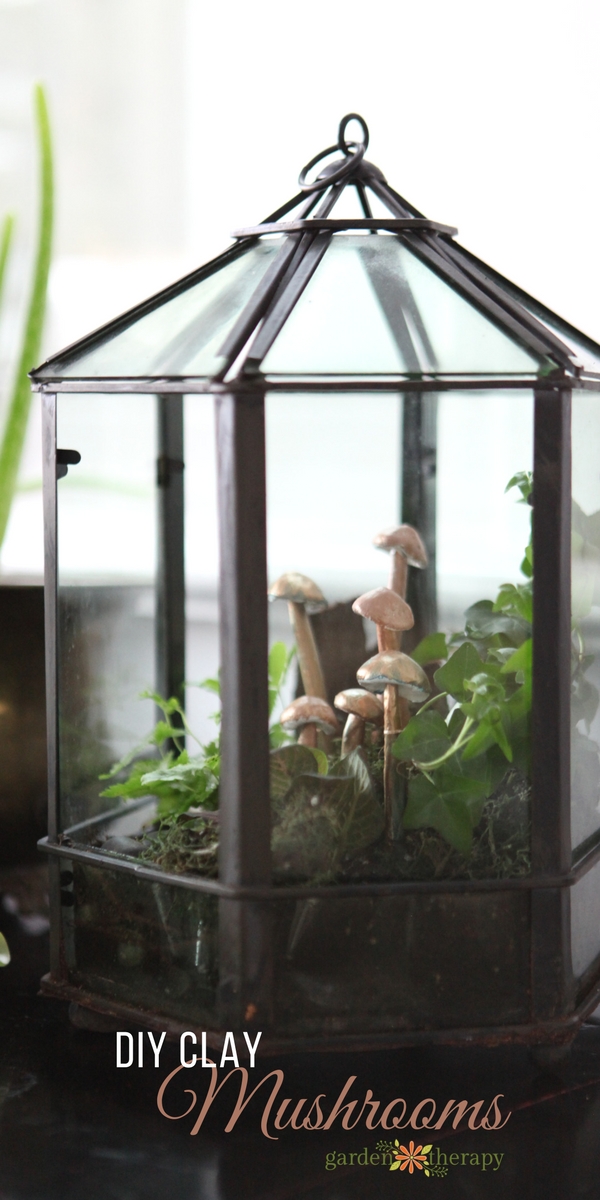
A city girl who learned to garden and it changed everything. Author, artist, Master Gardener. Better living through plants.


Thank you for your creative spirit and such special and beautiful worki.