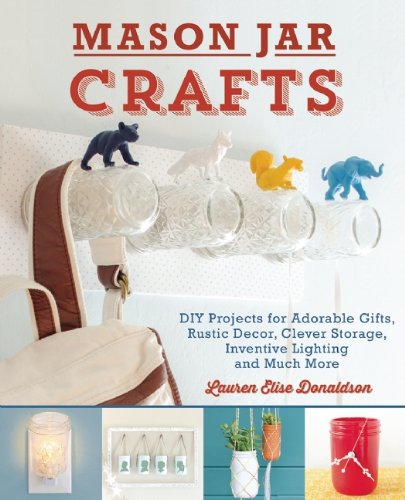
Great news: we have another cool guest blogger today! Lauren Elise Donaldson, the author of Mason Jar Crafts: DIY Projects for Adorable and Rustic Decor, Storage, Lighting, Gifts and Much More, is here to share this fabulous Woodland Herb Garden DIY with us.
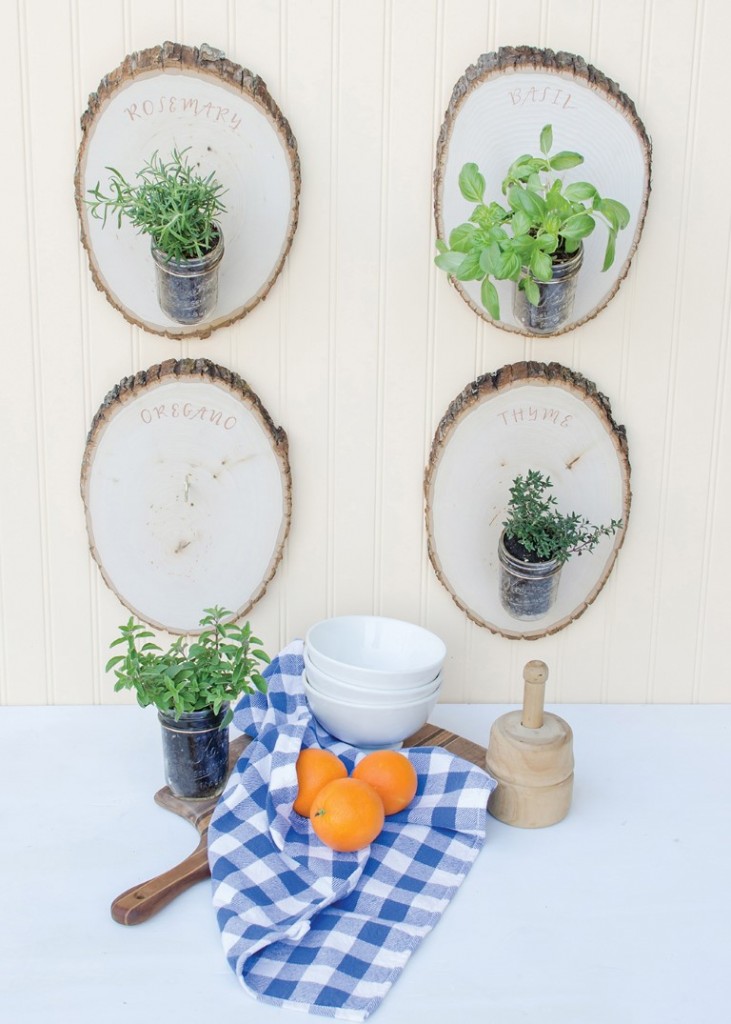
Woodland Herb Garden Project
Grow a mini herb garden, make a Mason jar clock or night light, or create ribbon chandeliers to display in any room…there’s no role the Mason jar can’t fill.
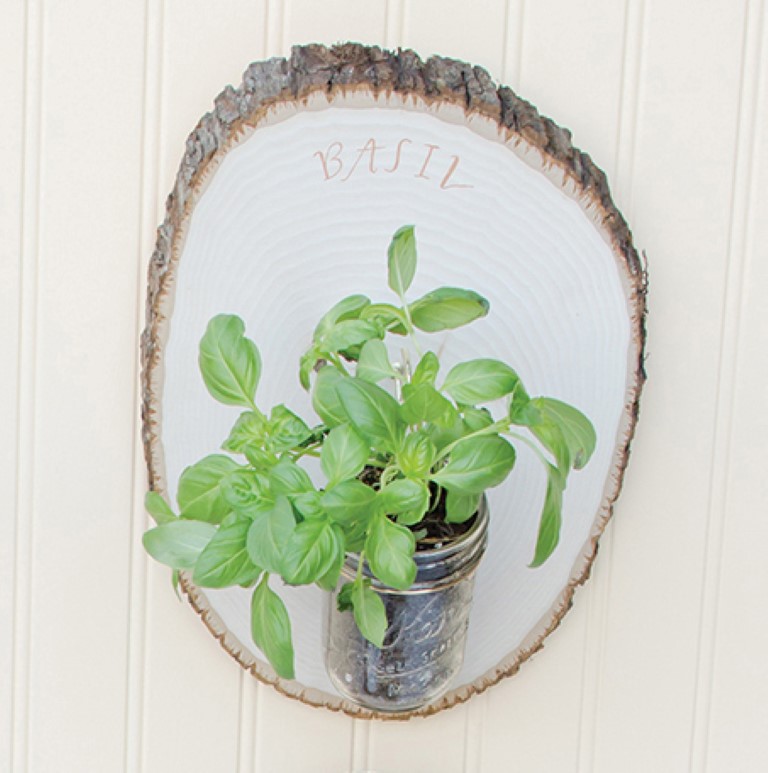
Anyone who spends time in the kitchen understands the benefit of fresh herbs and spices. No matter the size of your home, a small kitchen garden can be tended to yield savory flavors. If your collection of herbs is clogging up valuable counter or windowsill space, start a vertical garden instead. These wooden plaques may be practical, but they are also a beautiful focal point in any kitchen.
Materials
- Inkjet printer
- Paper
- Tracing paper
- Pencil
- Oval country wood plaques
- Thin paint brush
- Metallic bronze acrylic paint
- Screwdriver
- 1-hole D-ring hangers
- ½-inch screws
- 1½-inch gold cup hooks
- Half-pint-size Mason jars
- 14-gauge gold wire
- Wire cutters
- Needle-nose pliers
- Potted herbs
- Font Used: Jacques & Gilles by Emily Lime
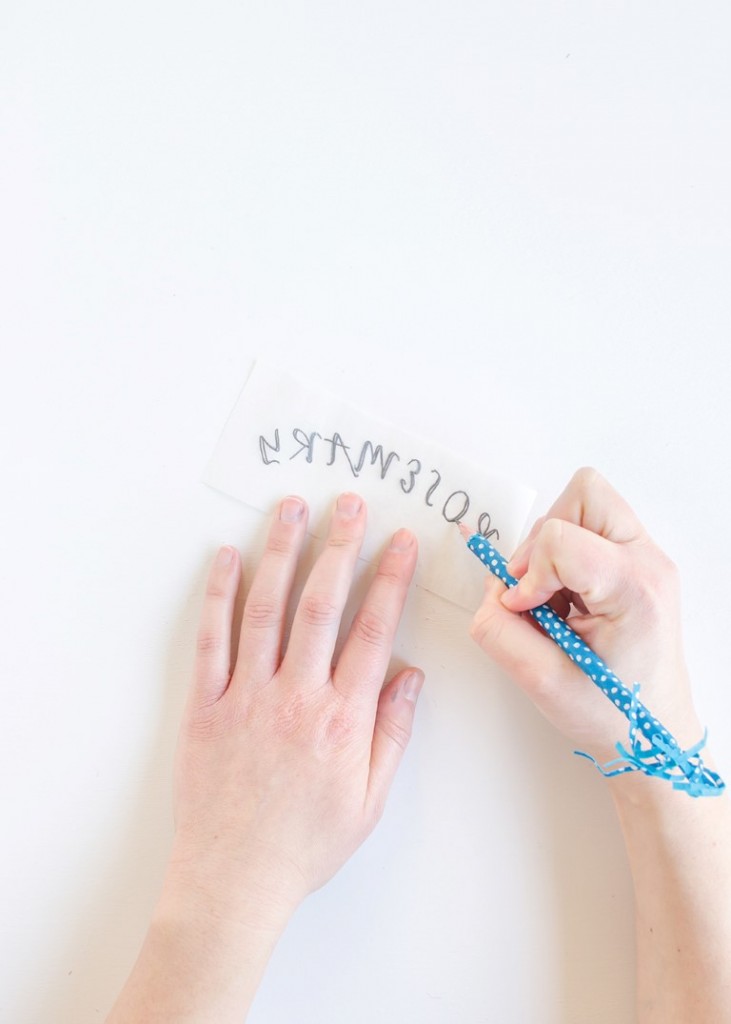
- Using computer software, layout the names of each of your herbs. In this example, basil, oregano, rosemary, and thyme were used. Print out these labels. Copy each label on tracing paper in pencil.
- On the back of the tracing paper, write over the underside of the labels. When finished, turn the tracing paper back over to the front.

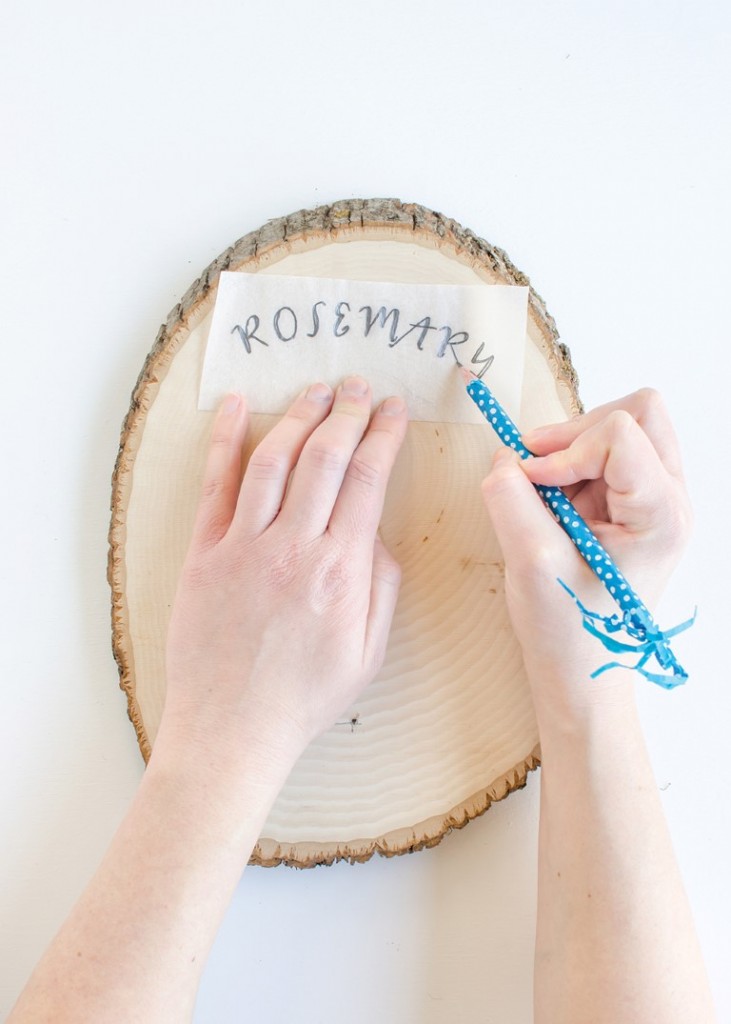
- Position each label over the wood plaques, centered at the top. Firmly trace back over the labels, imprinting the letters into the wood. Remove the tracing paper.

- Using a thin brush, paint over the labels with bronze acrylic. Allow the paint to dry before proceeding.
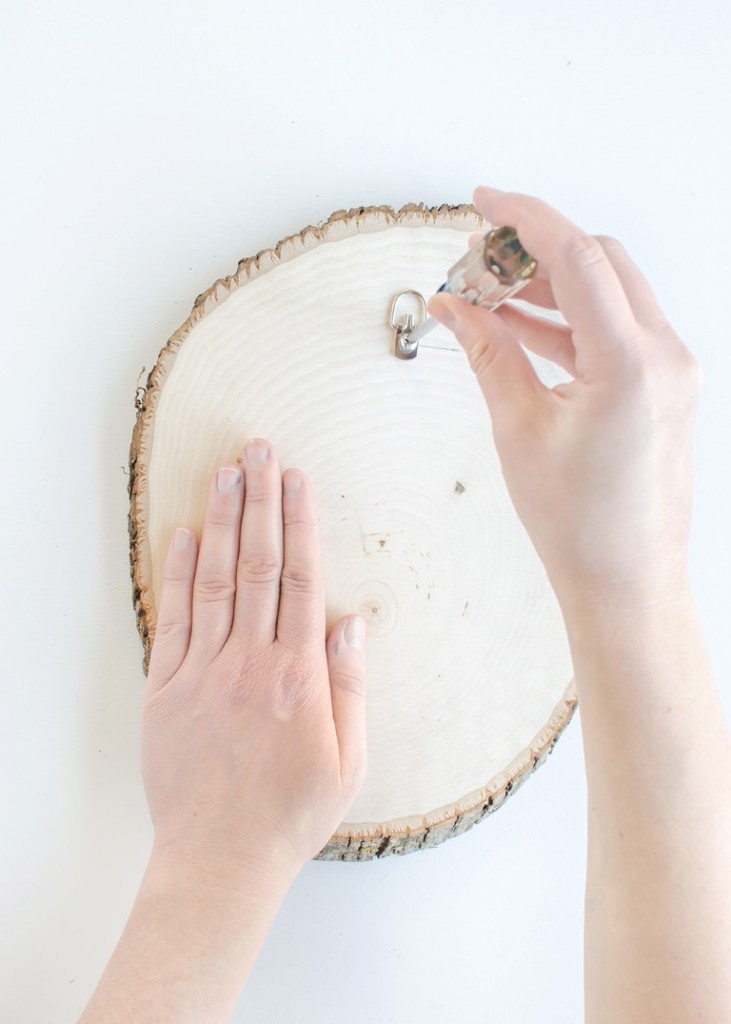
- Attach one D-ring hanger to the back of each wood plaque with ½-inch screws. One hanger is sufficient to carry the weight of one jar.

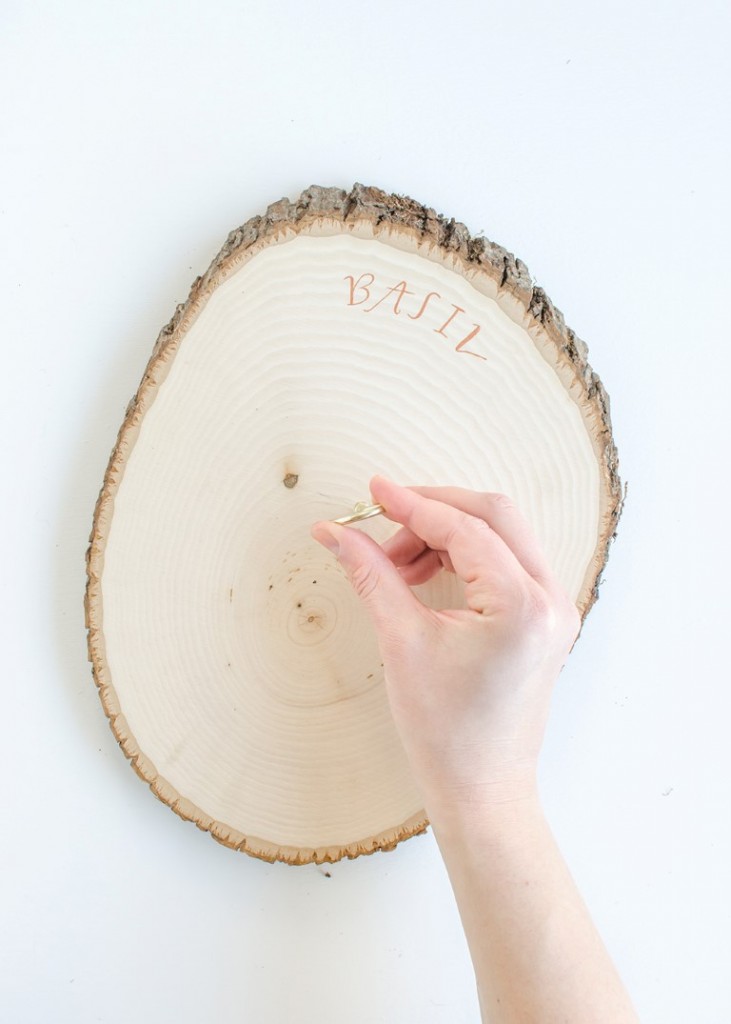
- Five inches down from the top of the wood plaque, mark a center point. Twist in a cup hook at this point. Repeat this with the other plaques.

- Remove the metal lids and bands from the Mason jars.
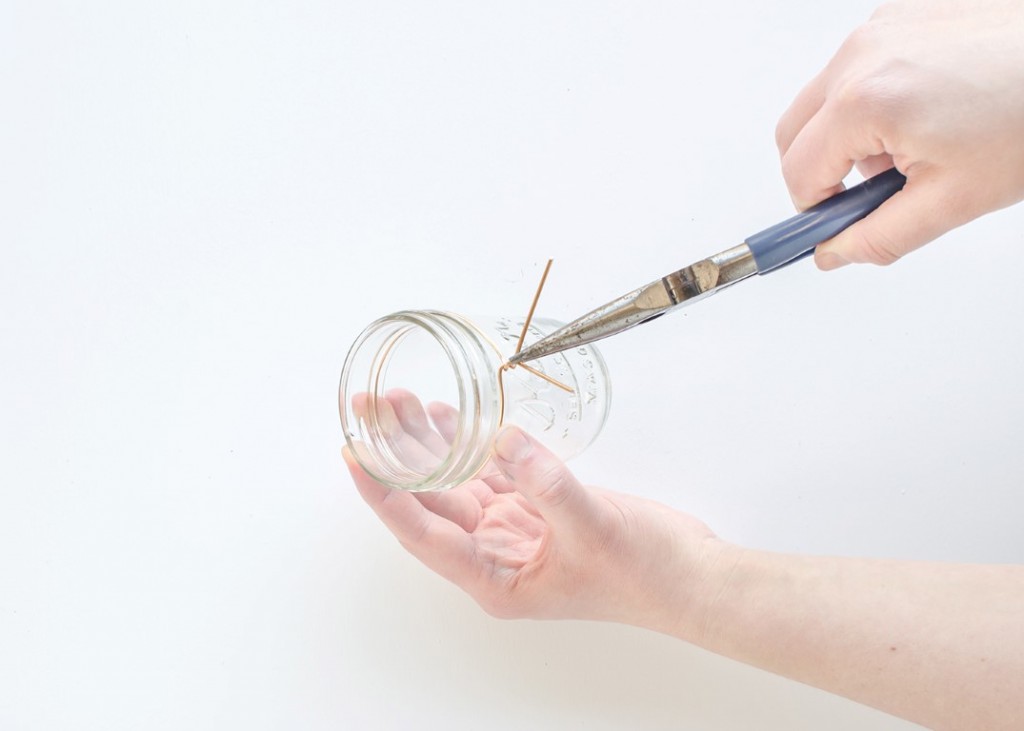
- Cut one 14-inch piece of wire per jar. Wrap the wire around the lip of the jar. Cross the wires where the 2 ends meet.
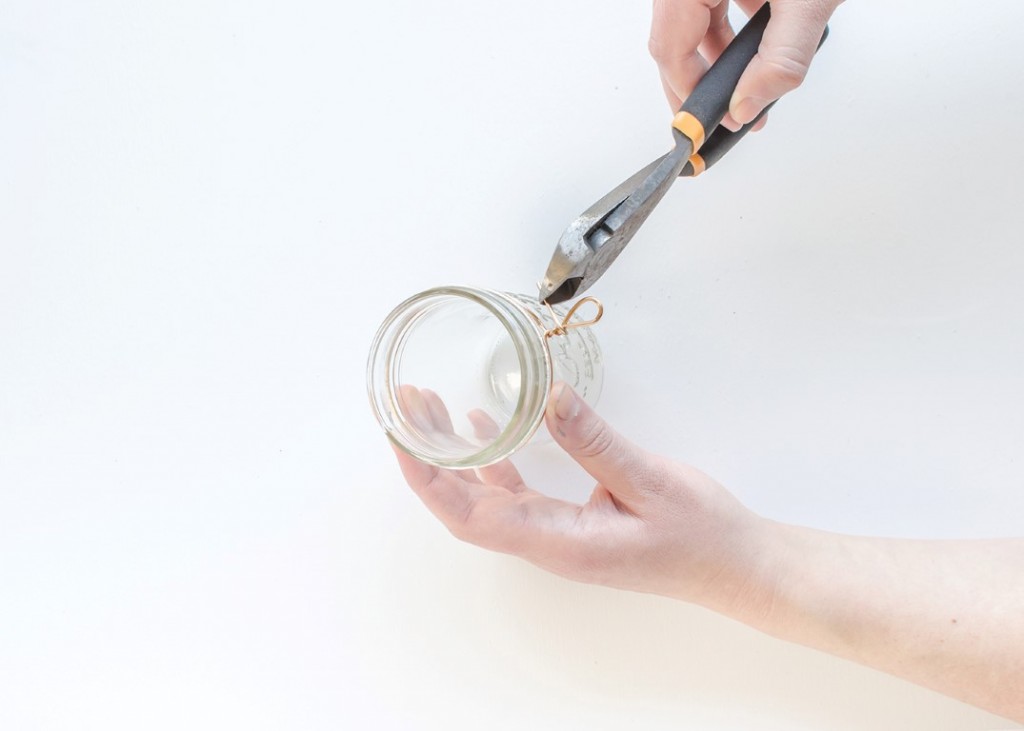
- Clamp onto the wire ends with the pliers and twist them together twice.

- With one end of the remaining wire, form a loop. Wrap the other end around the loop and cut any excess wire. Add wire hangers to each jar.

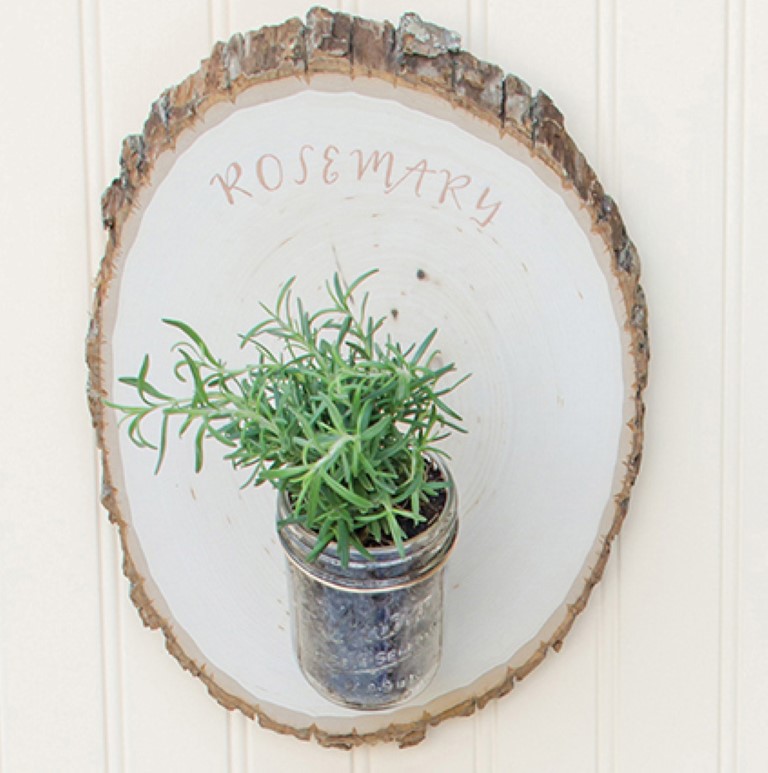
- Plant herbs in each of the jars. Hang the jars from their respective wood plaques.
 Extra Tips
These plaques were designed to form an indoor kitchen garden, but sometimes plants need time outdoors. Because the jars can be removed from the wood plaques, they can be transported outside whenever necessary. Set up the cup hooks on a wall or fence in a sunny spot in your yard as an alternative.
As the plants continue to thrive and grow, they will need larger containers. Consider repotting the herbs in bigger Mason jars or in pots outside.
Reprinted with permission from Mason Jar Crafts by Lauren Elise Donaldson © 2013. Published by Ulysses Press. Photography courtesy of Ulysses Press.
Want to win your very own copy of Mason Jar Crafts? You’ll quickly fashion inexpensive, stylish decor for anywhere in your home as well as gifts for any occasion (weddings, holidays, birthdays).
This contest is now closed. Congrats to Nancy for winning a copy of the book!



Comments