Warming up with the the fragrance and glow of handmade candles is even more pleasurable when you use healing essential oils and natural wax. These soy beeswax jar candles make beautiful, natural gifts, and they’re easier to make than you think.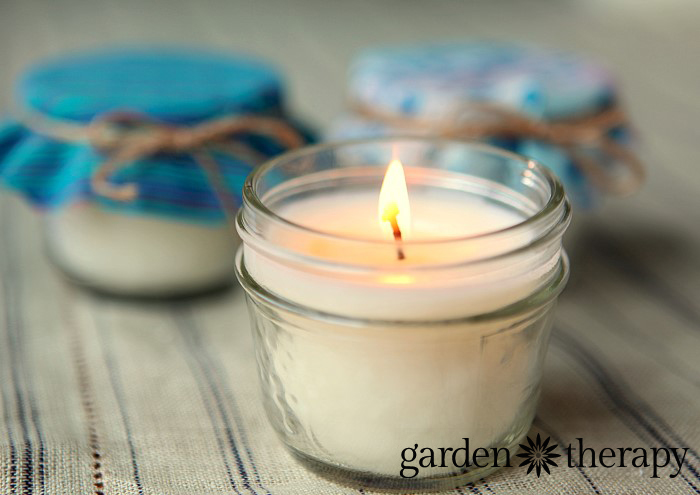
These soy and beeswax candles are easy to make as you can see from this step-by-step tutorial. I like to use a blend of both soy wax and beeswax and don’t add additional color.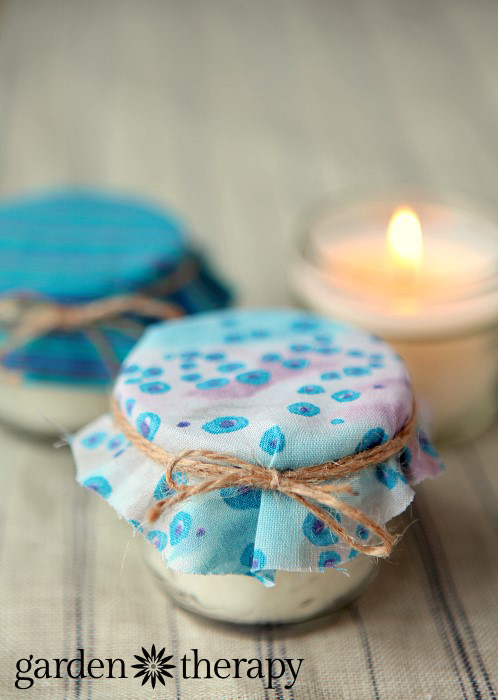
The more beeswax you use, the more honey-colored the candle will be. Beeswax also gives off a sweet honey aroma, so the more you use, the less added fragrance you will need. I like to add a bit of essential oils in a complementary scent to the beeswax. Citrus or floral goes well.
Materials
- jars with lids
- a double boiler
- 75% soy wax*
- 25% beeswax
- waxed and wired wicks with tabs
- hot glue gun
- thermometer
*Please note: the directions are appropriate for using EcoSoy CB-Xcel, please adjust temperatures for your wax.
Optional Materials
- essential oils for scent
- crayon pieces or wax dye
Directions
1. Prepare your jars by adding a bit of hot glue onto the bottom of the wick tab and press it firmly into the center of your container. If your fingers won’t fit into the jar, use a pen or straw around the wick to stick the tabs down. Note: there are many different sizes and types of wicks, so ask for the right size for your particular container at the candle supply store.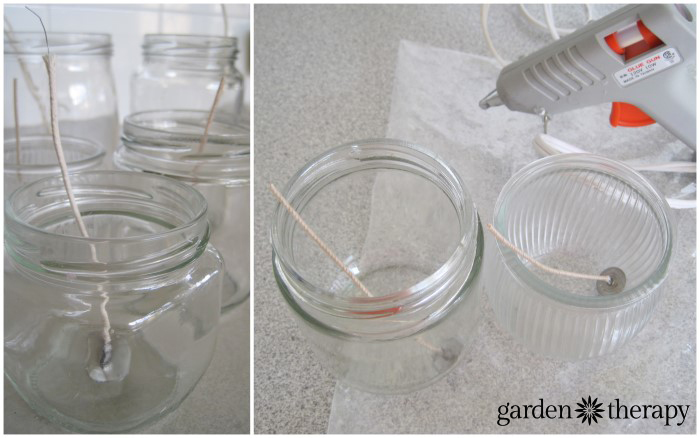
2. Assemble your double boiler and add wax in small pieces. Heat over medium heat until the wax is completely melted.
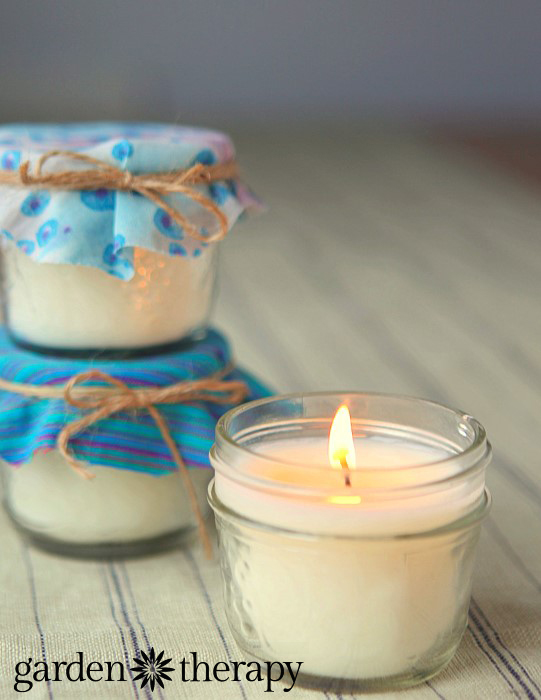
3. If you are adding color, do so at this stage by dropping in bits of crayon or wax dye until you are happy with the look, keeping in mind it will be lighter and more opaque when dry. But if you prefer a more natural-looking candle, then the 25% beeswax will add a beautiful warm honey color to the candles with no artificial color needed.
4. When the wax reaches 140°F* it’s time to add the fragrance. The 25% beeswax won’t go a long way in providing much fragrance (you’d need a lot more beeswax to get that gorgeous honey aroma) so if you want your candles scented add fragrance to the wax using natural scents.
NOTE: Most candle stores sell fragrance oil (artificial fragrance) and many people are sensitive to them. Personally, I only use essential oils as fragrance in our soap and other products, but I’ve been told that there has to be some additives to the oils to make them burn properly. A good candle supply store will stock essential oils for candles with as little additives as necessary. When I can’t find them, I do use essential oils and they work just fine! The fragrances are cheaper and have a much wider range, but as tempting as they may be, many people have serious concerns with the toxicity of them. It’s worth it to spend a little more and bypass the “strawberry cheesecake” fragrance.
5. Now cool wax to 110°F* and carefully pour into containers. Secure the wicks with a chopstick or clothes pin to keep it centered. 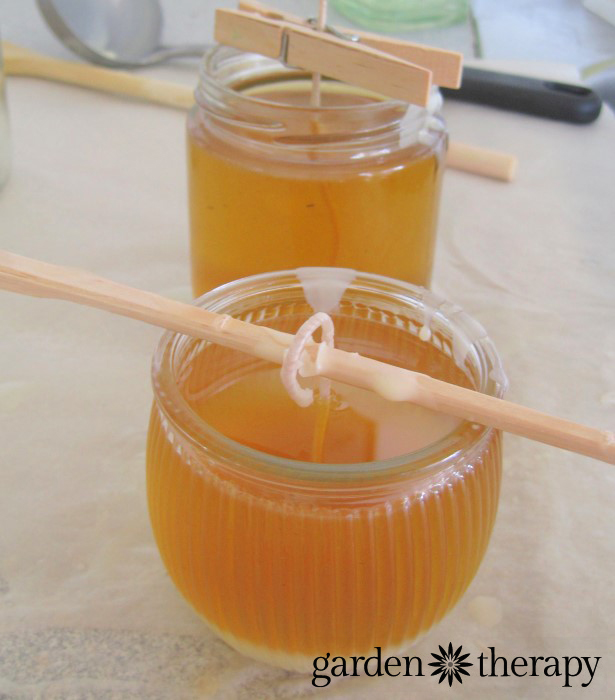
6. Be careful not to disturb them too much while you set in a warm place to cool. Cooling slowly and completely will create the best looking candles. 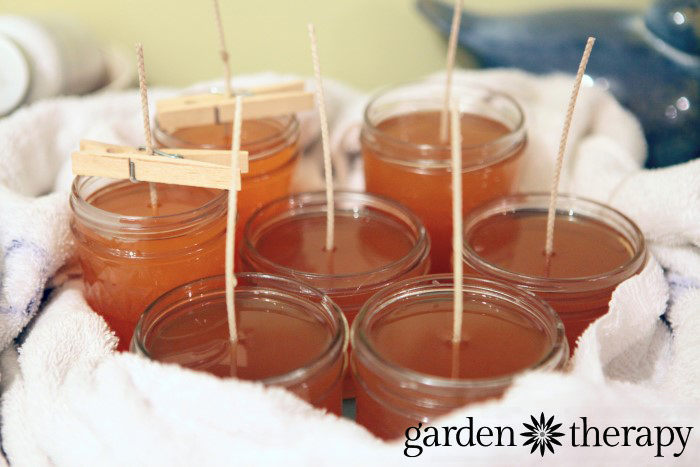
7. If you get a depressed area around the wick when cooled, warm up some more wax and pour it into the void.
8. Allow your candle to cure for 48 hours undisturbed before burning. 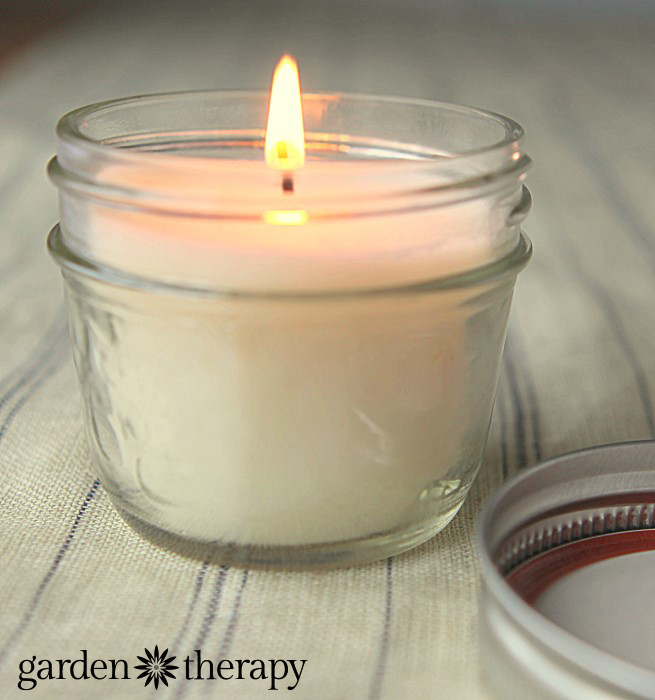
Then, when you fire it up, let the candle burn so that there is a full, wide pool of wax before you blow it out. It is said that candles have a memory, so it’s best to let the first burn set the tone for all the rest.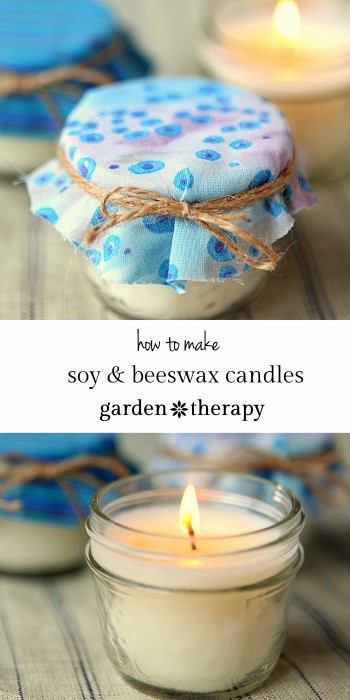
A city girl who learned to garden and it changed everything. Author, artist, Master Gardener. Better living through plants.


Oh those look so pretty. I once bought a “lotion candle”. The lady said it was soy and beeswax and essential oils. The idea was that you light the candle while in the bath, and then blow it out and rub the scented melted wax over your skin. The scent stays with you for a long time and it is a wonderful moisturizer. I wonder if these would work that way or if something else was added? the melted wax is just warm, not hot.
I use pure essential oils all the time and have never had trouble with proper burning (although it is a good idea to have a chart with the flash point temps of your oils. Some, such as vanilla, have a high flash point and need a hotter burning wick.) I blend all my oils with 10% neutral carrier oil, such as fractionated coconut oil (or even olive or vegetable oils) to help them mix properly into my wax without sinking. I usually use vybar as an additive to my soy wax, but want to try beeswax instead. I’ll give your 75%/25% ratio a try and see how it compares in terms of burning and scent throw etc. Thanks for the recipe!
I would love to pick your brain! I made soy candles and felt that they didn’t burn as long as my store bought candles….. I also used artificial fragrance and would like to use essential oil this time because I have so many! I would really love some help knowing what a flashpoint means and what oils work best and how much to put in! 11/13/16
Dear Sir,
This is Echo from ChangXing Bee Products Co., Ltd which is located in China.
We supply:
Natural Beeswax
Refined Beeswax
Bee Propolis
Bee Pollen
Royal Jelly and any other bee-related products.
If you have any demand on our products, do not be hesitated to contact me.
Best regards,
Echo