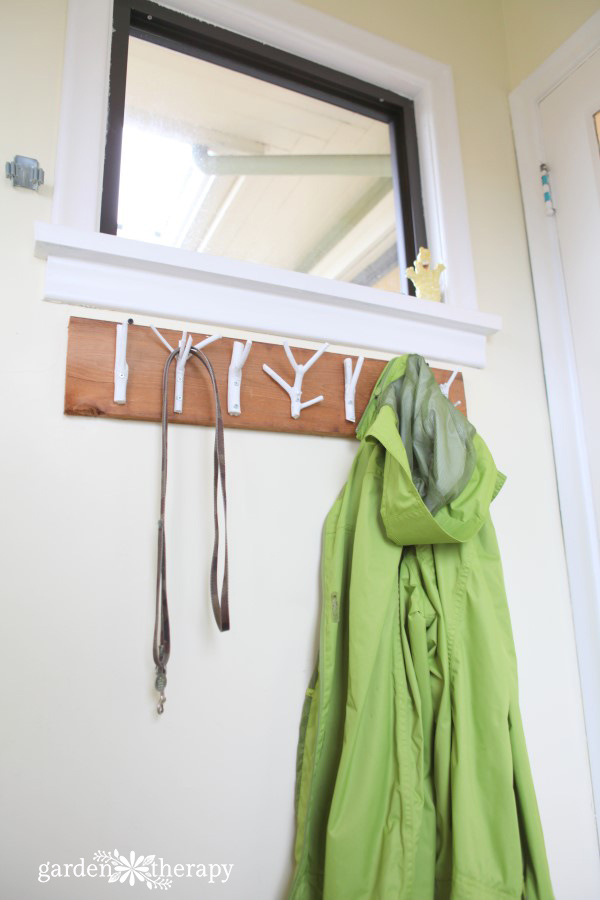
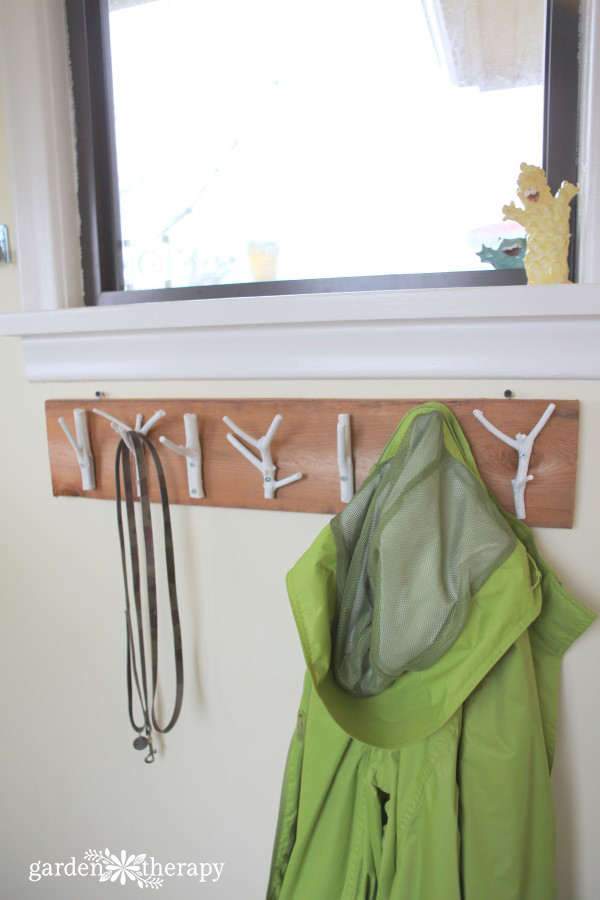
Create a rustic and homey feel to your indoor space by using elements from the outdoors. Wood adds warmth and natural form to indoor decor. This branch coat rack was created with some of the uniquely-shaped branches that were discovered when doing some garden pruning, so if you recreate this project it will never look exactly the same! This branch coat rack is a fun, frugal and incredibly easy project that can be completed in just a few hours. Read on for the instructions for how to create a stylish coat rack with nothing but some branches, paint, and a few tools.
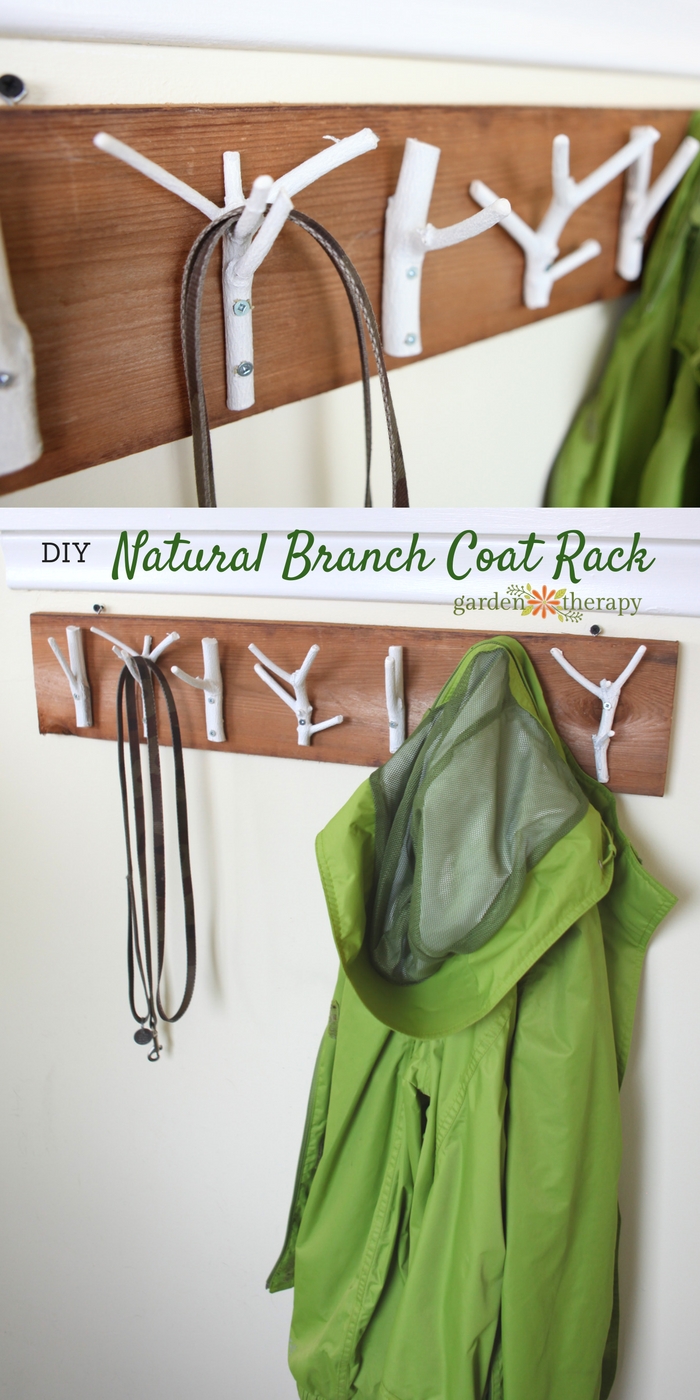
Natural Branch Coat Rack
Materials:
- Branches with strong sections of wood that are no smaller than ¾” in diameter
- Bypass pruners / pruning saw
- Cedar plank or other raw, natural wood
- Drill / screwdriver
- Wood screws
- White latex paint

Directions:
1. Using the saw of bypass pruners, cut sections of branches that:
a) have a nice shape to make a hook
b) are thick enough in diameter and strong enough to hold coats etc. when mounted
c) have a straight, flat back to lie against the cedar plank when mounted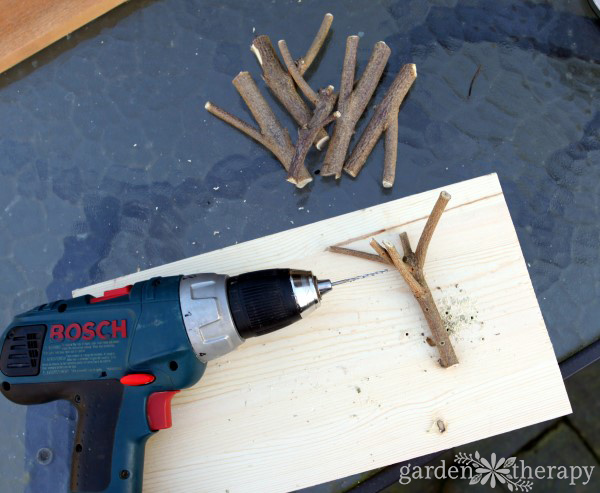
2. Lay your branches out on your board to get the pattern and look that you like. If wood is green, then it must dry before you use it. Place in a warm, dry room until the wood turns brown.
3. Sand the edges of the branches lightly so that there are no sharp edges to snag your stuff.
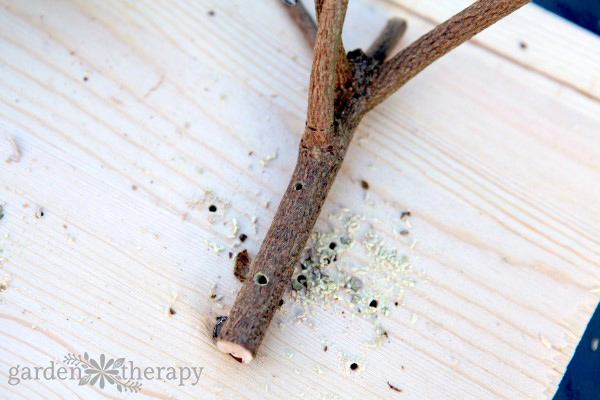
4. Drill pilot holes in the wood with a thin drill bit. This will help the screw go through the wood without splitting. It is a good idea to have a few extras as backup, though.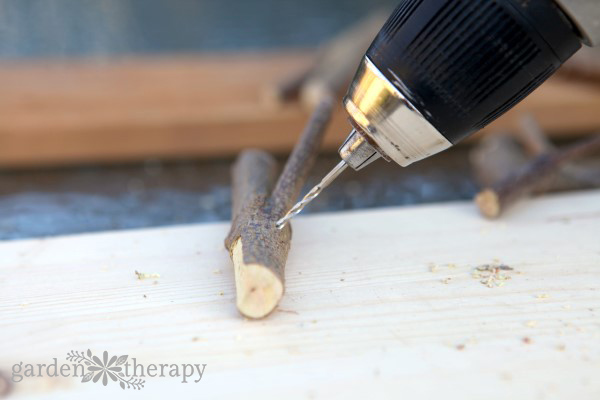
5. Add about ¼ cup water to 1 cup of white latex paint in a lidded container (like a large yogurt container) and stir. Drop each branch into the thinned-out paint, replace lid, and shake until branch is thoroughly coated. Place on a piece of wax paper or parchment to dry. Repeat with a second coat for a thicker paint look, although only one coat was used in this project as I like the wood coming through a bit. Touch up with a brush if necessary.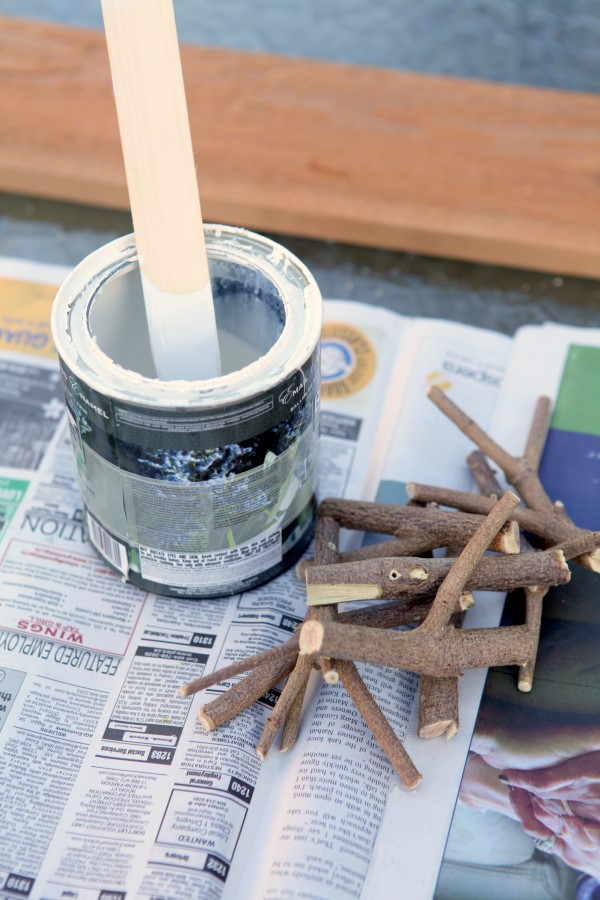
6. Using thin 1 ¼” screws, carefully drill each branch through the pilot hole onto the back board.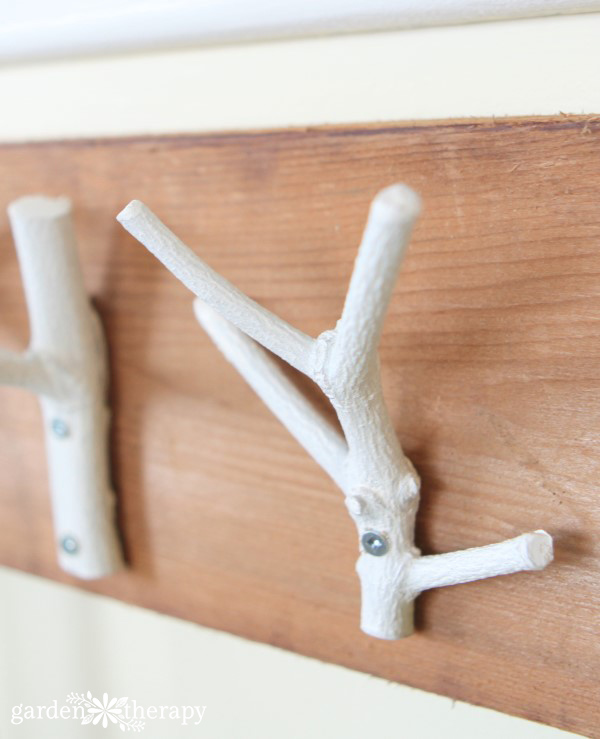
7. Mount the coat rack on the wall.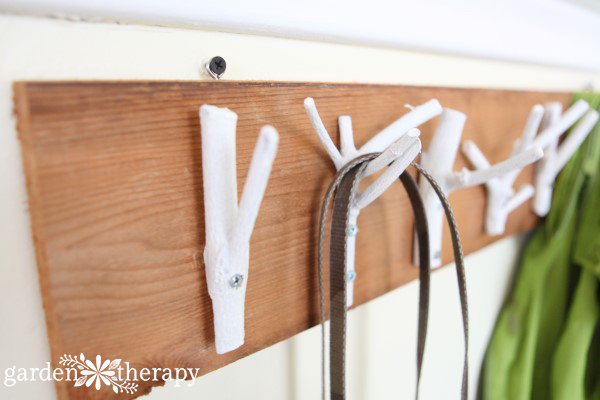
Thanks for visiting for the weekend project. You can see a different take on it when it was re-created by Women’s Day Magazine for their Genius Ideas section. Genuis? Why thank you! I’m blushing the same color they interpreted the coat rack.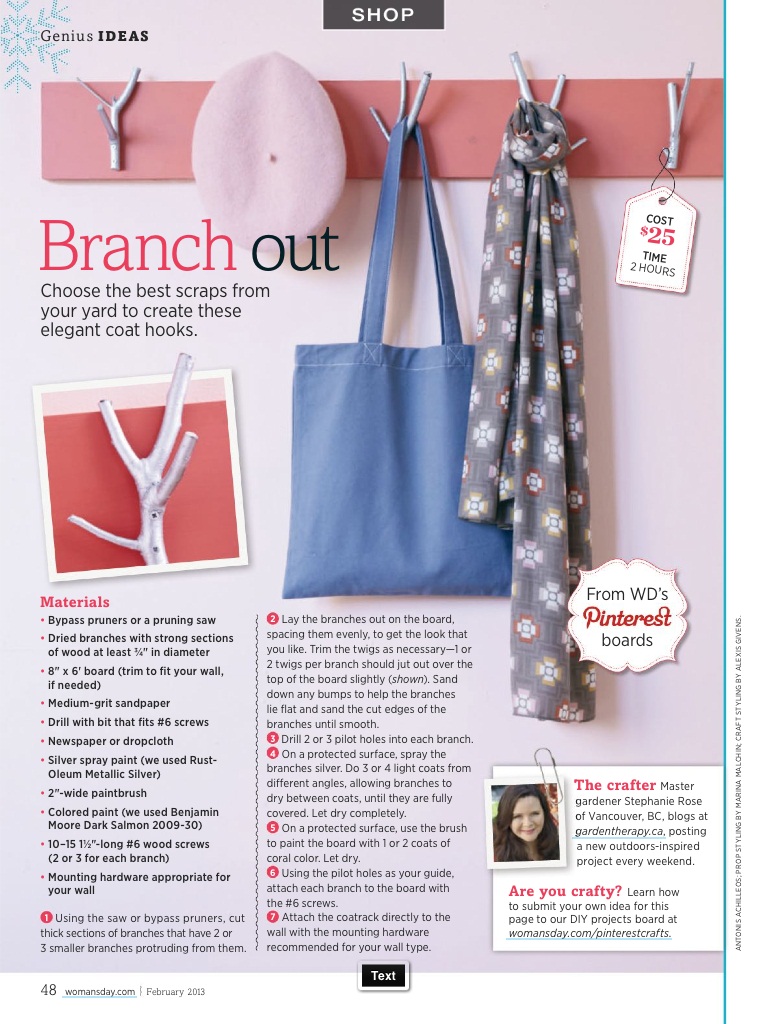
I love to craft with branches and natural wood, as you can see from these other projects:
- Natural Branch Coasters
- Forcing Flowering Branches to Bloom Indoors
- DIY Branch Swing Shelves
- Creative Wood Slice Projects
- Woodland Herb Garden
- 20 Crafty Recycling Projects You Can Make With Your Christmas Tree
And here are some pruning projects so you can find materials:
- How to Remove Suckers from Trees (and Why They are There in the First Place)
- Learn How to Prune like a Pro! Pruning 101
- Want to Know WHEN to Prune? This Will Answer All of Your Questions!
- The Art of Espalier: Growing Fruit Trees in Small Spaces
A city girl who learned to garden and it changed everything. Author, artist, Master Gardener. Better living through plants.


I love this idea! Thanks for sharing at Merry Monday!
what are the dimensions of the plank board?