Slices of branches or tree trunks are all the rage! It’s no wonder why; there are so many uses for these rustic yet beautiful cross-sections of wood. I can’t think of a better way to bring the outdoors in than with a unique wood slice project. I created this roundup of tutorials from Garden Therapy and inspiring ideas from Etsy with tips to make something creative with wood slices for your home or as a gift (plus some tips on how to cut and finish the wood).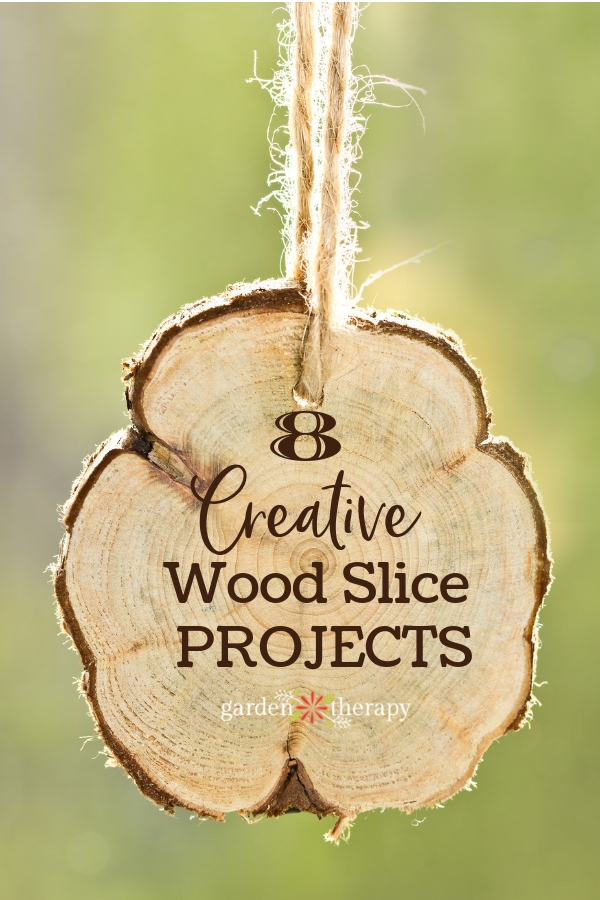
How to Cut Branches into Slices
For thin branches, use a hand saw to cut them into slices. If you want to make a large number of slices quickly, you can use a miter saw for branches with a diameter of up to four inches. Very thick branches (such as those used to make the cake stands later in this post) must be cut using a chainsaw. Be sure that you read, understand, and follow all of the safety guidelines for whichever cutting tool you are using. Try to make cuts as smooth as possible to make sanding easier.
Sanding and Finishing Wood Slices
Before decorating your wood slices, sand them down until they feel smooth. This will make it easier to add varnish, paint, or whatever else you like to give the slices some personality. You can decorate them with a wood burning pen, paint, chalk paint, stain, or protective varnish. It’s up to you whether you want to remove the bark or leave the edge raw for a more natural look. We love the look of the bark and usually choose to keep it.
Here are a few of our favorite things to do with wood slices:
Coasters
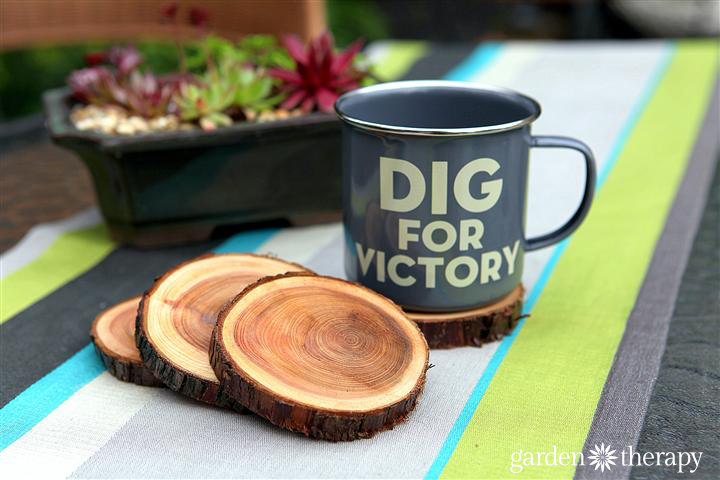
A few years ago I made some natural branch coasters that I still get asked about weekly. Mostly people want to buy a set of mine, but they are so easy to make that I encourage them to follow the tutorial and get in a little craft therapy.
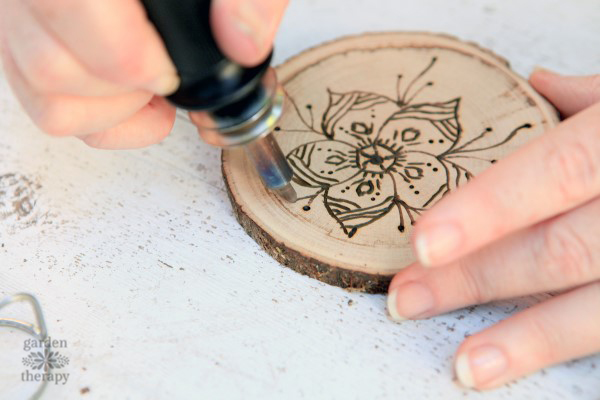
Wood slice coasters also look great with designs etched into them with a wood burning pen, which you can learn how to do here.
Thumbtacks
Very small wood slices make cute thumbtacks. Simply use a sturdy adhesive to stick them to flat-head thumbtacks.
Earrings
Using the same basic technique as the thumbtacks, you can also make earrings by attaching small wood slices to earring backs. You could also make wood slice pendants, rings, or cuff links.
Buttons
Another great use for small wood slices is to make them into rustic buttons. Drill four small holes into each one and sew them to your favorite sweater or anything else that uses buttons and needs a little jazzing up.
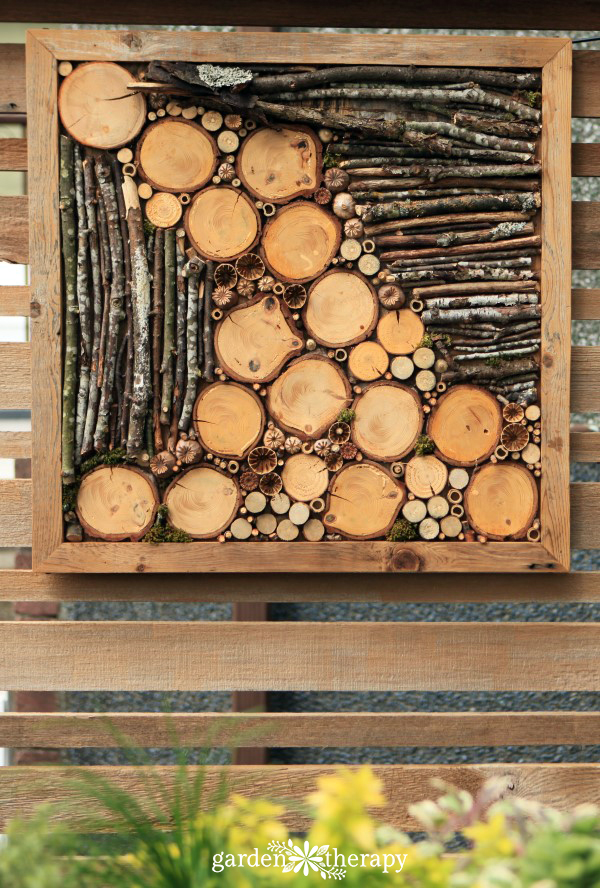
Bug Hotel Wall Art
Use wood slices in varying sizes to make this wall art. It will spruce up drab outdoor areas like fences and porches, plus it provides a place for beneficial bugs to take shelter.
Cake Stand
A large wood slice is perfect for presenting a beautiful cake for an event. It looks natural and rustic, yet fresh and modern, and its simple look is pretty without distracting from the beauty of the cake. This would also look great as a cheese board or charcuterie plate.
Name Card or Table Number Holders
If you are hosting a large event like a wedding, you could use thick wood slices with slits in the center to hold name cards or table numbers. Pair them with neutral colors and natural elements like reindeer moss.
Christmas Tree Ornaments
Decorate wood slices with a wood-burning pen or paint and hang them on the tree. Bonus points if you use last year’s Christmas tree to make the wood slices that become ornaments for the following year! You can find this project in my book, Garden Made.
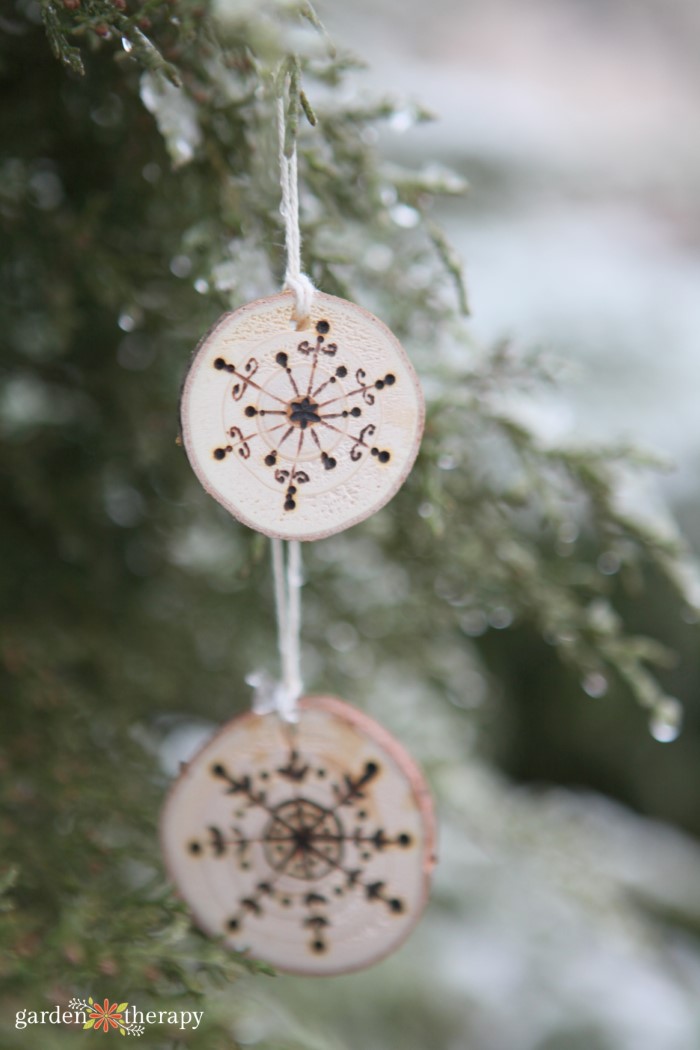
Want more? Here are some other crafty projects you can make with your Christmas tree.



Cute ideas! Our family has had fun making things with wood slices too.
How do you keep the bark from falling off?
I’m running into that problem with my wood burned ornaments.
Hi Melissa, the bark comes off of some types of wood. I have used cedar and pine with no issues. What wood are you using?
I make wood slice ornaments and the best way I have found to keep the bark intacked is to use Mod Podge as your finishing clear coat and apply it to the back and bark also. If you don’t apply it to the back as well the slice could dry and shrink a tiny bit more than the sealed side and cause the bark to chip off.
How do you keep your rounds fron cracking, (end checking) without using PEG?
How do you cut your wood rounds? Do you leave branches to dry first?
Hi Dawn, the full instructions are in the post on how to make coasters.