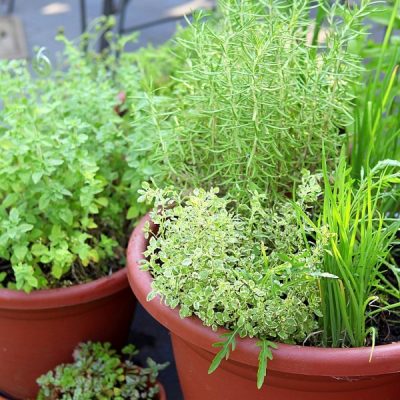
Grow Your Own Perennial Herb Container Garden
Love herbs? Me too! They grow well in containers so you can grow them anywhere! But if you … Read More
Love herbs? Me too! They grow well in containers so you can grow them anywhere! But if you … Read More
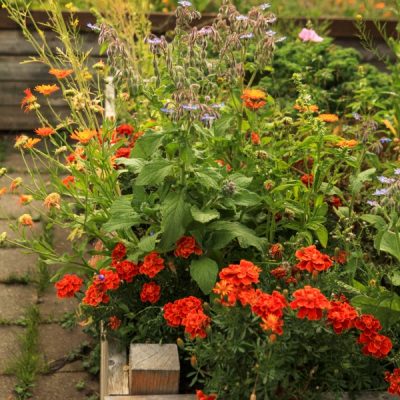
Do you have an unused patch of your yard that’s screaming to be turned into raised veggie garden … Read More

You don’t have to be a handyman to make this swing gate design. After being quoted an obscene … Read More
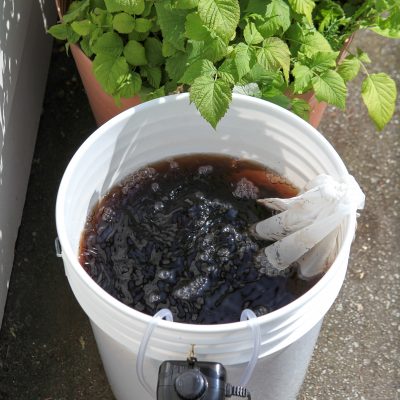
Compost tea made with an Aerated Compost Tea Brewer is an inexpensive, regenerative tool you can use to … Read More
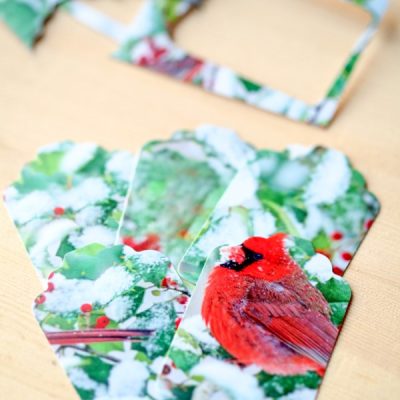
Recycling Christmas cards into gift tags is such a quick and easy project. It’s simple, reduces waste, and is a … Read More
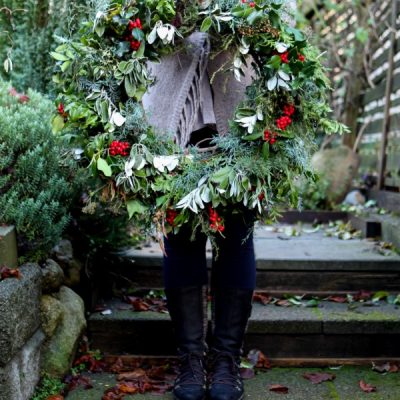
Every December, I dedicate a Saturday to making my holiday wreath, a tradition that I spend months looking … Read More
Your guide to creating a stunning outdoor space using found materials, free resources, community connections, and your own creativity.
My weekly newsletter full of tips for gardening and green living, including timely insights on how gardens can nurture our emotional well-being.

