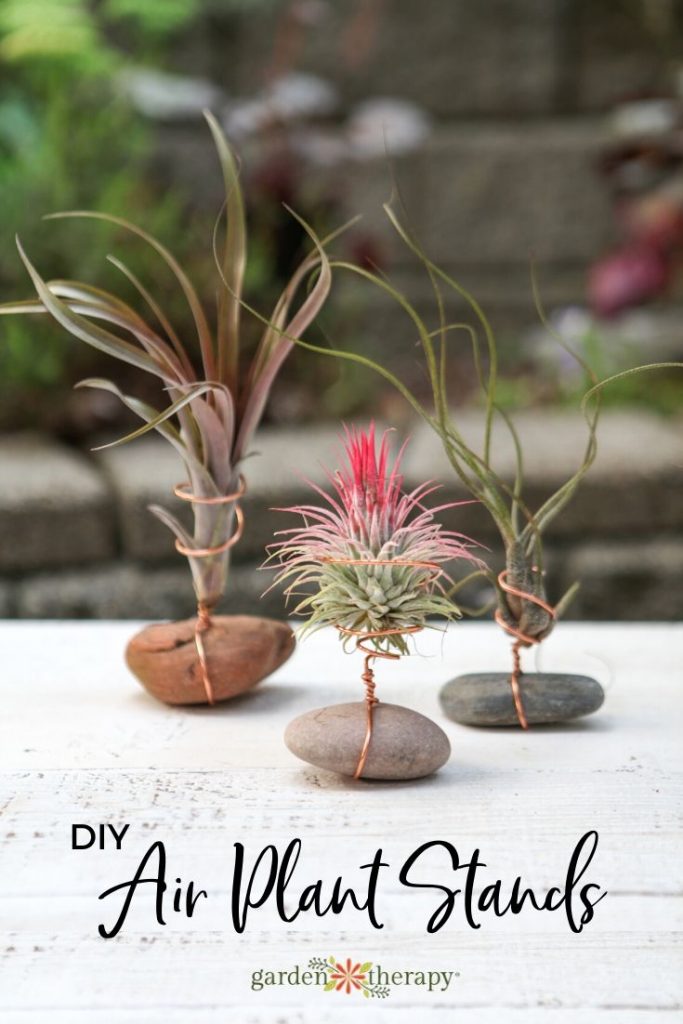
This air plant holder is the perfect thing to make as a paperweight or table decor. Twisted wire attached to a rock makes the perfect rustic air plant display that can be put together in minutes. This project is simple to create and comes with materials that you can easily find around your home.
When I started getting into air plants, I visited florists and garden centres to find ideas for how to display them. I have to admit, I was disappointed to see that there was a whole bunch of air plants glued to logs, seashells, wreaths, and wood planks.
Why? Simply because as lovely as these air plant displays look, they are not the best way to care for air plants.
Air Plant Holders Should Allow You to Properly Care for Air Plants
As you may recall for my earlier post on how to water air plants, I suggest that air plants will thrive if they are given a bath on a regular basis, rather than intermittent spritzing.
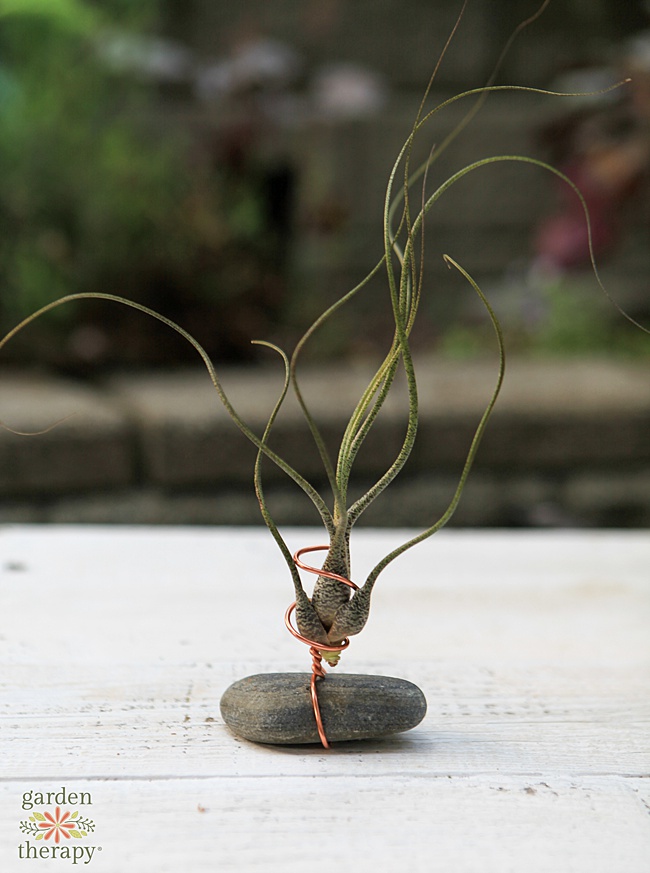
When are plants are glued to a display stand it’s often not possible to soak them in a bath and this means they won’t last as long, will dry out, and just won’t look as pretty. Even if you can soak the entire display, as is the case with a seashell, it’s hard to get all of the water out of the air plant display when you set the air plant back to dry.
Having proper circulation is crucial because air plants should never be left with little pools of standing water after their bath. If they do, they will begin to rot. So, as you can see, I had to take matters into my own hands!
DIY Air Plant Holder
To save those pretty little plants from the glued prisons, I started experimenting with making my own air plant stands where the plants can easily be removed for proper watering (and drying).
I had a blast with this research project! It lead me to make a bunch of displays around the house and even got into wearable living art like this air plant jewelry which I sold at craft shows for a few years.
I then traveled around and taught a number of workshops about how to make living jewelry and air plant displays using wire, but admittedly I haven’t been so great about publishing instructions here…until now.
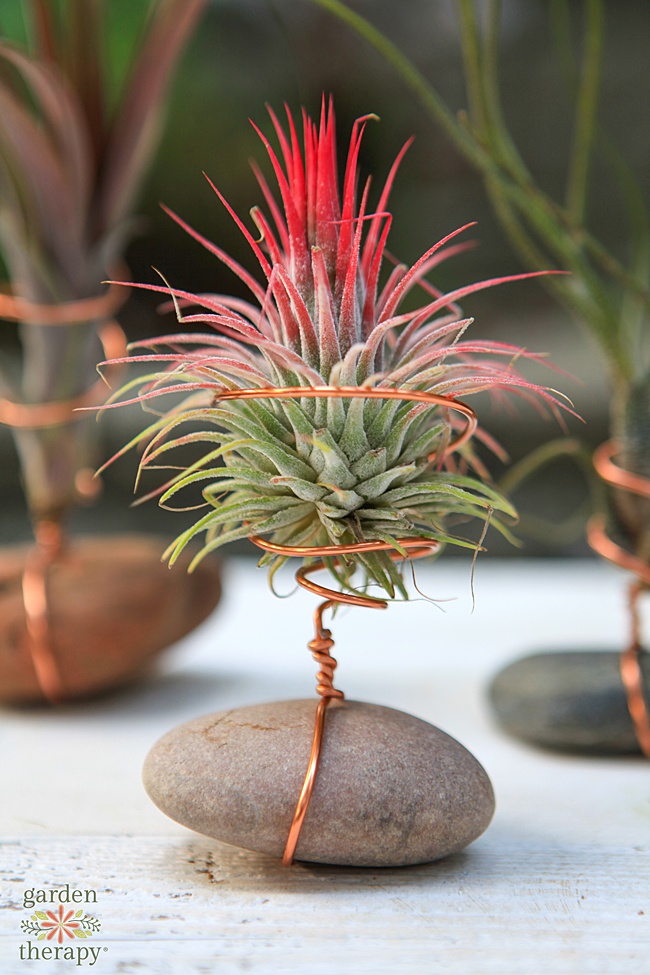
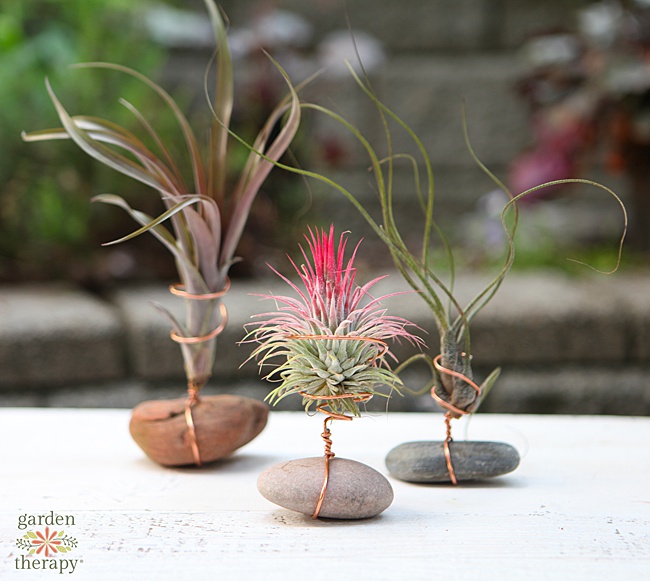
A couple of years ago at the Northwest Flower and Garden Show, I did a few workshops on crafting with air plants and wire. In my post detailing those workshops, I shared this photo of these little air plant rock stands made with copper-coloured wire.
Well, this image got a lot of people talking and sharing—mostly asking me to share the instructions! So finally, here they are.
Supplies for the Air Plant Holder
While you have a certain amount of creative freedom when it comes to supplies for this project, there are a few things you’ll specifically need to know.
Wire
For this project, you need a craft wire which is typically made from aluminum, then painted in the colour of your choice, whether it’s copper, green, gold, red, or any other color. This is a nice set that has several colour options.
It is important to note that I used copper-coloured wire for this project, not copper wire. This is because copper wire is actually toxic to the Tillandsia (aka air plant) species.
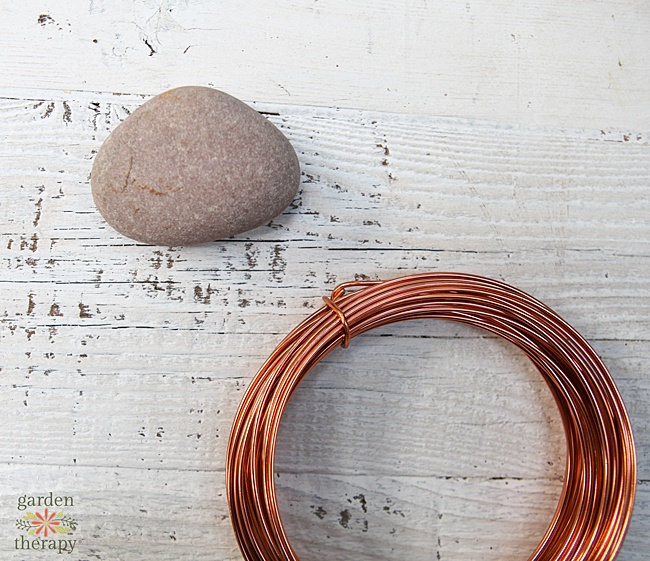
But I love the look of copper, so I opted to use a copper-coloured wire for this project. This has created a lot of discussion on social media because people saw the photos and have been vocal about sharing the information that copper is toxic to these plants.
I think that’s great! I’m glad that I used a copper-colored wire for this project so that discussion is happening. With copper’s popularity in decor, using a copper-coloured wire gets people talking about the health of air plants, not just the design.
That truly warms my heart because plants are becoming so popular within decor and design, but often it’s not being shared how to properly care for those plants.
If you want to know more about how to care for air plants please go to my post all about air plants.
Choosing an Air Plant to Display
The other thing to look for is which are the air plants that you want to use in this project. Be sure to head over here to this guide to see the different species of Tillandsia so you can see which of the air plant(s) you want to add to your display.
River Stones
The stone air plant display will only work if you find the right stone for the base. Not just any stone will do! You need a flat side with the right shape to make a good base for the air plant stand.
I found that the best stones to use are river stones with a flat bottom. It also helps to have some sort of irregularities in the smoothness around the outside. A notch or something can help secure the wire as it nestles in.
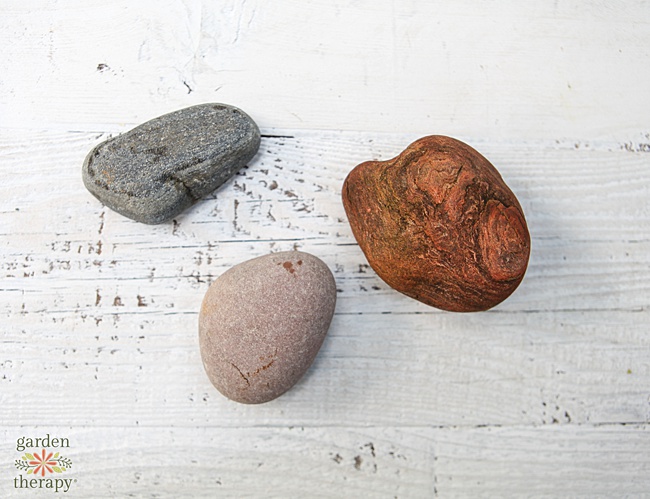
The rounder the rock, the more difficult it is to get the wire to stay on the rock. But the perfect little notch can be just the thing to hold the wire in place and make it a very secure stand.
I think going river rock hunting is part of the fun of this project. But if you don’t have the time (or desire) to do so, you can order flat rocks like these instead.
If you can’t find a rock with a notch, don’t panic! Hot glue will go a long way in keeping everything in place.
How to Make the Air Plant Holder
Ready to start crafting? Here’s how to build your very own air plant stand!
Materials
- Flat-bottomed rock
- 12 gauge copper-coloured aluminum wire
- Hot glue gun and glue sticks
- Steel block
- Hammer
- Wire cutters
- Wire pliers
- Air plants
Make it!
Find a nice flat-bottomed rock.
Cut a length of wire that will be able to wrap around the bottom of the rock. Twist together at the top of the rock, and make a spiral to hold the air plant. Give yourself lots of extra wire to work with so you don’t come up short. In this case the wire was about 20 in long.
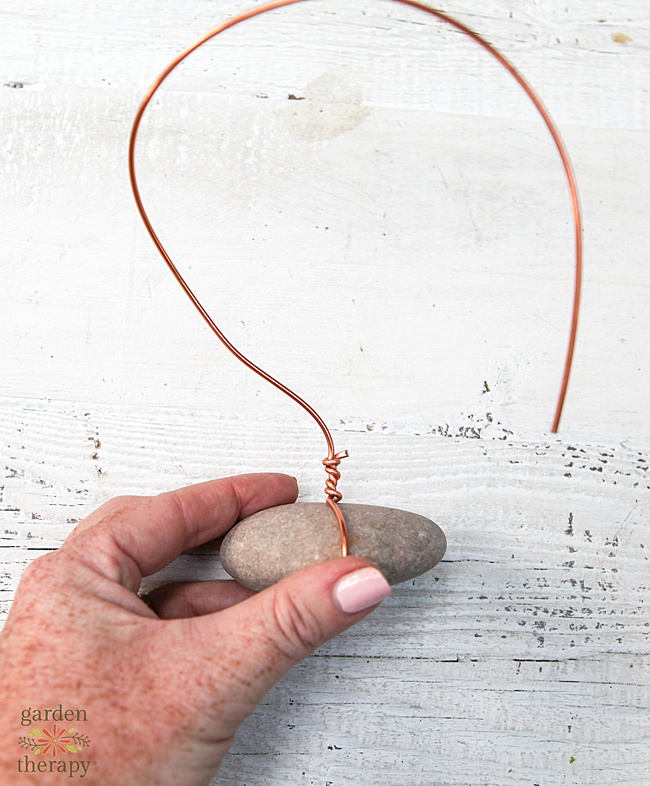
To measure, wind the wire the width of the rock so that one end can twist around the other end and the other end remains long enough that you can turn into a decorative spiral to put the air plant in.
Using a steel block and a hammer, flatten out the section of wire that will sit at the bottom of the rock. This will ensure that the air plant display doesn’t wobble on your table.
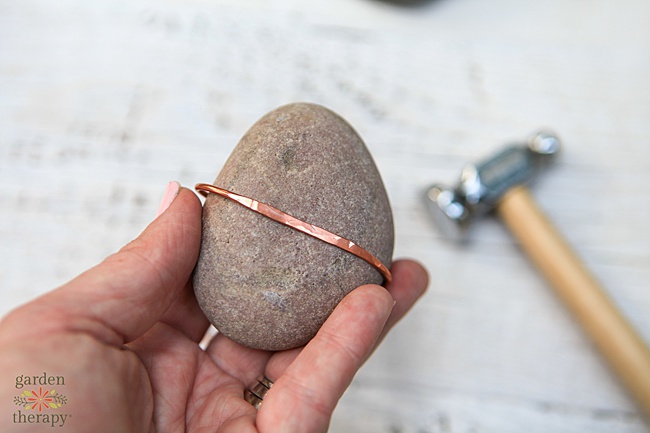
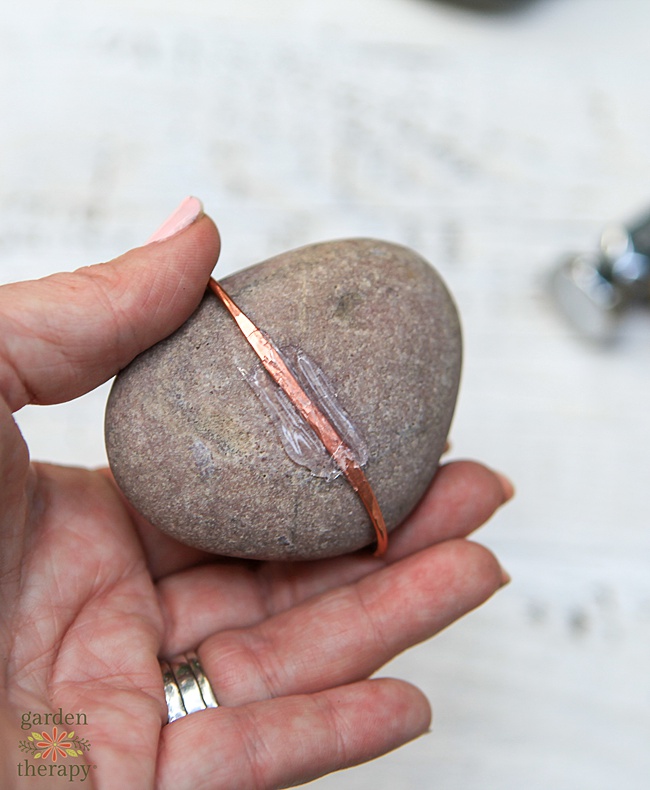
Flip the rock over and add a line of hot glue between the rock and the wire. Dab some on top of the wire as well. This will help keep the wire in place. It will also keep the bottom smooth so that it doesn’t scratch your table.
Now create a spiral design at the top of the length of wire to hold your air plant. It’s nice to have wire that is malleable and soft so that you can adjust the design to fit your plant snugly.
You can open up the design a little bit, add the plant in. Then, close it around the air plant to keep it tight within the display.
When you want to water the plant, loosen the wire a bit, remove the air plant. Then give your air plant its bath. Shake it off well, then add it back into the wire and tighten up the wire again.
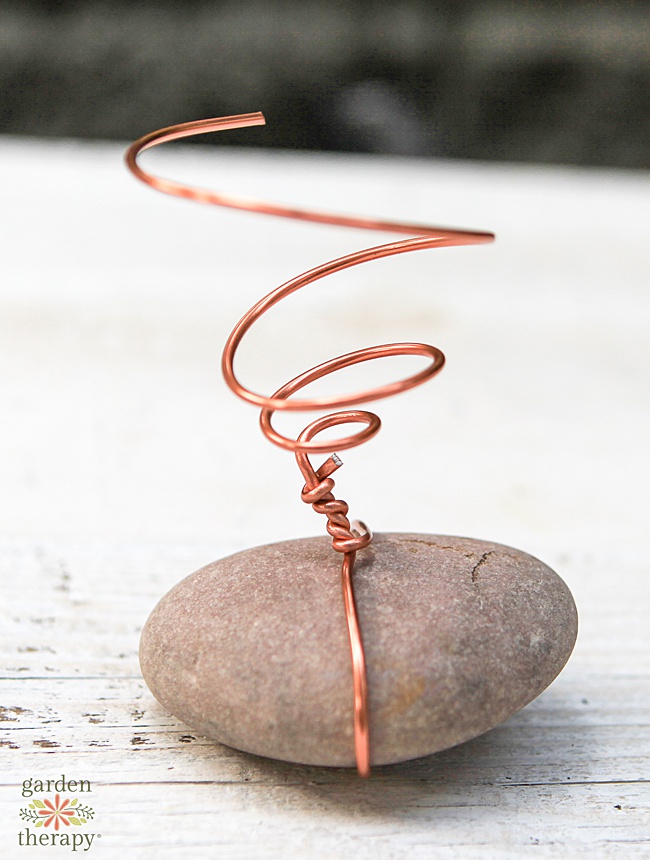
That’s it! You’ve created a DIY air plant holder that will allow you to properly care for air plants. Make a batch for your home and watch them thrive!


I used a big chunk of sea glass instead of the rock. Looks great. Thank you!
great idea!!
I just made this! I added some beads and used them as gifts at my daughter’s shower. They were a hit!!
Nice!