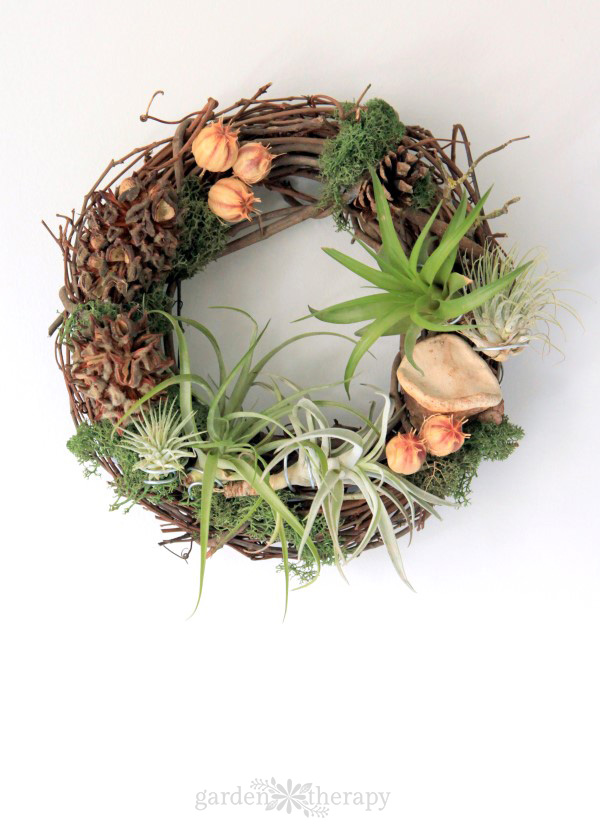
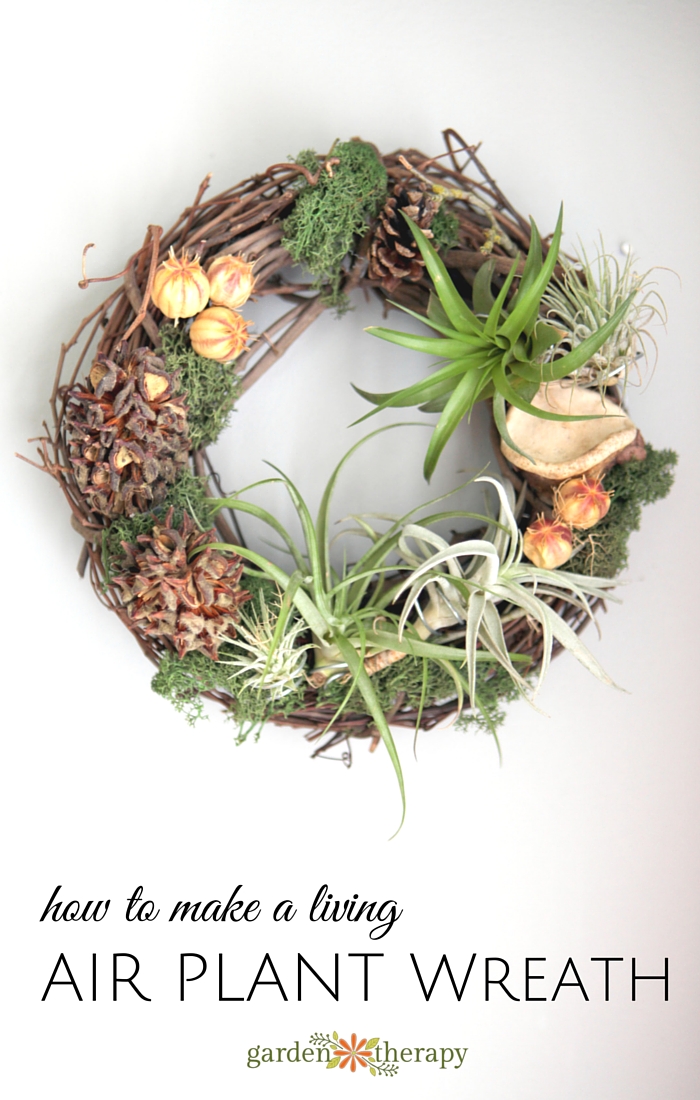
Air plants are so versatile. Without the need for soil, you can display them in so many different ways. I’ve seen air plant wreaths before, but it bothered me that the plants were glued on. How can that be healthy for the plants? It isn’t. So I have created this pretty living wreath with a smart solution to keep the plants alive and healthy while displaying them on a wreath.
Last year I bought a little air plant wreath from my local garden center. It had a green and red bow for the holidays and some green moss hot glued onto it. The air plants were attached by zip ties that also had a generous helping of hot glue to keep the ties and the plants attached to the wreath. This is all fine and good for a temporary display, but as I mention in my article Air Plants in Seashells, gluing air plants is not a good way to keep them healthy for long.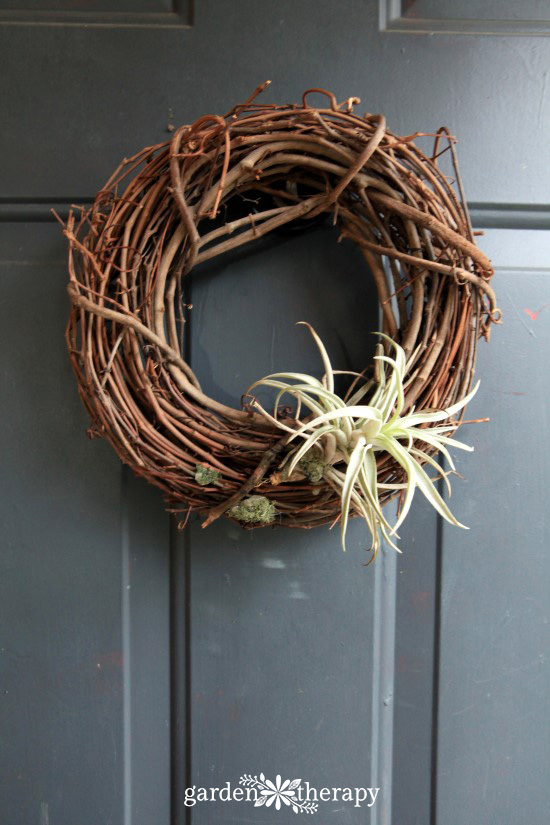
This little wreath cost me almost $40 and two of the plants died within the first two months. Not to brag, but I’m kind of a superstar with air plants. I have had many of mine for years and take very good care of them. But the ones glued to a wreath were just too difficult to water.
The best way to water air plants is to give them an air plant bath. The only way to do that with the wreath was to soak the entire thing and that made the moss a mess. They keep these things alive in the garden centers by misting entire displays regularly and keeping them in a fairly humid environment. But the inside of your average home is not nearly as humid as a greenhouse (especially if you have forced air heating).
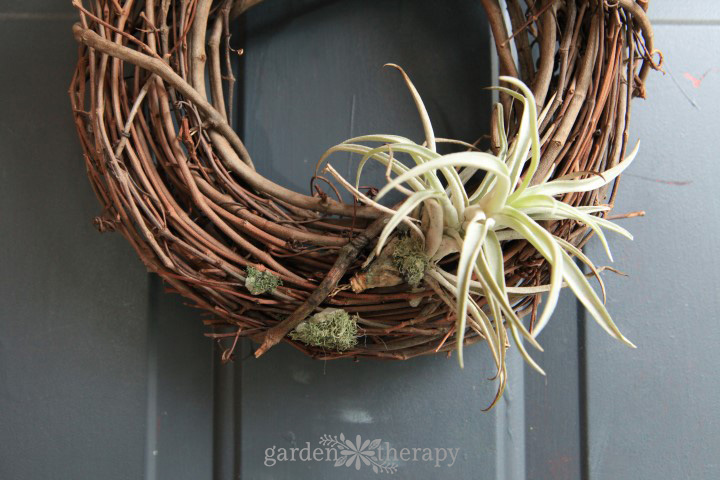
Despite my best efforts, two of the wreath’s air plants didn’t make it past the first few month. The third has been toughing it out for over a year and as you can see it is on its last legs. It’s spindly, browning, wrinkly, and altogether sickly-looking. I figured it was about time to rescue my sick air plant and come up with a solution so that air plants could stay alive and healthy while still looking gorgeous in this design.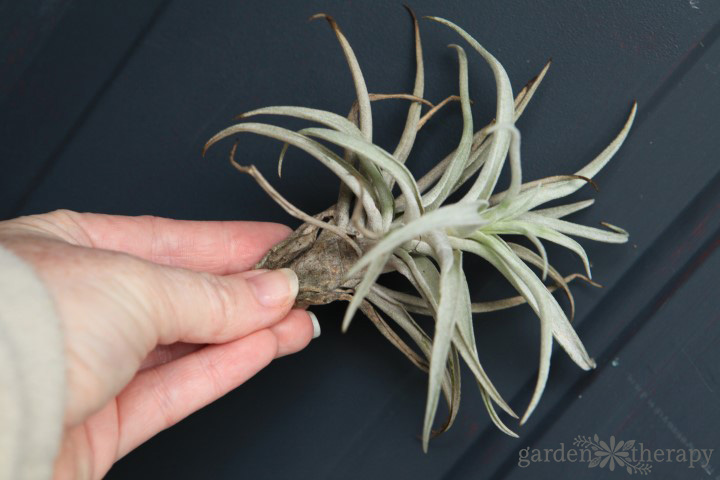
Here is the secret to this design: the plants will be attached by loops of wire. This way when the air plants need a bath they can simply be taken off the wreath and put back up again afterwards!
Materials
- Grapevine wreath
- 14-gauge galvanized wire
- Needle nose pliers
- Wire cutters
- Pinecones, Seed pods,bracket mushrooms, and other dried plants
- Reindeer moss
- Zip ties
- Hot glue gun and glue
Make it!
The first step is to revive the existing air plant which you can see how to do here.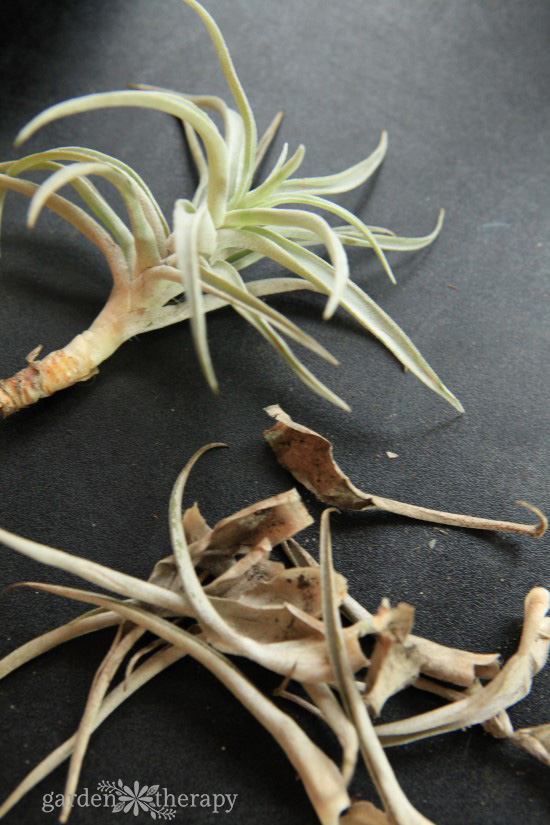
Next, think about where you’re going to attach your other air plants. I laid out my design based on different varieties, shapes, and sizes of air plants.
Use wire cutters to cut a 6-inch length of wire. Use the needle nose pliers to twist the wires into a curlicue on one end, leaving the other end straight. Attach the wire to the grapevine wreath by poking the straight end into the branches and using the needle nose pliers to twist and bend the end to hold the loop in place. Create different shapes and sizes of loops to hold different shapes and sizes of air plants.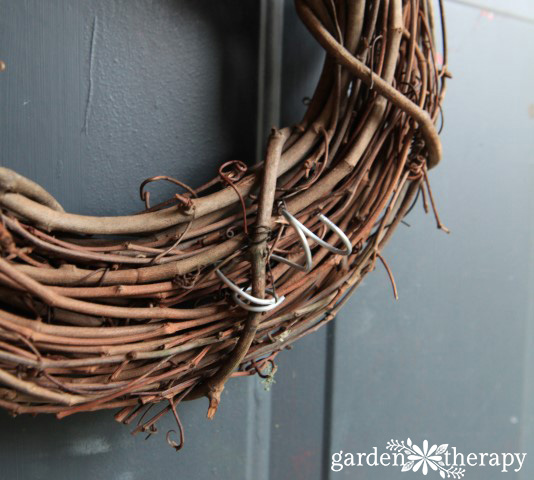
Now decorate your wreath. Collect dried seed pods, mushrooms, flower heads, and other things that will add to the natural look of your wreath. Lay out the design and attach the elements using zip ties and a hot glue gun, a method that is not that different from how the air plants were attached to my original wreath! But, of course, the difference is that these elements are not living and will not change, grow, and struggle beneath the glue and zip ties.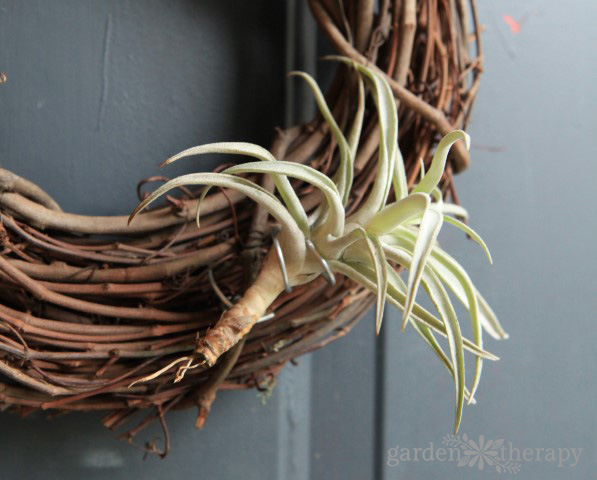
Once the decorative elements have been added, cover the glue, stems, or other things that you want to hide with reindeer moss.
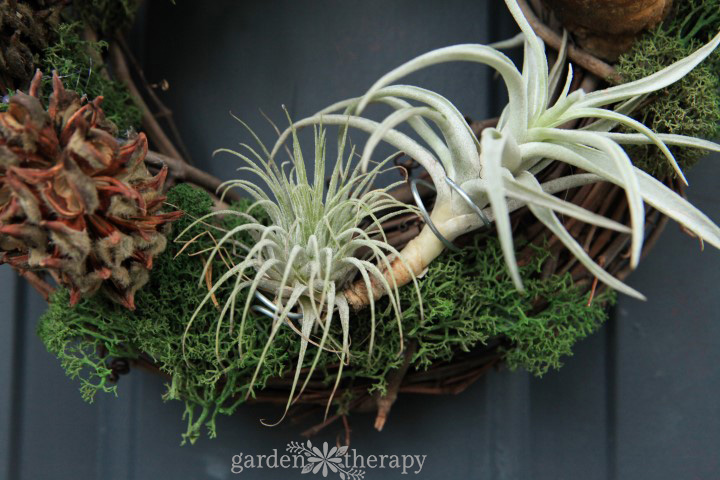
Now add the plants! Attach the air plants to the wire loops gently. You want to make sure the plants are held in place firmly but that they aren’t pinched or pierced by the wire. Once you have your plants set in place, it’s easy to take the plants off to soak them in a bath, and then add them back to the design when you’re finished.
Now my new air plant wreath looks beautiful and will last for many, many years. Oh, and it cost a whole lot less than $40 to make!
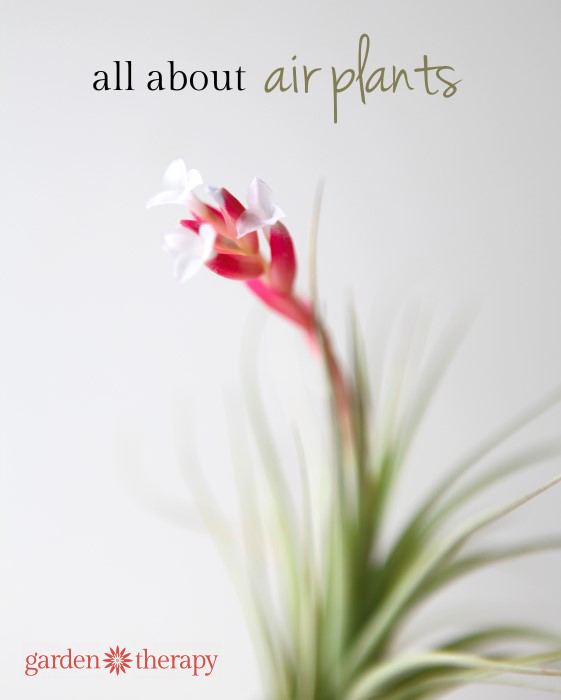
Related: All About Air Plants



Great Article and how to
I never had any air plants but you better believe I’m getting some now. That’s awesome and a great idea
This is beautiful! You could totally leave it up on the door all year round! Thanks for sharing you awesome tutorial with us at Merry Monday this week!
thanks!
Loved your article and air plants. I believe I will have better luck with them now–if I can keep a neighbor from removing them from the shelf outside my door.
Oh dear! That’s not very neighborly.