Air plants in shells are one of the most common offerings found in florist shops, garden centers, and botanical centers. There’s a reason they are so popular—they are gorgeous and easy to care for! Here’s everything you need to know about air plant care if your plant is housed in a shell.
In case you didn’t already know, air plants are one of my favorite plant varieties! These cute little plants are easy to care for—they don’t even need dirt!
This makes them one of the most versatile and fun natural elements to play with. There are a lot of creative ways you can display an air plant thanks to its minimal needs.
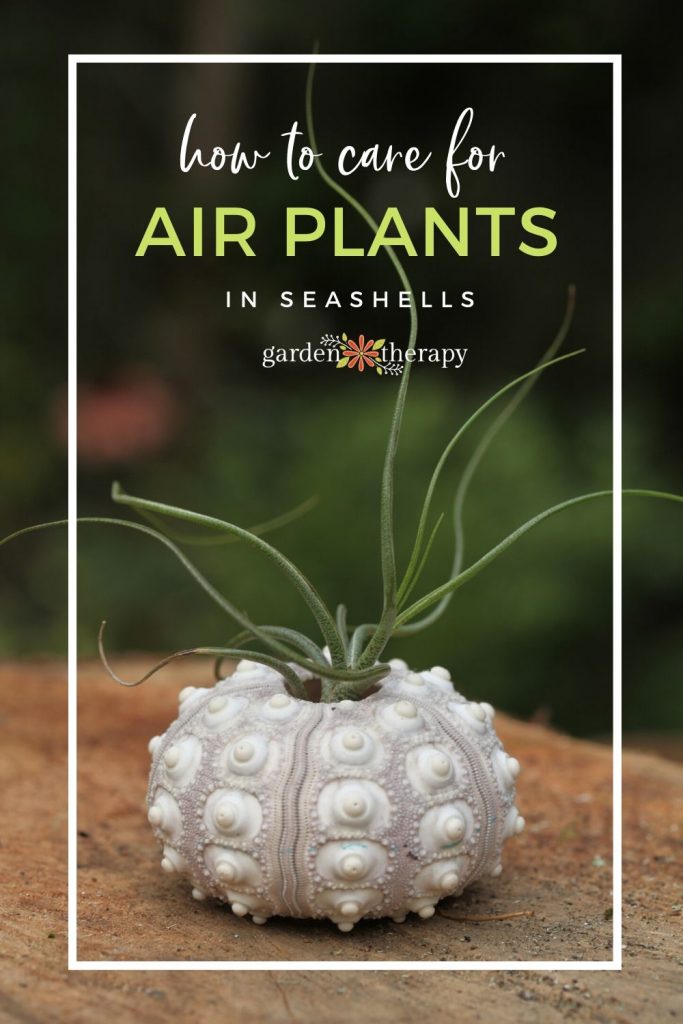
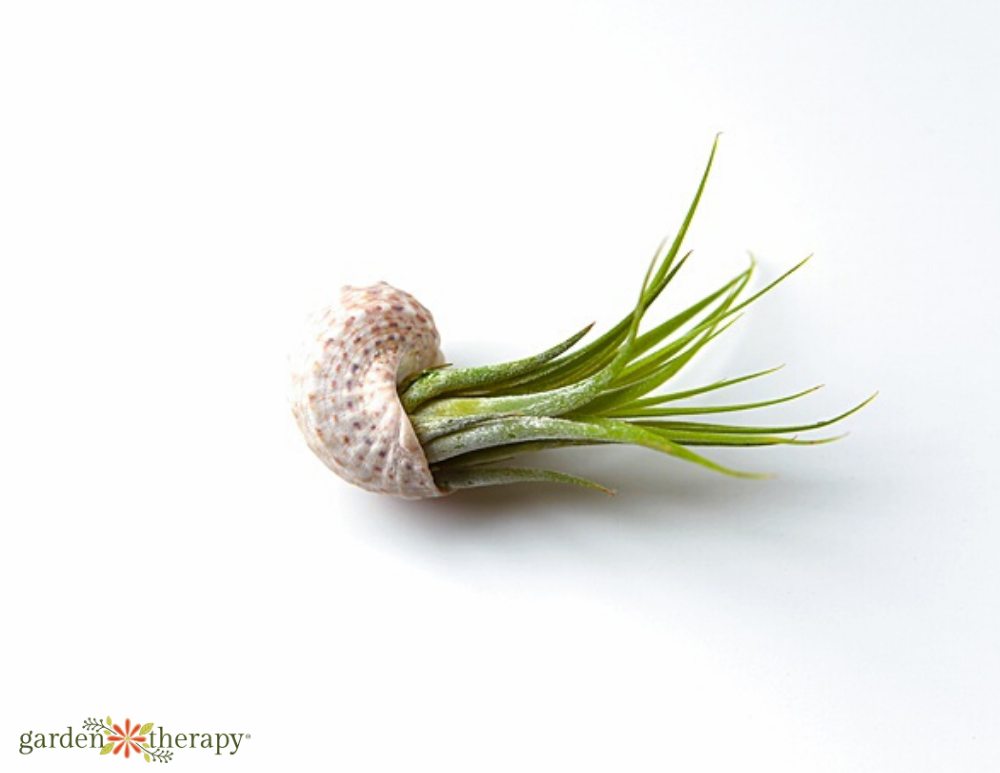
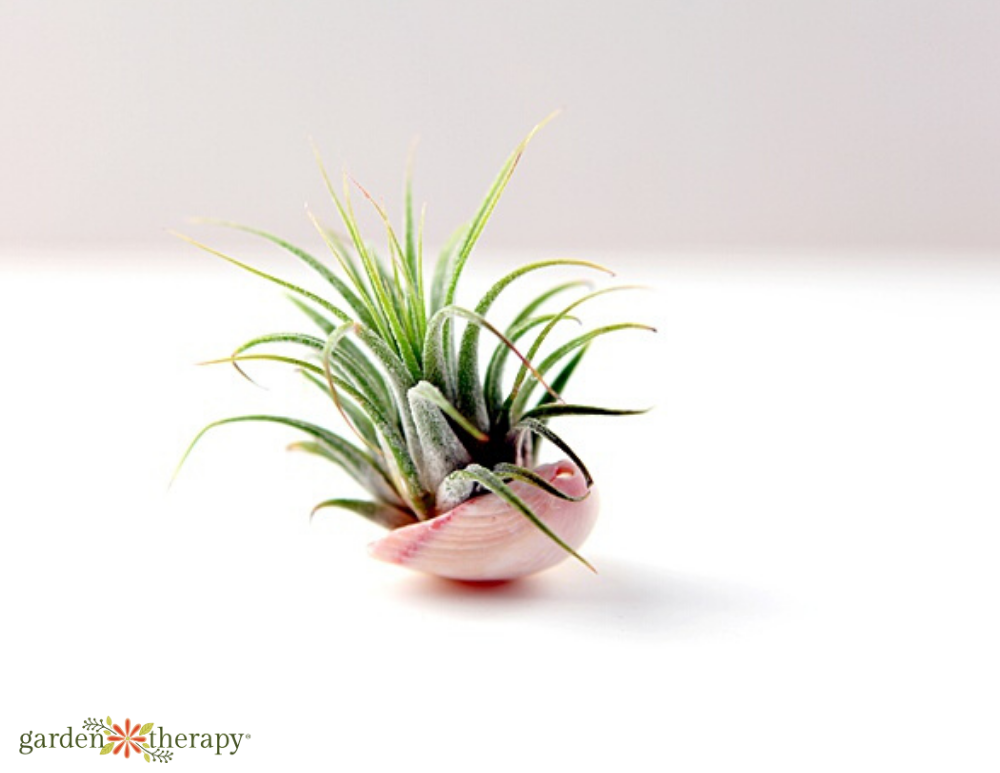
One of the displays that always makes me smile is air plants in seashells. They make for such a perfect pairing of natural elements that would not be found together. Yet, despite their geographical separation, the combination is perfect.
How to Put Air Plants in Shells
I chuckled a little bit as I wrote the heading above because this hardly qualifies as a “how to”. In fact, with an air plant, it’s not so much planting as placing. The hardest part is finding an air plant you like (it’s so hard to choose just one!) and a shell that is large enough to house it.
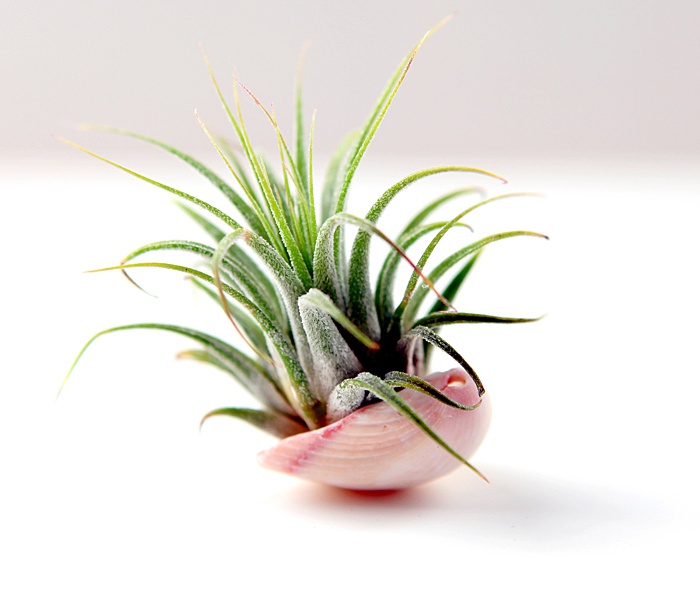
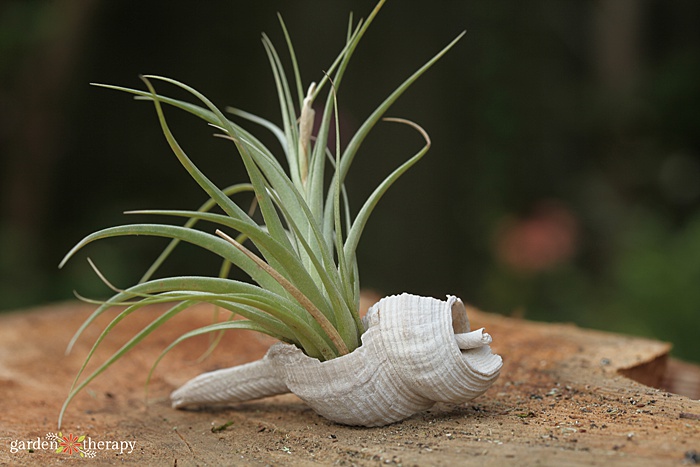
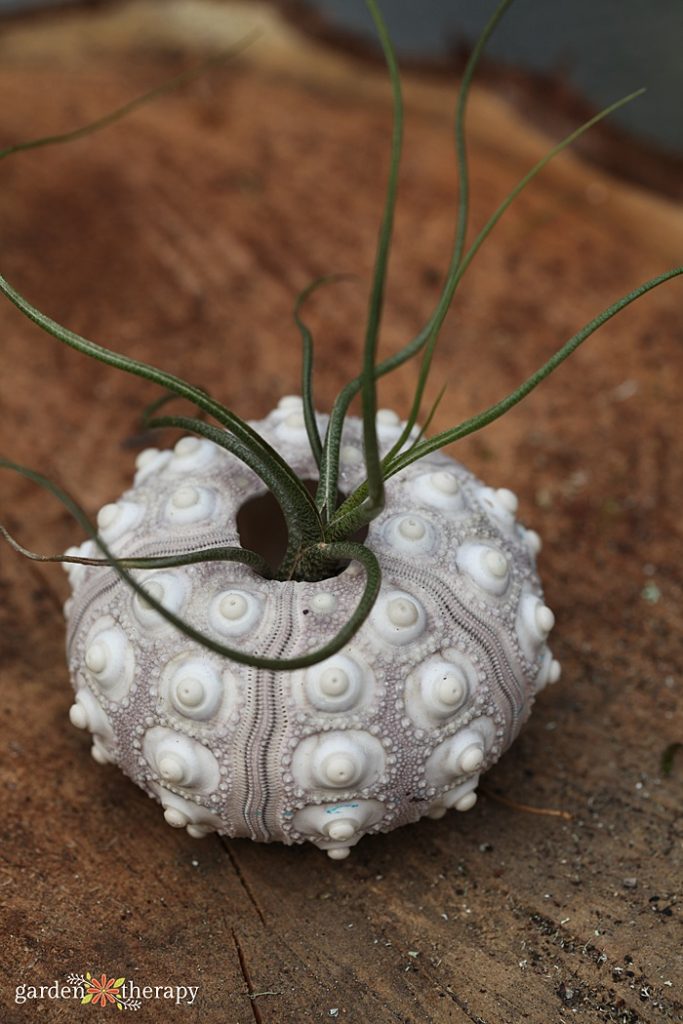
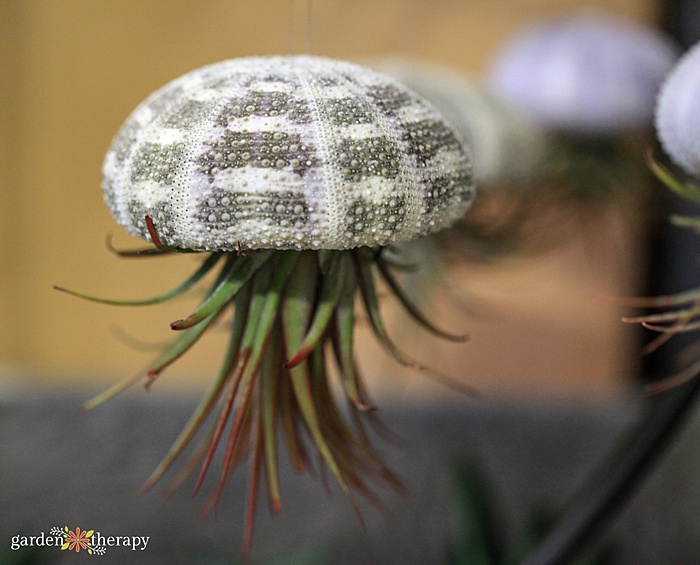
Once you do, simply place your air plant inside. I like to use pretty snail or sea urchin shells with a wide enough opening to fit the base of the plant inside.
Air Plant Glue – Should You Glue Your Air Plant in Place?
One thing that I’ve noticed over the past decade or so of purchasing and making air plant displays is that a lot of questions come up about air plant glue.
When I have picked up air plant displays or air plants in shells, I’ve noticed that the plants are almost always glued in place. Often, this is done needlessly as the plants aren’t being hung upside down or in a vessel that would require glue to stay in the right spot. So, if I’m making a decor piece with air plants, I will rarely use glue. Basically, I only do it if it’s necessary for the design to function.
Think of it this way: glued air plants are disposable, kind of like a long-lasting floral arrangement rather than keeping a houseplant alive. If you want the air plant to thrive, it needs to be removed from the glue eventually. For the most part, I think the air plants shouldn’t be glued into the shells as it will make watering and caring for them more difficult.
How to Care For a Glued Air Plant
What about if you bought one that is already glued? How do you ake sure to properly care for the plant? Thankfully, there’s a somewhat simple solution. You will need to follow the air plant watering instructions below, and submerge the whole plant when watering.
Then shake it out really well. Eventually, the plant will grow out of the glue and the leave attached will die back, leaving you with a healthy air plant!
You can also try to safely pry the plant from the glue, but this can be a bit more difficult to do.
How to Safely Glue an Air Plant
On those occasions when glue is necessary, it’s important you use the right type of glue. Whatever you do, don’t use hot glue! It can damage the plants. E6000 glue is what Hawaiian Botanicals recommends, but the fumes are terrible. Personally, I can’t find a good solution to gluing so I try to fit them into the shells or display without glue or use wire.
A Beautiful Glue-Free Way to Display an Air Plant
If messing with glue sounds like it isn’t worth the trouble, there are so many other ways you can easily display your air plants! Remember, you can simply place the air plant right into the seashell – no adhesive required.
You can also take the seashell, add an air plant and put the entire display into a terrarium. No matter where you choose to set them, they will look beautiful. And you will finally have a use for all those collected seashells.
Another favorite method is this river stone and wire air plant display. It’s chic and allows you to properly care for and water your air plant.
How to Take Care of an Air Plant
Regardless of where you place your air plant, it will not thrive if you are unable to care for it properly. Thankfully, it is easy to do so!
How to Water an Air Plant in a Shell
To care for your Tillandsia, thoroughly soak the plant and the shell 1-3 times per week (water more often in a hot, dry environment; less often in a cool, humid one). Plants should be given enough light and air circulation to dry in for no longer than 4 hours after watering.
Be sure to empty the water from the shell as Tillandsias will not survive in standing water. An exaggerating of the natural concave curve of each leaf is evidence of under-watering.
Use room temperature water, preferably rainwater, but if that is not available use tap water that has been sitting out for 24 hours to evaporate the chlorine.
Air Plant Light Needs
Place the shell near a window that gets indirect light for most of the day. Direct sunlight may be OK in the winter months, but in the summer move your plant to a window with bright, indirect light.
To read more about caring for an air plant properly, read this post.
More Posts About Air Plants
- All About Air Plants
- How to Get Your Air Plant to Bloom
- How to Revive a Sick Air Plant
- How to Identify and Care for Common Air Plant Varieties
A city girl who learned to garden and it changed everything. Author, artist, Master Gardener. Better living through plants.


That is a really good tip especially to those new to the blogosphere.
Short but very precise information… Thanks for sharing this one.
A must read article!
Hi Stephanie, I purchased my first air plant about three months ago and it had a tight bud on it, along with a pup which has since fallen off, but has sprouted a couple of leaves. I give them a bath once a week and have them in indirect light and they are doing splendidly, although the bud hasn’t opened as yet. I think that it will be spectacular as there are a lot of little thingys making up the bud. I live very near the shore of Lake Huron and I gathered little pebbles and placed them in an open glass bowl and placed the plants in them. I didn’t realize that the flowers should not be immersed in water, so was happy to learn that before it opens. Thank you for your helpful info and interesting pics.
Hi Joan Marie Evans, I’m glad to hear that you are having fun with the little plant. I hope it continues to thrive. It sounds like you live in a lovely area!
You need to take pazrt iin a contest for onee of the
most useful blogs on the web. I’m going to recommend this site!
Excellent post. I was checking continuously this bog and I’m
impressed! Very helpful info particularly tthe last part
:) I care for such information much. I was seeking this particular info for
a long time. Thank youu and bewst of luck.