Add some extra jingle and sparkle to your backyard this year with a handmade beaded wind chime! I’ll admit that I’m a bit of a craft supply hoarder and have accumulated a massive amount of beautiful beads over the years but have barely used them. This project is the perfect excuse to get out my bead supply and make something I’ll enjoy seeing out my window every day.
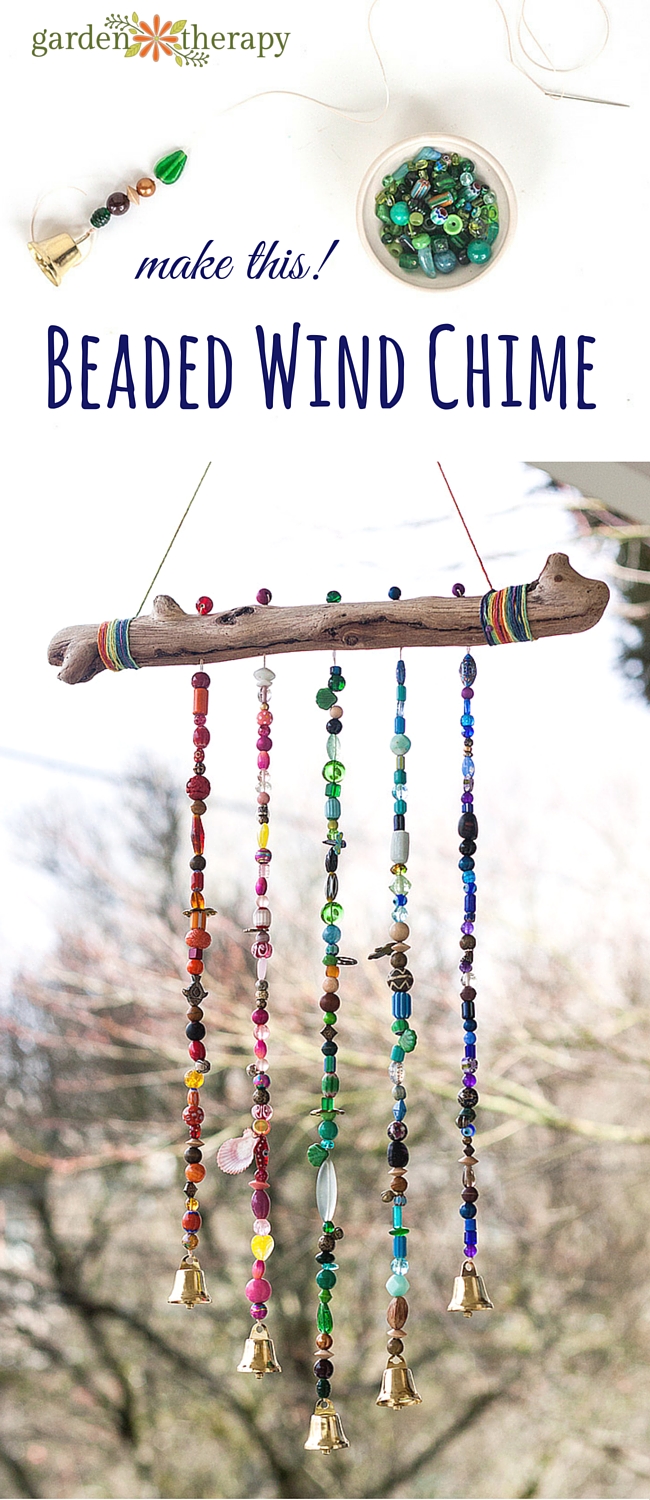
Materials:
- Assorted beads and charms
- Bells (or anything that makes a pleasant sound when the wind blows)
- Driftwood (or wooden dowel)
- Nylon beading thread
- Beading needle
- Electric drill and small drill bit
- Twine
Make It!
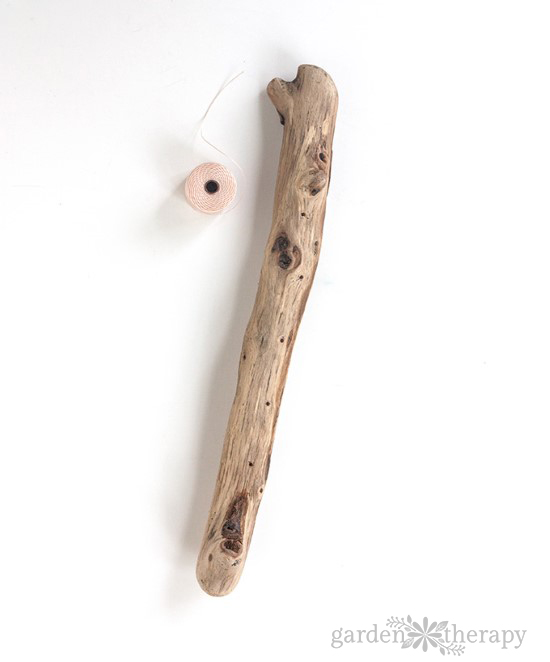
Start by drilling holes in your piece of driftwood (or wooden dowel). I used a pen to mark where I wanted the holes to go. I chose to make 5 holes, but you could make as many as you like.

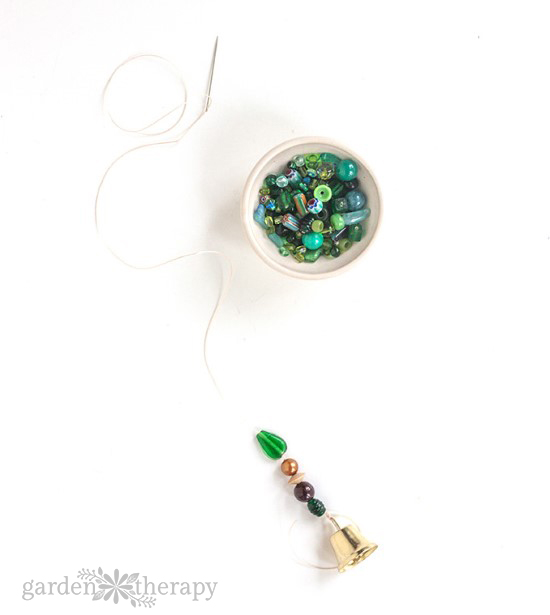
Pour your beads, charms and bells into small bowls or teacups (I sorted mine by color). Then cut a length of nylon beading thread to approx. 22” in length. Tie a bell to one end, leaving a few inches of excess thread at the end of the knot. Thread the needle onto the other end of the string.

Begin threading beads onto the nylon string. I chose to have each strand be a different color, to create a rainbow effect. I also mixed in wooden beads and metal charms.
Once you’ve finished beading your strand, unthread the needle. Then, making sure not to lose your beads, thread the needle onto the few inches of string you left at the bottom (from knotting the bell). Then insert the needle back up through two or three beads to hide the end of the thread. Snip off any excess string and carefully set the beaded strand aside and start the next one.

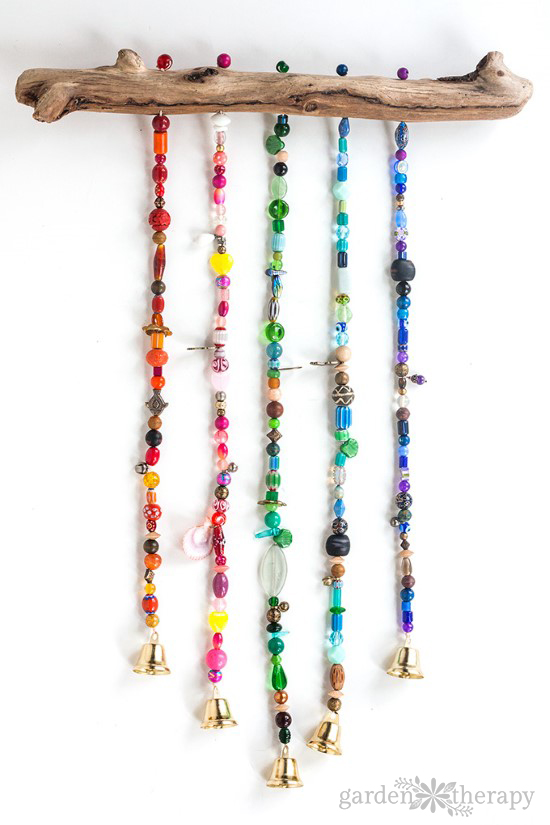
Continue to create beaded strands until you have one for each hole that you made in the driftwood.

Once you’re done you can lay the finished strands out and make any adjustments you might want. I wanted my beaded wind chime to hang at different lengths so I removed a few beads from some strands and added beads to others until I achieved a look I liked.
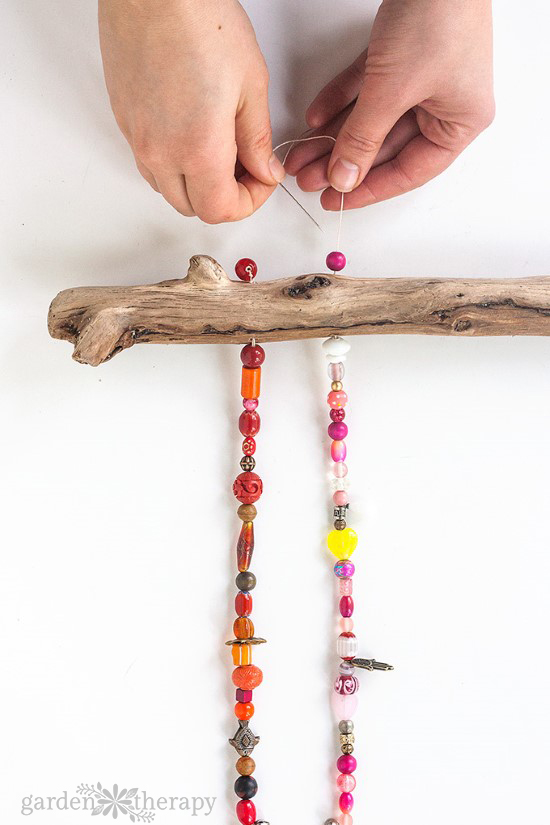
Next, carefully pick up the first strand. Thread the needle and string it through the first hole in the driftwood. Thread a bead onto the top of the wood and carefully tie a secure knot around the bead. Thread the excess string back down through the driftwood and through a few beads, then snip any excess.
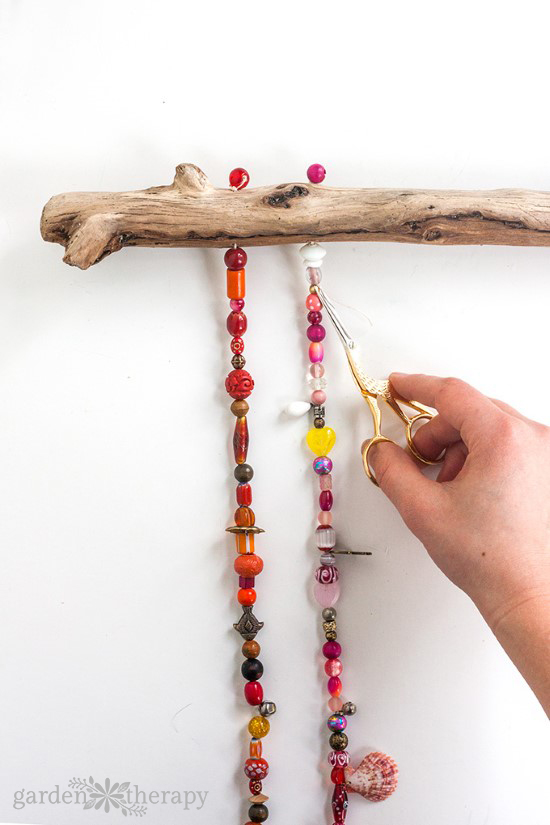
Repeat this process until all beaded strands are secured onto the wood.
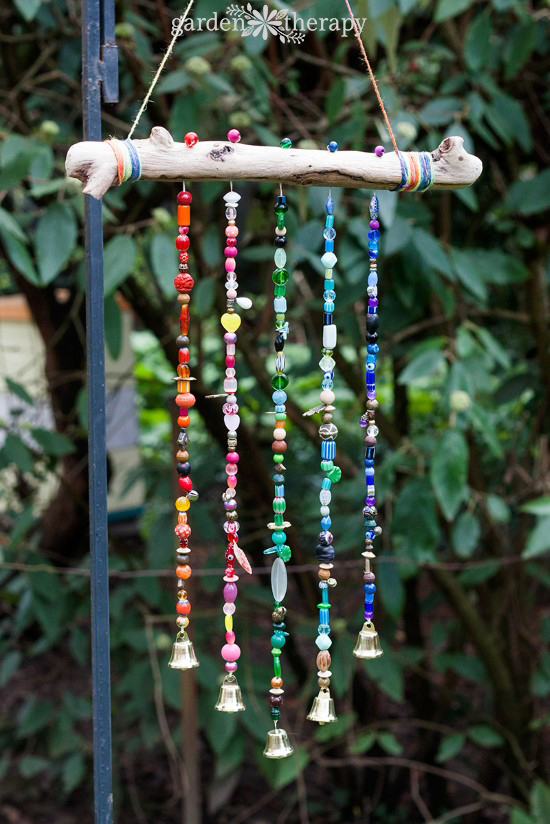
Finally, make a hanger by wrapping twine around one end of the wood, securing with a knot. Then allow some slack for the beaded wind chime to hang from and wrap the string around the other end of the wood. Secure with a knot (I also covered the end of my string with some kraft glue to hold it down) and you’re done! Hang outside a window where you can enjoy its beauty and hear it chime in the wind.
See More Craft Projects You’ll Love:
- Beaded Suncatcher Mobile
- Bring Light and Movement to the Garden with a DIY Wind Spinner
- DIY Lavender Wreath
- Terracotta Pot Citronella Candles
- Crafting with Air Plants and Wire




This works great with beaded costume jewelry necklaces. You can mix and match those beads too
Great idea, Beth!
Ya never said how Long the wood should be!!!!!!!
Where did you get the driftwood from?
You can buy it in several places if you don’t live near a beach (sigh…I don’t…sigh).
Our AtHome store (like Kirkland’s or a slightly better TJMaxx) —has a lot of terrarium – like supplies, gravel, many kinds of apothecary jars, and other kitchen supplies that are right handy. The other thing they have is stuff for aquariums, beach glass! also some shiny marbles, *more* gravel, and neat things like Mini fairy lights, always good!
I’ve been stalling on making a terrarium, just basically I’m thaaaat lazy. Until I went to the AtHome store, and found a perfect terrarium, with other things that I needed. No more delay!
I just love these designs. These pictures are beautiful and classy. Thank you for sharing DIY and decorating ideas and inspiration.
wonderful.
i will try it.
How long should I make the driftwood , and how long should the beads be? It’s a beautiful project!!