With a little planning in the fall, you can have a gorgeous spring display to enjoy next spring. Carefully layer bulbs for the spring, then top with fall flowers in pots for enjoyment during both seasons. Here’s everything you need to know about overwintering and planting bulbs in pots now.
Tulips and other bulbs may be the last thing on your mind at this time of year. However, if you take a little time now to plant a variety of spring-flowering bulbs in pots and planters, I bet you will be pleased as punch that you did!
Bulbs always have a way of cheering me up after what feels like a never-ending winter. Every year, I make an effort to put some bulbs in containers to put by my front door. So I got to work planting bulbs and topping them with fall flowers in pots for an epic display for both fall and spring!
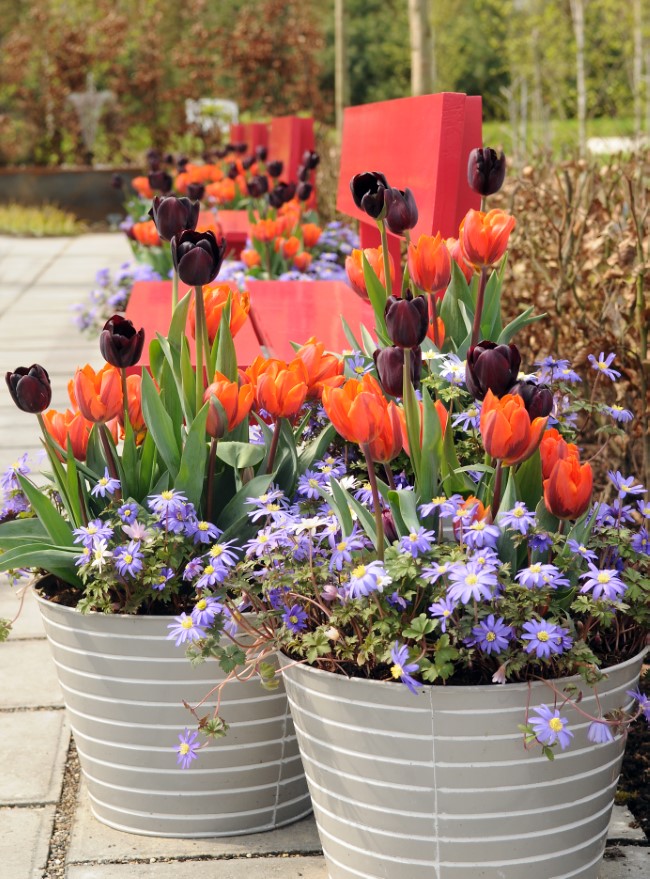
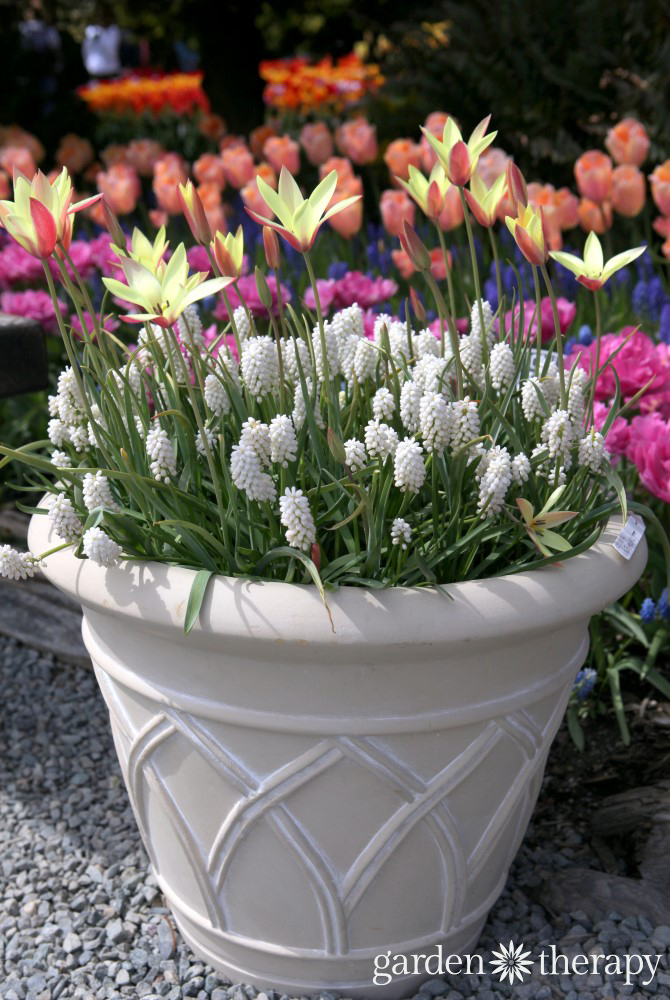
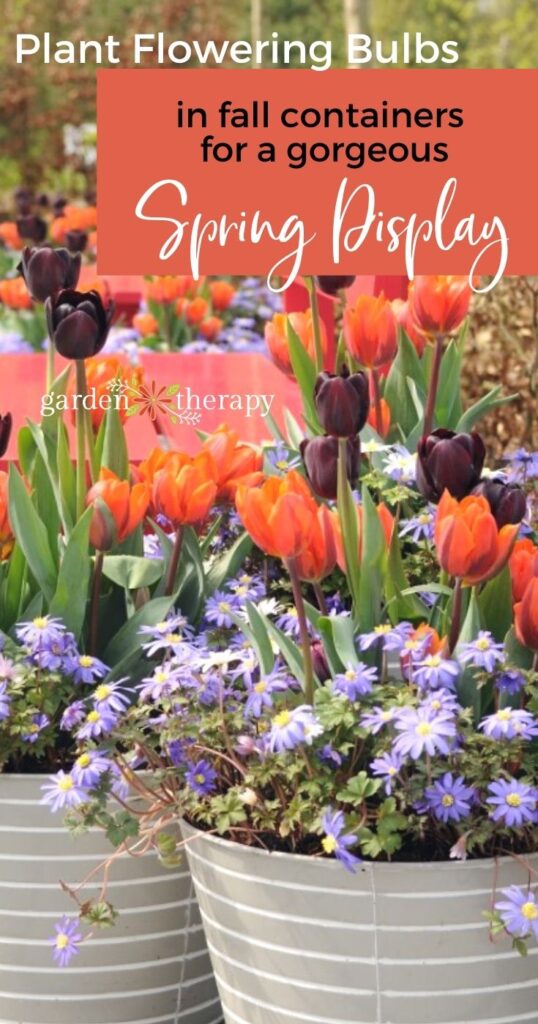
When you get to enjoy containers filled with cheery tulips, irises, crocuses, muscari, and more this spring, you’ll be delighted you took the time this fall.
Keep reading and learn how to plant and overwinter spring-flowering bulbs in pots this fall. In this post, we’ll cover:
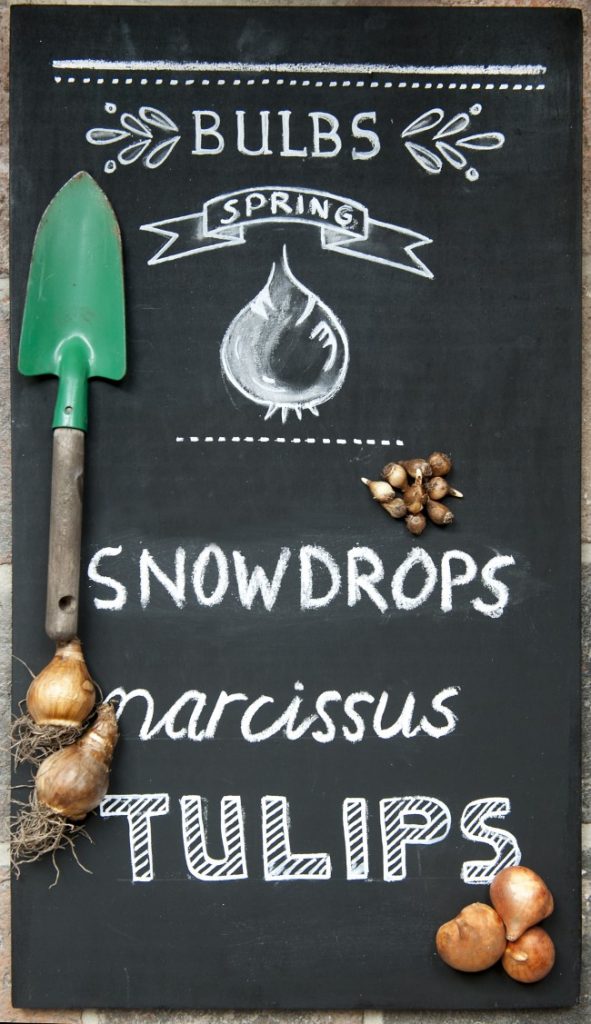
- Fall is the Perfect Time to Prepare for Spring
- How to Plant Bulbs in Pots
- Start with Soil
- DIY Potting Soil
- Layer Spring-Flowering Bulbs in Pots
- The Best Containers for Growing Bulbs in Pots
- Choose Containers with Drainage
- Fall Plants for Pots: Designing for Fall and Winter Dormancy
- Holiday Greenery
- More Bulbs for Your Garden
Fall is the Perfect Time to Prepare for Spring
Spring. It’s often the absolute last thing on my mind when I’m enjoying my pumpkin spice latte and harvesting rose hips. But I have to say, those years when I forget or forgo bulbs in the fall, I sure do regret it in the spring.
For those of us who live in climates with four distinct seasons, one of which is cold and possibly snowy, spring means more than days getting longer and trees budding out. It’s a celebration and rebirth after a period of rest.
What better way to celebrate than with the vibrant colours of tulips, daffodils, Dutch irises, crocuses, and many more cheery flowers? Even better, you don’t need a huge garden to enjoy them because bulbs are perfect for growing in pots.

How to Plant Bulbs in Pots
Planting fall bulbs in containers is no different from planting them in the ground, other than you can really pack in a bunch for a colourful display that can be moved around the garden next spring to fill in bloom voids. Like with other blooms, you will still need proper drainage and depth to ensure they bloom next year.
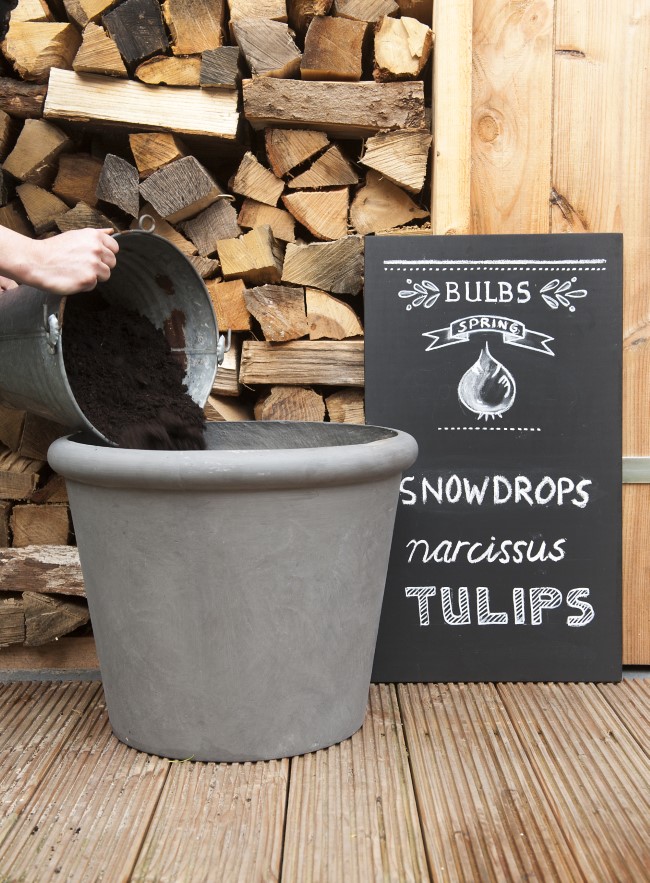
Start with Soil
Start with clean, dry pots (see more below), and mix soil in a fresh container. You can purchase a soil mix formulated with the appropriate water holding, drainage, and air space from a garden center or make your own.
DIY Potting Soil
There are a lot of potting soils you can purchase commercially, but I almost always make my own these days. There are a few reasons why. First, I find it works the best for my flowers. Secondly, I have committed to reducing my usage of things with peat in the ingredients (read here about why).
Plus, making this peat-free potting soil mix is very easy and economical.
Container Potting Soil Mix Recipe (Peat-Free)
- 2 parts screened compost
- 2 parts coconut coir
- 1 part perlite
- 1 cup per gallon worm castings
- 1 tablespoon per gallon greensand
- 1 tablespoon per gallon mineralized rock dust
- 1 tablespoon per gallon kelp meal
Simply mix all the ingredients in a wheelbarrow or bucket and transfer them to the pot. As with all dry potting soil products and mixing ingredients, wet the materials slightly to reduce dust and avoid inhaling dry particles.
Layer Spring-Flowering Bulbs in Pots
When planting bulbs, you can get quite creative in planning how they will bloom throughout the spring. Think about incorporating colour patterns with two or three complementary hues. Or staggering flowering times with early, mid, and late-season bloomers.
Playing with different heights adds more interest. Here is how to layer bulbs in your container garden.
Thank you to Flowerbulb.eu for sharing these images with me!
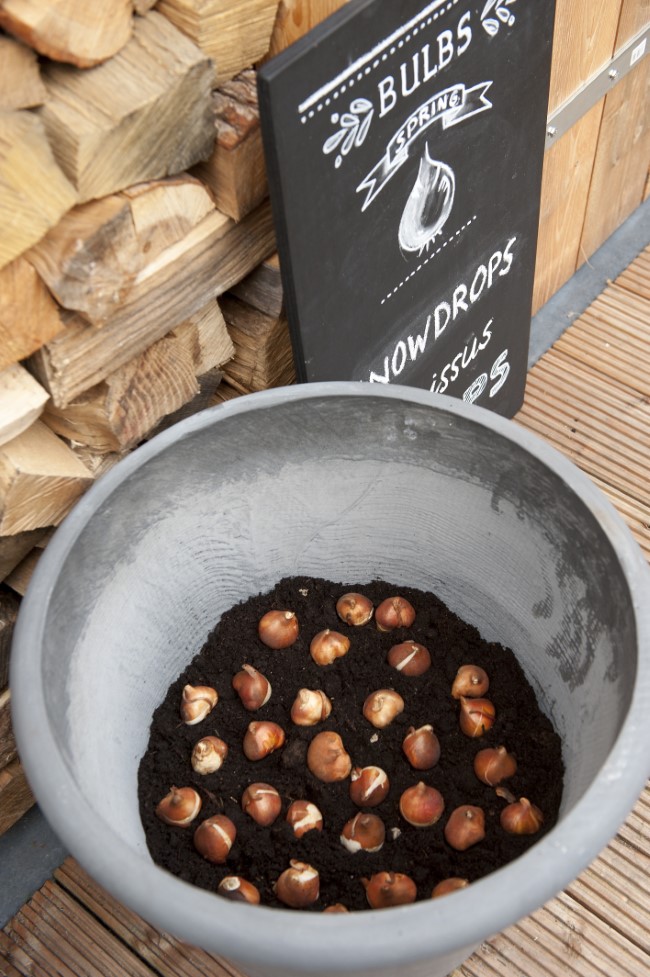
Plant the bulbs that require the greatest depth first, and evenly space them, root side down, into a layer of soil like the daffodils shown above.
Cover the bulbs with soil and add another layer of bulbs planted root side down, like these tulips.
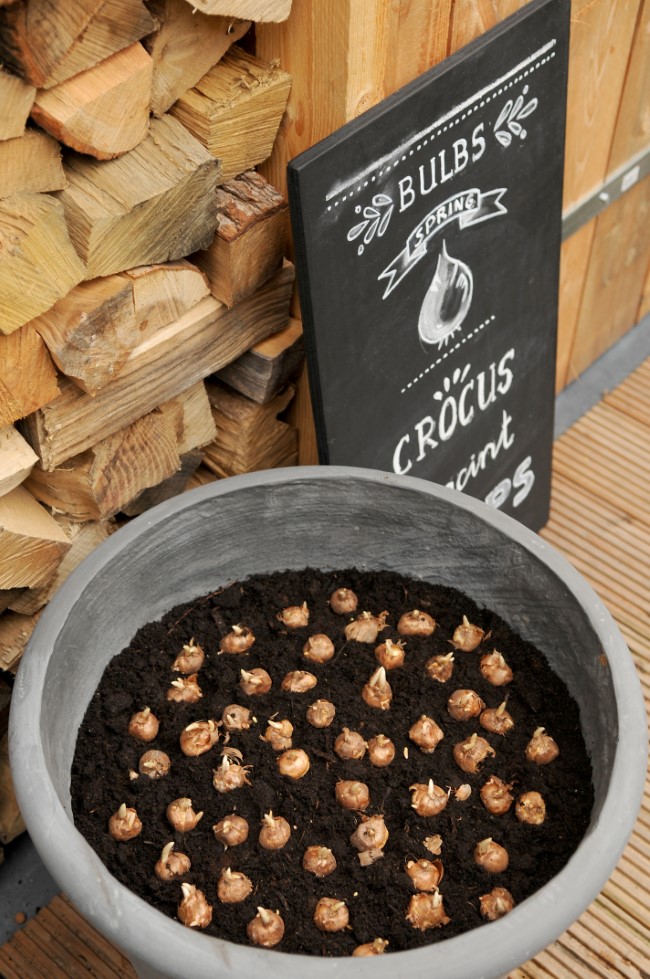
Plant another layer like the first two with soil in between, like these crocuses.
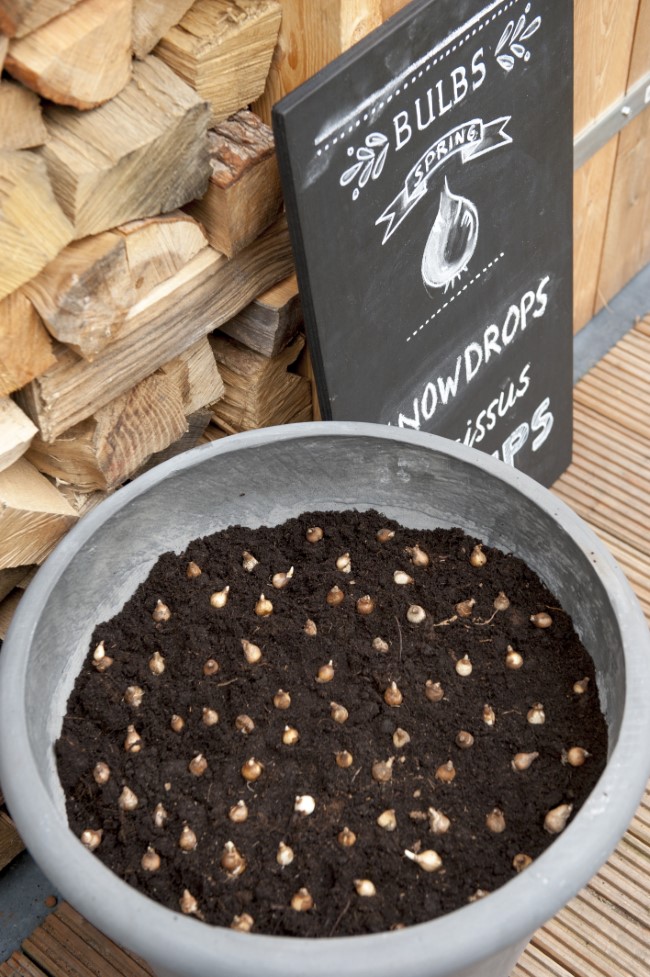
Keep planting bulbs until the smallest, shallowest depth bulbs are planted.
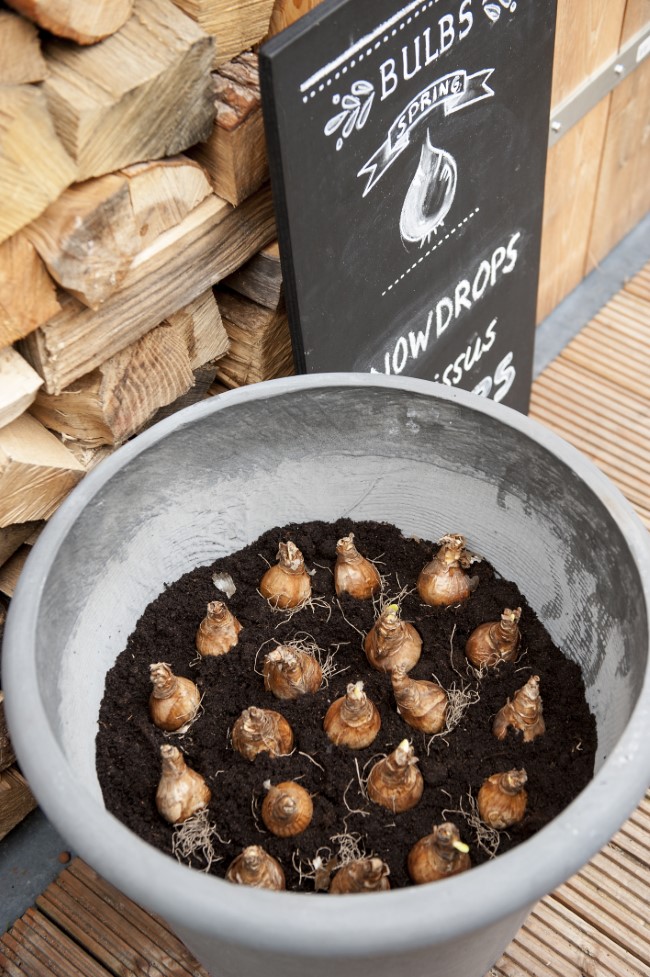
In the spring, the bulbs will grow from the top layers first, while the ones below make their way up through the soil.

The Best Containers for Growing Bulbs in Pots
For practicality, choose containers that will overwinter in your area. Glazed ceramic, resin, or plastic pots have good longevity and protect plants in the winter. Unglazed terracotta will absorb moisture, freeze, and crack, so it is best to store those for mild weather use only.
There are also great all-weather containers with double-walled construction that insulate the soil. These are certain to make it through many winters.
Choose large pots to hold the soil needed to chill the bulbs without damaging them. The larger the pot, the more bulbs, giving an impressive spring display. Half wine or whiskey barrels also make wonderful bulb planters.
Choose Containers with Drainage
Be sure the container has good drainage. Self-watering containers are not a good choice for overwintering in rainy or cold areas, where water collected in the storage container can freeze and damage the pot or the bulbs.
Fall Plants for Pots: Designing for Fall and Winter Dormancy
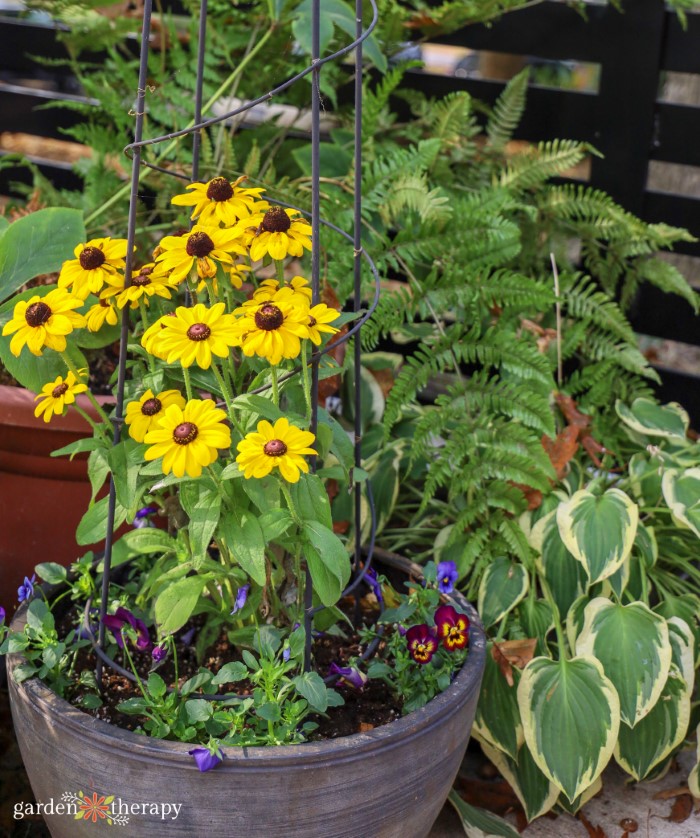
After the bulbs are planted, the container will look pretty boring with just bare soil up above! Never fear, this is the perfect place for cool-season annuals like pansies, ornamental kale, and sedum.
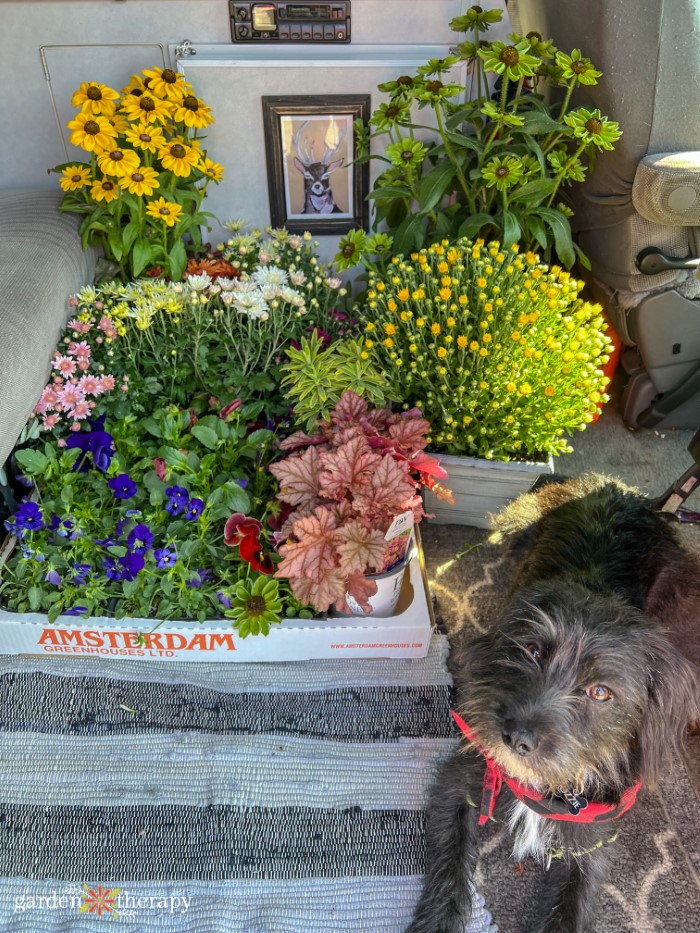
Fall colour can be hard to come by. There are always so many mums! While I love them, here are some of the wonderful flowers and foliage I saw for potted plants for fall:
- Rudbeckia ‘August Forest’
- Ornamental Pepper
- Dolce ‘Spearmint’ and ‘Silver Dumdrop’
- Primo ‘Peachberry Ice’ and ‘Wild Rose’
- Compact Yellow Cushion Sedum
- Ascot Rainbow Spurge
- English Daisy
As you can see, I ended up with quite the haul. Ozzie approved.
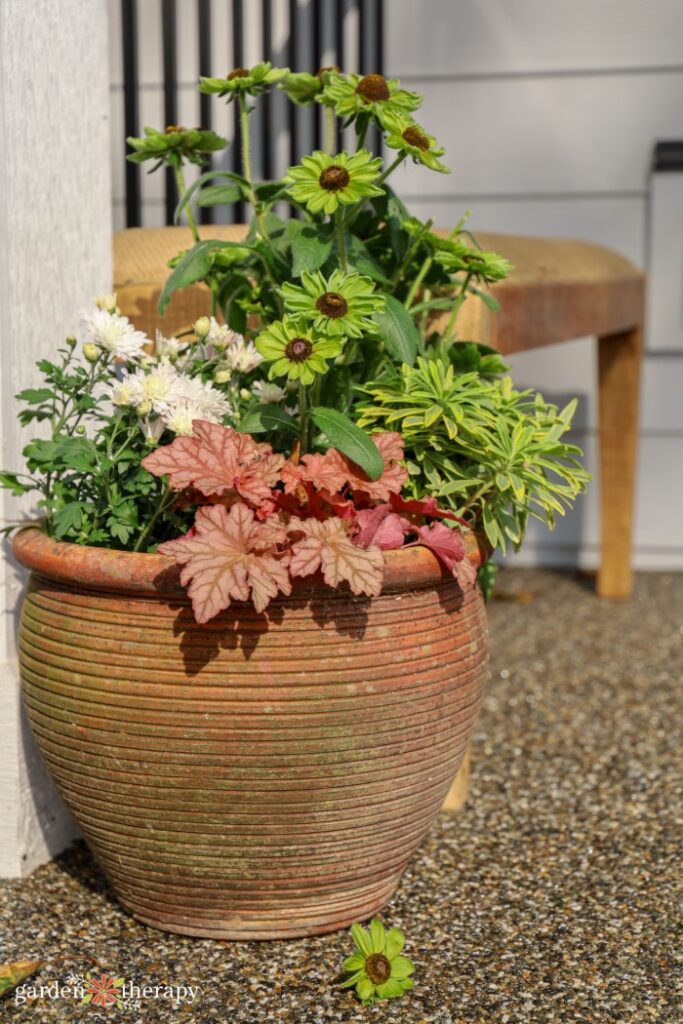
I needed some colour right away, so I’m happy that I can play double duty by planting spring bulbs and fall flowers in pots. In the planter below, I went with the white mums, Rudbeckia ‘August Forest’, Primo ‘Peachberry Ice, and Ascot ‘Rainbow Spurge’.
I also sprinkled some pansies and mums throughout the garden to give me some fall cheer. This really is the best way to get in the gardening mood again when the season feels like it’s slowing down. Once the flowers die, compost them and make way for the bulbs to emerge come spring.
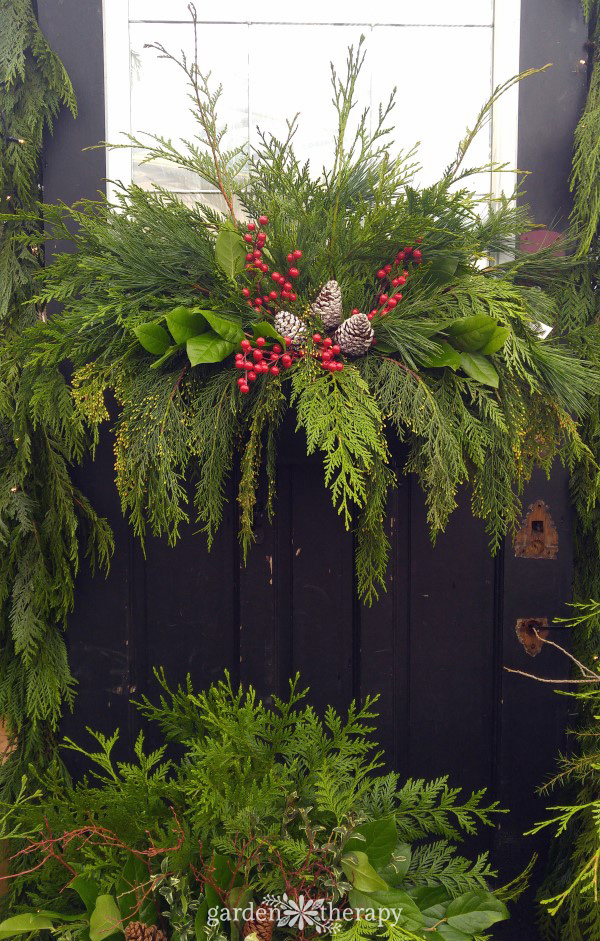
Holiday Greenery
You can also skip the live plants altogether and use the planter as the base for a gorgeous fresh, evergreen display that will take you through the holidays and into the new year.
Designing winter and holiday planters is less gardening and more floral design, as instead of planting roots, you will arrange cut branches from plants into the soil for a winter arrangement. The bulbs will stay tucked in the soil while you enjoy the decorations all winter. When spring arrives, simply remove and compost the branches before the bulbs emerge.
More Bulbs for Your Garden
- How to Plant Fall Bulbs for Long-Lasting Spring Colour
- Beyond Tulips: 12 Extraordinary Spring Flowering Bulbs to Plant in Fall
- Plant Summer Flowering Bulbs in the Spring for an Outstanding Display This Year
- Bring on Spring! How to Force Spring Bulbs Indoors
- Hardy Fall Bulbs to Plant For Long-Lasting Spring Color
- Protect Your Garden from Vampires: How to Grow Garlic
A city girl who learned to garden and it changed everything. Author, artist, Master Gardener. Better living through plants.


I love the ideas for what to do while you wait for the spring. I’d like to make this as a project for a 5th grade group. I’m on a tight budget, so do you know what the smallest size pot I can use?
plant small bulbs like crocus and muscari and you can use a smaller 6″ pot
As the bulbs bloom and die, may I cut the spent fliers and greenery so pit doesn’t look shabby as the next layer of flowers bloom?
yes. or wind the stems and leaves into little knots at the sol level. It looks neat too and decomposes in the soil.
hello, what growing zone are you in? I live in zone 6b and would like to do the spring blues in a container but wouldn’t they freeze in the winter temperatures?