Summer may be the season for gardening but it’s also time for fun vacations. Just because you’re going away to enjoy some time in the sun doesn’t mean your plants at home need to go neglected. These outdoor self-watering planters create reservoirs in pots to help reduce the need to water and keep your plants in check while you’re away.
Summer is really the time of year I like to take it easy. I’ll book a campsite, pack up my camper van, pick up the kiddo from camp, and head out to the woods all within a few hours. Spontaneous trips really are the best!
I’ve set up my garden to be completely self-reliant. Without me, it will continue to thrive in all conditions, requiring no watering on my part. This is great as I can leave without worrying about my plants baking in the summer heat and don’t need to find someone to take care of them every time.
But when it comes to my container plants, it’s a whole other story. I always have some containers on my patio for herbs, edible flowers, and a few annuals to perk up the space. Without me, they most surely will wither away while I’m out living my spontaneous life in the woods for the weekend.
That’s where these self-watering outdoor planters come in handy. They work to keep plants watered while I’m away or too busy to remember to grab the watering can. A few minutes at the beginning of the season setting up these DIY self-watering planters will surely save you from stressing about watering this summer!
This post will cover…
- What is a Self-Watering Planter?
- Prevent a Breeding Ground for Mosquitoes
- How to Use a Self-Watering Planter
- DIY Self-Watering Planters
- Materials
- Make It!
- More About Watering
This project comes from my book, The Regenerative Garden! Part of the water chapter, it’s one of many projects that focuses on collecting water and using it efficiently. Amongst the other chapters, learn more about growing from the ground up and creating a harmonious garden that is completely self-reliant. The Regenerative Garden is available at all major retailers now.
What is a Self-Watering Planter?
A self-watering planter has a reservoir to hold excess water below the soil. Plant roots reach below to wick up water into the soil as it becomes dry. Some self-watering planters are double-walled and hold a reservoir of water between the walls. This adds extra insulation to the planter and means the container can hold a whole lot of water.
Some plants need excellent drainage and will become stressed with consistently wet soil. Plants such as succulents could dislike the moisture in a self-watering outdoor planter. They would be much happier if the soil were allowed to dry out between watering.
Research a plant’s individual needs before planting it and choose the right plants for self-watering planters. Anything that doesn’t like wet feet is not a good match for these planters!
Prevent a Breeding Ground for Mosquitoes
DIY Self-watering planters are a great way to reduce watering container plants. However, if self-watering planters are used improperly, they can also cause problems by providing a home for breeding mosquitoes, fungus, and root diseases.
The drainage holes on some pots are sneaky places for mosquitoes to reproduce. They can lay eggs in just a teaspoon of water. This makes the reservoir an ideal breeding ground for the suckers. To prevent this from happening, flush the water every few days to a week. You can also plug the hole with a metal or plastic pot scrubber so they can’t fly in, but water can still get out.
How to Use a Self-Watering Planter
I like to use my DIY self-watering planters as a backup. It allows me to not need to water as often. When it’s really hot out, I’m not there every day or even twice a day watering these plants.
Continue to water your plant (albeit less often) and water will also go to the reservoir to extend the amount of time between waterings. I personally like to use recycled water to fill the reservoirs.
Self-watering outdoor planters are best used to extend the time between waterings as opposed to keeping the soil constantly wet. Dry soil will draw up moisture and hold it so that it never dries out. This system can be too efficient and cause soil to be oversaturated. It’s best to let the reservoir dry out so that the soil drains between watering.
DIY Self-Watering Planters
If you live somewhere with hot summers, plan to go away for a few days, or simply want to water less often, this self-watering planter DIY is an easy fix that really works.
Materials
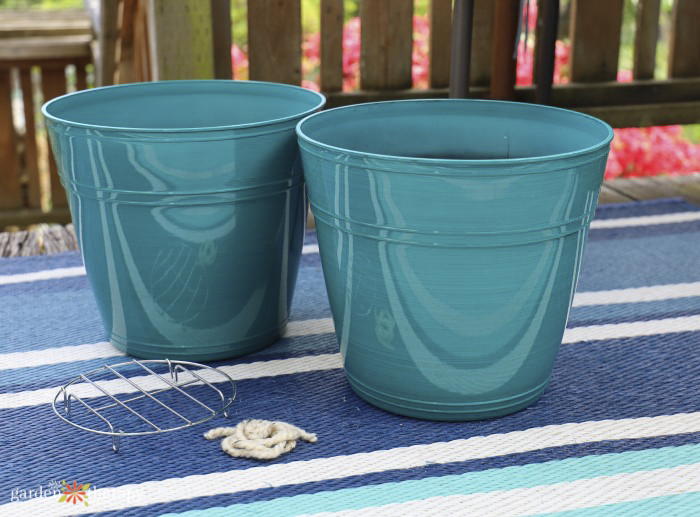
- Two similar-sized garden pots that are stackable; at least one of the pots will have no drainage holes
- Electric drill
- Wood blocks, bricks, or other risers (may not be needed)
- Thick cotton string
Make It!
Acquire two pots to make a self-watering planter. Use sealed ceramic or plastic pots or other containers such as storage bins or 5-gallon (19-litre) buckets.
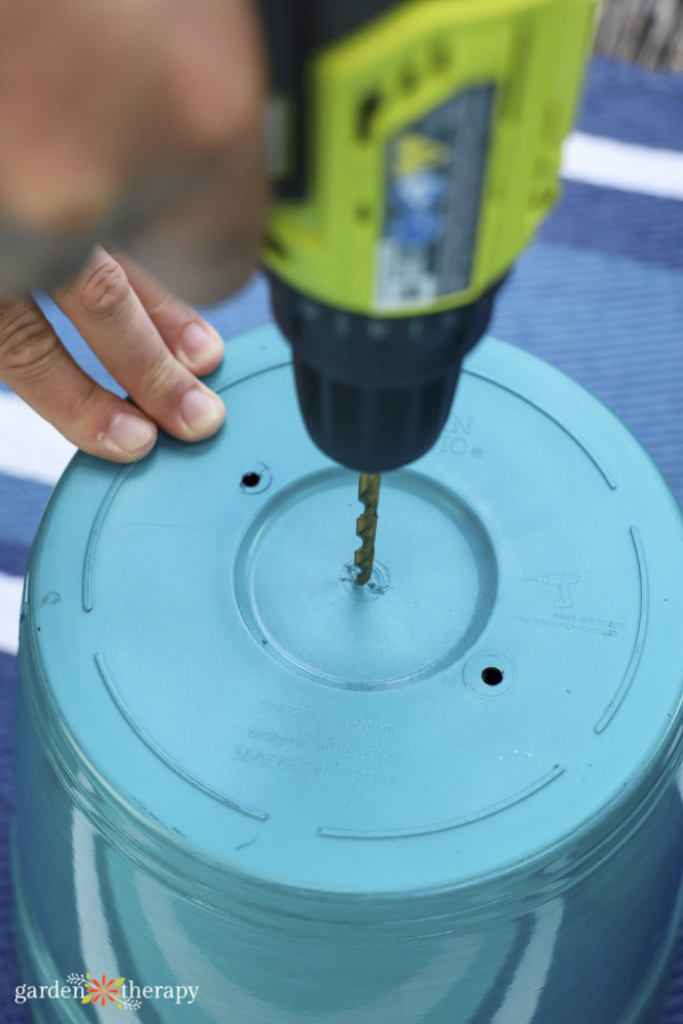
One pot should have no drainage holes; the other needs drainage holes which can be added by drilling holes in the bottom of the container.
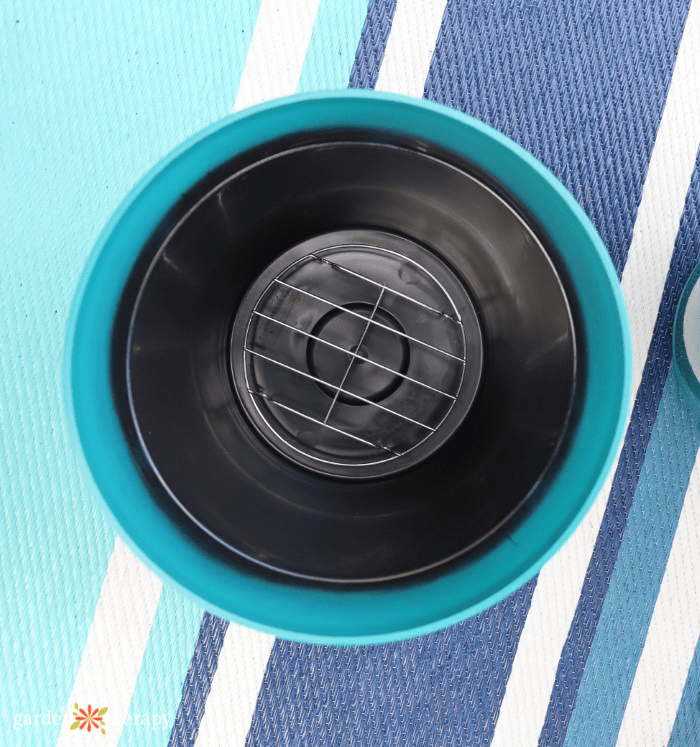
Stack the pots so that the inside pot (the one with the drainage holes) sits a few inches above the bottom of the outside pot (the one without drainage holes) to create a water reservoir. If the pots are too close together, use a wire trivet, a brick, or some wood blocks as risers to elevate the inner pot.
For outdoor pots, create an overflow hole in the outer pot just below the level where the inner pot’s bottom sits. This allows excess water to escape so that the soil doesn’t become soggy.
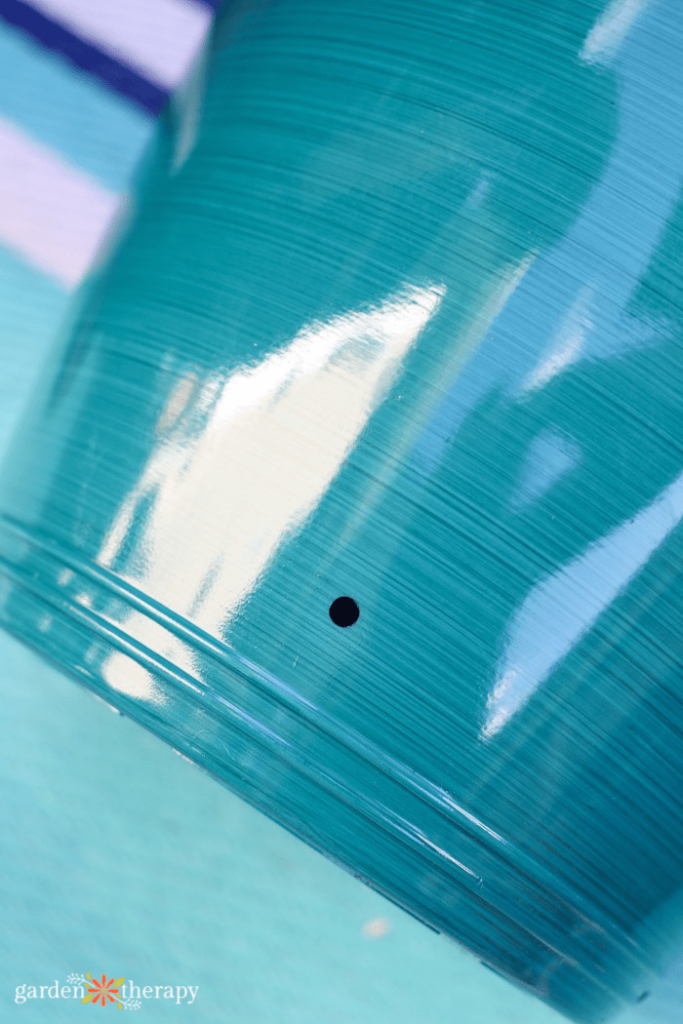
For smaller pots and indoor pots, simply check the pot after watering and empty the excess water so that the reservoir is no more than ¾ full.
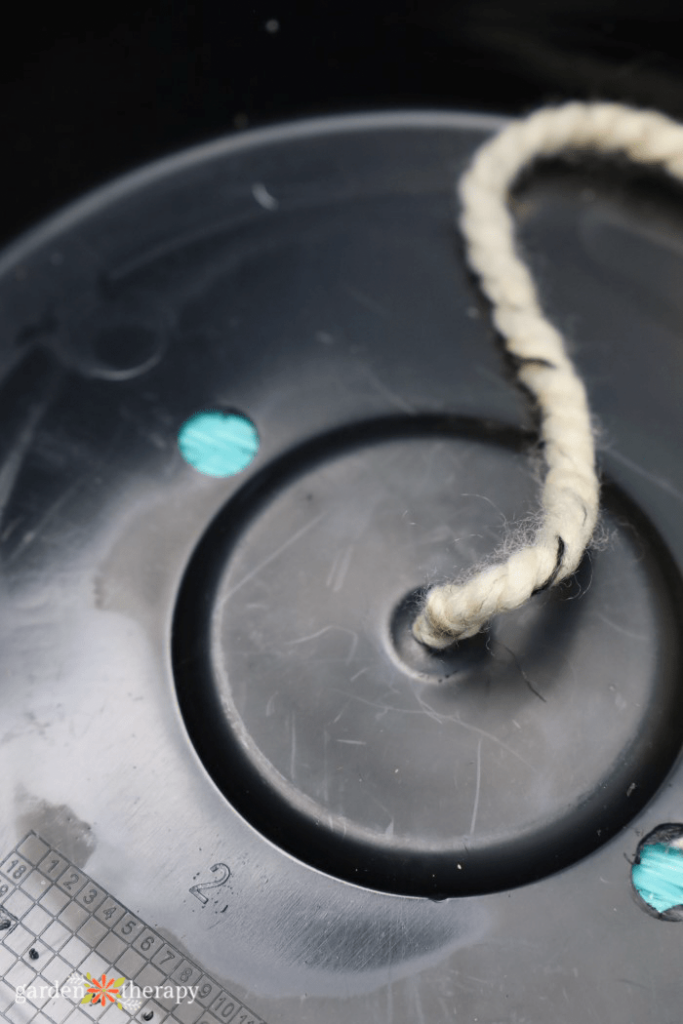
There is no need to add a cotton string for wicking up the water in plants with deep roots; the plant’s roots will grow down and draw up the water. With shorter-rooted plants, though, add a cotton string as a wick into the soil by cutting a length of string that will sit in the reservoir and 2 inches (5 cm) into the soil. Tie a knot 2 inches (5 cm) from the top of the string and thread it through one of the drainage holes so that the longer end of the unknotted string sits in the reservoir.
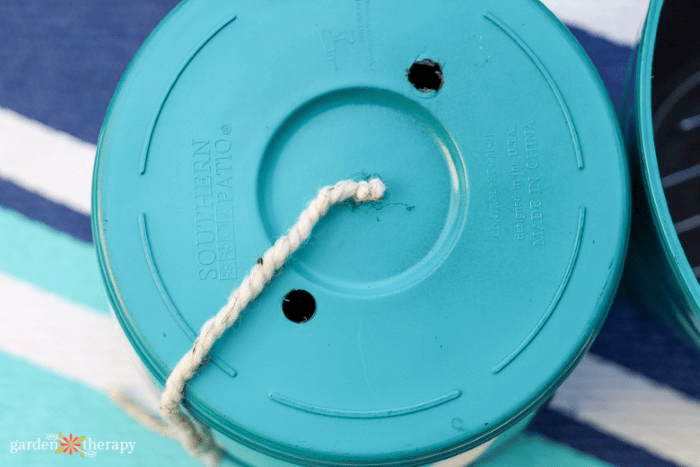
Add potting soil mix and plant as you would normally pot up a container.
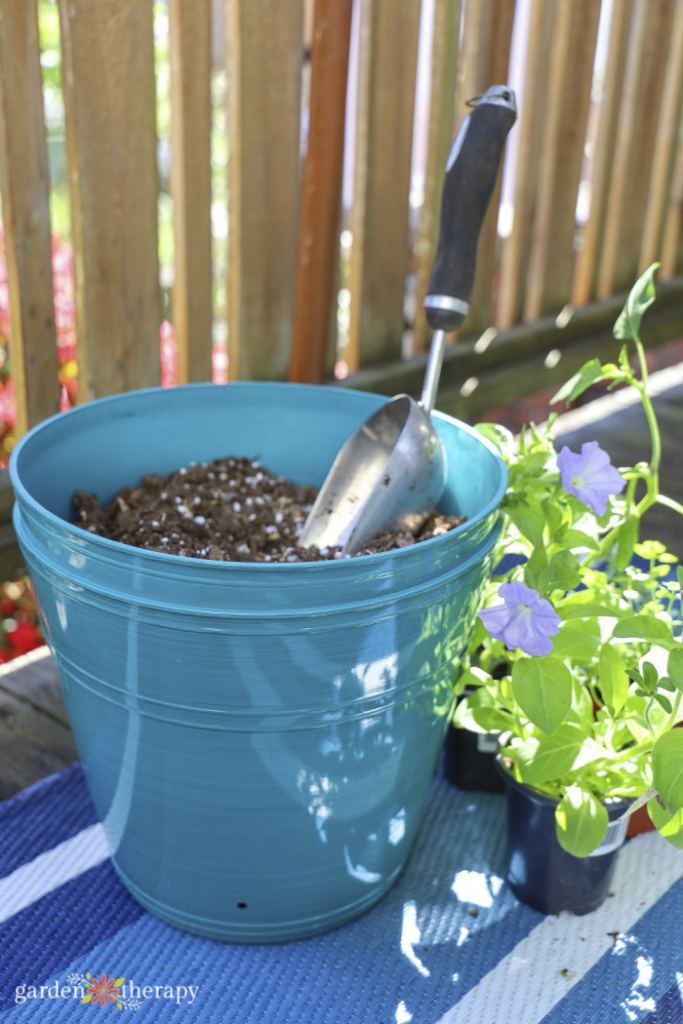
There you have it, an easy, low-stress way to keep your container garden thriving while you’re enjoying time away.

