Ok, all you jute twine lovers (yes, jute twine has quite the following from gardeners and the crafty crowds): you loved the twine in a jar project but some of you said, “that glass jar would break in my garden!” Well, I still love my mason jar twine dispenser (I have it on my desk right now!) but for those of you who wanted another option, voila! Twine in a can!
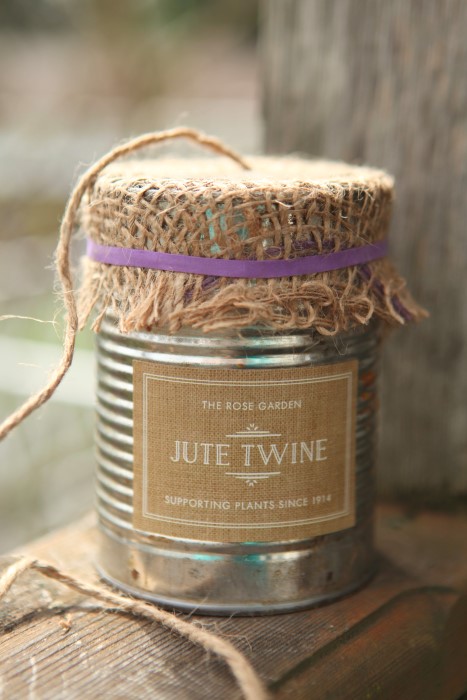 Certainly this isn’t the most complex project we have ever published here on garden therapy. But does everything have to be challenging? Can’t we just make soup then use the can to store our twine? I say, “yes!”
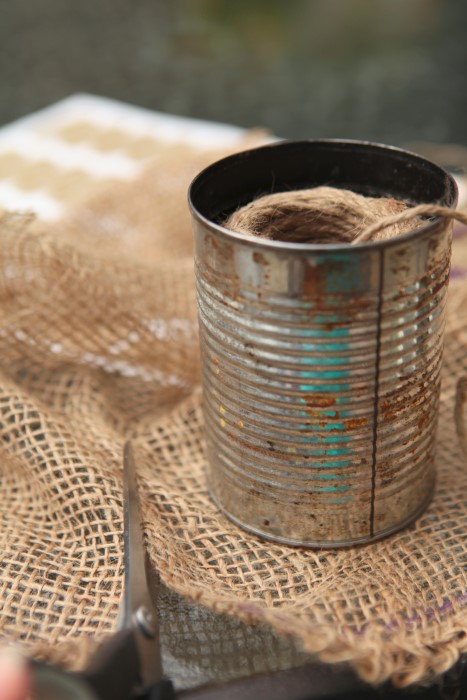
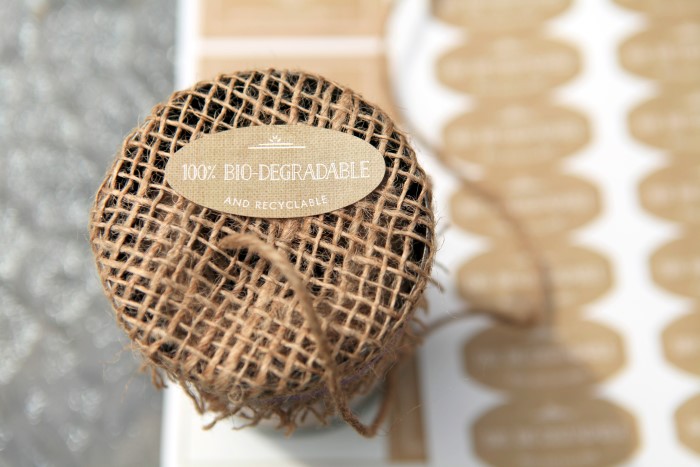 I have seen rusty cans of twine selling for $15-$20 and all I can think is, “I can SO make that.” And I was right. The project that took all of 10 minutes. Start with a rusty can, a ball of jute twine, some burlap, scissors, a rubber band, and labels.
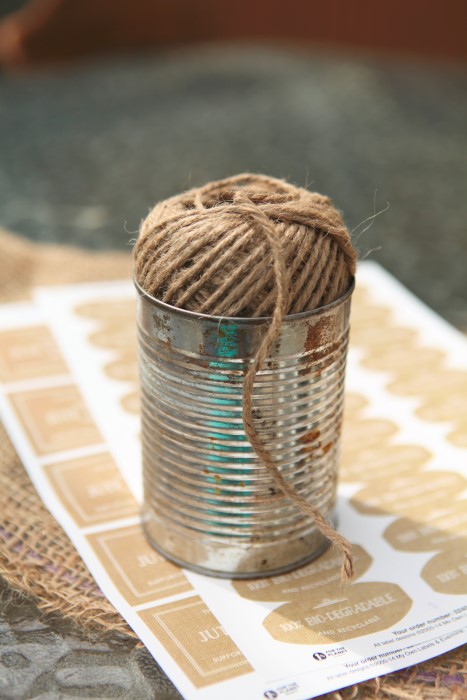
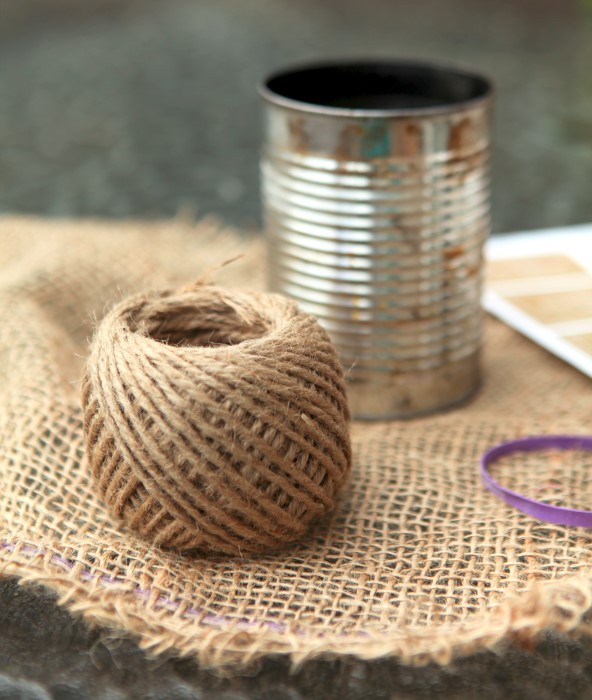 Unwind the outer part of the twine until the ball fits snugly in the can. Now find the end of the twine on the INSIDE of the ball. Pull that until you have a few inches to work with and push the twine ball down into the can.
 Cut a circle of burlap and feed the end of the twine through a hole in the weave.
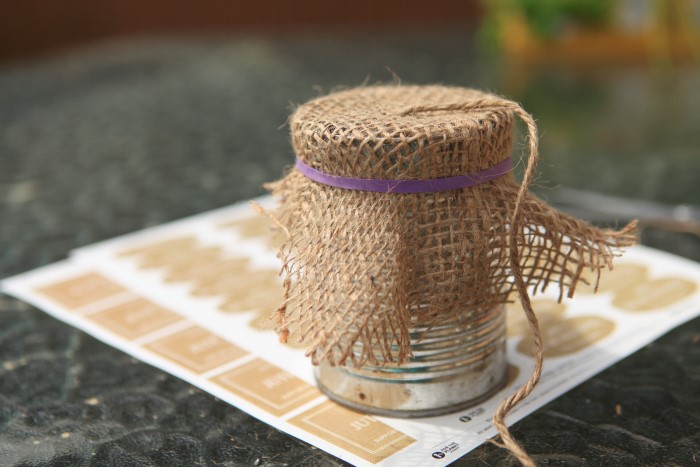
 Stretch the burlap over the can and secure in place with a rubber band. Trim the burlap and add your labels.
“But”, you say, “my can isn’t rusty?!” Never fear, crafty one. Just leave it out in the rain for a few weeks and it will rust. If you can’t wait, grab a rust faux finish at the craft store and you will have the look in just an hour. Or go the other direction and spray paint the can in a bold color. Couldn’t you just see a neon pink twine jar gracing the shelves of one of these shops? This post was adapted from my blog over at Evermine where you can also get these snazzy labels!


