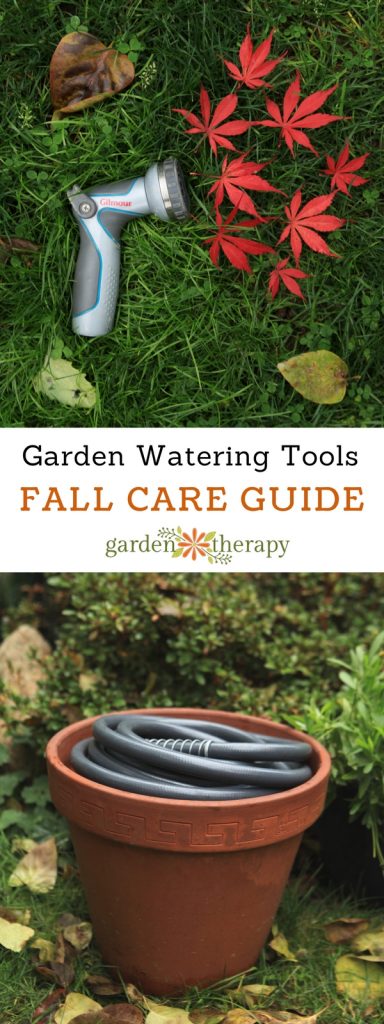
Fall is a great time to inspect and repair watering tools no matter what climate you live in. If it becomes a habit to regularly maintain the tools before the cold of winter comes, you will be sure to start off the next season on the right foot. Before the first frost, have a look at your faucets, hoses, nozzles, and sprinklers. This fall garden watering tools guide will share the best ways to clean, repair, and store them for the winter.
Garden Watering Tools Care Guide
If you live in a warm climate, lucky you! You will likely still need your tools throughout the year, and in that case, fall is still a great time to maintain your watering tools.
Disclosure: this post has been sponsored by Gilmour who also provided me with the Flexogen® Super Duty Hose, Heavy Duty Thumb Control Watering Nozzle, and Medium Duty Pattern Master® Circular Sprinkler. All opinions within the post remain my own.
Garden Hose Maintenance and Winter Storage
Winter temperatures can freeze water, causing it to expand and rupture the hose. Fall maintenance involves draining the hose and storing it indoors in a garden shed or garage over winter. A fool-proof way to drain your hose is to uncoil its entire length; have a partner hold one end of the hose on the ground while you raise the other end, keeping it taut. Gravity will do the rest.
When the hose is drained, check the length for any damage. First, check along the length of the hose for any tears or holes that will spring leaks. Depending on the damage, there are a variety of ways to make repairs.
- Small holes – Clean and dry the area around the hole and then use self-fusing silicone repair tape for a durable watertight seal. To use the tape properly, firmly press tape on the hose about 1”-2” from the hole. While holding the tape in place, stretch the tape while wrapping the hose with a 2/3 overlap ensuring a proper seal. Wrap the tape until you reach 1”-2” beyond the other side of the hole. Test the repair by placing a nozzle on the hose and slowly turn on the water.
- Kinks and large tears – Replace the damaged part with a compression mender or clamp mender. To do this, cut away the damaged part of the hose leaving the ends square and smooth. Remove the compression collars or loosen the clamp screws. Fully insert the cut end of each hose section into the mender. (Tip: if the hose is too rigid to insert, soak the cut ends in hot water for a minute or two until they are pliable and then coat them with soap). Twist on the compression collars or tighten the clamp screws. Test the connection by placing a nozzle on the hose and slowly turn on the water.
Next, have a look at the hose coupling—the connector on the ends of the hose that allows you to connect (or couple) it with another hose, a faucet, or a sprinkler. The coupling can wear away over time and if you notice that the coupling is crushed or the threads are dented, then you are best to replace the coupling with a (male or female) compression coupling or clamp coupling. Similar to mending the hose, remove the damaged coupling by cutting the end of the hose square and smooth and then attach the replacement male or female coupling.
Finally, check that the hose washer or seal–the rubber ring inside the coupling—is still pliable and fits snugly. Washers are easily replaced at the hardware store and one of the fastest ways to fix a leaky coupling.
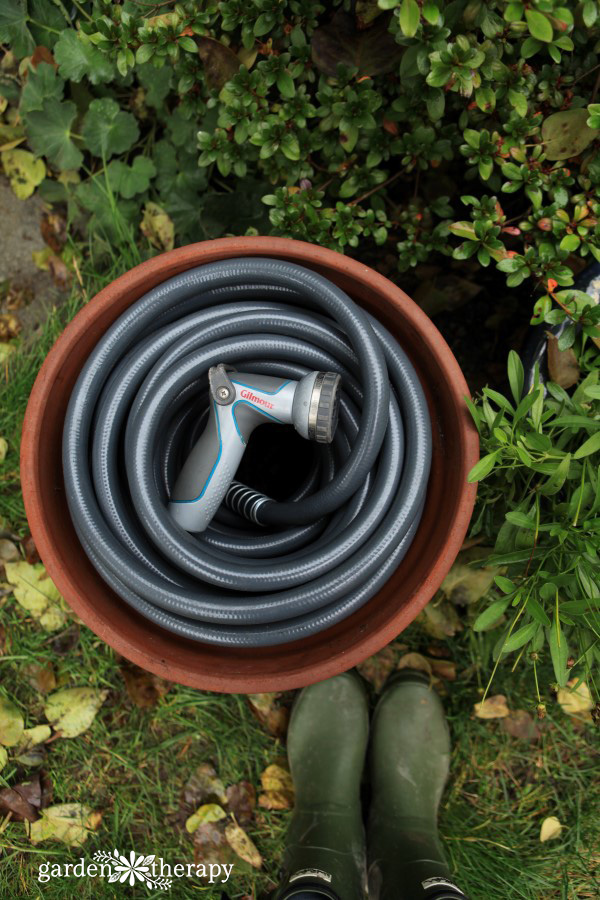
Once you are confident the hose is sound, coil it up evenly (to prevent kinks) and then store it indoors for the winter.
Outdoor Faucet Maintenance and Winter Prep
You may have heard the horror stories of friends and neighbors getting home from work in the winter to a flooded basement. This can happen if water running to an exterior faucet causes a plumbing pipe to burst, dumping hundreds of gallons of water inside the house. To prevent this from happening, find the shut-off valves for each exterior faucet, turn them off, and then go outside and open the faucets to have the remaining water drain out. Tip: the shutoff valves are usually located inside your home.
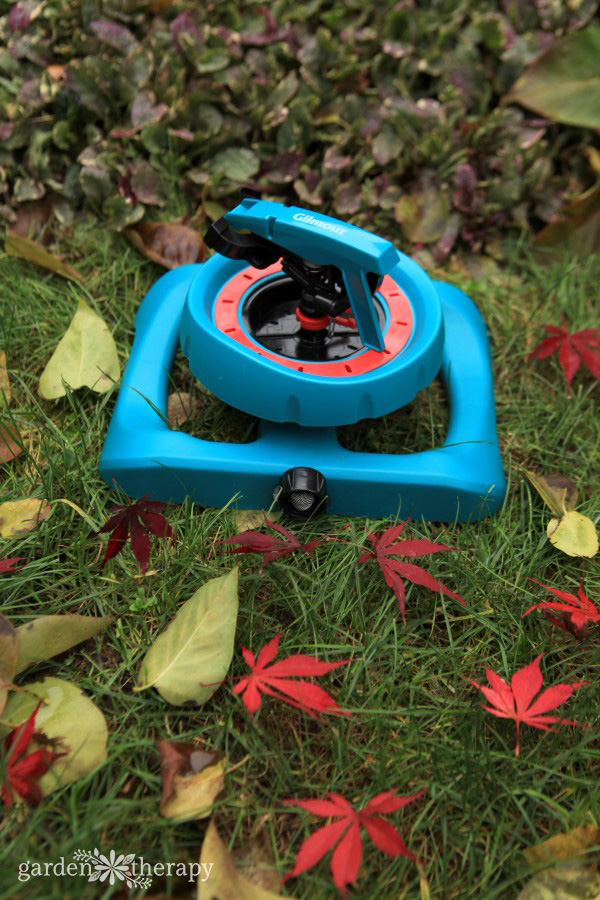
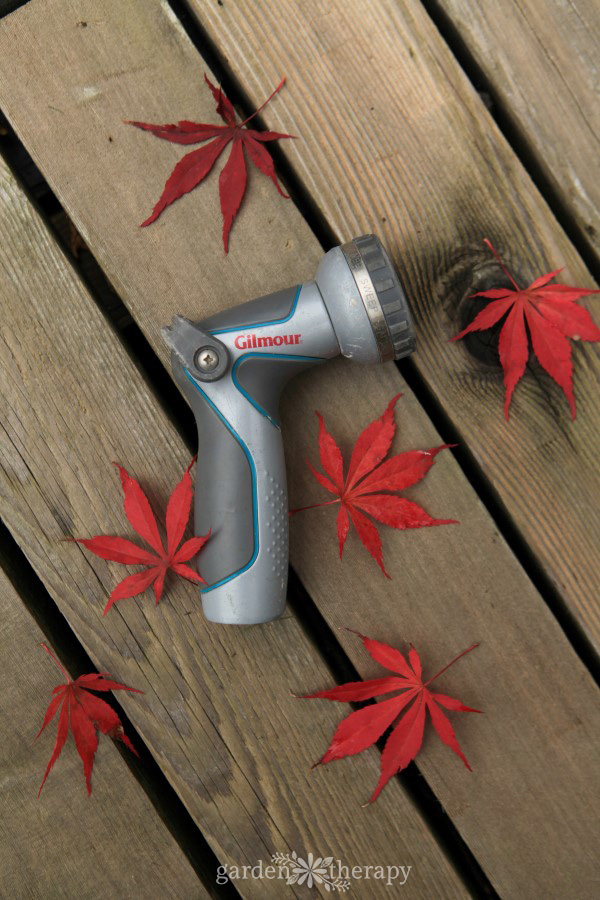
Garden Spinklers and Nozzels
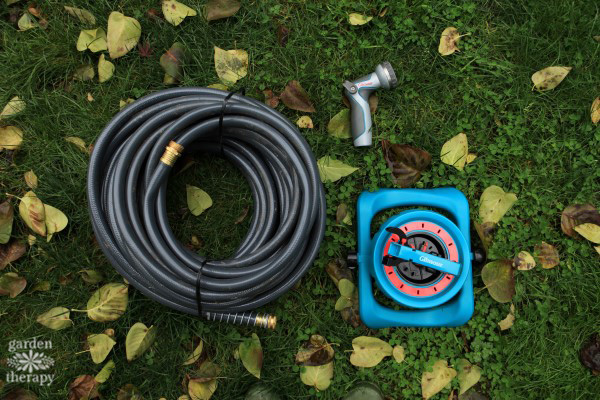
The last step is to inspect and clean the hose appliances such as nozzles and sprinklers.
Start by rinsing the tools with water to remove most of the dirt. Remove the washers from the couplers, fill a bucket full of warm water and biodegradable dish detergent and let the tools soak for about 30 minutes. Use a bristled brush or old toothbrush to vigorously scrub out any dirt and grime from all the nooks and crannies. Rinse and dry your tools, insert the washers back into the couplers, and store them.
You may also like these posts:
- The Home Gardener’s Guide to Shovels and Spades
- How to Care for Pruners
- 10 Genius Gardening Tools that Will Change the Way You Garden Forever
A city girl who learned to garden and it changed everything. Author, artist, Master Gardener. Better living through plants.