I’m pleasantly surprised at what a little gold paint can do to transform a plain, old flowerpot. My new “gilty” pleasure is to gilt everything in sight, because the results are so brilliant in such a short period of time. With a bit of experimentation and some different textured pots, I think these gold-painted flowerpots are the most expensive-looking transformation I have done!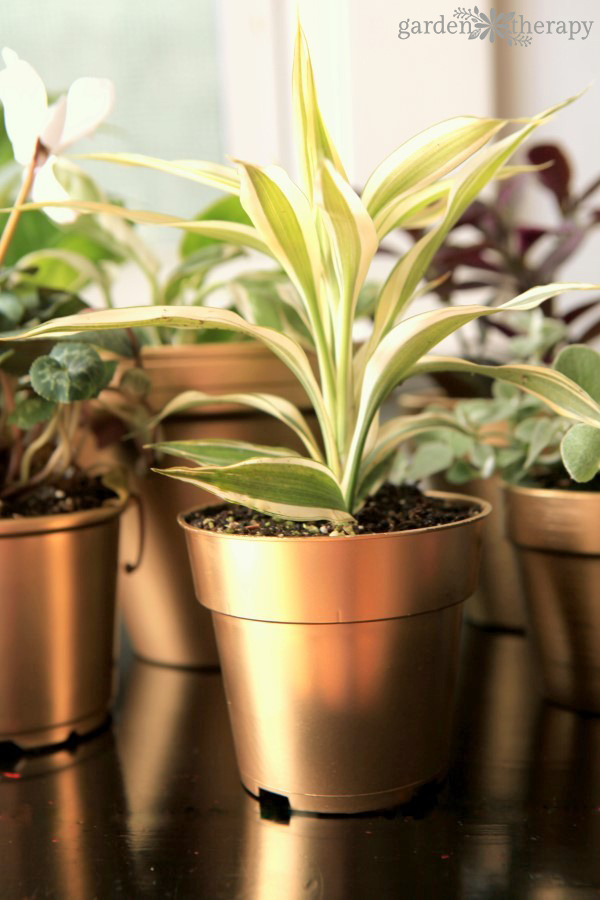
The cap of the can of gold spray-paint has a mirror-like finish and I thought if I could get that kind of shine, it would put the humble terracotta flowerpot on a whole new level. I wasn’t hopeful about the results, knowing full well that terracotta’s porous clay and buffed texture would be pretty hard to get a glassy shine on. The results, however, were beautiful.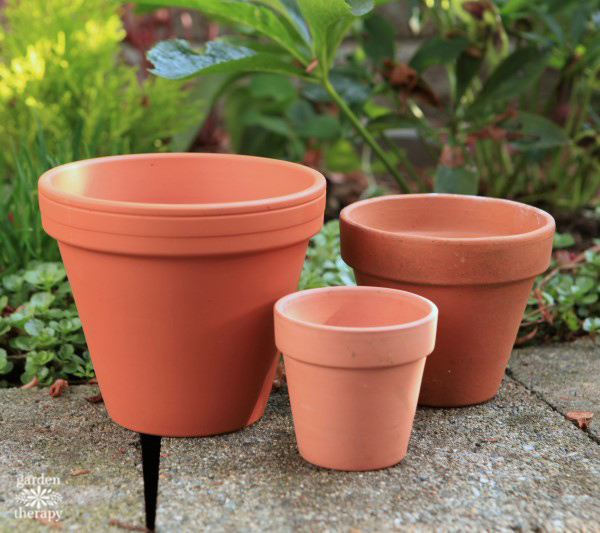
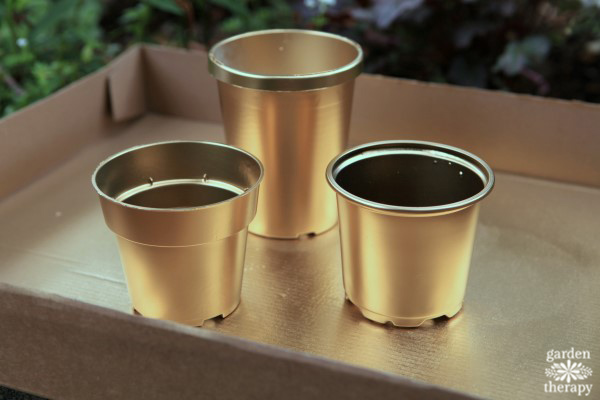
I used three different pots to test the final look.
1. a brand new pot with no texture
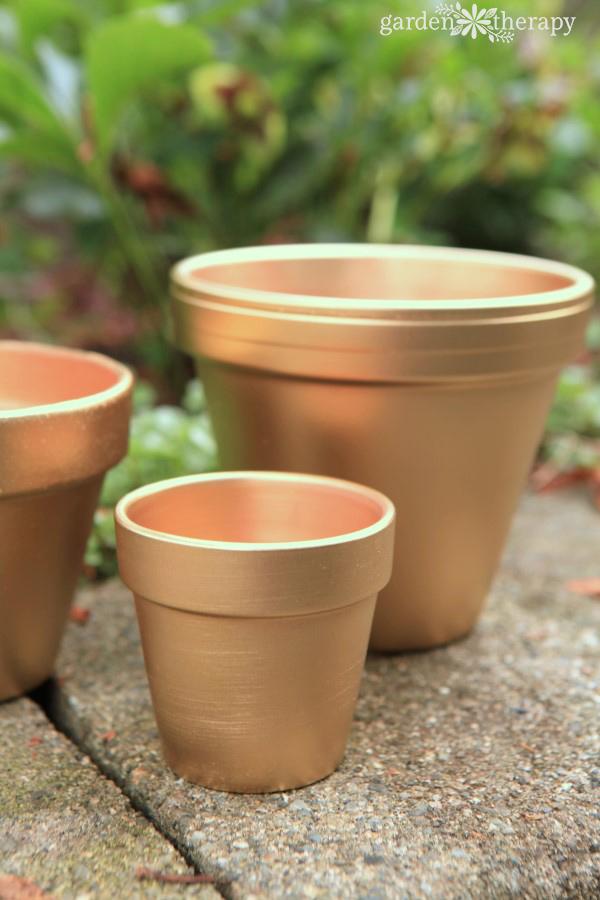 2. a pot with a slight brushed texture
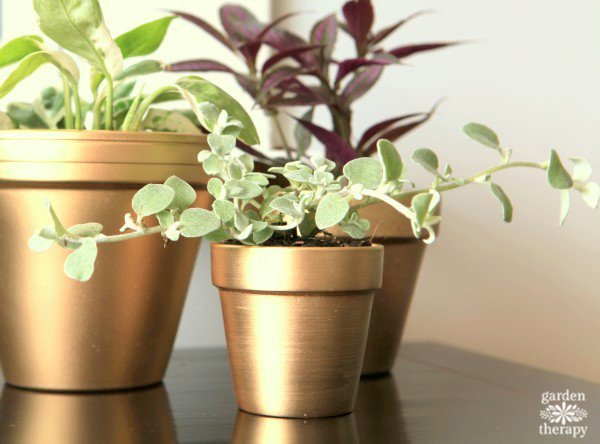
3. an older pot that had some weathering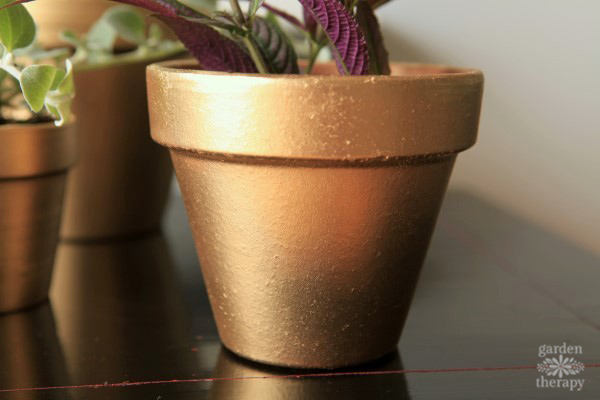
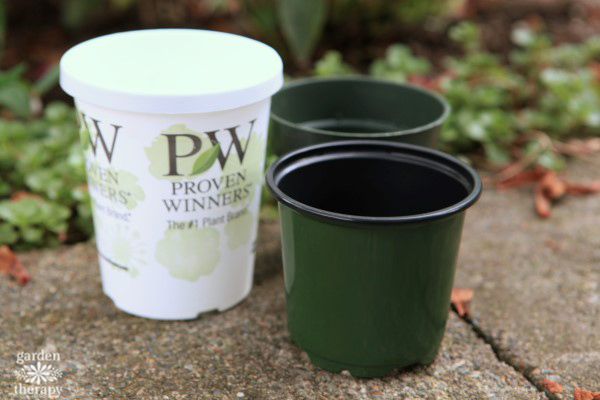
After I tested the terracotta, I decided to give some plastic nursery pots a shot of paint to see how they would turn out. Now here is where the magic really happened.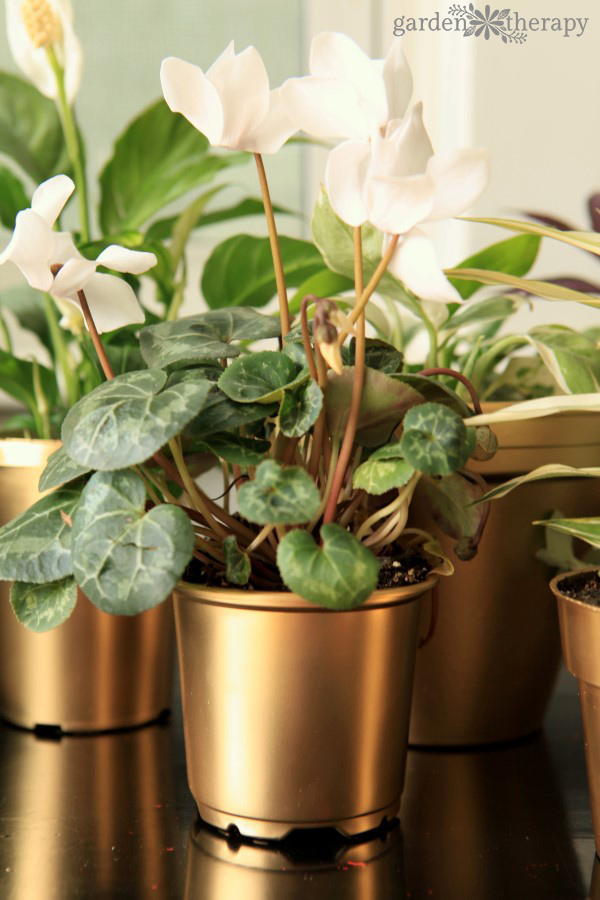
These plastic pots that cost nothing would normally get tossed in the recycling bin after the plants made their way into the garden. However, with a coat of gold paint, these pots look 24-karat beautiful! And the shine. Oh, the shine. Using these plastic pots gives them that mirror-like shine that makes them look top-shelf.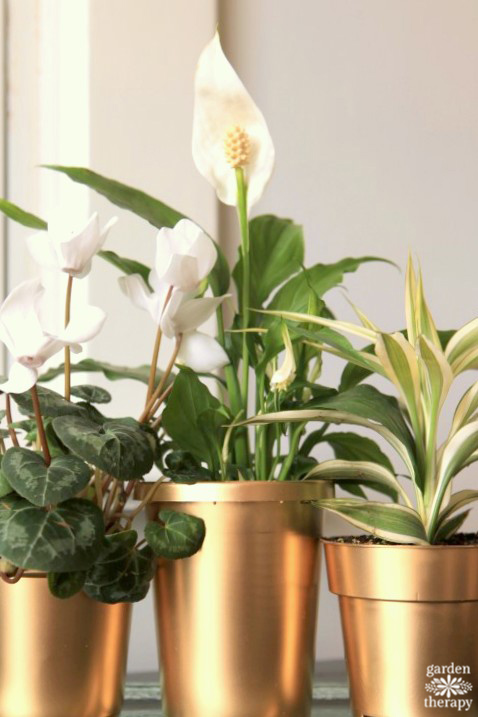
Ready to make your own?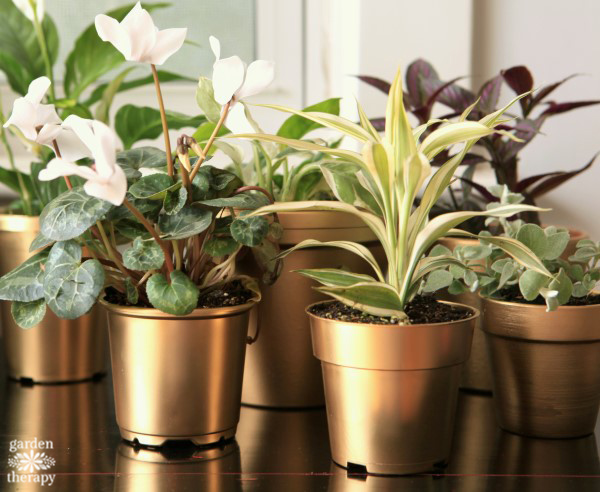
Here’s how to do it:
Materials
- Flowerpot – terracotta or plastic, as described above
- Cardboard box or dropcloth
- Safety equipment: safety glasses, dust mask, gloves
- Rust-Oleum Metallic Spray, Gold, 11-Ounce
Make it!
- First thing’s first: scrub that pot. Don’t skip this step or take a shortcut. Get out the soap and warm water and give the pot a nice, thorough scrubbing. Rinse it well and allow it to dry completely. You will thank me later for making sure you got it nice and clean when you have a perfect finish on the final pot.

- Get your safety equipment: safety glasses, mask, gloves, and cardboard to protect the surface you are spraying the paint on. Set up the cardboard or drop cloth OUTSIDE in a well-ventilated area. I know, I know, I’m starting to sound like your mom now. Just use your common sense and remember, safety first! Plus the project is so easy that really it doesn’t need that much instruction. Other than to share some tips that should be useful to you to be successful on the very first try.
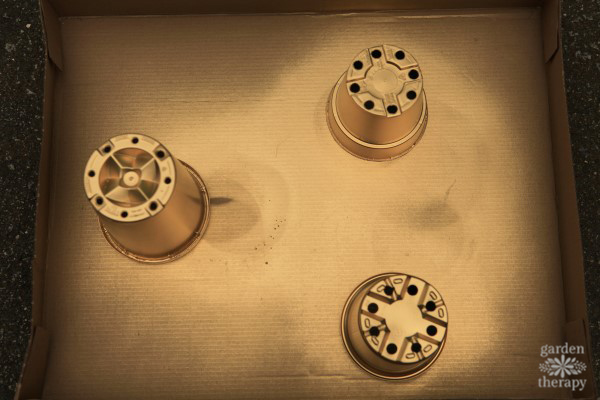
- Set the pots upside down on the cardboard.
- Shake the paint can for at least one minute and then often throughout spraying. On my first attempt I didn’t shake the can long enough and the paint separated, splattered, and dripped all over my hands. It was a mess! The second time I shook that can for a solid minute and then some, and the finish was perfect.
- Spray the pots evenly with a thin coat and let dry. Turn over and spray the tops and any parts you missed on the first go around. That’s it, one coat and you are ready to roll. I think mine took 10 minutes to dry. I left them for a few hours anyway, and then set in the plants.

- The instructions on the paint say it is for indoor use so I have used indoor plants. I think that the terracotta pots would do just fine outdoors though, and if the paint starts to fade a bit, it will just add to the look.

There you have it. Resplendent gold painted flowerpots without breaking the bank or your back!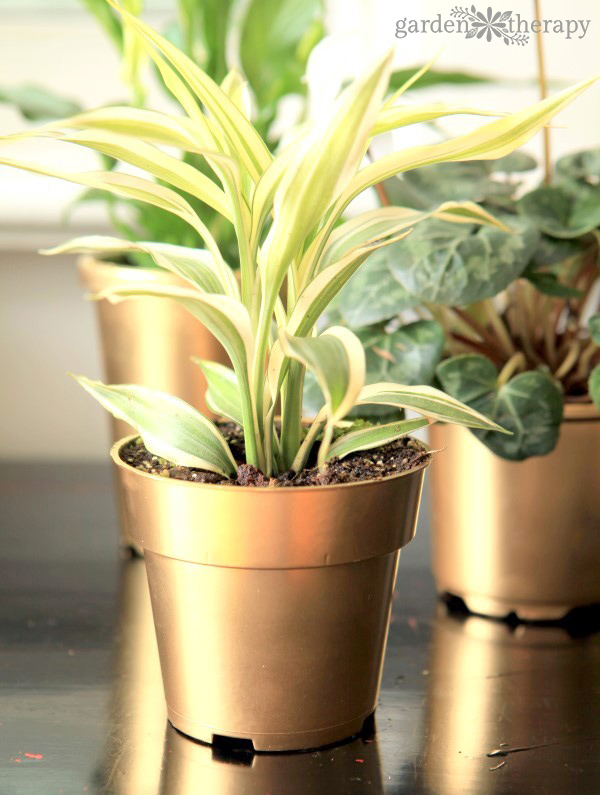



Hi Stephanie, What a great look – these gold pots would add classy glamour to any room! Well Done! Blessings, Janet
Thank you , Janet!
Give me a plant, I kill it. Why?
I’m not sure but there is plenty here to help you be successful! I hope your thumb turns green :)
What a great idea! Thanks for sharing at the #HomeMattersParty
Thanks, Stacey!
Yes! Gold pots for the win! Thanks for sharing at Merry Monday, hope to see you again next week!
Agreed! Thank you so much!
Just LOVE the gold! This is my Editor’s Pick for the upcoming Wonderful Wednesday Blog Hop! Congrats♥
Sinea
thank you so much!!