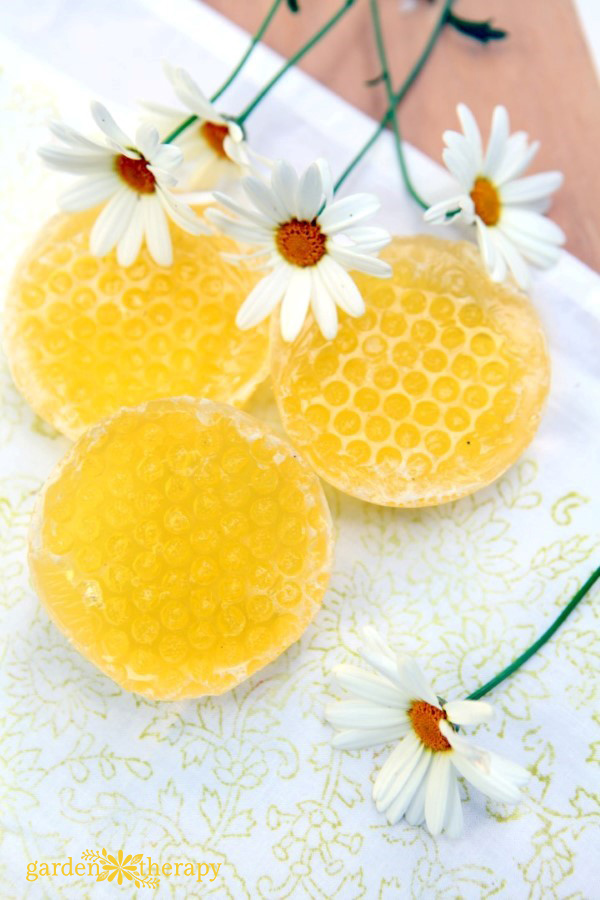
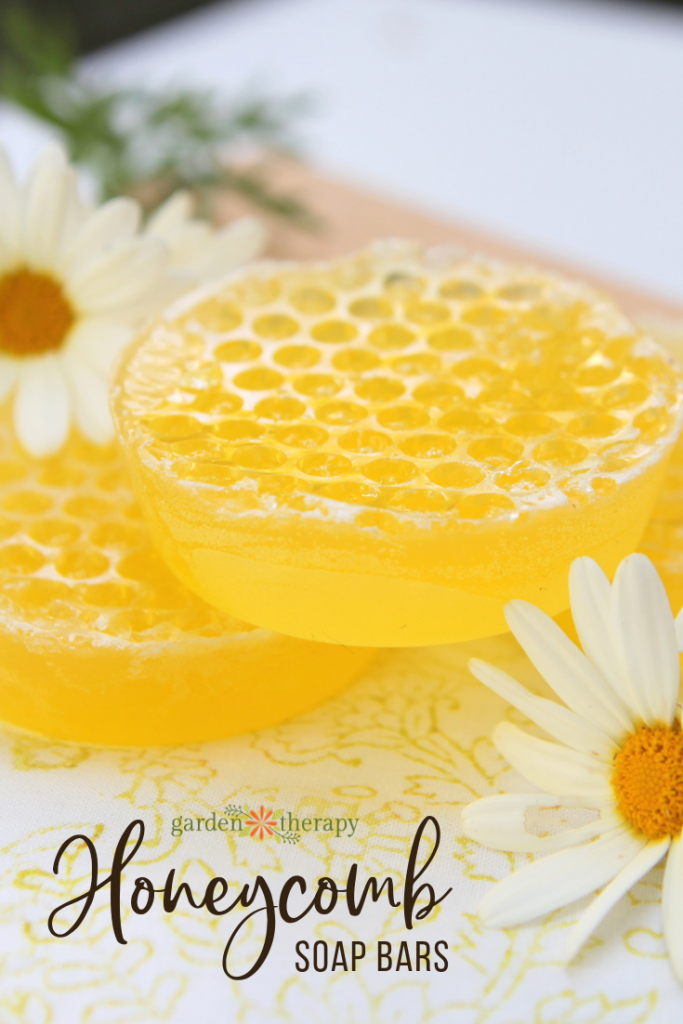
I’m just buzzing about this honey soap because it was easy to make and it comes with a bit of a secret. While the soap looks like a sticky block of honey straight from the honeycomb, it’s actually an aloe, cucumber, and carrot soap that I’ve mixed with manuka honey and scented with citrus. The trick to this attractive honey soap is how to get the honeycomb look without buying an expensive mold.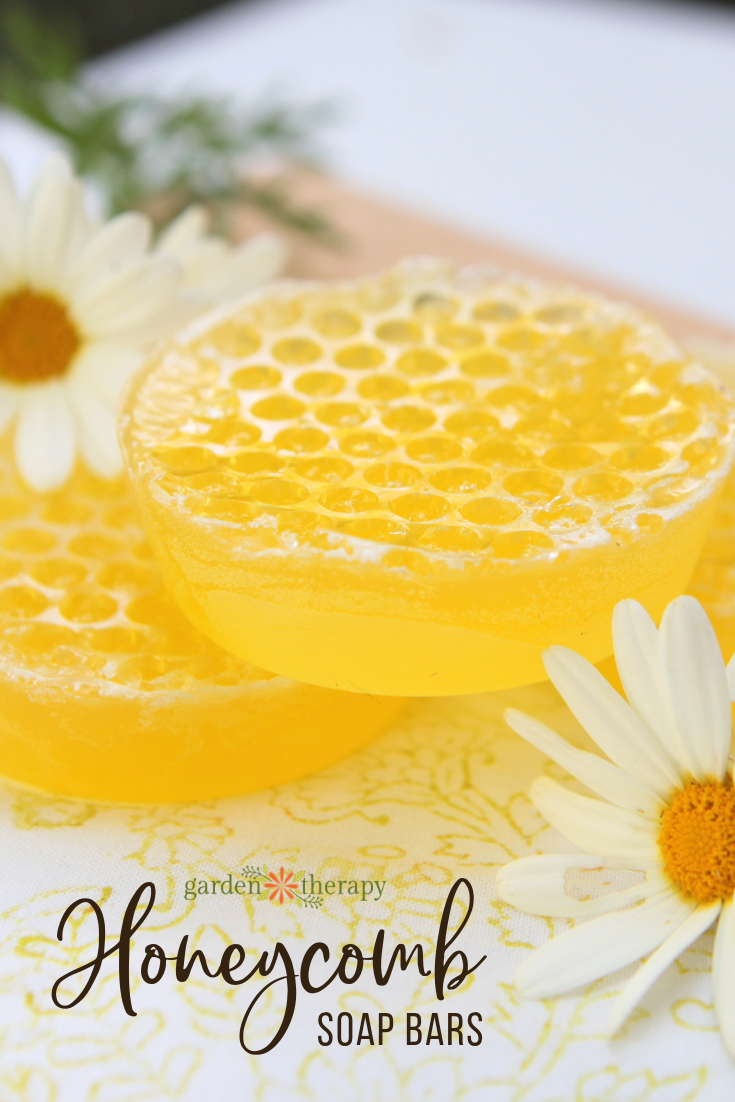
Homemade Honeycomb Soap
Materials
- 2 lbs aloe cucumber and carrot soap base
- 1 teaspoon Manuka honey
- 1/2 teaspoon sweet orange essential oil
- 4 cup Pyrex measuring cup
- Microwave or double boiler
- Silicone soap/cupcake mold
- Small-celled bubble wrap, cut into rounds or angular shapes
Make it!
The bubble wrap is what gives the soap its honeycomb look. I have seen some tutorials that suggest putting the bubble wrap in the bottom of the mold then pouring the soap on top, but this did not work for me. The bubble wrap floated into the center of the soap, so I removed it and tried again. This following method works beautifully for me each and every time!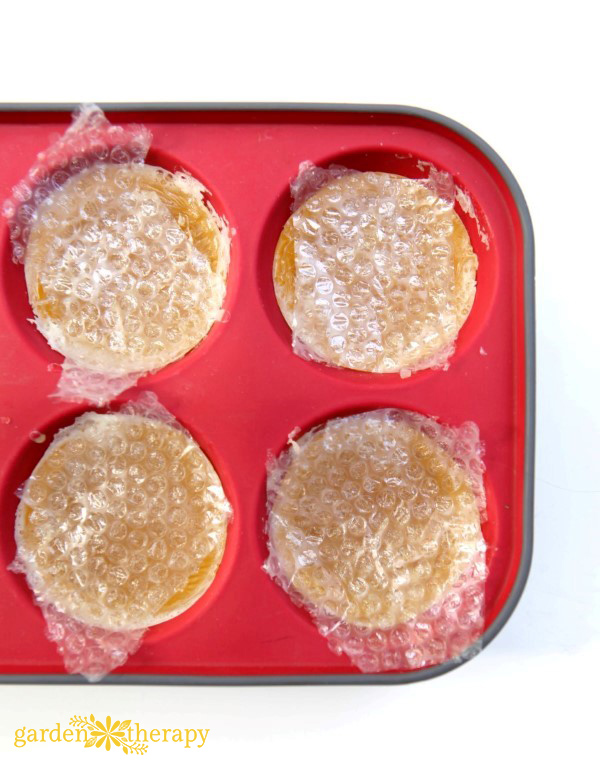
By pressing a piece of small-celled bubble wrap onto the top of the soap, the organic shape begins to take form. Cut the bubble wrap in rounds or geometric shapes that mostly fit into the molds, leaving a bit of extra plastic as a tab so you can easily grab and pull the bubble wrap off when the soap is dry. You will want to do this step first, as it will need to be done quickly when the soap is poured.
Cut up the soap base into 1-inch cubes and add them to the Pyrex measuring cup. Melt the soap base in a microwave or in a double boiler so that it is just melted. You want the soap base to melt but not cook. Remove the soap base from the microwave or off the double boiler before it starts to steam. There may be a few chunks left, but that is just fine. Those will melt if you keep stirring the soap base for a few minutes after removing it from the heat.
When your soap base is melted, add in the honey and essential oils to the soap mix. I like to add a bit of manuka honey to this soap for its antibacterial and healing properties and to add a delicate honey scent. The orange essential oil adds more sweet and bright scent that makes this soap deliciously decadent.
Pour the soap into the silicone mold and gently press a piece of bubble wrap on the top. 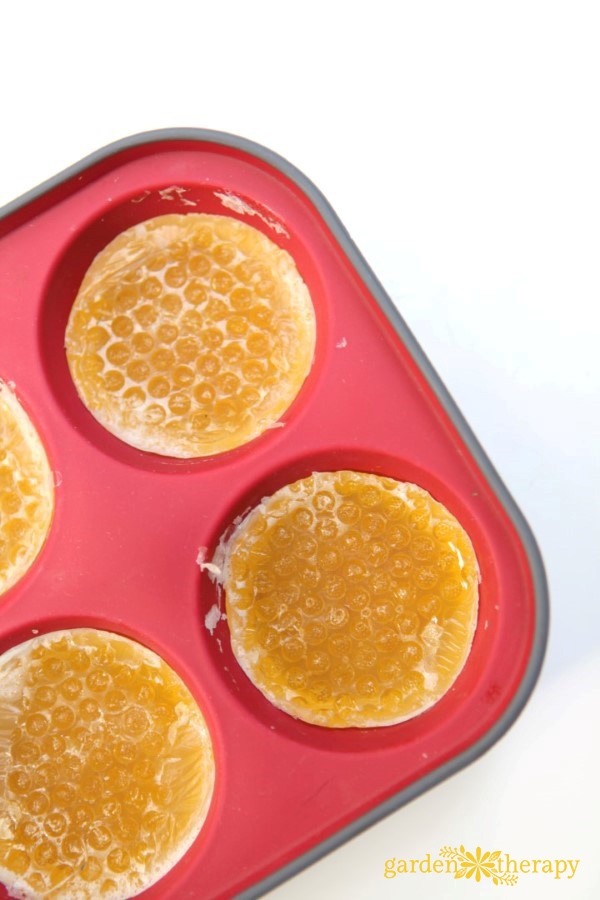
I like to use some geometric forms rather than rounds because I think it looks like broken off pieces of honeycomb. I like the organic, imperfect final product that it produces.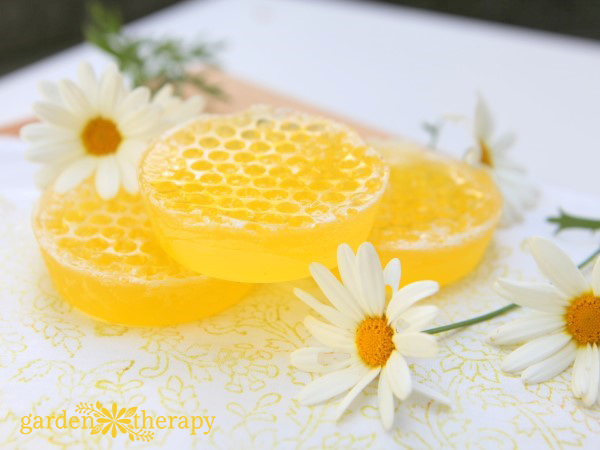
On a side note, the original post that was published here for Handmade Honey Soap was submitted as a guest post from an author and the publisher of a handmade soap book. I’m disappointed to say that the reviews of the book have been poor both online and for this recipe in particular. I have decided to remove the original post and recreate a recipe that can be successfully made by beginners and experienced soap-makers alike. I hope that you enjoy this project!
If you liked this melt and pour soap project you will LOVE my eBook, Good Clean Fun: THE Idea Book for Creative Melt and Pour Soap Projects. Get your copy instantly here.
Please visit this post on How to Make Cold-Process Soap or visit the Natural Skincare Series of posts for more ideas on how to make natural beauty projects at home.



Is there any side effects to skin by using the melt and pour soap base?
And will these soap lather as much as the regular soap?
Hi
Can you use a different soap base?
Thank you.
yes, use whichever you want for this technique.