DIY stepping stones are the perfect way to add charm and function to your garden. You might be surprised at just how easy it is to make your own stepping stones.
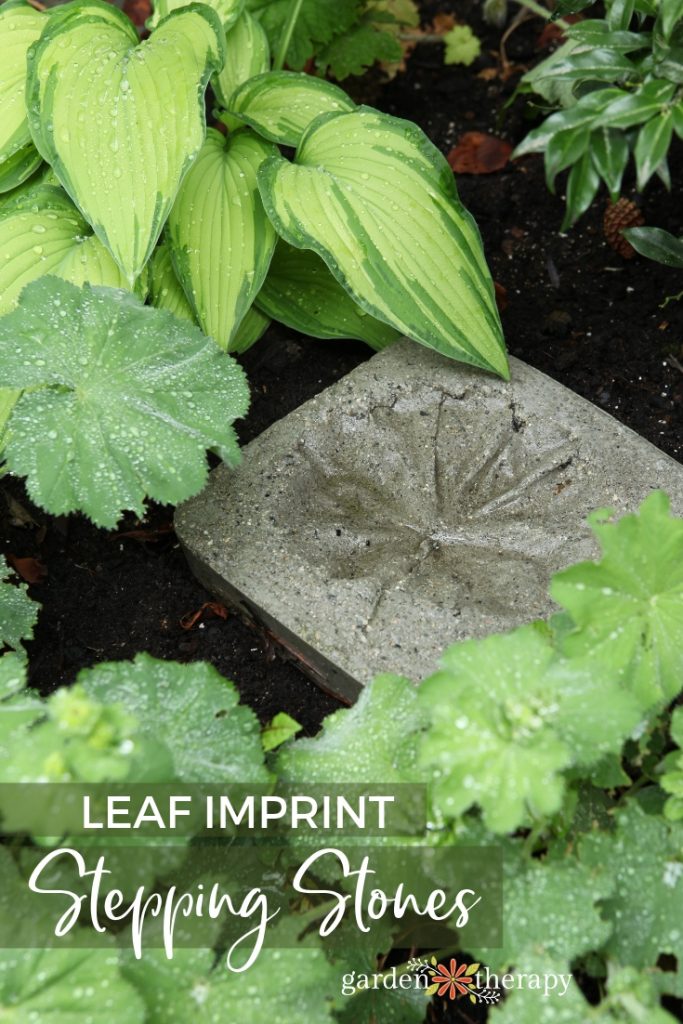
This Weekend Project is a decorative way to preserve the garden by capturing the beauty of leaves all year round as stepping stones. You don’t have to work hard for a whole weekend to do it, though! This is a simple project that is quick and fun to do, but the concrete needs some time to cure after the stones are poured.
These stepping stones are an economical way to make a personalized pathway that protects your garden, or simply add them here and there as a decorative feature.
Why Are Stepping Stones Important In A Garden?
As pretty as they are, let’s not ignore their practical importance: these concrete beauties allow a person to walk through their garden easily without worrying about hurting precious plants. You’ll be less likely to trip and crush a delicate plant if you are careful to walk only on the stepping stones.
Stepping stones are also laid to prevent the soil compaction that results from tromping through the garden beds. Walking directly on wet garden soil can destroy its structure, reducing the plant root’s ability to retrieve water and nutrients.
In short, they are both functional and beautiful. Your garden will look jazzier with a few beautiful stepping stones laid around it.
Unless your garden is all within arm’s length, stepping stones are a functional way to reduce the stress on soil structure, and they are pretty darn, well, pretty!
How To Make Garden Stepping Stones
This tutorial is pretty straightforward and simple. In fact, it’s so easy that you can even encourage your kids or friends to join in too.
The most challenging part of this whole thing is that you’ll have to be patient. This isn’t exactly instant gratification as the leaves have to sit in the concrete for 24 hours before you can remove them and see your imprint.
Also, keep in mind that mixing up the concrete is a messy job. Yes, kiddos can help out with this craft, but this part should be done by an adult.
Other than that, it’s a really easy craft that looks stunning when it’s done.
Materials
You can find all the supplies you need to make your own stepping stones at your local home improvement shop.
- Square or round plastic containers
- Vegetable oil
- Foam brush
- Dry repair concrete
- Wheelbarrow or bucket for mixing concrete
- Rubber gloves
- Trowel
- Leaves
- Small rocks
Stepping Stones Directions
Here’s how to make your own leaf imprint craft into stepping stones. I broke it down into simple steps with lots of pictures too.
1. Choose the Perfect Containers
Choose containers that will make a good size for a stepping stone. For round stones, use plastic plant trays. For square or rectangular stones, use plastic food storage containers. The ones I choose had relatively straight sides, resulting in straight-sided stepping stones.
2. Pick Out Your Leaves
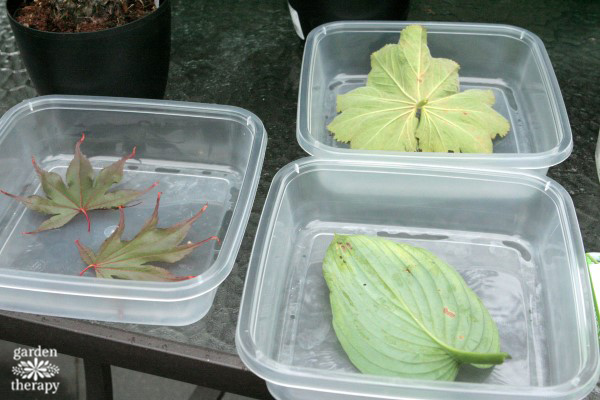
Choose leaves with interesting shapes, strong veins, and defined edges. Shown here (clockwise from top) are Lady’s Mantle, Hosta, and Japanese maple leaves. The maple leaves’ pointed edges held their edges less successfully than the other two (see final photos), which will influence my choice of leaves in the future.
3. Spread Vegetable Oil Inside the Containers
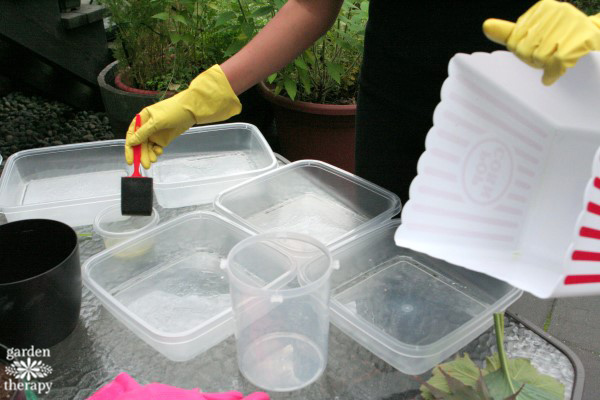
Use the foam brush to spread the vegetable oil around the inside of the container and on the vein side of the leaf. The oil helps the concrete to release from the mold as well as allows the leaf to easily peel off. It seems like a small step but it will save a lot of time in trying to remove the stepping stone and remove the leaf material if it is skipped.
4. Mix the Concrete
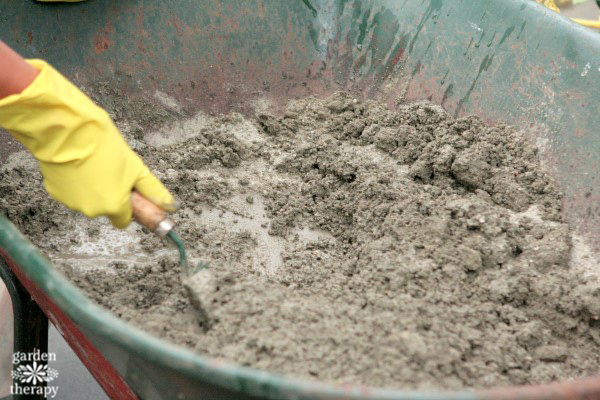
Mix repair concrete (concrete without large pieces of gravel) as per the instructions on the bag using the wheelbarrow, trowel, and rubber gloves. Pour the concrete into the molds and press the leaves, vein-side down, onto the concrete. Be sure to press each leaf evenly with the flat part of your fingers so that the whole leaf imprints (not just where you touched with your fingertips!).
5. Weigh The Leaves Down With Rocks
Weigh the leaves down with rocks or stones and allow them to sit for 24 hours. Cure as per the instructions on the concrete package and then unmold your stepping stones and place around the garden.
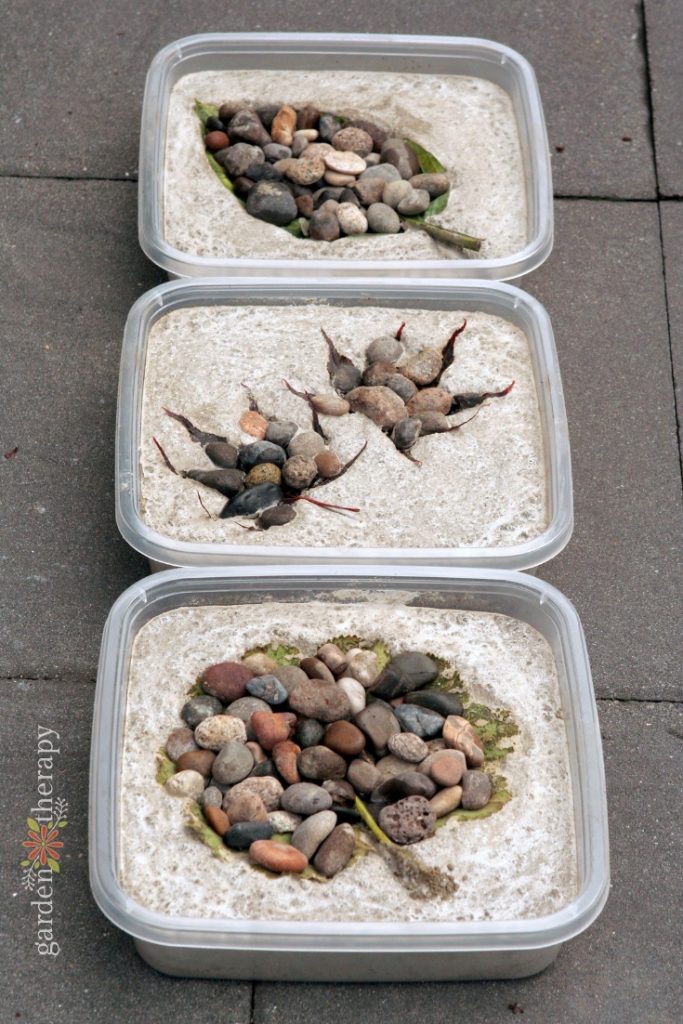
6. Wait 24 Hours, Then Remove
I weighed the leaves down with river stones removed them from the molds after 24 hours and, voila!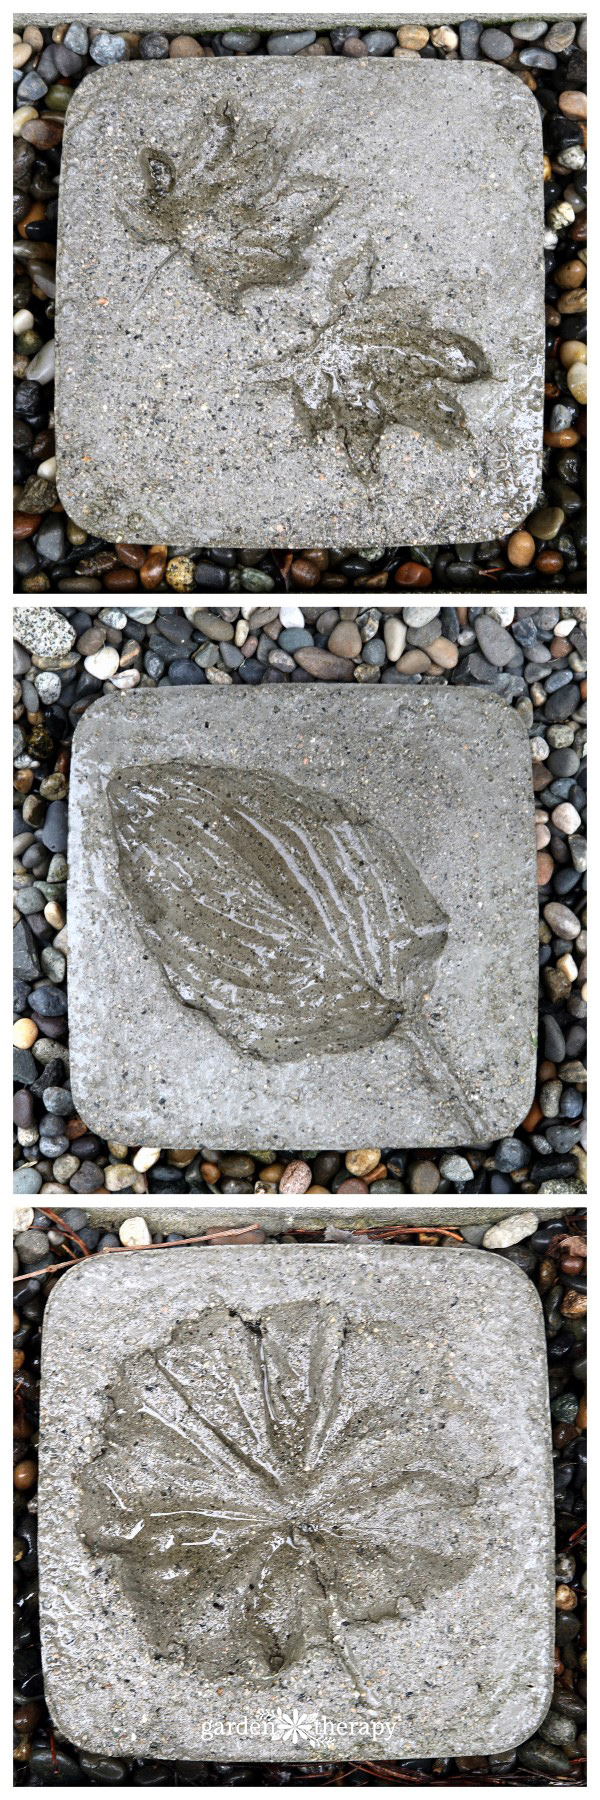
More DIY Stepping Stone Ideas
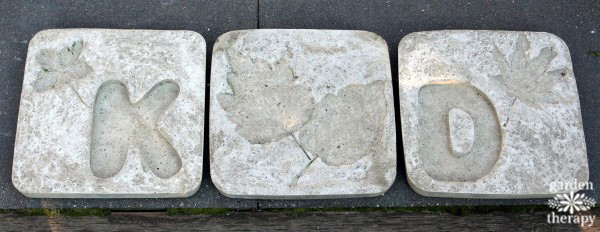
I was also lucky enough to have worked with a creative friend that day, which is a good thing because concrete can get heavy! My friend made some stepping stones with leaves and foam letters we bought at the craft store. Isn’t it fun to work with others? You get so many great ideas! Her letter/leaf stepping stones turned out perfectly!
Find other things to imprint in the concrete too. Here are some of my favorite ideas that I haven’t tried yet, but want to.
- Flowers
- Handprints
- Pawprints
- School mascot
Other Materials To Make Stepping Stones Out Of
The concrete stepping stones will last a really long time in your garden. I love working with concrete because of the ease, cost, and longevity of my projects. I actually put together an entire post about different ways you can make stepping stones with concrete.
There are also other materials you can use that aren’t as heavy. Here are some more materials you can use to make stepping stones.
- Wood pallets
- Glass Mosaic in concrete
- Bricks
- Pebble Mosaic Walking Stones
Where To Put Garden Stepping Stones
Where you decide to put your DIY stepping stones is entirely up to you. Since their purpose is to protect the soil, you’ll want to put it in the common walkway.
The best place for stepping stones is to create a walking path out of them.
If your stepping stones are entirely decorative, then you can place them around your favorite plants or bushes.
More Creative Garden Projects
Please have a look at all of the creative Weekend Projects, Garden Projects, Craft Projects, and even Recipes to be found on this blog. Perhaps you will find something to work on with your brilliant pals. Some of my favorites include:
- Handmade Flower Press
- DIY Stamped Metal Plant Tags
- Wine Box Herb Garden
- DIY Wood Pallet Bird Apartments
DIY Stepping Stones with Leaf Imprints
Equipment
- Wheelbarrow or bucket for mixing concrete
Supplies
- Square or round plastic containers
- Vegetable oil
- 1 Foam brush
- Dry repair concrete
- Rubber gloves
- Trowel
- Leaves Choose leaves with interesting shapes, strong veins, and defined edges.
- Small rocks
Instructions
- Use the foam brush to spread the vegetable oil around the inside of the container and on the vein side of the leaf.
- Mix repair concrete (concrete without large pieces of gravel) as per the instructions on the bag using the wheelbarrow, trowel, and rubber gloves.
- Pour the concrete into the molds and press the leaves, vein-side down, onto the concrete.
- Weigh the leaves down with rocks or stones and allow to set for 24 hours.
- Cure as per the instructions on the concrete package and then unmold your stepping stones and place around the garden.




Comments