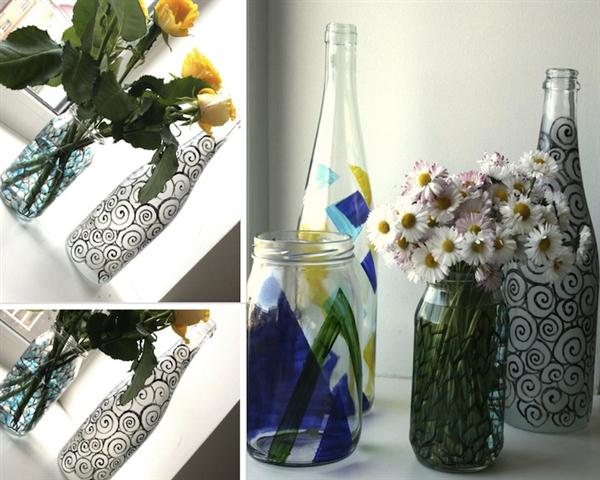
Hi there Garden Therapy readers! I’m Hanna from Pearls and Scissors and I’d like to share a recycling project with you. I’m a huge fan of killing multiple birds with one stone, and this DIY project is no exception. I had a pile of jars and glass bottles that I wanted to put to better use and a dire need for vases, so I created some simple jar and bottle vases with glass and ceramic paint.

Materials:
- Glass jars and/or bottles
- Glass and/or ceramica paint (made for painting on glass or ceramic dishes)
- Smaller paintbrushes
- Water for rinsing the brushes
- Tape
Instructions:
First of all, clean your jars and bottles removing all labels. I do this by letting them sit in hot water for a few hours until the labels start to come off. Then I wash the surface and dry them. In order for the paint to stick properly to the glass, it is good to clean it with pure alcohol before painting.

We used two different types of techniques to create our vases.
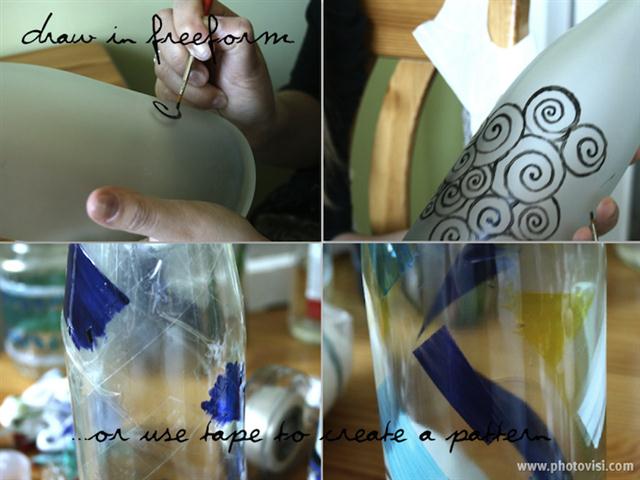
1. You can draw on your jar or bottle freehand, which gives you endless possibilities to create something unique. My friend Anneliis is good at drawing, so she opted for the the freehand method and created a spiral surface, starting from the center of the bottle and working her way around the bottle adding more spirals next to each other.
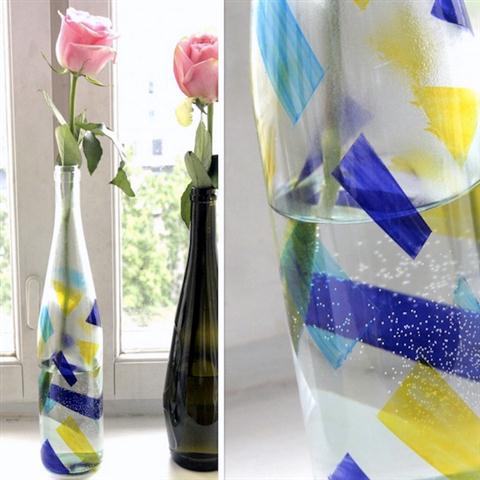
2. Or, you can use a more foolproof method of taping. I’m bad at drawing, so I chose a simpler method for creating my abstract pattern. The bottle was created by taping long strips of tape along the bottle in different angles, and then painting the uncovered areas in differerent colors. After the paint has dried, remove the tape.

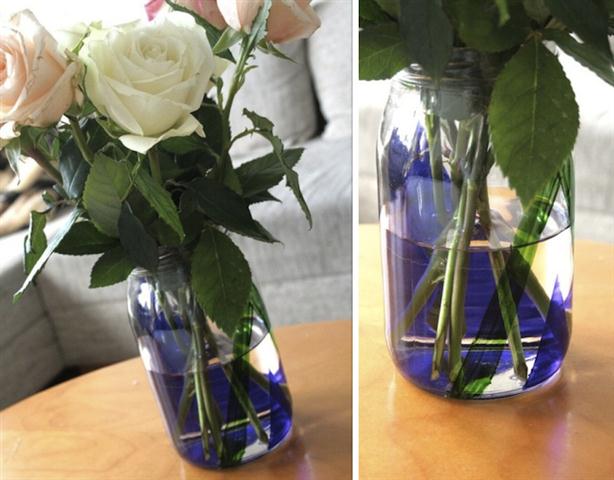
Here I created two triangles inside each other on one side and one triangle on the other side of the jar with tape and painted the insides of the triangles.

After the vases have dried for 24 hours, you probably have to bake them in the oven. Be careful to read the instructions that come with the paint and follow them by the letter. If you did, you can enjoy your new lovely vases. I’m holding my graduation flowers in mine.
~

A special thanks to the amazingly talented Hanna from Pearls and Scissors and her pal, Anneliis, for creating this fabulous tutorial for us all. Check out Hanna’s website for more creative projects and you’ll also see her mad sewing skills.


Wow, I’m really impressed, they look beautiful, thanks for the tip!
Thanks for sharing your creativity Hanna! I am still in the process of planning how I would redecorate my small home and I figured your vases would look just about right.
Since I am still planning how I would start with growing roses on my window sill using pots, having some colorful vases ready makes for a good source of inspiration.
I figured I would just settle with buying fresh flowers from across the street to fill whatever vases I could make following your tips.
What a cute project! I love it so much that I decided to feature it in our roundup of recycled bottle crafts! Check it out here: http://www.favecraftsblog.com/recycled-bottle-crafts/
Have a great day!