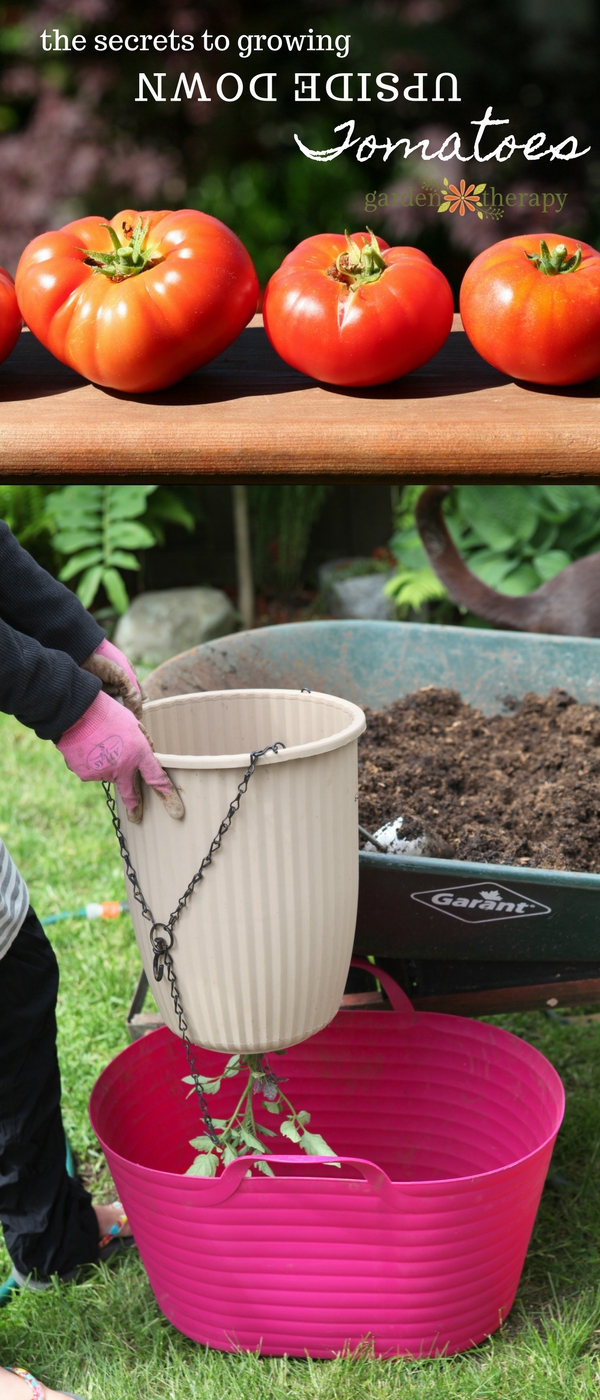
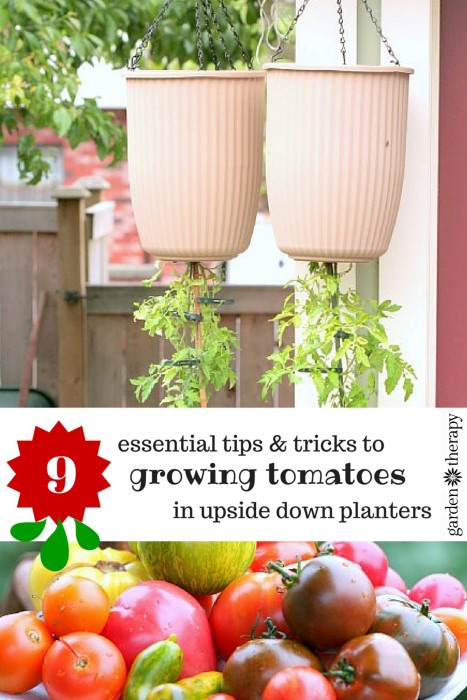
Upside-down tomatoes make a great use of space but there are a few important things to know so that your efforts will be fruitful. Grow prolific upside-down tomato plants with these 9 essential tips and tricks.
There are many types of upside-down tomato planters available and none are expensive in the least. I have seen many people who use 5-gallon buckets, but I must say that once you buy all the hardware you will probably be spending more than just buying a Topsy Turvy planter or the self-watering planters I have hanging on my garage.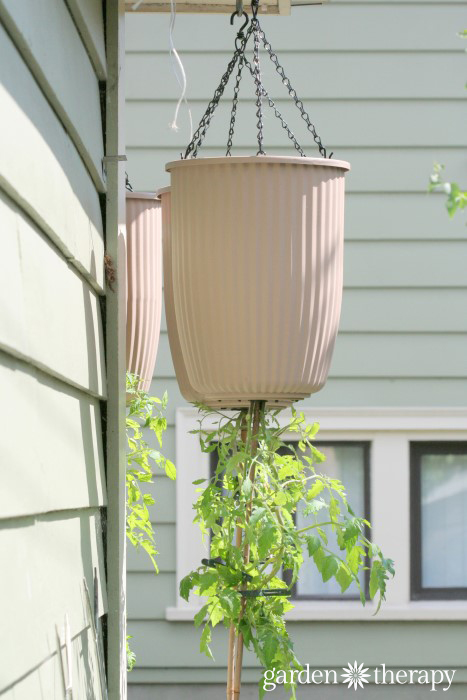
How to Plant Upside-Down Tomatoes
Materials:
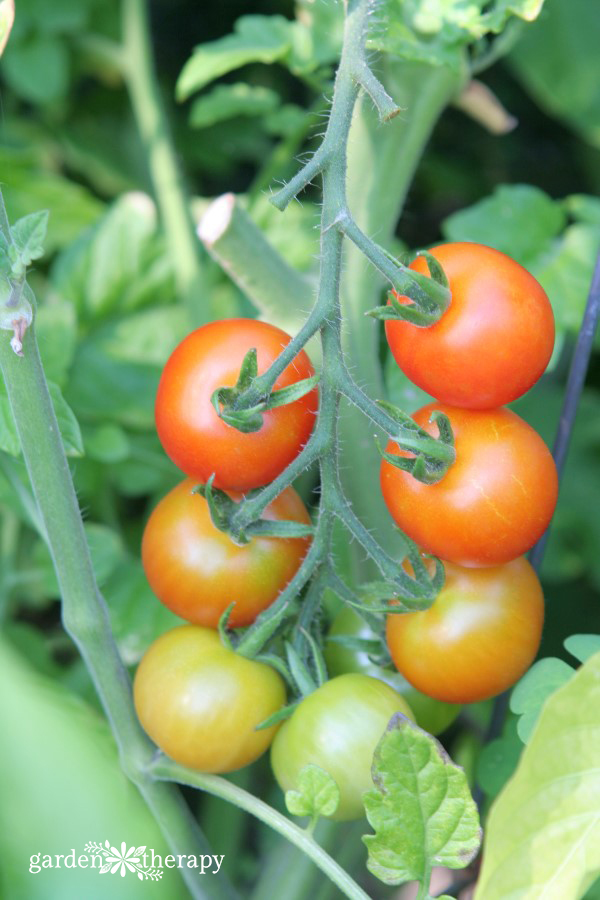
- 1-2 cherry, grape or other small variety tomato plants
- The upside-down planter of your choice (this is a nice one!)
- Solid ring hooks
- Bamboo stake
- Self-watering system (see Step #8)
- Tomato fertilizer
- Container gardening soil or 40% peat moss / 60% soil
Make it!
1. First things first: choose the right tomato plant for the hanging planter. There is just no sense in picking a beefsteak or other large varietal. Large tomatoes generally grow on large plants and have heavy fruit. These small planters are better suited to determinate/bush forming (as opposed to indeterminate/vine growing) so that the plant can build girth rather than length below the planting bag. Also choosing container-loving cultivars like Tumbler, Jolly Elf, or Gold Nugget will ensure fruiting is prolific even on smaller plants.
2. Location is another important factor in hanging planters. Check out site selection for Growing Strawberries in Hanging Containers / Grow Bags as it’s pretty much the same: 8-12 hours of full sun a day.
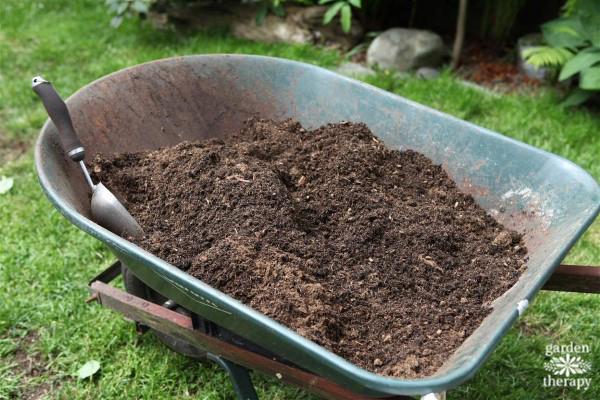
3. Prepare your soil for planting by either mixing 40% peat moss and 60% high quality organic soil mix (like Sea Soil) or a container gardening mix in a wheelbarrow with some water. It’s best to moisten the soil before planting to ensure it will hold the water, not just run right through the planting hole.
4. Remove your plant from the nursery pot and secure the stopper around the stem, being careful to not damage the stem. All store-bought planters come with a stopper: either a foam ring or plastic disk with a hole in the center for the stem.
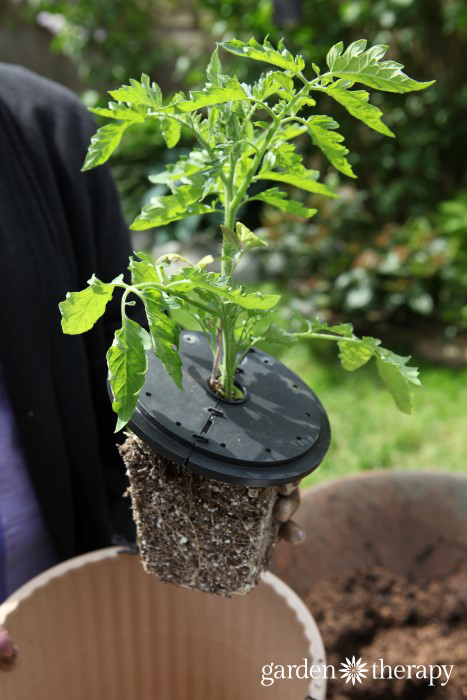
5. Have a strong helper hold your planter while you gently (I repeat, GENTLY) maneuver the plant upside-down into the bottom hole from the top. Again, don’t damage the stem. If the leaves get a bit mangled it’s Okay, but if you damage the stem get a new plant and start over.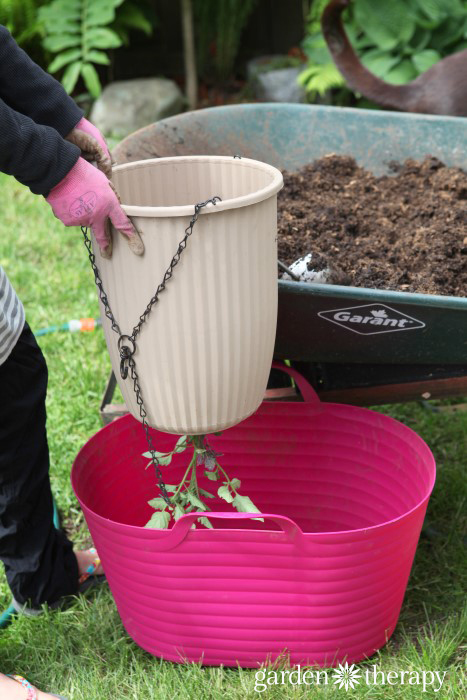
6. Gently fill the moistened soil around the root ball about half-full, add a handful of complete organic fertilizer and fill up the rest of the way with more soil.
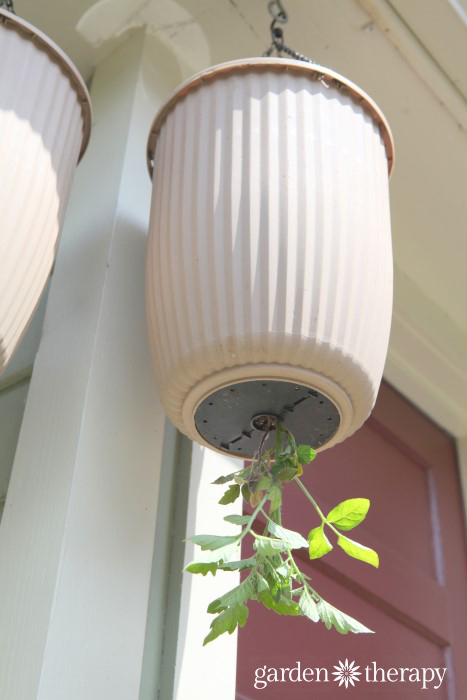
7. Hang the planter up on sturdy hooks (that should be included with your planter) no less than 7-8 feet off the ground.
**While most folks stop at this point, there are a few lessons I’ve learned from growing tomatoes successfully on my garage that I shared in this post: Topsy Turvy: Ugly as Stink But Good Tomatoes. These few extra steps will help with the most common problems of upside-down tomato planters: dry soil and broken plants.**
8. The challenge with an upside-down planter is that when it dries out, it is difficult to re-moisten. Water generally flows through dry soil, and with upside-down planters, it can flow right through even moist soil. Unless you want to spend most of your free time slowly watering these planters all summer long, it’s best to set up a self-watering system. Luckily, the new planters I bought have a self-watering trough at the top. Success with this system comes from to ensuring that you don’t let the wick dry out.
You can also make your own self-watering system with these plant stakes or make your own by cutting a hole in the bottom of a soda bottle and poking a few weep holes in the cap. Screw the cap on firmly and sink into the soil. Fill with water and let drain. To see the bottle watering system, check out the photos in this post about Topsy Turvy Tomato Planters.
9. Tomatoes are meant to grow upwards and, left to their own devices, they will curve up toward the sky, grow big beautiful tomatoes…and then the stem will break right off in the wind or from the weight of the fruit. Easily deal with this by sticking a bamboo stake in the bottom hole with the plant, and train the plant downwards as it grows. An easy solution to a fatal (to ripe fruit at least) problem.
Pin it!
There you have it. All the tools you need for successfully getting an upside-down planter started this year. These instructions also apply for peppers, eggplant, cucumbers, or squash so get creative with this weekend project.
A city girl who learned to garden and it changed everything. Author, artist, Master Gardener. Better living through plants.


Yes, much better looking than the Topsy Turvy ones! But, I got some the other day for only $1.50, so I won’t complain too much! These are nice in that they are self-watering too. I am just starting to learn about self-watering containers, and have plans for my old kitty litter pails and storage boxes!
I really love the idea. I would like to chime in here, however, and offer a slight alternative that gives you the best of both worlds:
If you can, purchase a slightly larger hanging chain (available at most hardware stores). Now that you have a little more sunlight from the lower hanging basket, add basil to the top half. This not only allows you to grow two plants simultaneously, but it employs a method of companion planting. It’s a well known fact that basil has the potential to boost both the growth rate of the tomato, but also the flavor as well. Furthermore, the basil will shade the top of the planter…thus preventing moisture loss through the topsoil.
I suggest this because I’ve just recently written an article on companion planting (in which the tomato and basil feature prominently). If you think that it might help your readers, here’s the link to check out:
I love the idea that you have goin and I hope that you can expand upon it by using the method that I have described above. Take care and have an awesome weekend! I’ll visit the site again soon!
Thanks for the info on companion planting. While I like the idea of growing basil in the top of the planter, the water reserve at the top is essential in hot summer months. It also allows the water to slowly wick into the soil which is much better than the flooding and draining out that was happening in the other planters.To plant the water reserve with basil would take away the effectiveness of this self-watering planter.
Some great points, My concern has always been finding something strong enough to support the Pots. Especially when you add the weight of the water.
I’m interested on your views on Yield from Planting them upside down to a regular pot and having them grow upwards?
Loving the site by the way.
Dan
Hi Dan, the pots I have came with great hardware, the hooks anchor into the roof and the chains are strong. You can buy hooks etc at hardware stores that lists weight load capacity and has installation instructions. Installed properly, there should be no issues.
It is always better to grow tomatoes in the ground but this project allows you to still get a strong yield of fruit in an otherwise unused space. Sometimes that is the only space available or it allows for extra growing space such as in my case where I have pots below and pots above.
For a submit like that i think you did a really good job.