Reindeer moss is my new favorite art medium! It’s preserved, so you can display it in terrariums, wreaths, or wall art and it requires no maintenance. Even more exciting is that it comes dyed in a number of different colors so you can use is to create artwork with many different hues.
Making moss wall art couldn’t be easier. You need only a few materials and a wee bit of time.
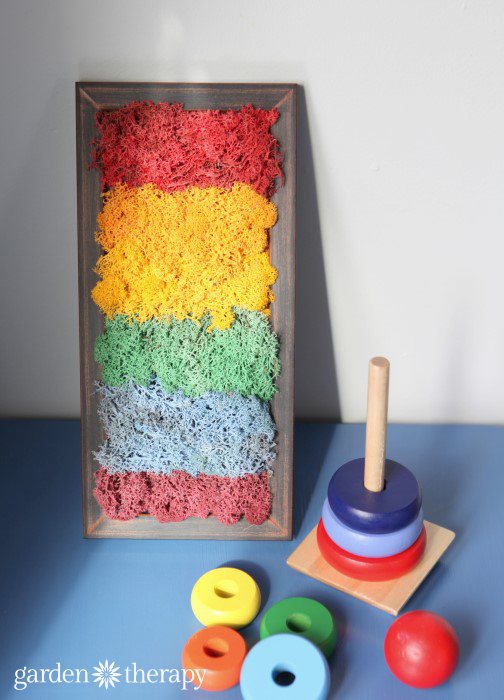
I made this rainbow moss art to showcase some of the colors the moss comes in, but you can lay it out in any pattern or color combination that you like. The best part is that you can lay out the moss before attaching it permanently, so you can play with the design before you commit! Here is a version I played with before deciding on a rainbow theme.
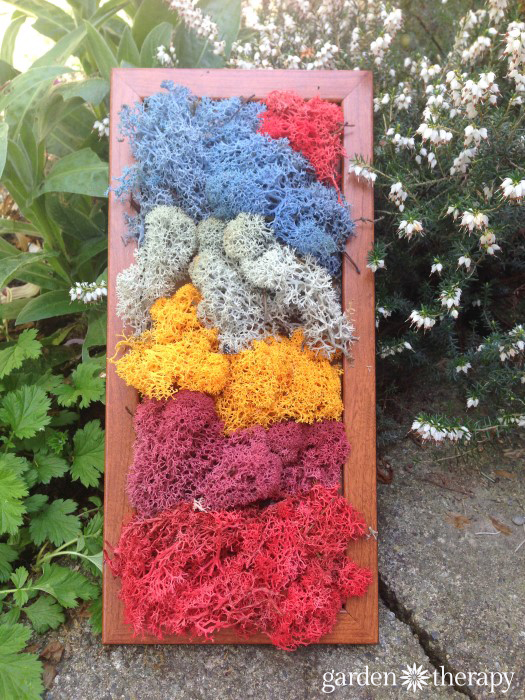
It was a little more abstract (which I like), but I found the colors looked muddy with the brown frame. I sanded the frame to reveal black below (lucky me), and now I like the contrast of colors, especially displayed in my son’s playroom (he says, “moth, Mummy, moth”).
Materials:
Make it!
Remove the glass from the picture frame and replace the thin cardboard or wood backing.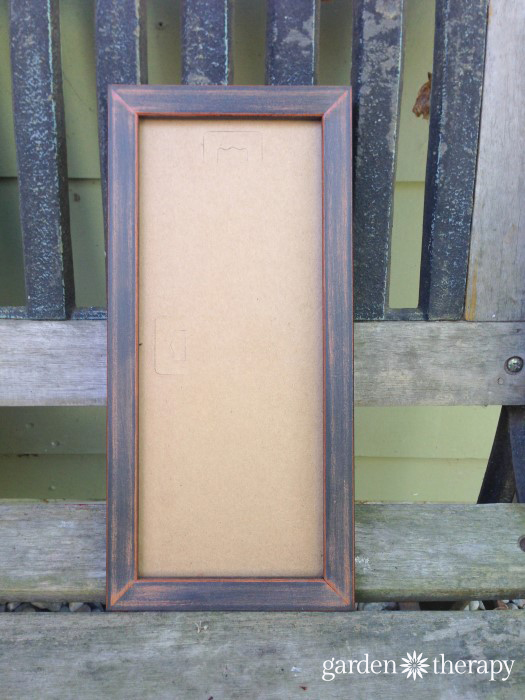
Lay out the moss in the pattern that you like. Move it around until you are happy with it, then remove it all and set it aside laid out in that pattern.
Working in sections, apply hot glue to the cardboard backing and press the moss onto the glue, using the back of an old spoon. You may be tempted to use your fingers, but let me warn you that hot glue is really hot and doesn’t feel great when burning your fingertips. Keep gluing and pressing in moss until you have your design transferred to the frame.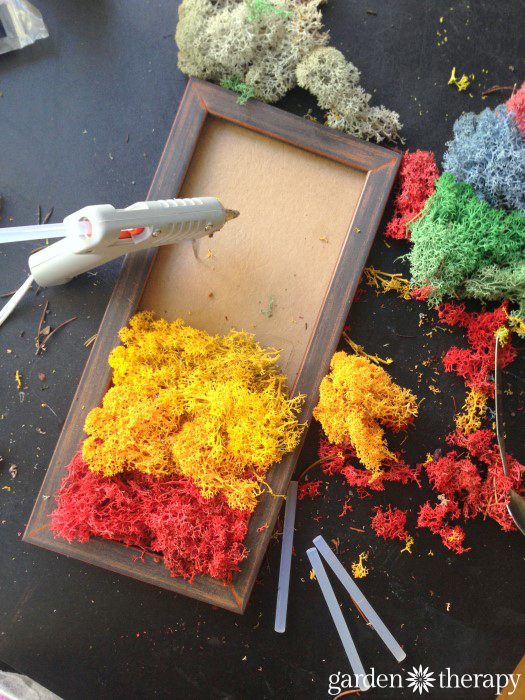
Use the hot glue and the spoon to tame down any puffy parts, or add more moss in areas that are thin. Your final design should still have some textural and height differences, but look contained within the frame.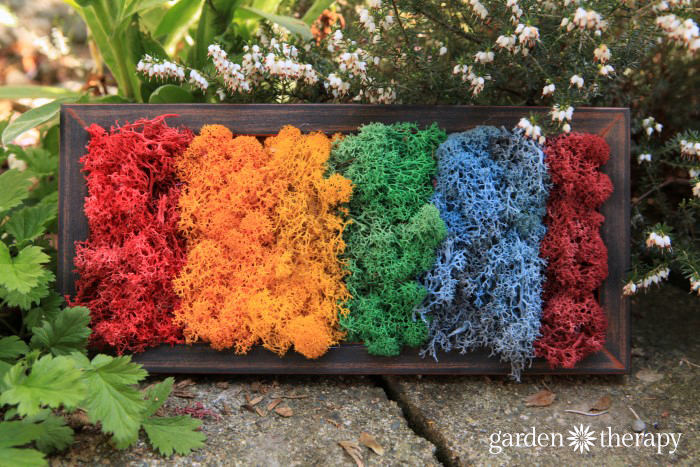
I’ve used moss for artwork before!
A city girl who learned to garden and it changed everything. Author, artist, Master Gardener. Better living through plants.


Comments