It’s time to deck the halls and turn your home into a cozy winter wonderland. Rather than pull out the dusty, plastic garland that sheds or shell out the big bucks for a custom-made garland, try making your own cedar garland. Here’s how to make a cedar Christmas garland using minimal materials.

From Christmas trees to wreaths, it’s no wonder we love to decorate our homes with fresh greens during the holidays. In the darkest days of winter, we like to be reminded of the lush greenery of spring and summer. Luckily, we have evergreens to keep us company in the winter!
Fresh garden greens aren’t just for wreaths. An evergreen garland, or swag, can instantly cheer up a porch, banister, or fireplace. Garland can be made from many types of evergreen boughs. Generally, anything you can use for outdoor wreaths can be used for outdoor garlands.
But some greenery is better than others.
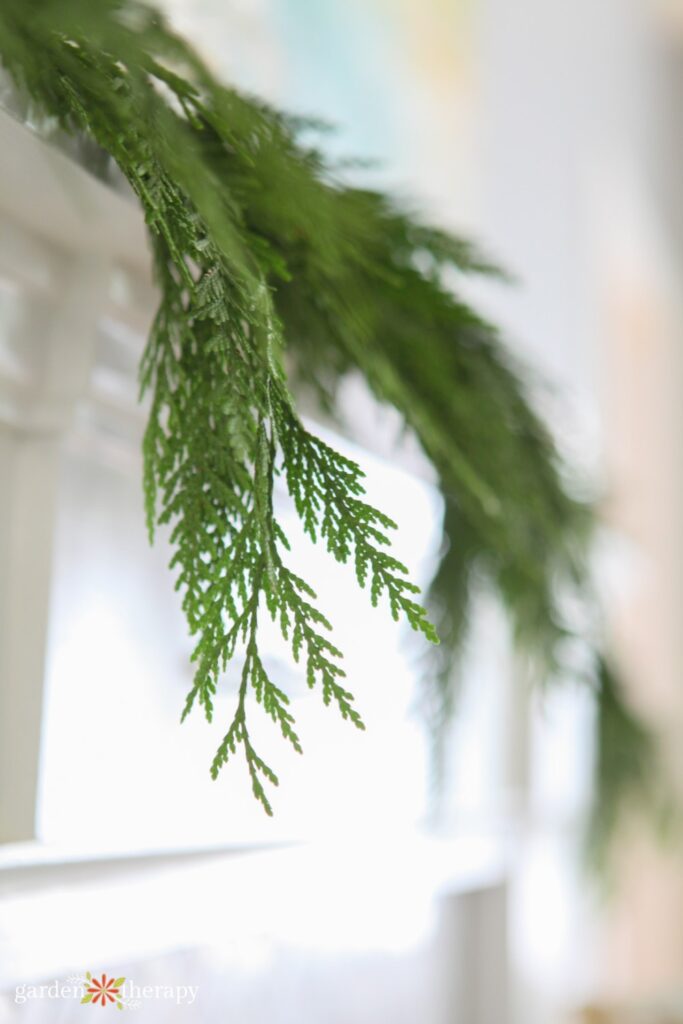
If you plan to bring your garland inside, the conditions are much drier, and watering will be difficult. I like cedar because it holds its leaves when dry and doesn’t turn brown for a very long time. I also love the look of the draping cedar leaves as they flop over the edges of a banister or fireplace.
If you want to make your own whimsical and natural cedar garland, keep reading!
Here’s what we’ll be covering today…
- First, a Note on Accessibility
- How to Make a Cedar Christmas Garland
- Materials
- Make It!
- Add Décor to Your Christmas Garland
- Garland Not Kindling
- Frequently Asked Questions About Making a Cedar Garland
- More Ideas for Natural Christmas Décor

First, a Note on Accessibility
I have a bone to pick when it comes to garlands. For a long time, I’ve avoided posting a Christmas garland because I didn’t want to encourage people to block off railings for those who might need them.
Hand railings are essential for accessibility. People with mobility issues rely on them to get up stairs and avoid slips and falls. There are many invisible disabilities, so never assume your space is exempt from the rule.
Whether it’s the postman delivering your holiday packages or Christmas carolers who come to brighten your day, you never know you may be visiting your space and using the railing. Plus, you always want them something to grab in an emergency, like slipping on ice.
So please, if you’re making a Christmas garland with cedar, do not use it to decorate and block railings.
How to Make a Cedar Christmas Garland
You don’t need many materials to create this cedar Christmas garland. You can keep it as simple as you like, using cedar alone or adding in other greenery and decor for texture. And if you have a cedar tree in your yard, this is the perfect opportunity to prune it back and make something out of its branches.
Materials
Make It!
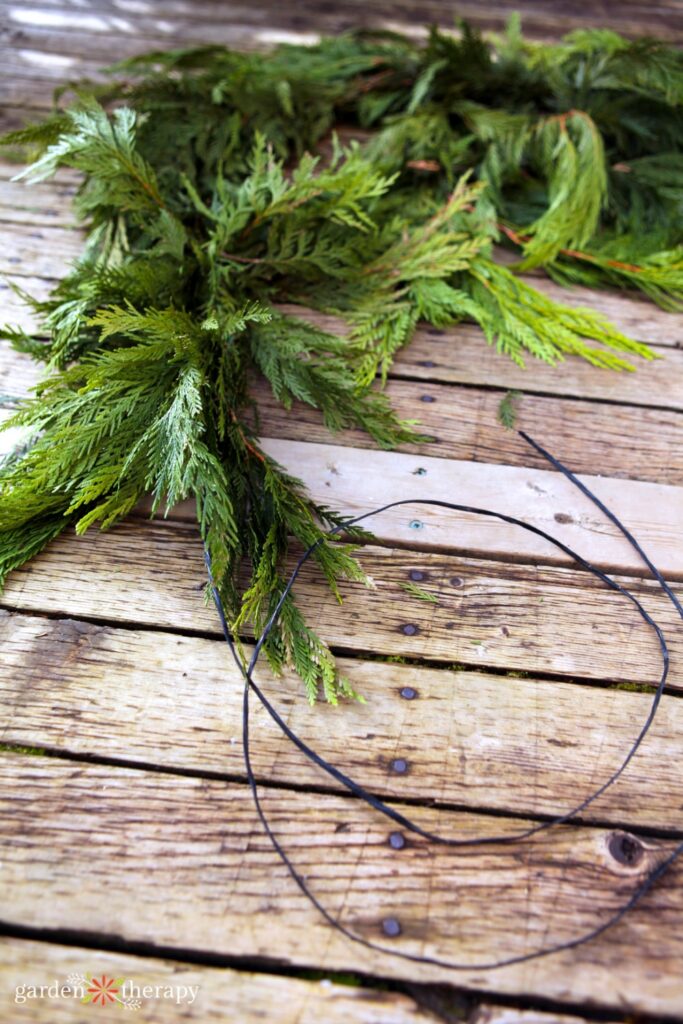
Start by cutting the jute or rope to the length of the garland that you want to create. If you plan on hanging your garland, add extra length on either end to make loops for hanging.
It helps to tie my rope to something sturdy while making my cedar garland, allowing me to pull the rope tight.
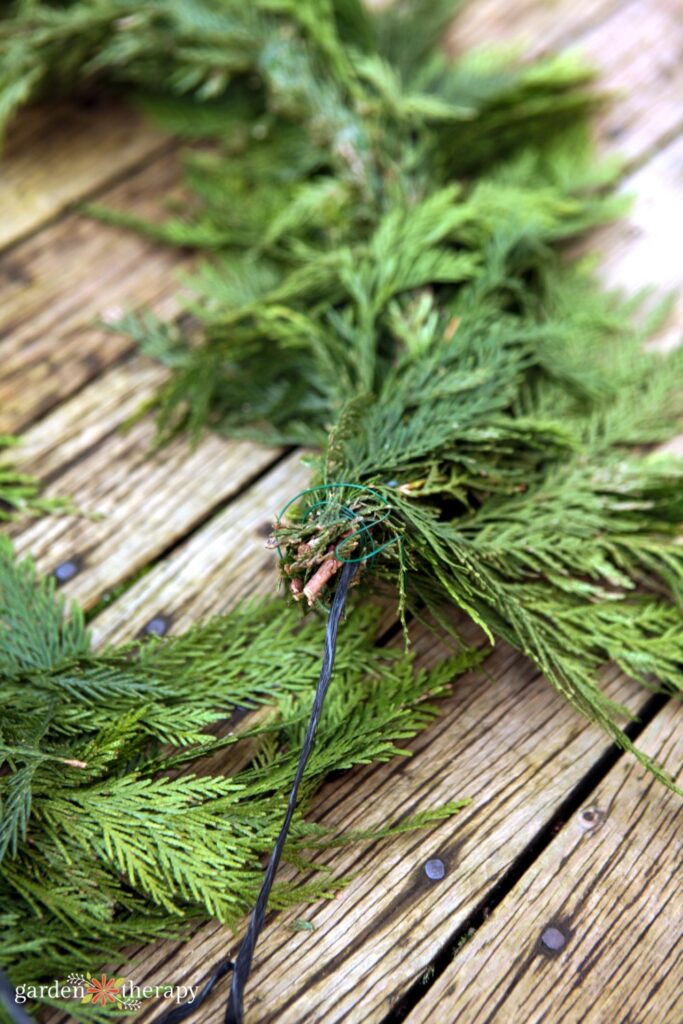
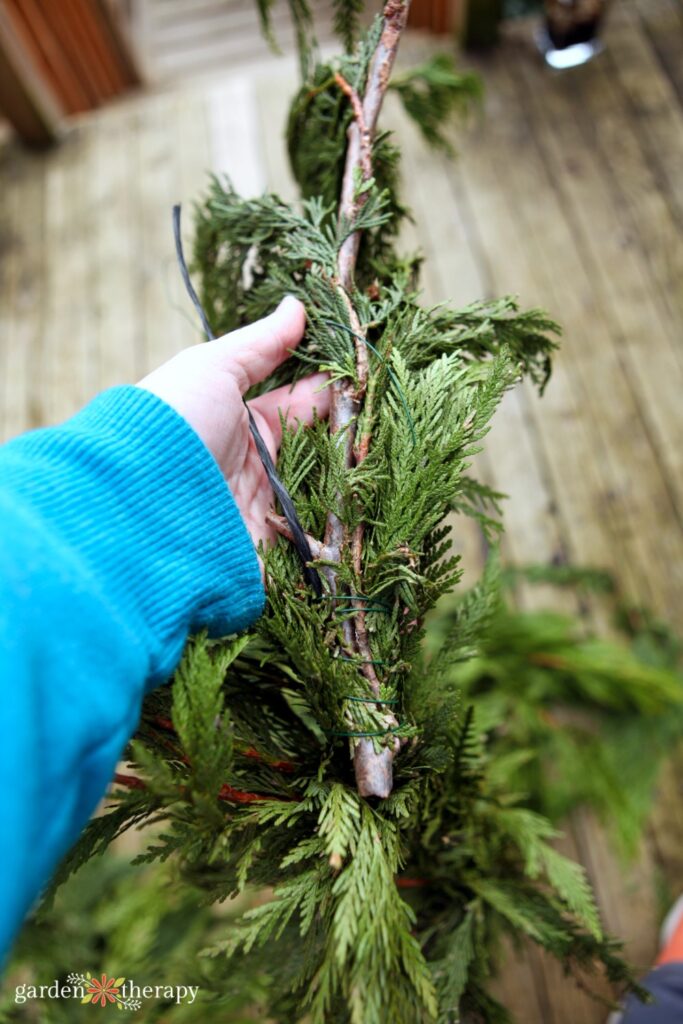
Gather a nice handful of cedar and align the stems. If you’re adding more greenery than just cedar, alternate your types of greenery for a more natural look.
Secure this first bunch to the top end of the rope by wrapping it with floral wire. With one hand, hold your bunch and the rope tight while you wrap the base of the bunch with floral wire with the other hand.
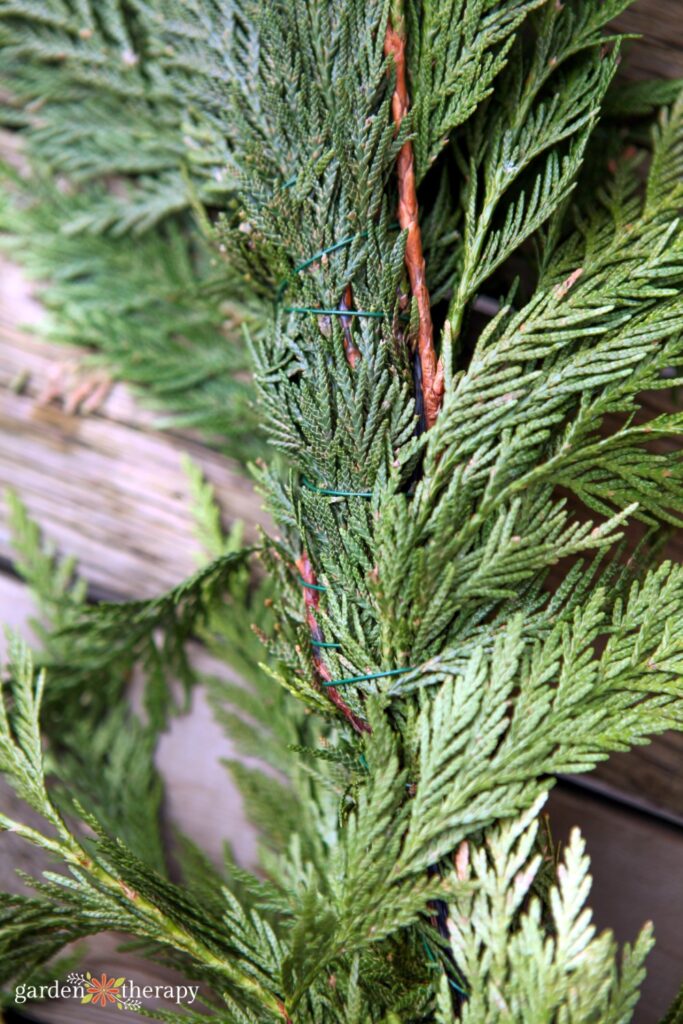
Then, you’ll continue snipping cedar branches and securing bunches to the rope. As you layer them, overlapping and hiding the wire of the previous bunch. Alternate the direction that the bunches face for a more natural look.
When you get to the end of the garland, tie a few smaller cedar branches pointing the opposite direction of the other branches. Tie with floral wire to disguise the stems of the end branches.
Add Décor to Your Christmas Garland
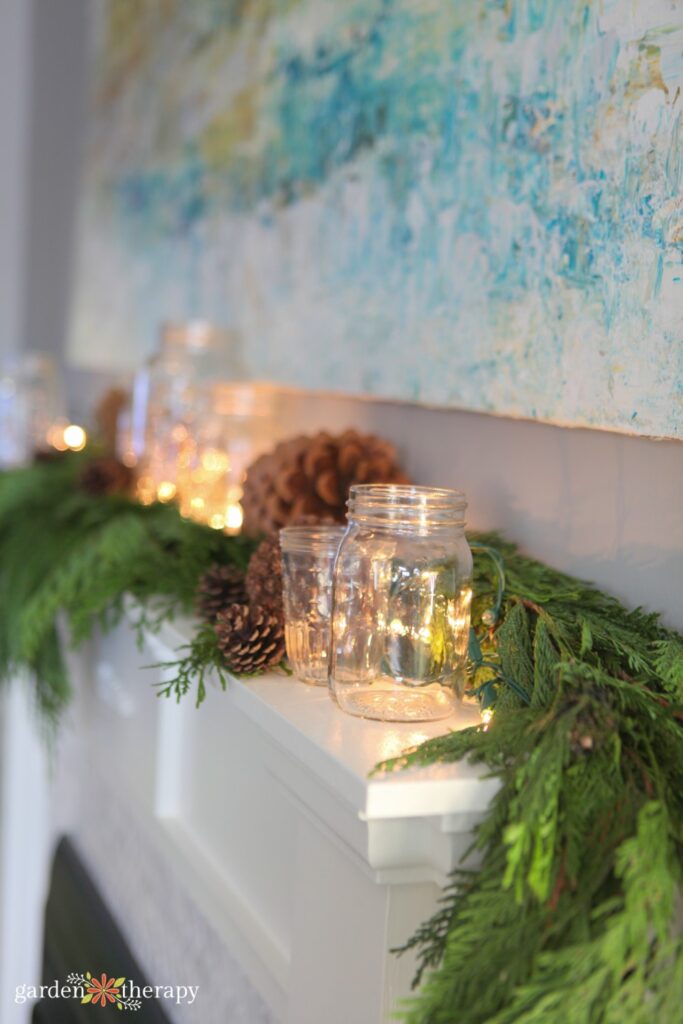
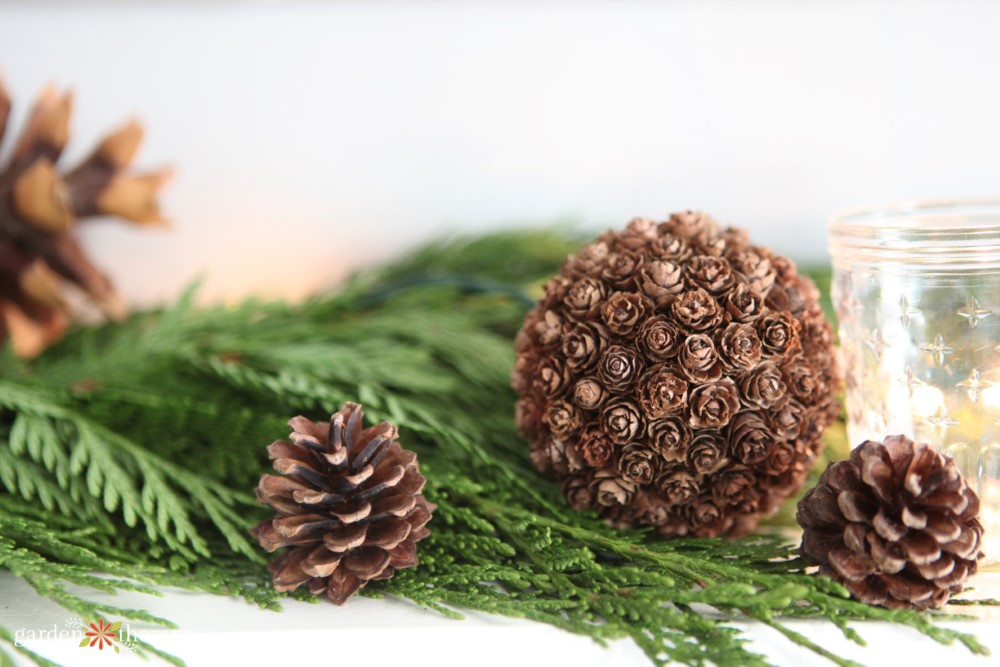
This garland has a casual form and makes a wonderful backdrop to display holiday décor: natural elements, such as oversized sugar pinecones, mixed with unexpected items, such as sparkly, vintage mason jars lit with a string of fairy lights, create an eclectic-natural look.
You can make pinecone spheres to add to the cedar garland by gluing the bases of many mini pinecones onto a Styrofoam ball with a hot glue gun. Be sure to dry the pinecones first, so they are fully open.
Garland Not Kindling
Take caution if you decorate your fireplace with soon-to-be-dry plant material (AKA kindling). Do not build a fire if there is any spark danger at all.
In my home, the gas fire is completely behind glass. Even still, the fireplace is kept on a low setting and is never left unattended. Safety comes first and beauty second.
Frequently Asked Questions About Making a Cedar Garland
Christmas garlands with cedar are quite simple to make. You can even forage for the clippings, making it an affordable option. The best reason to opt for a real cedar garland instead of a faux one is to avoid plastic. Faux Christmas greenery doesn’t usually have as long a lifespan as we might think; most faux Christmas trees are only used for six years.
After the season, you can compost the leaves and even the twine, saving the floral wire for another project or next year’s Christmas garland.
Cedar garlands should last about two weeks indoors if they’re kept away from heat sources. Cedar keeps fairly well compared to other evergreens. If you place your garland outside, it will last much longer, upwards of a month.
The key to making your cedar Christmas garland last is to keep it from drying out. Avoid placing it by any heat registers or fire. So yes, while it may look good above the fireplace, it’s probably not the best spot for the garland if you intend on having a fire. It’s also a major safety concern.
To keep your cedar garland hydrated, you can spritz it daily with a spray bottle on a misting setting. If possible, aim for the base of the plant.
You’ll want to add lights (and other décor) once you’ve made the garland rather than wrapping it in the garland itself.
Start at one end of the garland and start zigzagging the lights across the garland. Tuck in some lights to be nestled in the greens and have others sitting on top.
