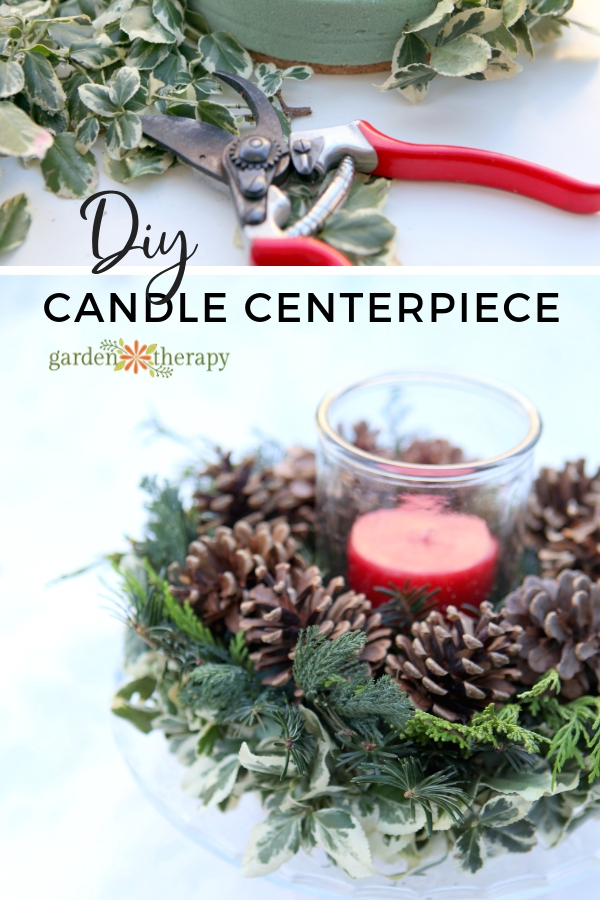
If you want an elegant, natural centrepiece for the holiday table this year but also crave a project that is simple and quick to make, DIY Christmas candle rings are just the thing. The natural elements and cozy, flickering candle will make everyone want to gather around the table to bask in its beauty. And it looks so impressive that nobody will believe how fast you made it!
Every year around the holidays, I cover my house with fresh greenery. I forage for supplies and decorate my house beautifully, using nature as my muse. No glitter, no plastic…it’s how the holidays should go, in my opinion!
The beauty of Christmas candle rings is that you only need small branches to fill up the wreath, so it is a great way to use leftover materials from wreath making or excess Christmas tree snipping.
It’s simple to whip up, so if you’re looking for some last-minute natural Christmas decorations, try this candle wreath for your dining or coffee table!
This post will cover…
- Supplies for Christmas Candle Rings
- How to Make a DIY Christmas Candle Ring
- Materials
- Make It!
- Make Your Own Candle
- Frequently Asked Questions About Making Candle Rings
- More Holiday Decor Ideas
Supplies for Christmas Candle Rings
The base of candle rings are floral foam, which makes it quite easy and forgiving to make. You can find them in various sizes, but I usually opt for something between 6-10 inches, depending on how large I want my wreath to be. With the branches, it will turn out much larger than the ring. You also want to ensure the center is large enough for the candle to fit.
I usually use leftovers from my other decorations or pieces of the Christmas tree itself for greenery. You don’t need long branches for your greenery. Just be sure to look for branches with strong stems. Branches with a flimsy stem won’t poke into the foam well.
You can find some of the best branches for holiday decorating in this post: The Best Garden Greenery for Holiday Decorating (and Which Ones to Avoid).
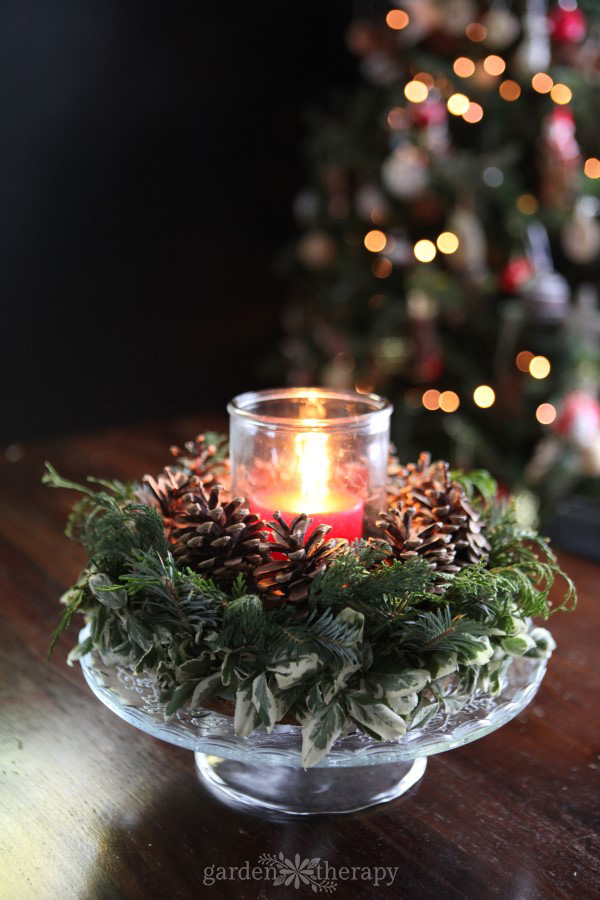
Besides greenery, I also included pinecones as a middle layer in my candle wreath. This contrasts nicely with the greenery and still keeps that festive mood. You can also bleach the pinecones for a different, more elevated look. You can even create a fully bleached pinecone candle wreath!
How to Make a DIY Christmas Candle Ring
This holiday-inspired Christmas candle wreath is one of the easiest yet most elegant ways to dress up your dining table. It’s easy to source your own greenery and make this a last-minute project ahead of the big day.
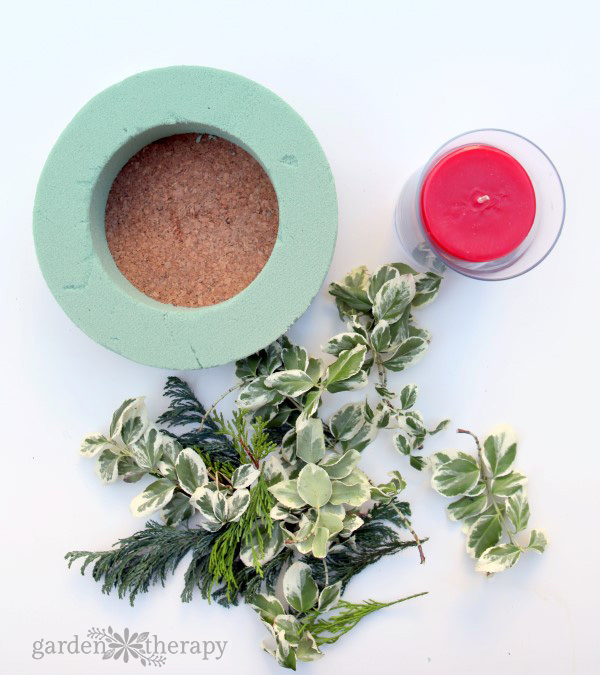
Materials
- Floral foam wreath form
- Cork trivet
- Cake stand
- Candle
- Glass hurricane
- Evergreen cuttings (euonymus, incense cedar, and Fraser fir are used for this one)
- Pinecones
- Pruners
- Hot glue gun and glue
Make It!
Glue the wreath form onto the cork trivet so the candle can be placed inside the foam ring on top of the cork.
Use dry floral foam since there is no need to keep the branches wet or put them in water. When working with evergreens, they will slowly dry and last a few weeks, after which they can be composted.
If you want to include flowers or more delicate leaves, you will need to soak your floral foam in water. Let the foam ring soak in a sink full of water. Leave the ring for ten minutes, and then it’s ready for flowers.
When it comes to foam, you don’t want to push it in the water or pour water over the top. While the outside may appear wet, the inside is still dry. This is why it’s best to soak it.
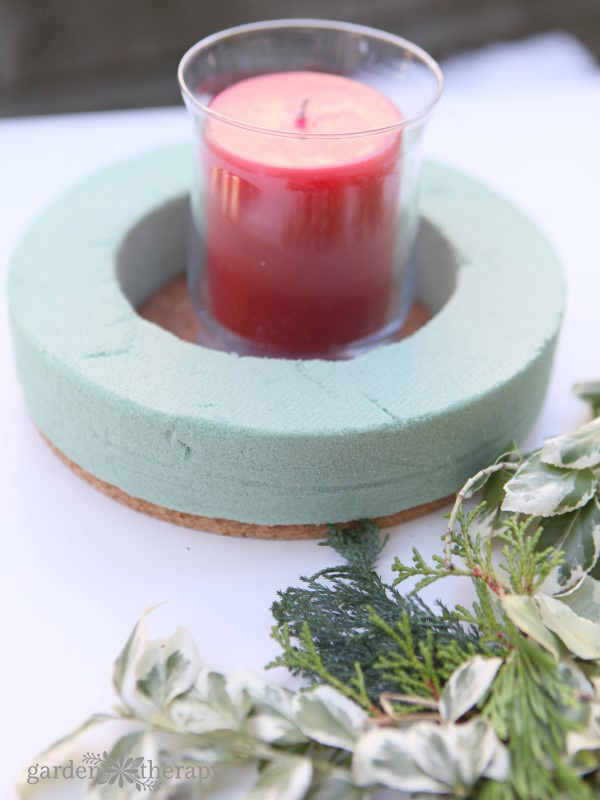
Cut evergreens to be only two to three inches of leaves with one inch of stem. You can cut longer branches into multiple sections to make smaller pieces.
Start around the edges with small cuttings that stay close to the form. Poke the stems directly into the foam form. The strength of the woody stems should be enough to create a hole on their own, but you can use a thin nail to start the hole if necessary.
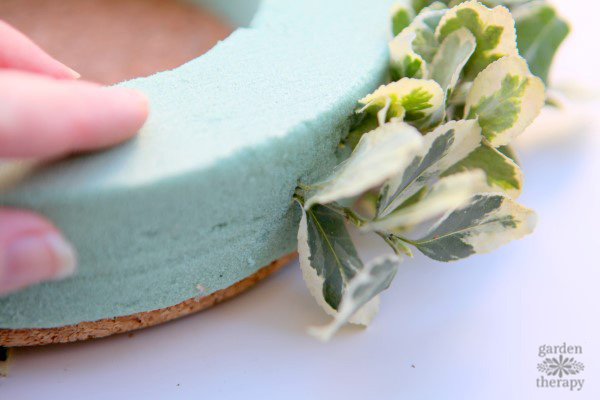
Keep going all the way around the outer edge of the wreath form.
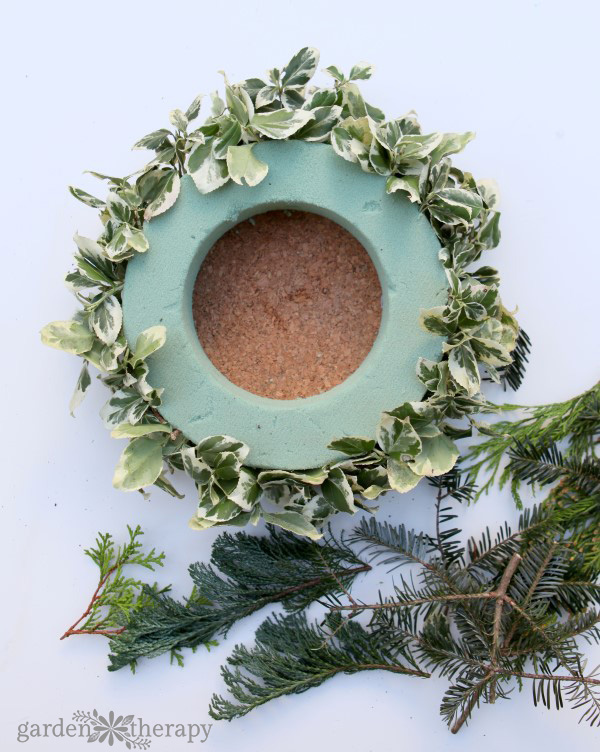
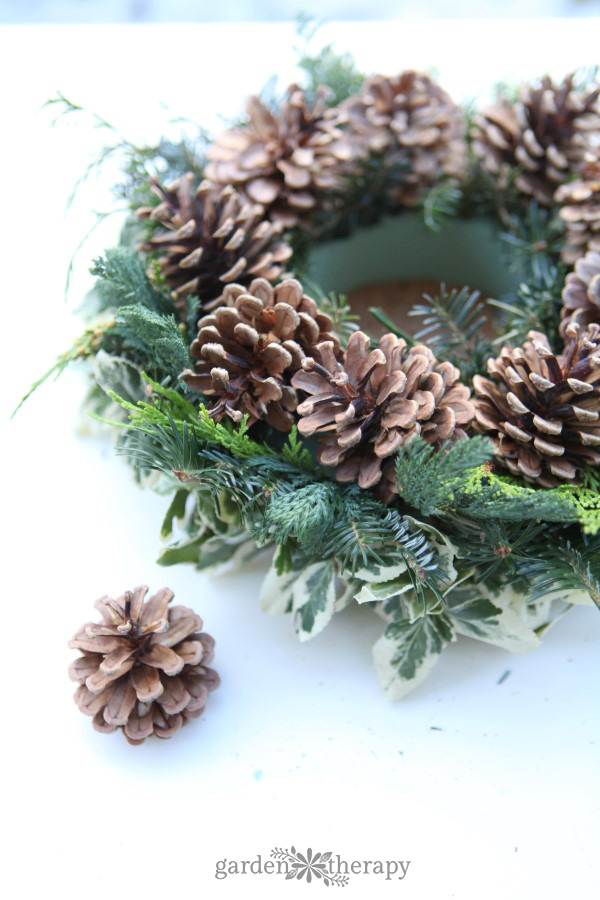
Then, fill the second layer with a different type of greenery around the outer edge, cascading over the first layer a bit.
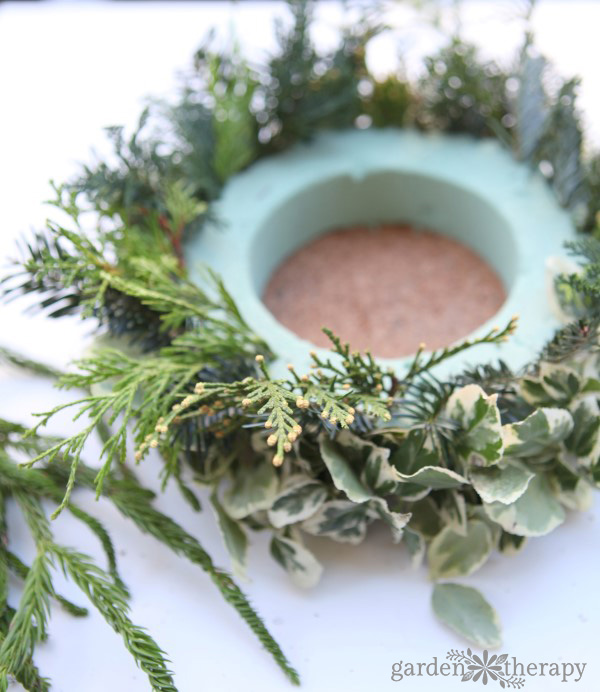
Fill the inside with a spiky branch that stands up, like Fraser fir. This creates a ring for the pine cones to sit in and decorates the outside of the hurricane glass.
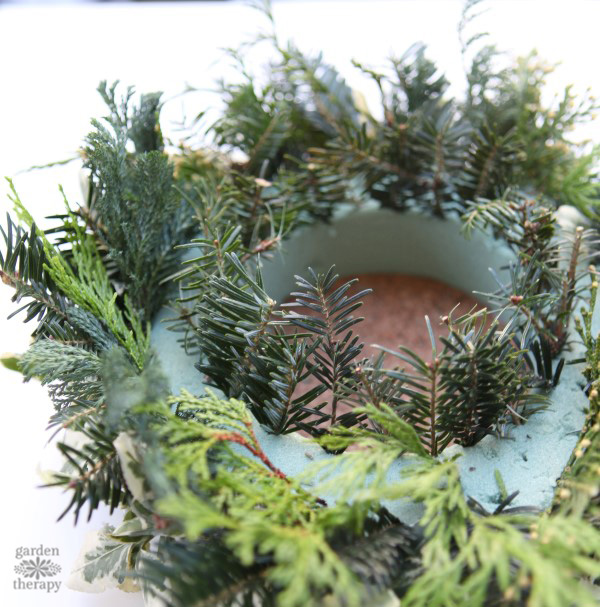
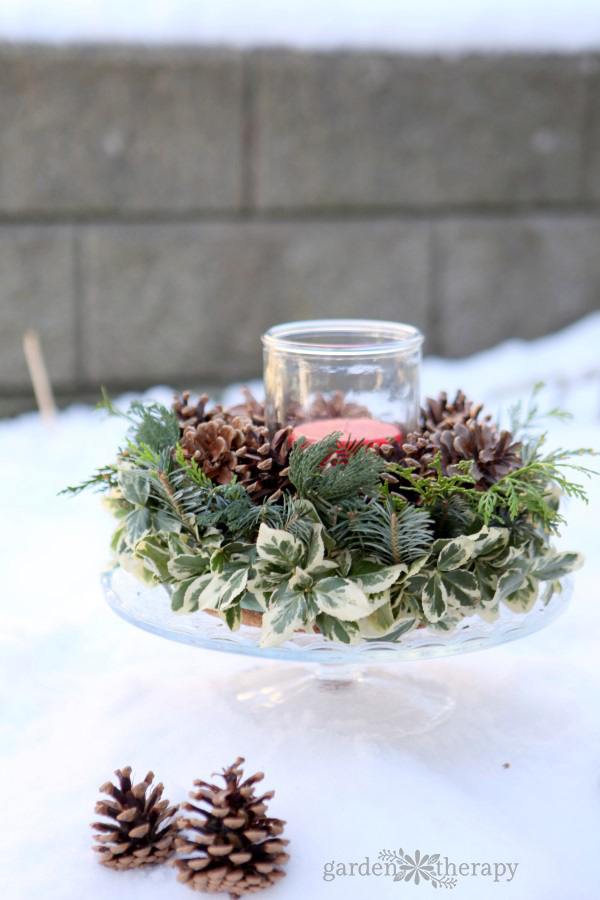
Set the wreath on a cake stand and add the pine cones in the space around the wreath. If the pine cones are having a hard time staying on their own, you can take some floral wire and weave it through the bottom row. They twist the ends of the wire together before sticking it firmly in the floral foam.
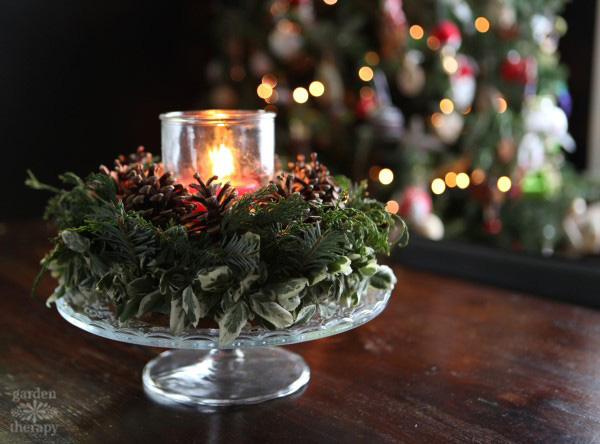
Nestle the hurricane glass and then the candle into the center. Set the table with your Christmas candle wreath, and enjoy!
Make Your Own Candle
If you really want to take this project the extra mile, why not try your hand at making your own Christmas candles?
This will allow you to customize your candle rings even more as you can choose the vessel shape, size, and colour and then fill it with wax. You can also add your own cozy Christmas scent, like cinnamon and clove.
Candles are wonderful Christmas gifts. You can host with your candle rings as decoration and then send your guests home with a candle with the very same scent!
Follow my soy candle-making tutorial for easy steps on how to make your candles.
Frequently Asked Questions About Making Candle Rings
Take a flexible measuring tape and wrap it around the inner side of your floral foam wreath form. This measurement is the circumference of the largest size candle (or hurricane glass) that will fit. If your candle is too large for your foam, you can cut down the foam using a sharp floral knife or X-Acto knife. It will cut easily, so be careful not to cut too much!
You want your candle to be level or higher than the greenery so that the light and flicker can be seen. For my piece, my candle aligns perfectly with the pinecones, but the hurricane glass rises higher.
You want to ensure that you’re placing your candle in a glass container so that the greenery is protected from it. You can also use artificial candles if you don’t want a container. Otherwise, you need to be safe and keep the greenery and materials separate from the flame.
If your candle isn’t tall enough, you can easily raise it by putting something underneath it, such as extra foam or cardboard.
Candle rings make for great centrepieces. I like to place mine on my dining table. I place a festive table runner under it and then sprinkle other smaller décor pieces like pinecones or ornaments on either side of the wreath down the table.
You can also use these candle rings on the mantle of your fireplace or a coffee table. You can even make a couple of them, including a larger one and a smaller one next to one another. Play around with it, and you’ll have lots of fun!
Your candle wreath should last a couple of weeks inside the home. You can spritz the wreath with water to keep it fresher for longer. Otherwise, it’s okay to get them a couple of weeks before Christmas to have on your table for dinner and hosting.
More Holiday Decor Ideas
- A Magnificent Magnolia Wreath Brings Cheer to the Season
- Rustic and Natural Christmas Candle Centerpiece
- The Best Garden Greenery for Holiday Decorating (and Which Ones to Avoid)
- Holiday Decorating with Nature: DIY Pinecone Spheres
- Simple Christmas Decorations that Anyone Can Do
Make This Christmas Candle Ring
Equipment
- Pruners
Supplies
- Floral foam wreath form
- Cork trivet
- Cake stand
- Candle
- Glass hurricane
- Evergreen cuttings euonymus, incense cedar, and Fraser fir used for this one
- Pine cones
Instructions
- Glue the floral foam ring on top of the cork trivet to give a spot for the hurricane and candle to sit later on.
- Cut your evergreens so they are about 2-3" of leaves with an inch that is about 1" long.
- Starting on the outer edge, poke the stems of the evergreens directly into the floral foam.
- Then, fill in a second layer of greenery, slightly overlapping the first. Continue adding greenery until the entire form is covered.
- Add pinecones to the top of the greenery.
- Place your hurricane inside the center, then add a candle. Light and enjoy!




This DIY Christmas candle wreath is looking very pretty. I really liked how to made it. Thanks for sharing this tutorial.
i have a hugh pinecone and soaked it in water for about a hour. Then put the cone in a 200 degree oven. I looked at it in 20 minutes and noticed it was darker than when it when in. The cone was still opene when I put it in. It was closed when I took it out. It dawned on me that I had it on convection and this was baking my cones and not just drying them. Is this why my cone was tanned instead of bleached out?