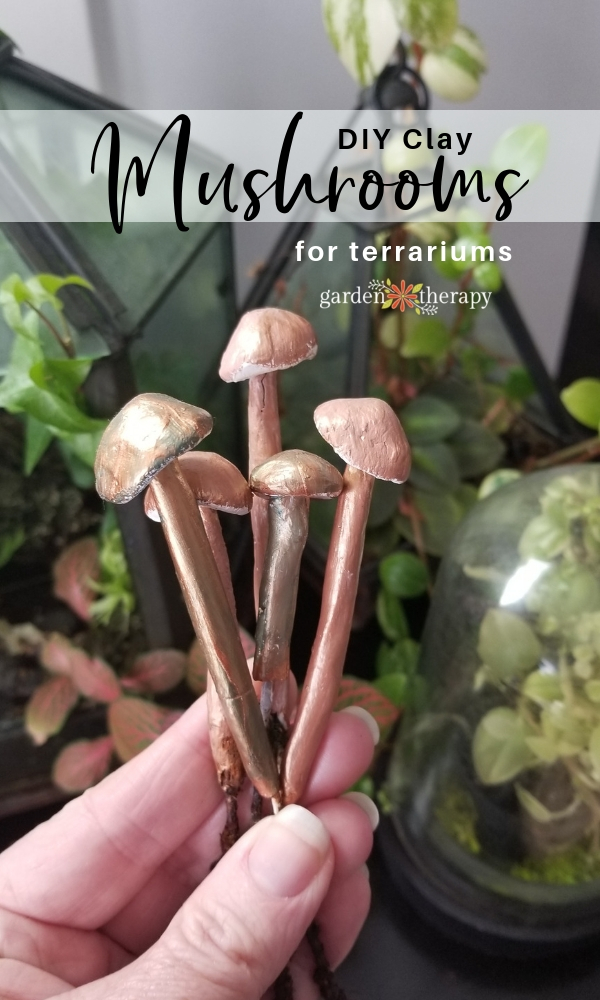
Looking for a simple way to add a spot of whimsy to your terrarium or indoor garden? Look no further than these DIY air dry clay mushrooms! Customizable in any color you’d like, these mushrooms are easy to make and bring a jolt of joy each time you see them. Follow this tutorial to make a few of your own!
Have you noticed how much I love terrariums? These sweet little living worlds are a fun way to bring your garden therapy indoors and a beautiful way to display your favorite houseplants.
However, terrariums aren’t just for plants! I love to add a few decorative elements to my terrariums along with the plants growing inside.
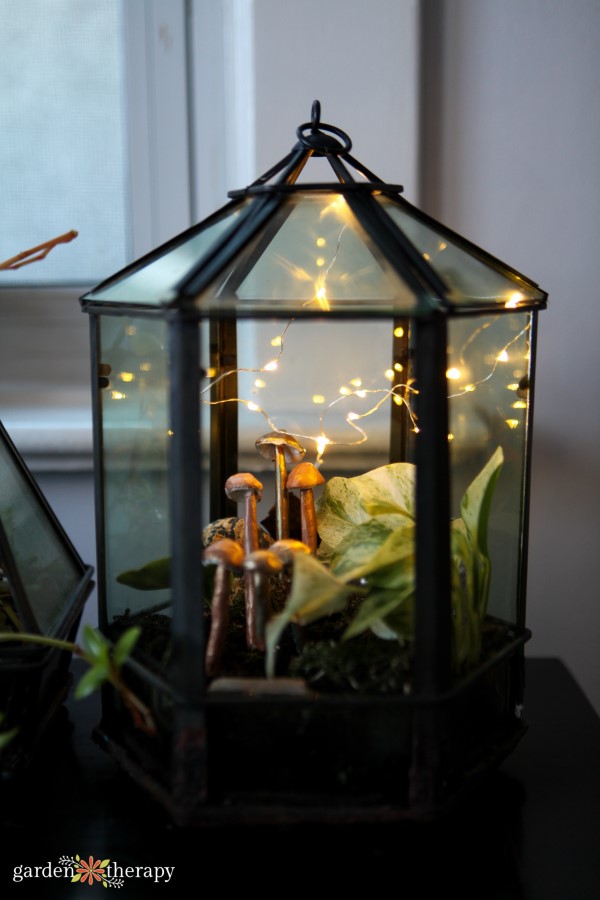
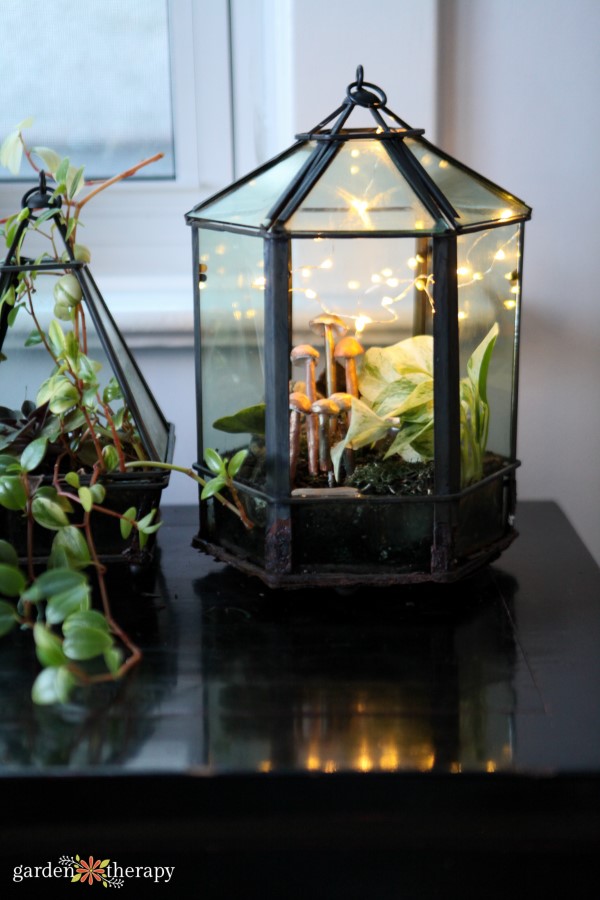
Some of my favorite additions include reindeer moss, polished river stones, fairy lights, and these adorable little clay mushrooms. They look natural while adding just a touch of whimsy to make my terrariums that much more enchanting.
In this post, I’ll show you the step-by-step tutorial for creating these fun crafts.
Jump ahead to…
Materials
To whip up these mushrooms, you’ll need a few craft supplies.
- Acrylic paints in your preferred colors—I used a metallic copper color, white, and teal
- Pottery sealer, such as Mod Podge
- Wire cutters
- 16-guage wire
- Air-dry clay
- Small paint brush
Make it!
Now that you have your supplies ready, let’s talk about how to make these clay mushrooms.
First, set up your workspace. You will need a clean, dry surface to roll and work your clay on. You can lay out some parchment paper on a table or countertop if you’d like.
I also like to keep a paintbrush and jar of water beside me when working with clay so that I can brush a little water onto the clay to fill in cracks as I go.
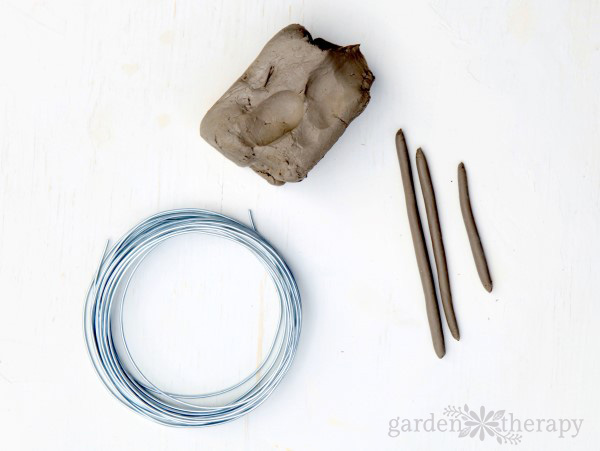
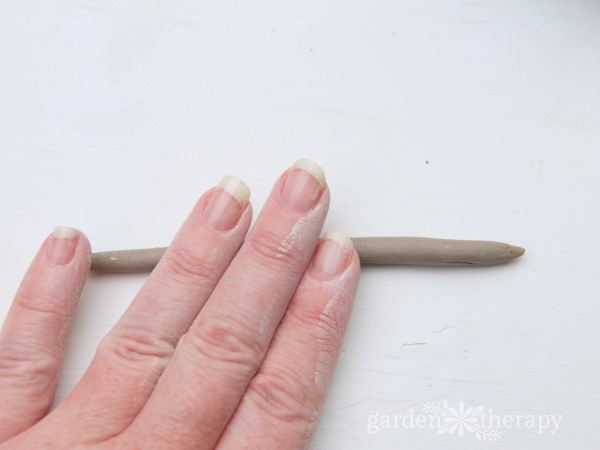
Begin by working a small piece of clay in your hands to soften it, and then roll it out into long cylindrical shapes (like a snake). This will become the stem of your mushroom.
Dab a little water onto the clay snake with your paintbrush to prevent and fill in any cracks.
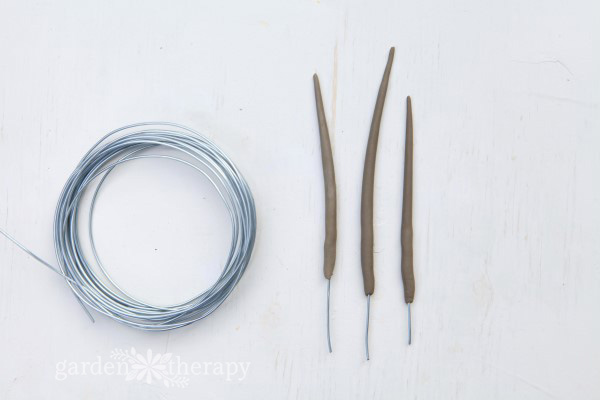
When your mushroom stem is the length and width that you want, measure and cut a piece of wire that is about two to four inches longer than the clay stem.
Next, starting at the bottom of the stem, gently poke your wire into the center of the clay and feed it up through the stem vertically so that the wire goes almost up to the top of the stem. You may have to reshape the stem around the wire a bit as you go.
Next, make the mushroom cap shape. To do this, start by rolling a small ball of clay, then push your thumbs into the top of the circular shape. Carefully press the sides to flatten and shape into a bowl.
Scratch some small crosshatch marks into the inside of the cap and the top of the stem where you want the two pieces to join. You can use a piece of wire to create the crosshatch marks.
Then, use the paintbrush to dab a little water onto the crosshatch marks on both the stem and the cap. Next, press the two pieces together firmly, crosshatched area to crosshatched area.
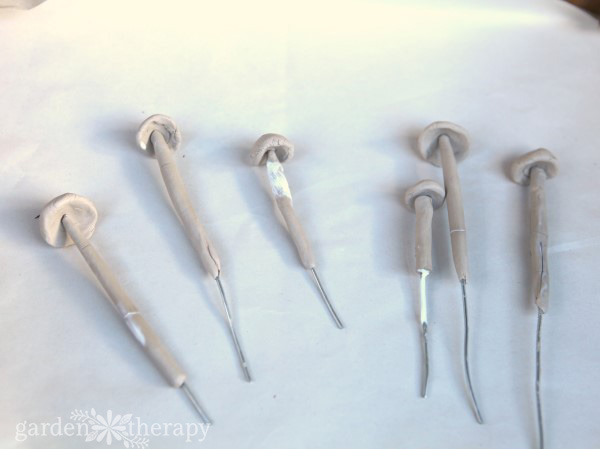
Finally lay the assembled mushroom out to dry on a clean surface covered in plastic. Let the clay dry according to the manufacturer’s directions.
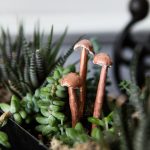
When the mushroom is fully dry, you can paint it any color you like. I used a metallic coppery color with white and teal details, but I think these mushrooms would also look lovely with white-dotted bright red caps, in vibrant rainbow colors, or muted brown and beige tones for a more natural look.
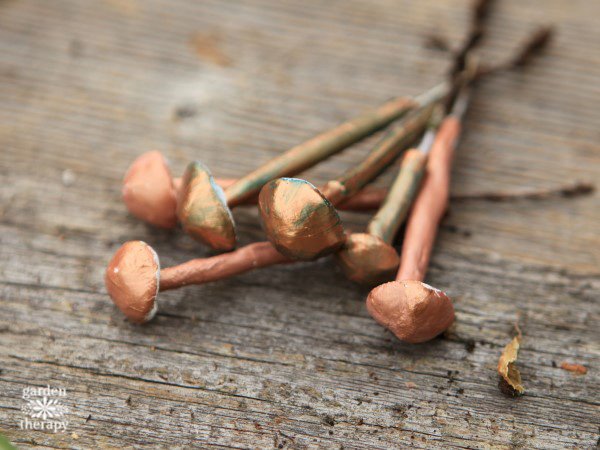
Add a coat of pottery sealer and you’re done!
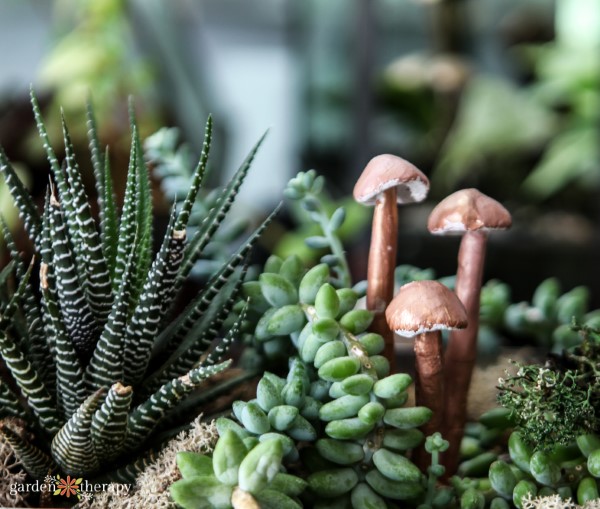
Lastly, the fun part: plant these sweet little fungi in your favorite terrariums and houseplants.
FAQs About These Clay Mushrooms
One of the best parts about this project is just how versatile it is. Outside of the terrarium, you can add these cute ‘shrooms to your magic fairy garden, add a string and use them as ornaments, hot glue them to a wreath to usher in the new year, or add them as decor throughout your home!
For this project, I used air-dry clay, but you could also make polymer clay mushrooms if you prefer. The main difference is polymer will need to be baked rather than air dried.
If you are looking for a pop of color, why not try the iconic red mushroom with tiny white dots? Simply paint the base of the mushroom red, then use a toothpick, pin, or the back of a thin paintbrush to dot on white paint.
Plus, you can also use different colors of clay as a base. Brown clay or tan clay is a nice neutral look that doesn’t need to be painted. You can even go wild and make neon mushrooms. Why not? The only limit to your creativity is your imagination. There’s no right or wrong here!
More Fun with Terrariums
- Indoor Plant Care: How to Refresh a Terrarium
- Essential Plants for Stunning Terrariums
- Make These Colorful Terrariums to Brighten Your Day!
- Create a Gorgeous Pebble Terrarium Garden
- Wait Until You See this Terrarium Nightlight!
DIY Clay Mushrooms
Equipment
- Wire cutters
- Small paint brush
Supplies
- Acrylic paints in your preferred colors
- Pottery sealer
- 16-gauge wire
- Air-dry clay
Instructions
- Start by creating the mushroom stems. To do so, decide how many mushrooms you'd like to make, then roll out long cylinders of clay, making one for each mushroom. Use your paintbrush to add some water onto the clay to help prevent cracking.
- Now get a piece of wire. Measure it to be slightly longer than your stem piece. Then, starting at the bottom of the stem, slowly thread it through the entire piece.
- Next, make the mushroom caps. Roll out a ball of clay for each mushroom. Then press your thumb into the ball to create a bowl-like shape.
- Use the wire to create crosshatch marks on the inside of the cap piece and the top of the stem piece where the two pieces will meet. Then dab a little water onto each piece and press them together.
- Let the mushroom dry according to the manufacturer's instructions. Once it is fully dry, paint the mushroom (if you'd like). Then, allow the paint to dry and apply an acrylic sealer. Let dry fully before adding to your terrarium!
A city girl who learned to garden and it changed everything. Author, artist, Master Gardener. Better living through plants.


Love them!! Will def be making lots of em!!
hi does the air dried clay get yucky in the humidity of a closed terrarium?
nope! Once it’s dry it stays like that. At least mine has.