How wonderful that gardening supplies have entered the hip world of West Elm Market, Willams-Sonoma and Anthropologie (via their sister garden & home shop, Terrain). The range of tools and accessories surely inspires new gardeners to set up a little green in their outdoor spaces and gives more seasoned green-thumbs some new ideas.
 The thing I have has my eye on for a while now is a twine dispenser. I really do use a lot of twine, be it for decorating craft projects like these Citronella CANdles, wrapping the greens on a Fresh Wreath, or Making a Pea Trellis. Knotted up balls of twine just slow me down so when I saw a few dispensers out there I was smitten…but WOW those are some prices!
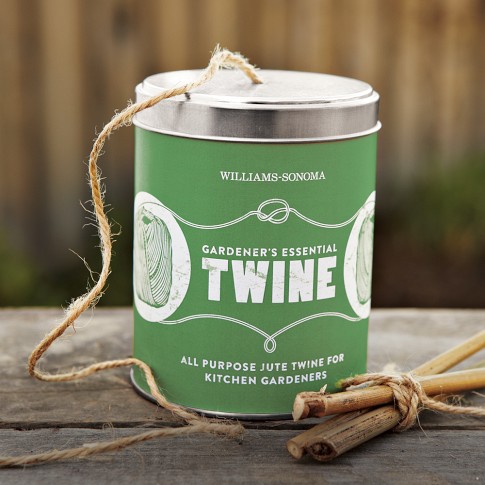
This jute twine at Williams-Sonoma was “Handcrafted in Scotland by a company known for its high-quality garden twine since 1922” for a mere $14.95 USD /$18.22 CAD.
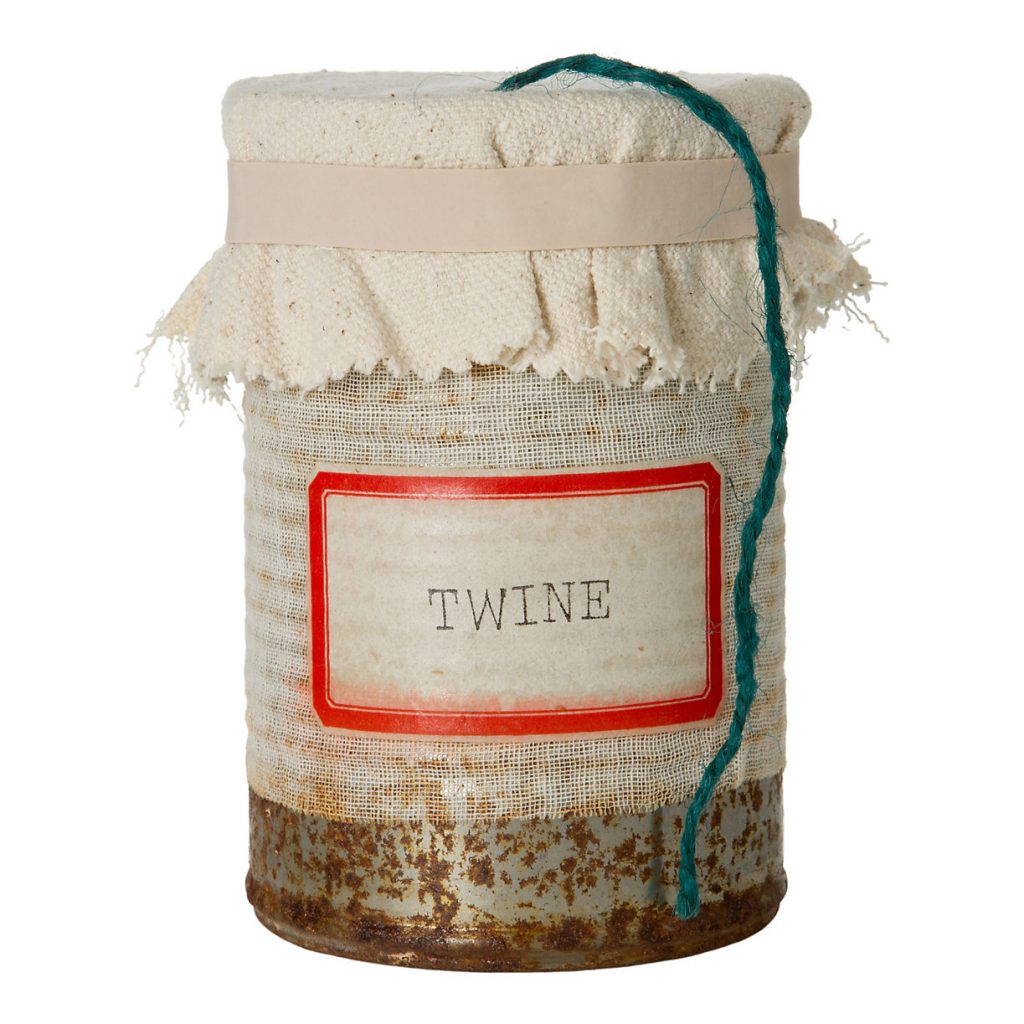
This twine can from Terrain is made of “Reclaimed tin cans…repurposed into these useful twine dispensers, no two of which are exactly alike” regularly priced at $12.00 USD.
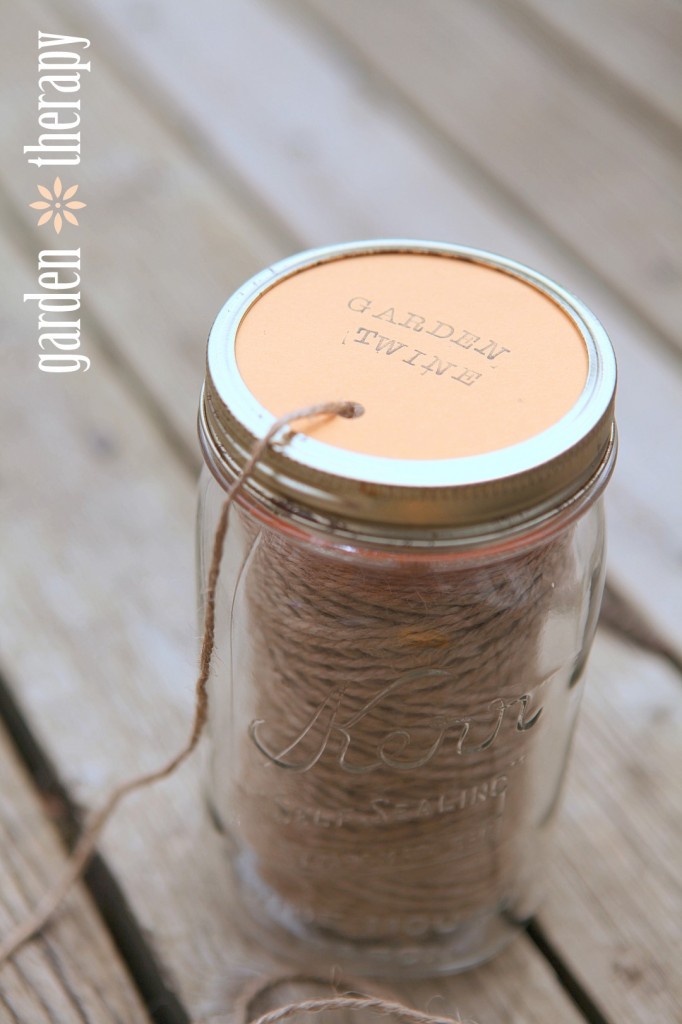
I get that not everyone has the time or inclination to make their own garden accouterments, but when a project is this easy, then why not? Go get some twine from your garden shed and a mason jar from your kitchen and let’s make one for nothing!
Materials:
- wide mouth glass jar with ring and snap lid
- twine
- pencil (optional)
- card stock
- scissors
- hole punch
- letter stamps
Directions:
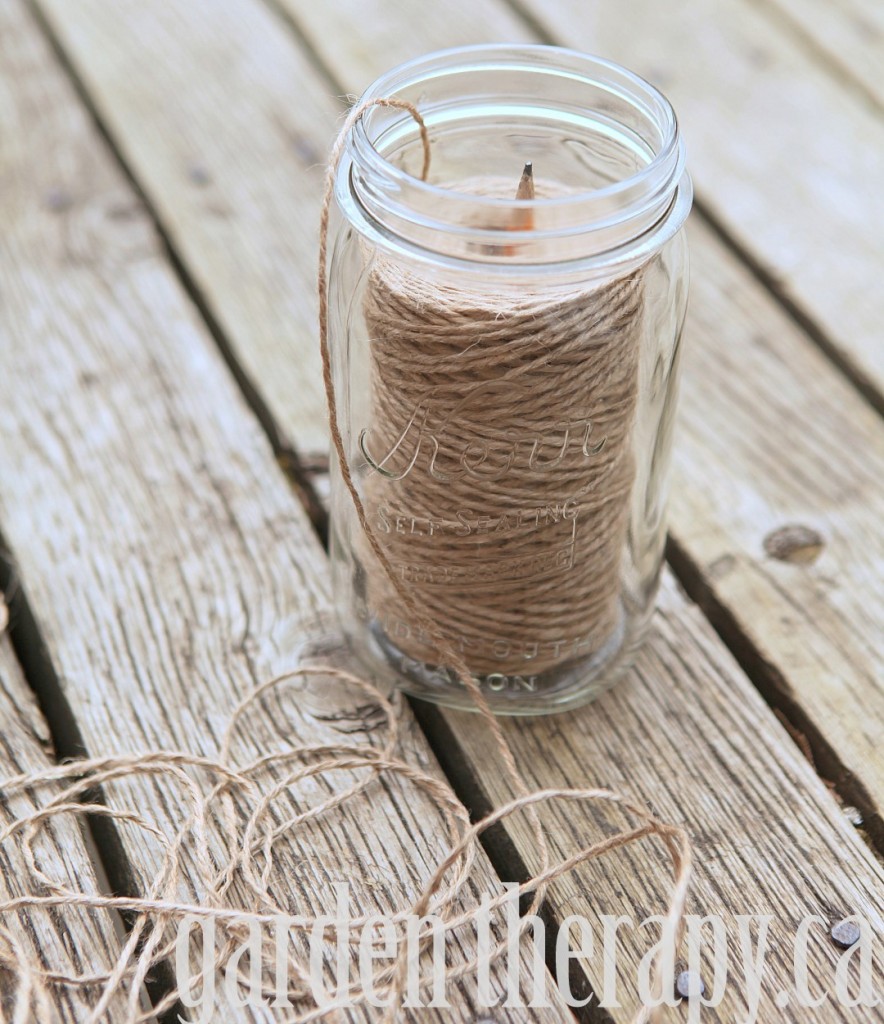
1. Poke the pencil through the center of the twine roll. You do not need the pencil to hold the twine, but it helps the roll unravel a bit more easily when the jute twine is wrapped around the bottom of the roll. If your twine is in a messy ball somewhere, then the pencil will also help you wrangle it into a usable roll. Just wind the twine evenly around the pencil so that the height and width of the final roll fits into the jar. If you choose not to use the pencil, just go to the next step.
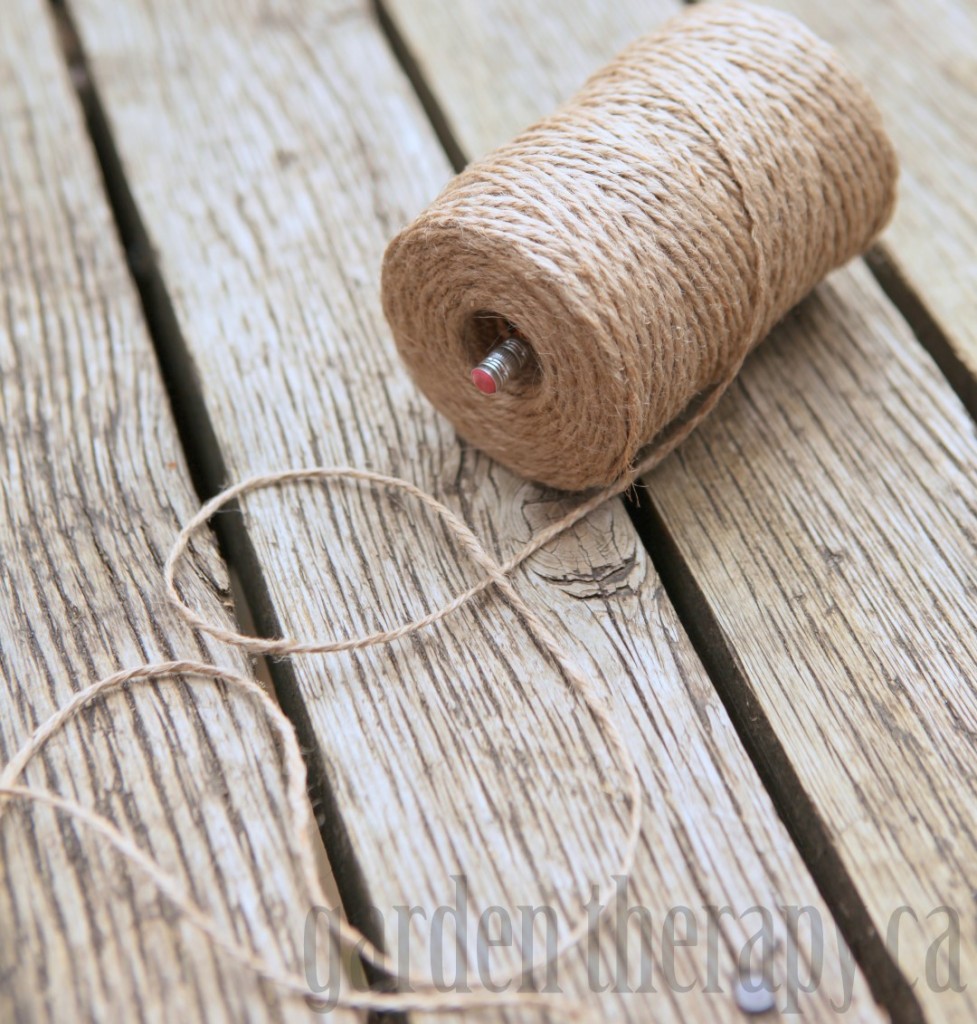
2. Insert the roll inside the jar, eraser side down (if using a pencil).
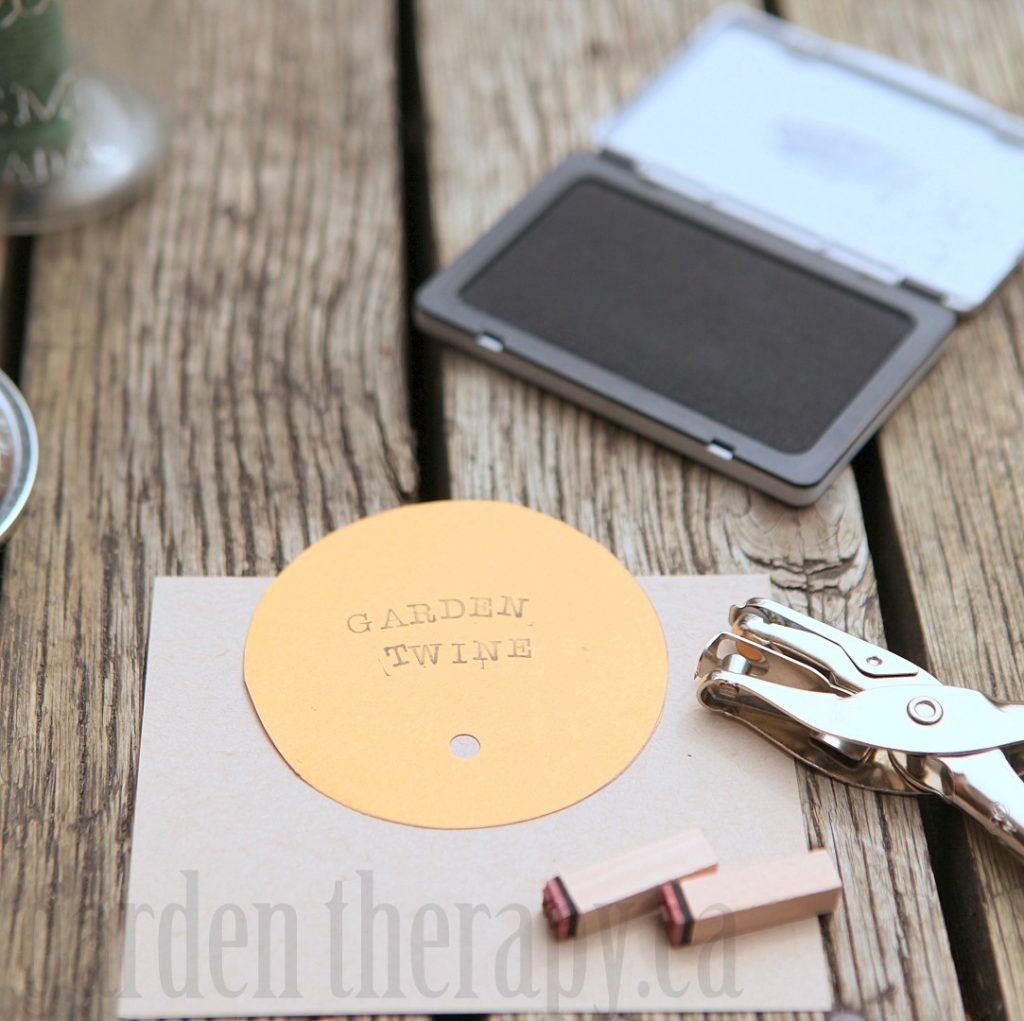
3. Use the snap lid as a template to cut the card stock into a circle. Use the hole punch to make a hole for the twine.
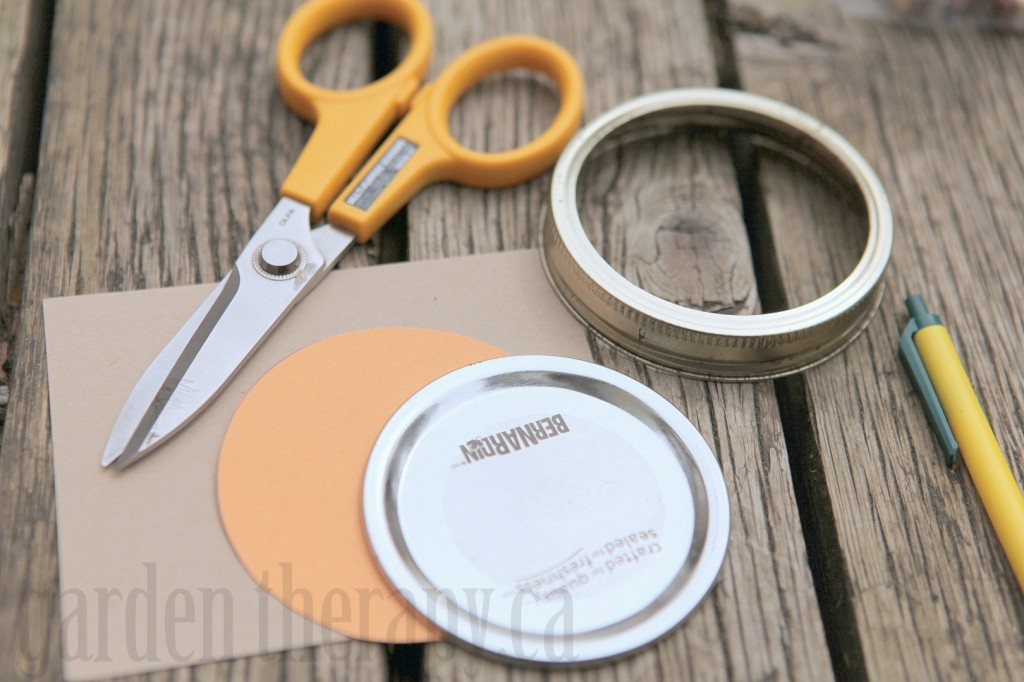
4. Stamp or otherwise label the card stock lid.
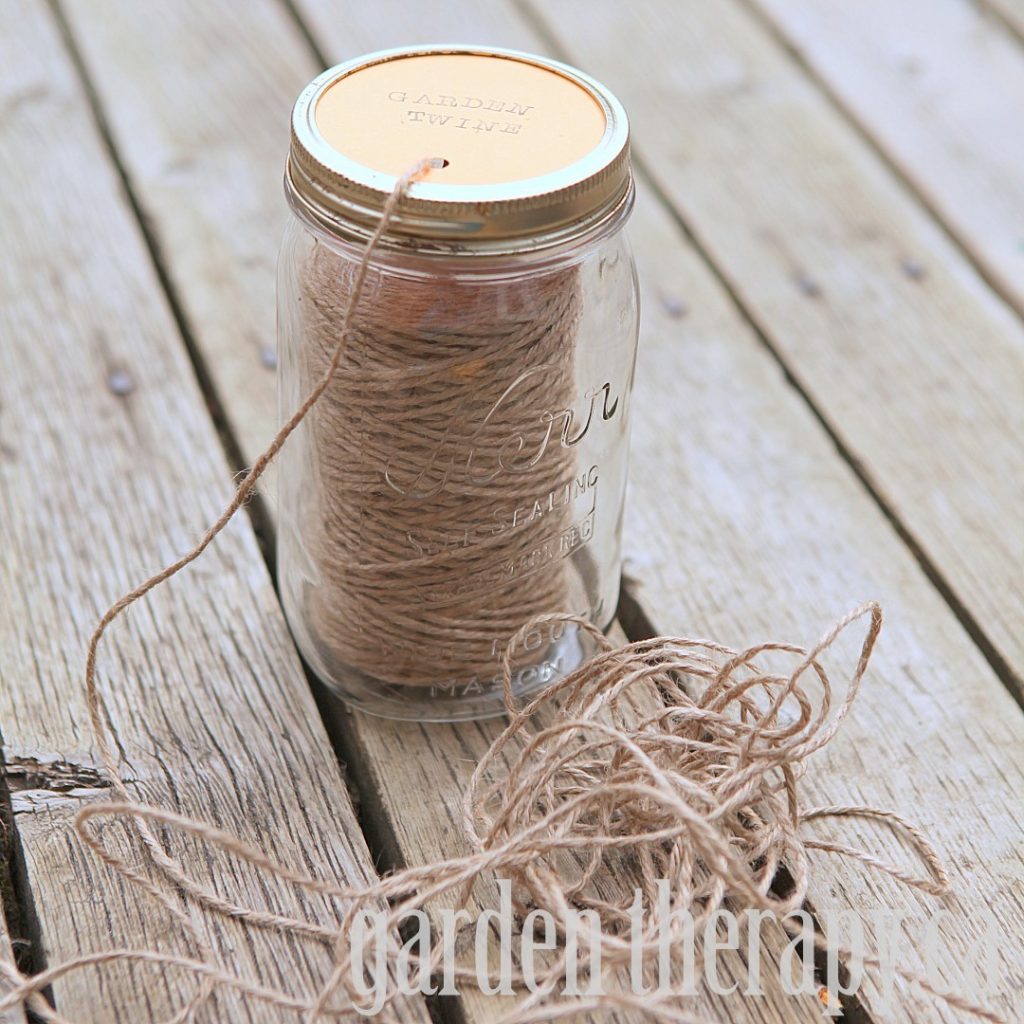
5. Thread the twine through the hole and assemble the lid of the jar.
For more ideas on DIY projects inspired by shop finds, check out these Chalkboard Painted Pots and Mason Jar Candles. There are plenty more ideas in the Weekend Projects Gallery as well.



Comments