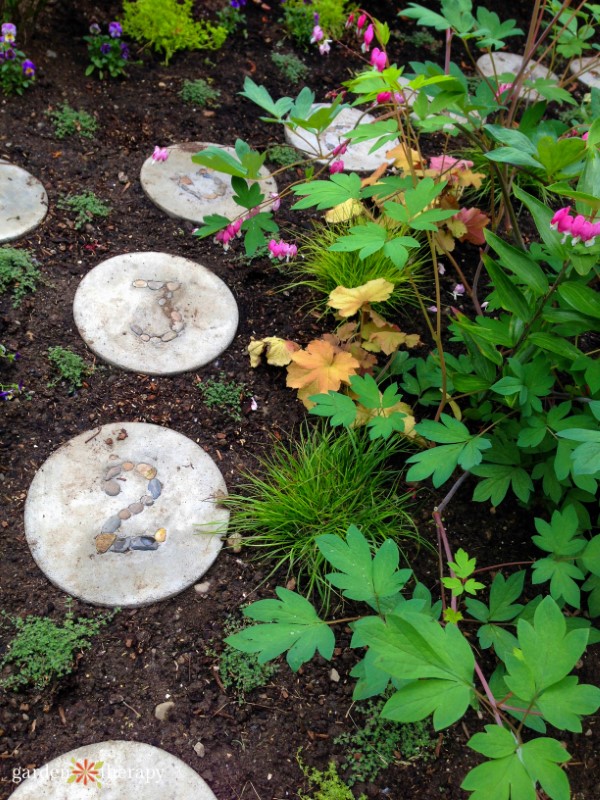
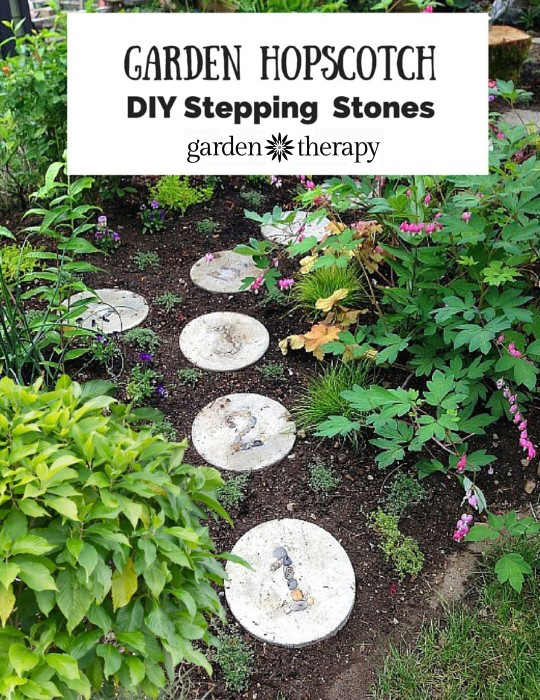
These hopscotch stepping stones aren’t the traditional children’s hopping game, nor are they typical for a garden pathway. I created these as part of the play garden design I have been developing since my son was born. 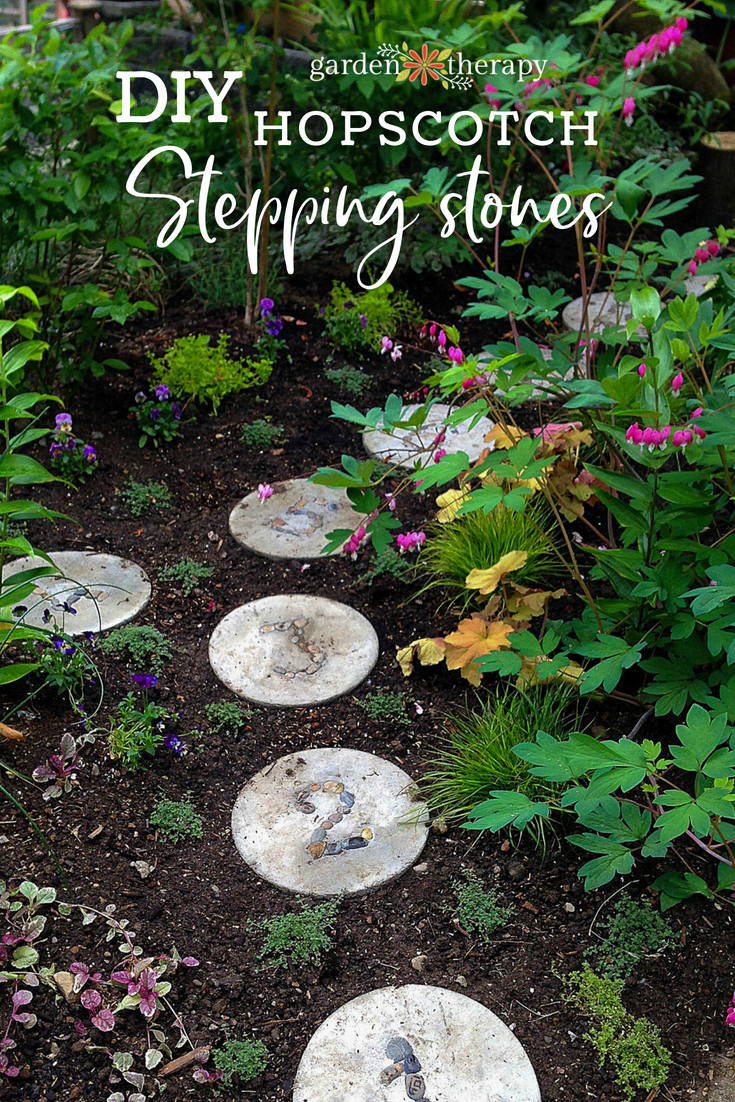
The idea behind the play garden is to create a space that is engaging for children while being aesthetically pleasing for grown-ups. I will be writing about the play garden elements over the year (perhaps years!) as the garden develops. In the meantime, I plan to show off the pieces that I’m working on along the way, starting with these hopscotch stepping stones.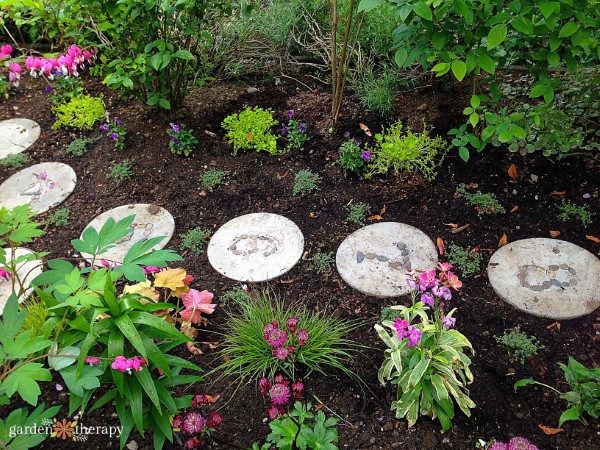
Making numbered hopscotch stepping stones is fairly simple and can be done in one afternoon.
Materials
(Makes 10 stepping stones numbered 1-9 and a dragonfly)
- 12” diameter concrete building tube
- Handheld circular saw or handsaw
- Painter’s tape
- Large sheet of paper as a guide
- Box cutter
- Tape measure
- Plastic drop cloth
- Wheelbarrow or large bucket
- 2 bags of standard concrete mix
- 1 bag of sand/topping concrete mix or repair concrete
- Shovel and trowel
- House numbers 1-9 (optional)
- Pebbles or small stones
- Safety gear – safety glasses, rubber gloves, ear protection

Make it!
First of all, let’s talk safety. Concrete is toxic to skin and can be corrosive. No matter how ‘tough’ you are, just protect your hands with gloves. I know they aren’t fun to work with, but stay healthy, folks. Also, please use safety gear to protect your eyes and ears when using power tools. You only get four of them!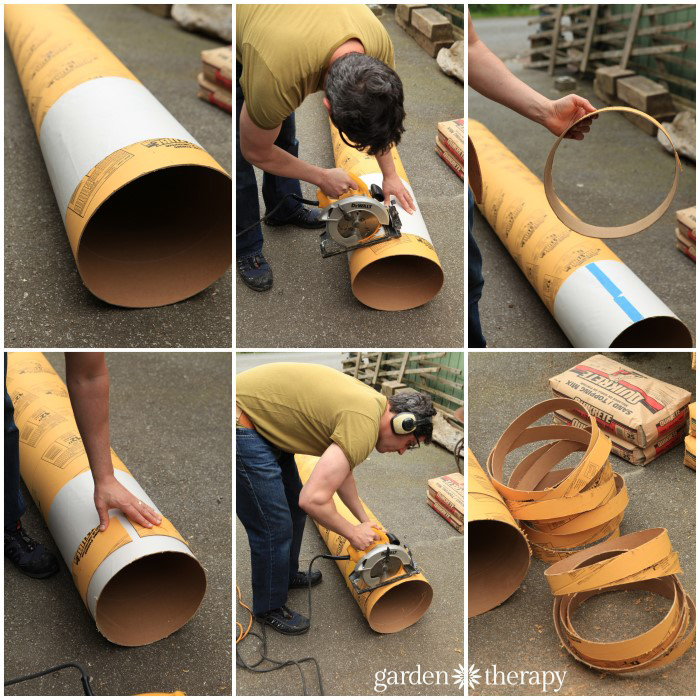
Cut the concrete form into 10 2-inch thick molds by using a handsaw or a handheld circular saw. Use a sheet of paper wrapped around the tube as a guide and carefully cut the first ring off the tube. Cut it open by using a box cutter to slice through the ring’s width. Place the cut ring on the tube to use as a guide for all the remaining cuts. Tape the ring together and place it a fraction more than two-inches from the end if you are using a handsaw, or place it where the guide runs if you are using a handheld circular saw.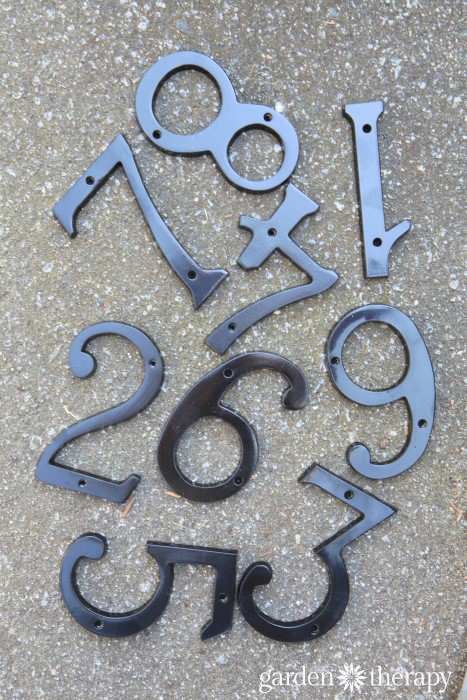
Now plan for how to make the numbers. There are a few ways of doing this:
- Lay out the stones first so you can simply transfer them to the concrete when ready, or
- Get a bunch of house numbers to use as a guide. You will make an imprint of the house number and use that to set the stones in place.
Set the rings on a plastic drop cloth and mix the standard concrete according to the instructions on the package. Fill each of the molds ¾-full of concrete and use the trowel to smooth it out. Take care to remove any air bubbles. This base layer gives the stepping stones strength.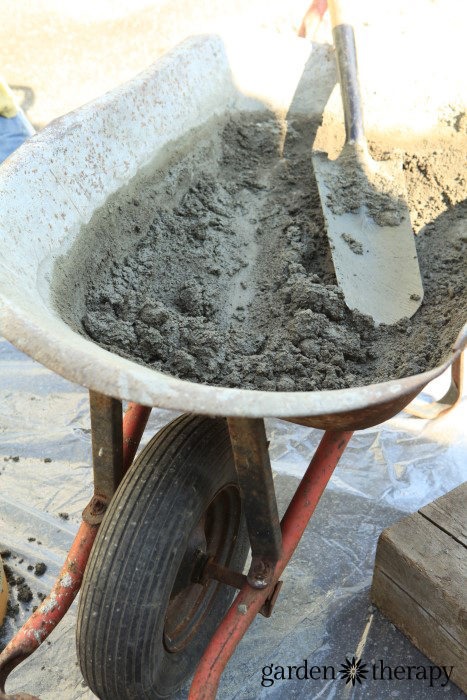
Mix the topping or repair concrete and add it to the top of each stepping stone. This layer gives the stepping stones a smooth, refined top.
Working quickly before the concrete hardens, it’s time to add the stones. If you have two people working together, one can be pouring concrete and smoothing while the other sets the stones in. We used house numbers as a guide, but you can freehand it, use a foam number, or even just draw an outline with a stick. Once you have your method, start adding stones one by one, fitting them like a puzzle until you get your 1-9 completed.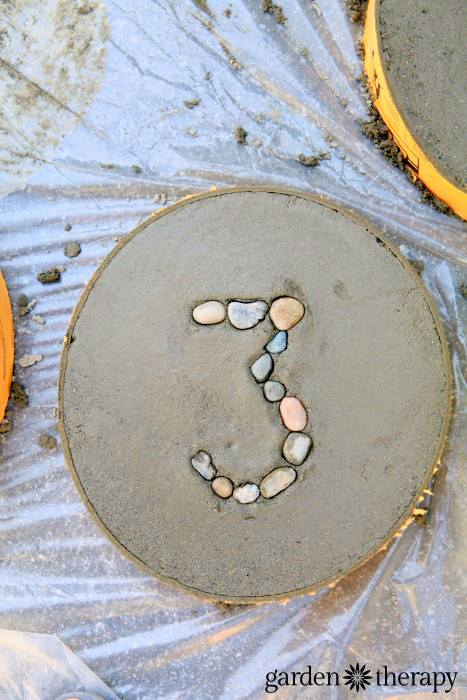
Gently push a bit of concrete around the stones with your fingertips just to set them in place. If any do fall out, you can always glue them back in. I’m happy to report that not one of our stones fell out! That surprised me in a very good way.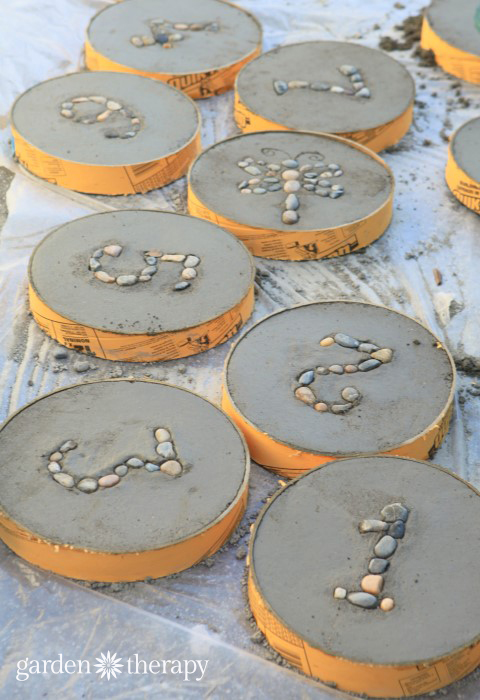
Cover the stepping stones with a plastic drop cloth and let dry for 24 hours. The next day, remove mold and set them in an airy place for a week to cure before moving them to the garden or lawn.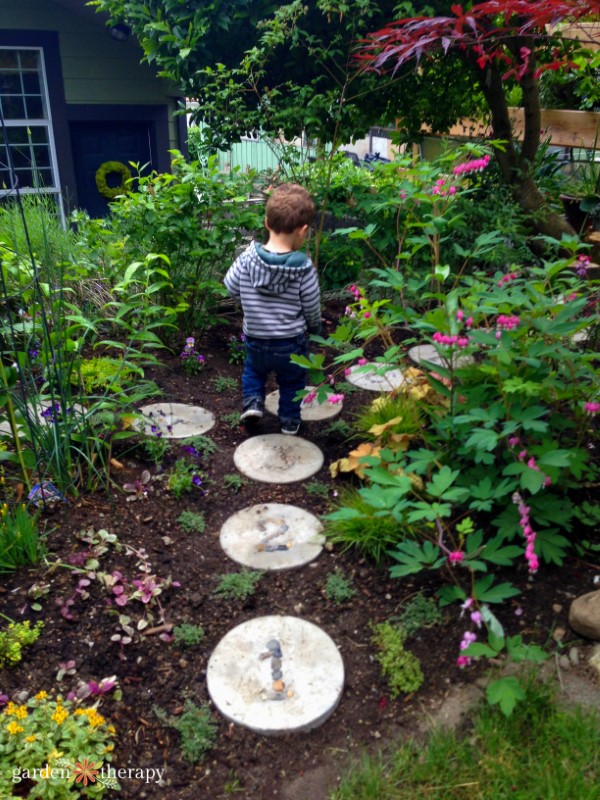
I set the hopscotch stepping stones through the garden surrounded by woolly thyme. As you can see, it still has to grow in. I used 56 plants so it should be a fuzzy, fragrant carpet surrounding the hopscotch in no time!
If you liked this project you will LOVE these:
More Ideas for a Play Garden!
- Super Cool Edible Plants for a Fun and Educational Kids’ Vegetable Garden
- How to Make a Whimsical Bean Tent
- Tour the NYBG Children’s Adventure Garden
- Fairy Light Project: DIY Solar Light Chandelier
- Come Visit a Play Garden!
- Garden Play: Using the Senses to Engage Kids in the Garden



I love the idea of incorporating play elements into the garden. I don’t have children myself but I do have 16 nieces and nephews, so I try to have something for everyone.
I never would have thought to use house numbers as a template, what a great tip!