Cutting gardens are all the rage this season. There is something about growing flowers for the pure beauty of it that is just magical. While fresh flowers in the garden or cut and placed in a vase are gorgeous, they are, unfortunately, impermanent. You can preserve the delicate beauty of the flower garden by pressing your favorite blossoms and displaying them in frames. This is a wonderful gift idea and a lovely way to preserve flowers that have a special meaning (perhaps those that were once in a wedding bouquet or commemorate another important event). Read on to learn how to frame pressed flowers and which blooms to choose.
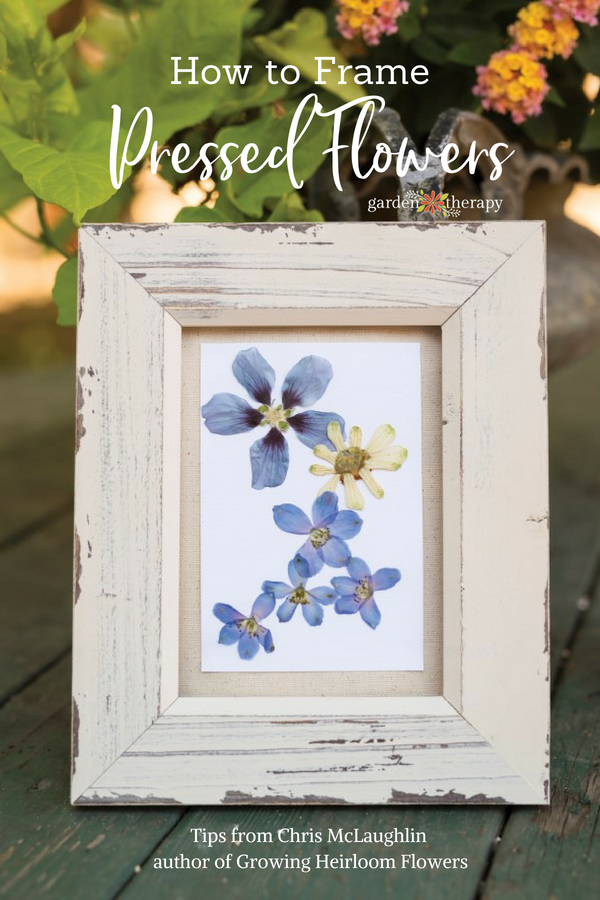
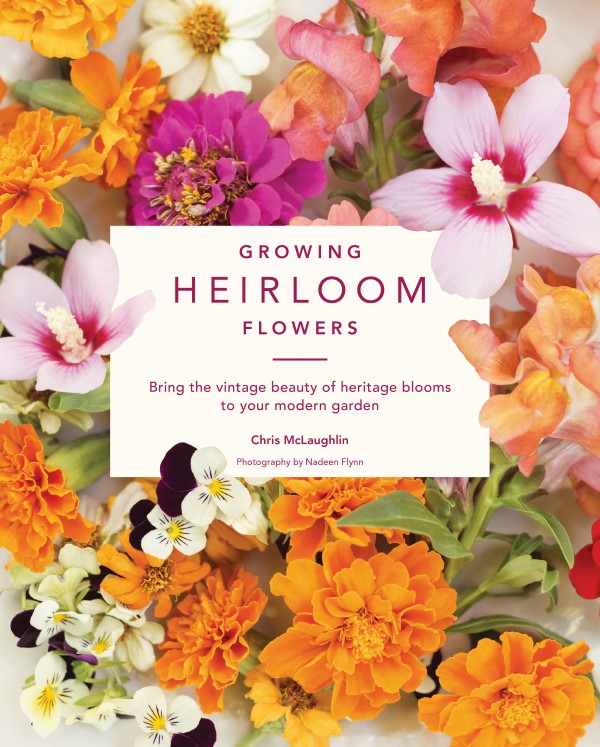
Chris McLaughlin’s beautiful new book, Growing Heirloom Flowers: Bring the Vintage Beauty of Heritage Blooms to Your Modern Garden, is a celebration of the gorgeous heritage flower varieties that people have treasured for generations. The book is filled with lush photography, tips on how to grow an heirloom flower garden, and a ton of simple DIY projects for getting crafty with the flowers you grow. Chris has been kind enough to share her tutorial on the best way to frame pressed flowers, along with a list of the best heirloom varieties for pressing.
How to Frame Pressed Flowers
By Chris McLaughlin
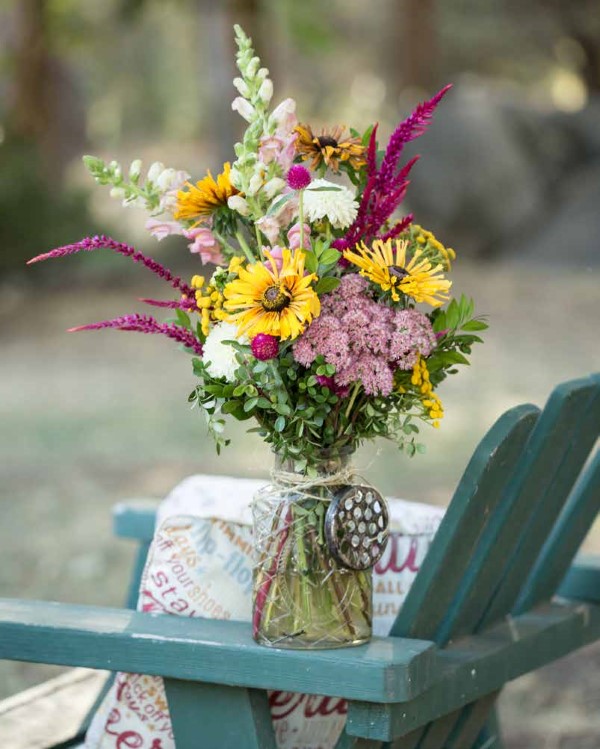
How special is it when the botanical art in your home comes from the flowers in your heirloom garden? Remove flower heads from the plant in the late morning on a dry day. By 11:00 a.m., the dew will have evaporated, yet the afternoon sun will not have had time to wilt the flowers.
Heirloom flowers that press well include:
- Calendula (Calendula spp.)
- California poppies (Eschscholzia californica)
- Chocolate daisy (Berlandiera lyrata)
- Coreopsis (Coreopsis spp.)
- Cosmos (Cosmos bipinnatus)
- Dahlias (Dahlia spp.)
- Delphiniums (Delphinium spp.)
- French marigolds (Tagetes spp.)
- Japanese anemone (Anemone japonica)
- Johnny-jump-ups (Viola tricolor)
- Larkspur (Consolida ajacis)
- Nicotiana (Nicotiana alata)
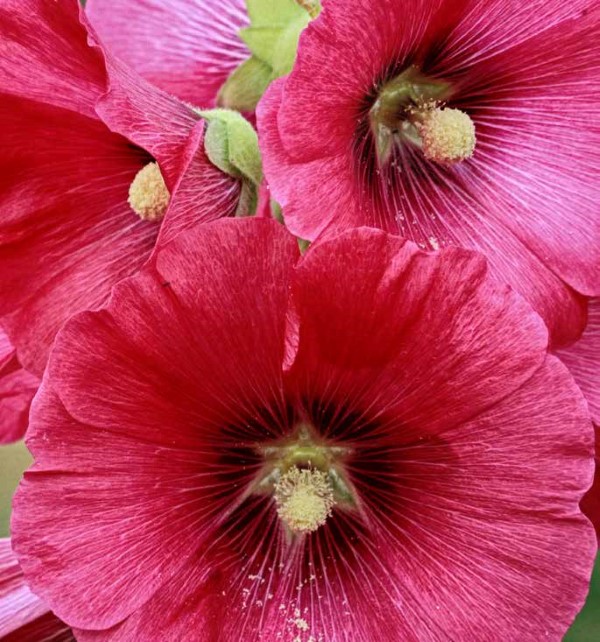
- Rose-of-Sharon (Hibiscus syriacus)
- Zinnias (Zinnia spp.)
Pressing Flowers Using Books
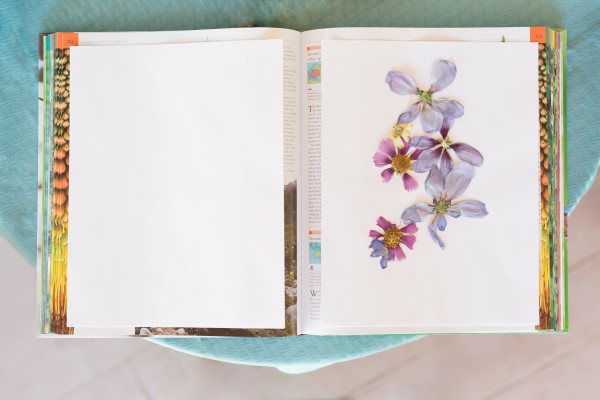
Open the first third of a large, thick book. Lay a piece of printer paper on one of the pages and place flowers on the printer page so they are not touching. Flowers with thick centers, such as marigold, dahlia, and zinnia, should have their petals pulled free from the heads before placing them in the book. Don’t forget to write the name of the flowers at the bottom of the paper.
Place another piece of paper over the flowers you just laid out so that they are now sandwiched between both sheets. Carefully grab the next one-third of the book pages and close it so that the flowers are sandwiched between the printer paper and book pages. Repeat the process using the same book.
Keep the pressed flowers evenly weighted by placing more books (or a cinderblock) on top of the pressed flower book. In two to three weeks, carefully open the book and remove your dried, pressed flowers.
A Simple Way to Frame Pressed Flowers
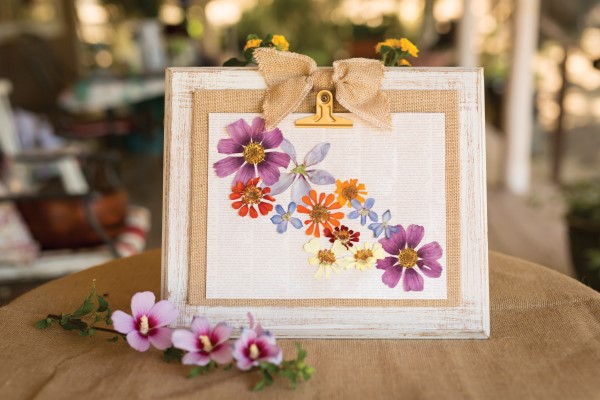
Framing pressed flowers so they become unique art pieces for the home is so simple, you’ll want to make several more for gift giving. Have a variety of decorative paper on hand both for gluing the flowers onto, as well as a larger, background sheet that “frames” the art.
Materials
- Picture frame
- Ruler
- Decorative sheets of paper
- Scissors
- Pressed flowers
- Tweezers
- White craft glue
- Small bowl
- Toothpicks
Make it!
Remove the glass from the picture frame.
With a ruler, measure the back of the picture frame and make sure that the paper you’d like to use as a background is the same size.
If the frame is a different size, use the ruler and the scissors to cut the paper so it fits properly. You can glue the flowers onto this paper or you can use this paper to “frame” a smaller piece of paper that has the glued flowers.
If you choose to use a paper that fits the frame, as well as a smaller one that has the flowers, you’ll need to cut the one that will have the flowers on it about 1 inch smaller than the larger paper on all sides.
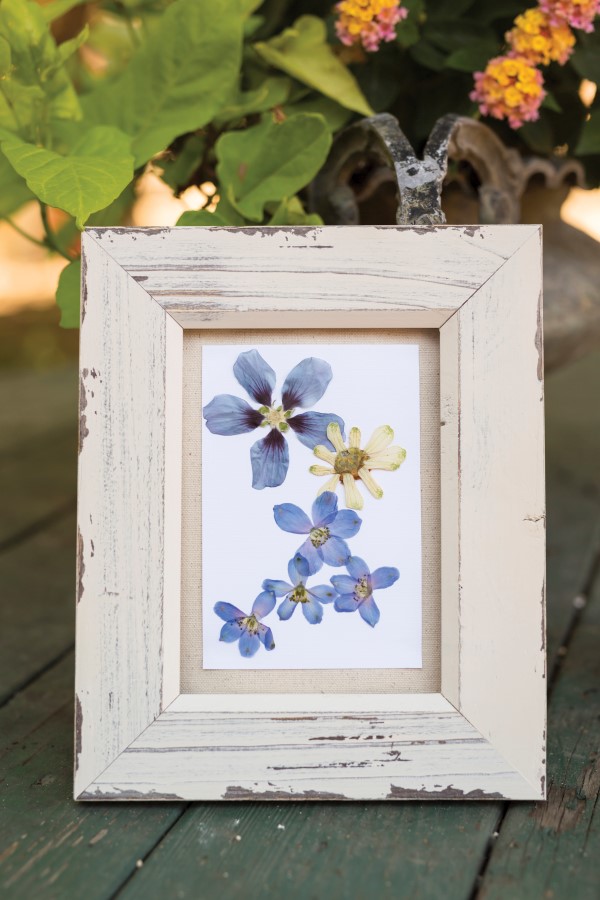
Choose the flowers you’ll use to create your botanical art piece. You might use various flowers that are all the same color tones. You could choose just two or three flowers, or just one type of flower. You could place the flowers separately or lay them on one another to look like a bouquet.
Using the tweezers, arrange the flowers on the paper until you’re happy with the design.
Squeeze glue from the bottle into the small bowl for easy access.
Pick up the flowers with the tweezers and use a toothpick to place a small spot of glue on the back of a flower. Glue the flower onto the paper.
After you have finished creating the design, let the glue dry overnight. Then put the frame back together with the flower art inside.
Excerpted from Growing Heirloom Flowers: Bring the Vintage Beauty of Heritage Blooms to Your Modern Garden © Chris McLaughlin, 2018. Used with permission from Cool Springs Press. Photography by Nadeen Flynn.
Giveaway!
Cool Springs Press has generously provided a copy Growing Heirloom Flowers to give away to one of our readers. Simply leave a comment on this post by June 13th, 2018 to enter and be sure you are signed up for our newsletter to get news and special offers we don’t share anywhere else. This contest is open to residents of the continental US and Canada, except Quebec and where prohibited.
About the Author
Chris McLaughlin is a writer and author whose hands have been in the soil for nearly 40 years. She became a Master Gardener in 2000, followed up with specialty certificates in wildlife, children’s, and vegetable gardening. She’s the author of seven books, including A Garden to Dye For (St. Lynn’s Press) and Vertical Vegetable Gardening (Alpha Books). Her work can be found in Fine Gardening Magazine, Hobby Farm Home Magazine, Urban Farm Magazine, The Heirloom Gardener Magazine, and Mother Earth Living. Online, she’s a staff blogger for Finegardening.com and has written for a variety of sites. Chris and her family live on a flower and fiber farm in the Northern California foothills where they grow flowers, food, and Angora goats. You can track her down at her brand-spanking-new website, FlowersInk.com.
More Fun with Flowers!
- Woodworking for Gardeners: Make a Handmade Flower Press
- Preserving the Ornamental Garden: How to Dry Flowers, Leaves, Stems, and Pods for Crafting
- Beyond the Garden: Getting Creative with Begonia Crafts
- Creative Gift-Giving with DIY Pansy Crafts
- Preserve the Beauty of the Garden with Cyanotype Sun-Print Cards
- A Sweet Garden Party Treat: Edible Flower Lollipops


I think I see some marigolds there?! I just planted some yesterday in my garden in hopes to attract more bees! This book would be wonderful to have information on hand about planting more flowers to help all of the little pollinators out there! I am now on my way to make a bee watering ‘pot’…I have glass pebbles leftover from babyshower decorations I made. I LOVE THE BEES! :) -Cammi
What a fabulous book! I started a cut flower bed this year so I’m reaching out to every resource!
Thanks for sharing how to frame up pressed flowers to keep them permanently pretty. I love to do pressed flowers but usually just leave them idling in the books which I pressed them as I do not know what to do with them. I simply have too many of them. Shall try to frame them up and send as gifts to my friends.
I love learning about gardens, flowers, edible flowers and herb gardens, I’ve been learning so much, and love sharing with others. I used to press flowers when I was younger, I’d love to do this again to give as gifts,
Thankyou for this information and for pinning. Great idea
What a beautiful book from the cover-I am so excited about possibly winning it!
I love flowers-all kinds-I must have plants and flowers around me for the joy I feel.
Thank you!