Hydrangeas look amazing even as they dry on the shrub. Harvest some of the flower heads this fall to make a beautiful dried wreath that will last throughout the season. Follow these tips to make this easy hydrangea wreath with just two materials.
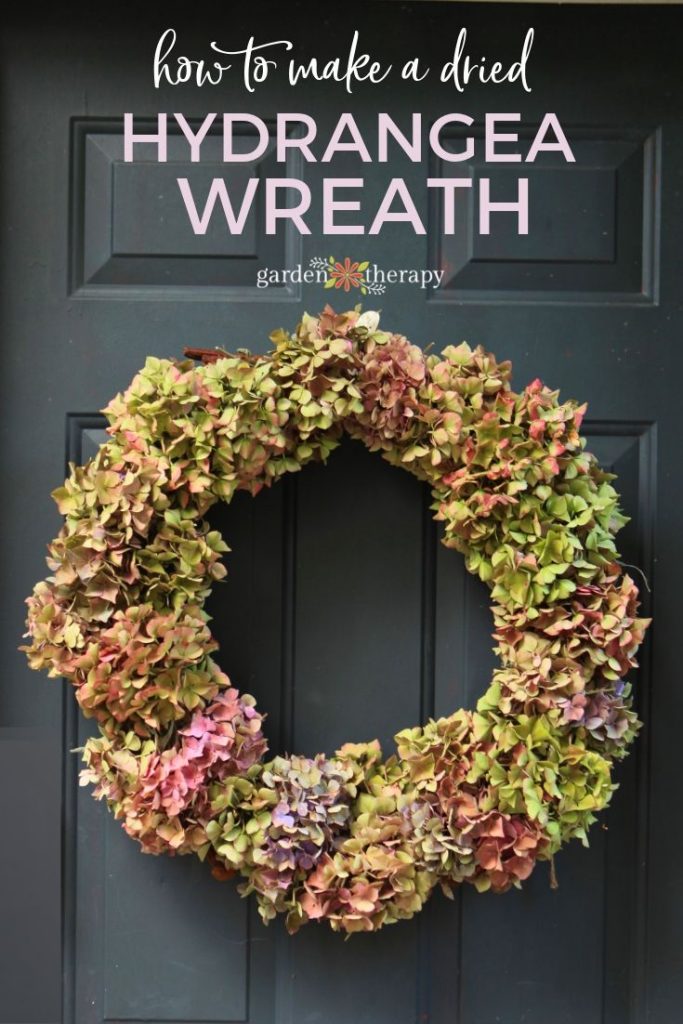
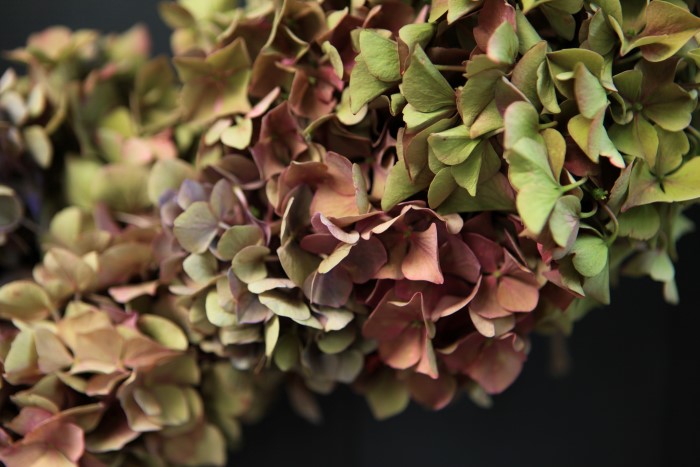
Dusty rose, chartreuse, and violet. These are the colours that make me think of fall decorating, at least when it comes to decorating with hydrangeas!
They may be pink, purple, blue, or white on the shrub, but as they dry, they take on the muted romantic hues that grace my front door.
Before you set off and cut all the blooms of your backyard plants, read this Essential Guide to Hydrangeas first. It covers the different types, growing tips, how to change the colour of hydrangeas (!), propagating, and pruning advice.
The last one is what you really want to pay attention to here—pruning to remove the blooms for crafting is great, but do it so that the health of your plant comes first (and you get blooms again next year!).
Let me share my tips for making a hydrangea wreath with you!
- Harvesting Hydrangea Flower Heads for Crafting
- How to Make a Dried Hydrangea Wreath
- Materials
- Make It!
- Hydrangea Wreath FAQ
- More Fall Crafting Projects
Harvesting Hydrangea Flower Heads for Crafting
First, it’s important to know what type of hydrangea you have. Hydrangeas that bloom on old wood should be pruned carefully so you’re leaving behind as much of the stem as possible.
If the hydrangea blooms on new wood, you can prune back much further.
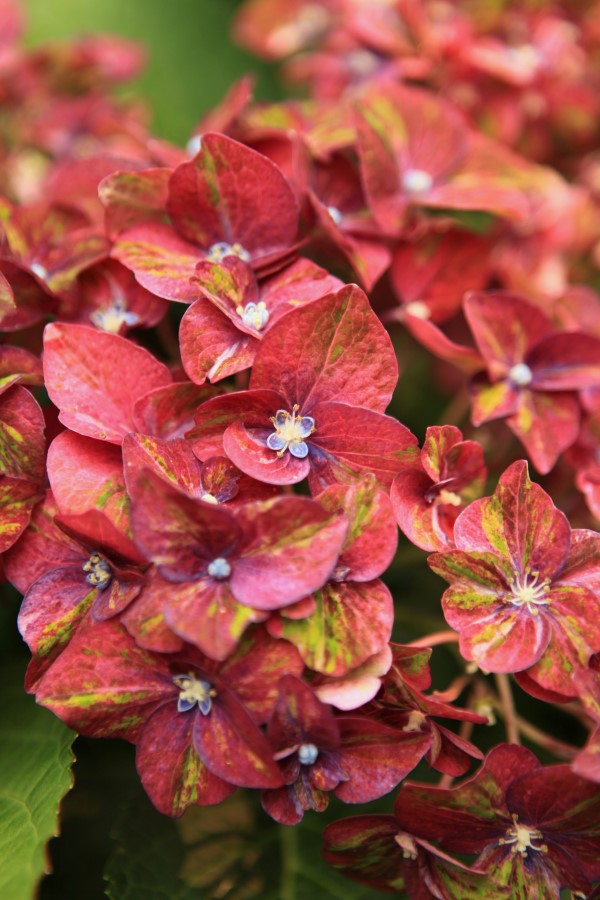
The next step is to learn about how to dry hydrangea blooms so that they retain their colour. You want to let the hydrangeas dry partially on the shrub. They should still maintain their shape, but will start to have a papery feel. Some colour should also remain.
To keep them looking radiant and gorgeous, you’ll want to dry them in a couple of inches of water. Let them slowly dry and soak up the water. Once the water is gone, the hydrangea should be ready to go.
How to Make a Dried Hydrangea Wreath
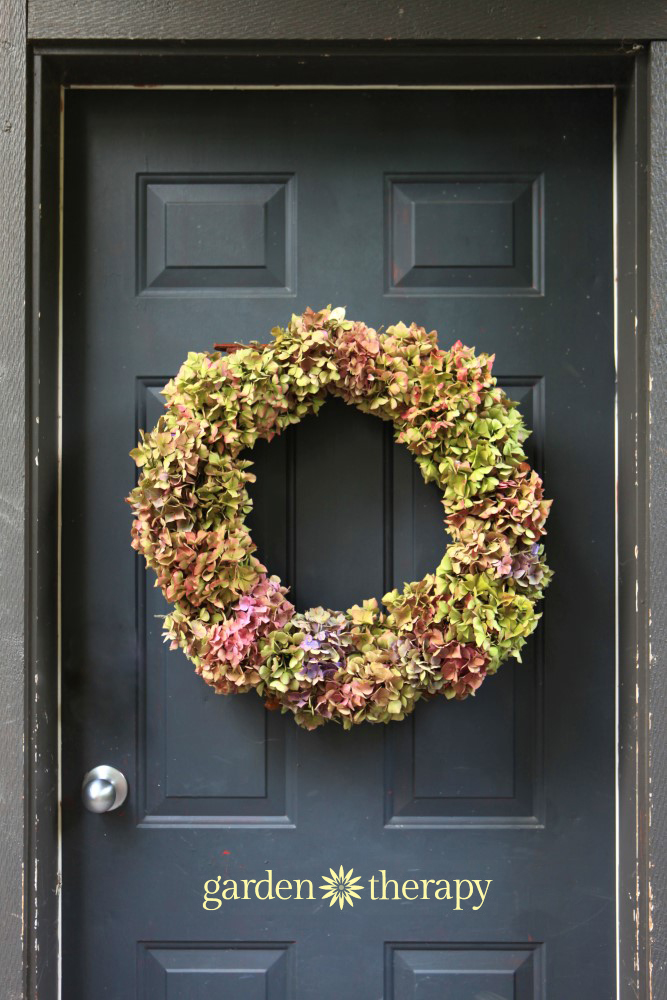
I make plenty of wreaths, and some of my favourites are those made entirely with one kind of foliage or flower. This hydrangea wreath looks full and beautiful, using just hydrangea flowers.
Now, shall we get on to the wreath making? Let’s go!
Materials
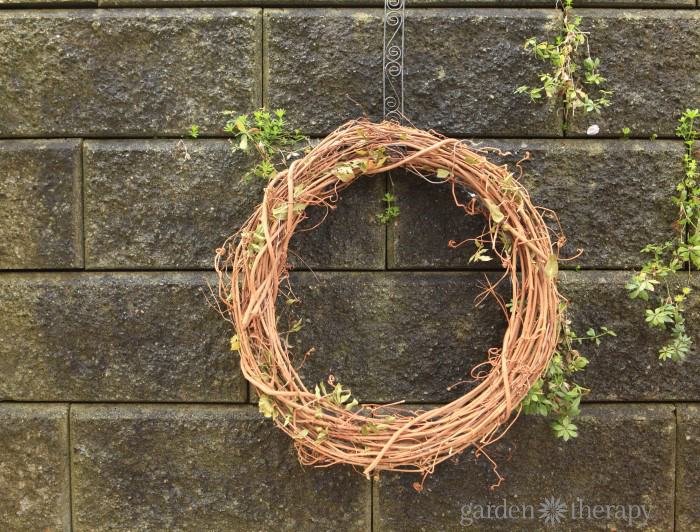
- Grapevine wreath (make your own)
- Hydrangea blooms
- Floral wire (optional)
- Wreath hanger
Make It!
Start with a grapevine wreath that you can either purchase or make yourself. With a good wreath form that has plenty of twisted branches, you really won’t need much else to hold the branches in place.
Cut the hydrangea blooms with a nice long stem, about 12″. You can trim it afterwards, but this way it will be much easier to set in the wreath form. I always find that I need twice as many as I think I do, so cut lots of them to get a full, lush wreath.
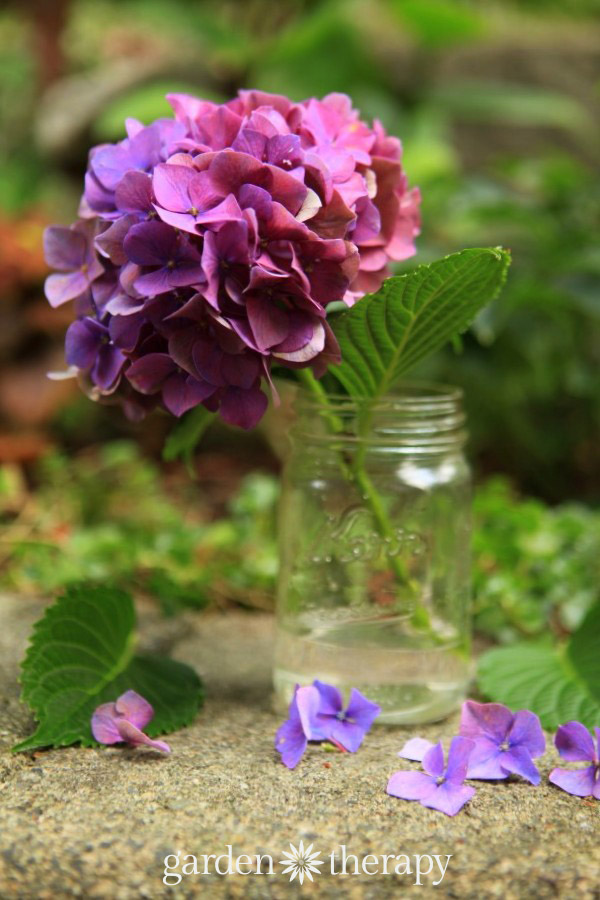
Add all stems to mason jars with an inch or so of water. Remember the advice on how to dry hydrangeas to retain their colour? That’s what this is all about.
But instead of letting them dry all the way to crispy, remove the stems as soon as the water is gone. This is when we make the wreath. The blooms are still pliable enough that they won’t crumble when you work with them, but they have dried enough on their own that they will retain some colour.
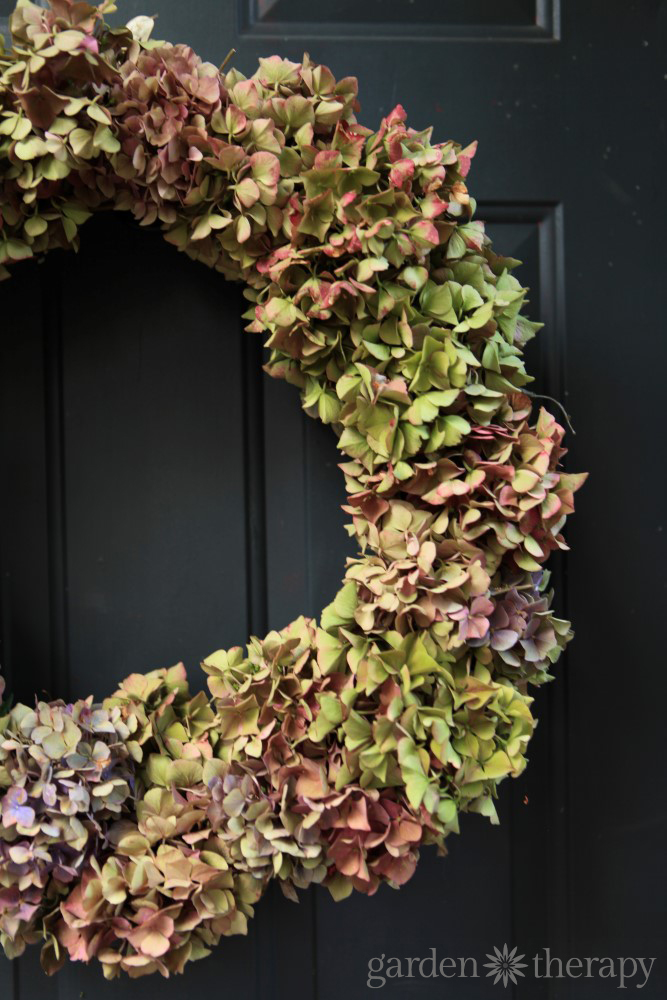
Weave the ends of the stems through the grapevine wreath so that the bloom is tightly secured in the grapevines. You can use a little florist wire to secure the stems if you would like, I never seem to have need to though. They stay put just fine as long as nobody slams the door!
Add the blooms all the way around, choosing different sizes and shapes to make sure that the wreath is even and full throughout the wreath. I like to keep a pretty clear center to the wreath, so that it looks like a wreath more than a blob of flower heads.
You can now add a ribbon or decorative wreath hanger. I like to use a magnetic wreath hanger on my metal doors for a clean look. Whatever you choose is up to you–there are so many options!
Hydrangea Wreath FAQ
I don’t spray mine, and it lasts well. When dried, the wreath will be delicate, and the petals will eventually break up, especially in a high-traffic area. That being said, spraying some hairspray on your dried flowers can help them last longer and not fall apart.
It sounds like the hydrangeas weren’t ready to be used for the wreath. They should be left on the shrub until they naturally begin to dry and the petals feel papery. Once cut, they should be further dried by leaving them in a vase with an inch of water. This allows them to slowly dry. By the time the water is gone, the hydrangea should be mostly dried and ready for crafting.
More Fall Crafting Projects
- Preserving the Ornamental Garden: How to Dry Flowers, Leaves, Stems, and Pods for Crafting
- A Fabulous Fall Bleached Pinecone Wreath
- These Festive Pinecone Firestarters Make a Crafty Gift and a Fun Project
- DIY Pumpkin Spice Candle in a Real Pumpkin
A city girl who learned to garden and it changed everything. Author, artist, Master Gardener. Better living through plants.


I am so impressed with how knowledgeable you are… especially when it comes to hydrangeas. I am also impressed with how artistic and talented you are when it comes to gardening. The wreath looks so elegant and lovely. Thank you for sharing this great tutorial!
This is gorgeous! Such great tips, pinning this! I kill every hydrangea I have, but buying the ones from the store and keeping them in a vase til they dry may be what I’ll do to create one of these. Just love it!
This is stunning to look at! I love this wreath.
Thank you for sharing this with us on the #HomeMattersParty. We hope to see you again when we open our doors on Friday at 12 AM EST.
Love the wreath – it’s gorgeous! It makes me envious of your plants – my yard is sorely lacking in nice plants to spruce up the front and make DIY wreath. thanks for sharing on Wonderful Wednesday blog hop!
Should I buy some spray to help preserve them
Hi Ann, I don’t spray mine and they last very well. No additional chemicals needed! But they are delicate so eventually they break (because I’m not as careful as I should be).