Loofahs may be the most unique and fun vegetable around. Thanks to their spongy inside, you can use these vegetables as a natural exfoliant and cleansing brush. Placed inside a soap, you have a luxury experience where you can clean, exfoliate, and moisturize all in one go! Here’s how you can make your own gorgeous loofah soap.
Have you ever used a sponge or loofah to wash in the shower? It creates such a nice lather that feels so soft on the skin. Plus, I know I’m not missing any spots compared to when I use a soap bar on its own.
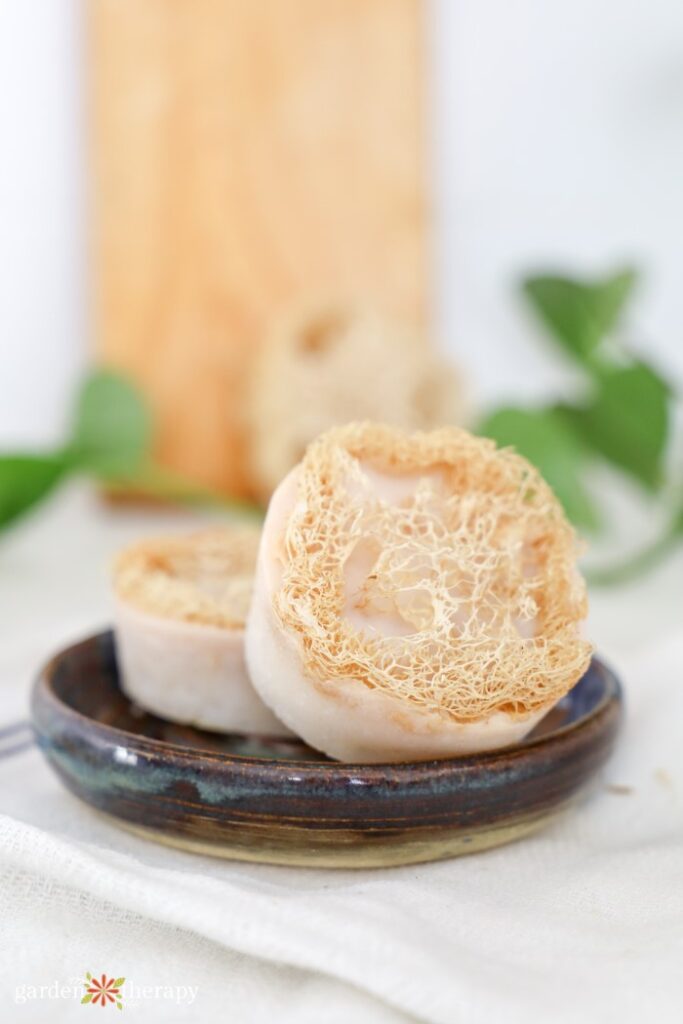
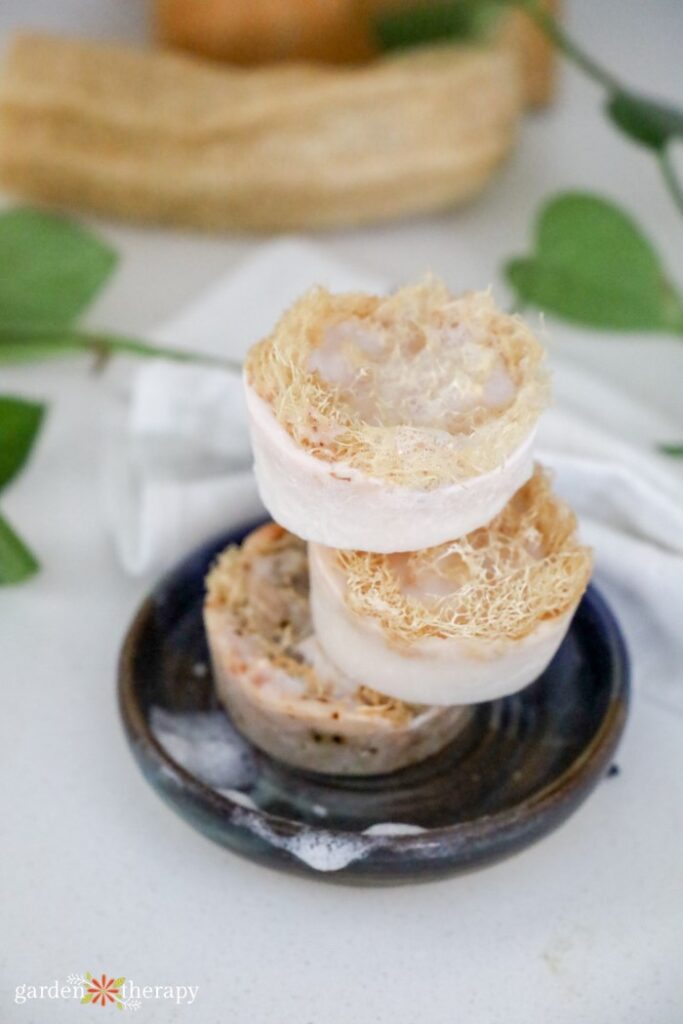
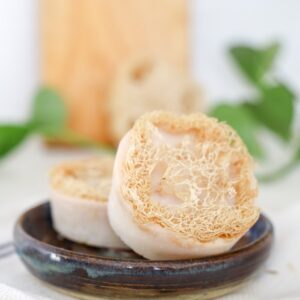
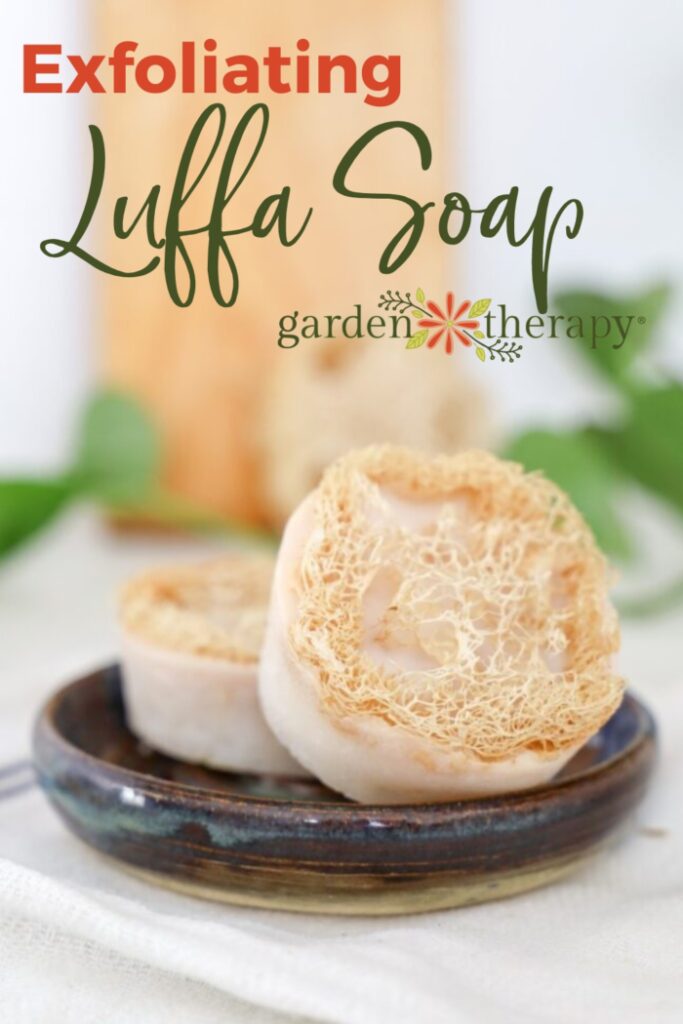
My loofah soap uses a natural loofah made from a vegetable. Nestled inside the soap, it works well to lather up and gently exfoliate the whole body.
It’s wonderful in the shower and looks amazing for gifting!
Jump ahead to…
- What is a Loofah?
- How to Make a Luffa Soap Bar
- Materials
- Dry Your Loofah
- Cut Your Loofah
- Make Your Soap
- Pour Your Soap
- Let the Luffa Soap Cure
- How to Use Your Loofah Soap Bar
- Frequently Asked Questions About Loofah Soap

What is a Loofah?
A loofah is a type of gourd that grows on vines. It has a zucchini-like appearance and grows on vines. The plant originated in South Asia, but now many gardeners grow loofahs to eat and use in their showers.
Loofahs have a fibrous inside that act like a sponge when dried. People love to use it as a natural sponge in all kinds of fashion, including loofah soap!
The terms loofah and luffa are interchangeable, so you may notice I use either. Just know that it means the same thing.
Be sure to check out this post all about the loofah plant and how to grow them!
How to Make a Luffa Soap Bar
This luffa soap bar is a saviour in the winter when my whole body is so so dry. I can quickly exfoliate my body while soaping it up with this gentle and natural exfoliant.
Materials
- 50/50 soap blend recipe
- Silicone cupcake mould
- Full-size loofah (or grow your own!)
- Grapefruit essential oil
- Madder root powder
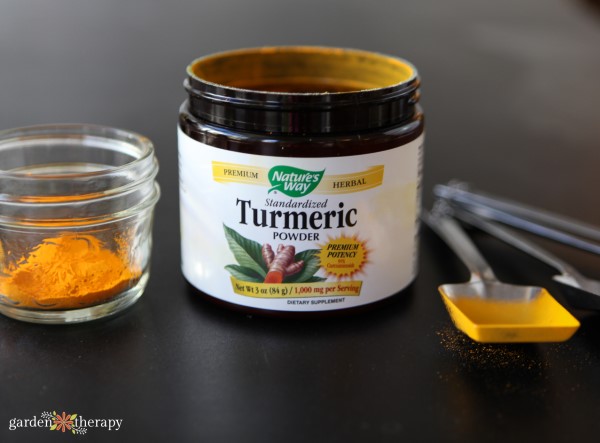
- Turmeric powder
Dry Your Loofah
You can either grow luffas yourself or buy them. Regardless of how you get your luffas, you must ensure they’re completely dry before making them with soap.
If the loofah is dried already, it might be squished or shrunk. Soak it first to get it back to its full size. Then, let it dry again.

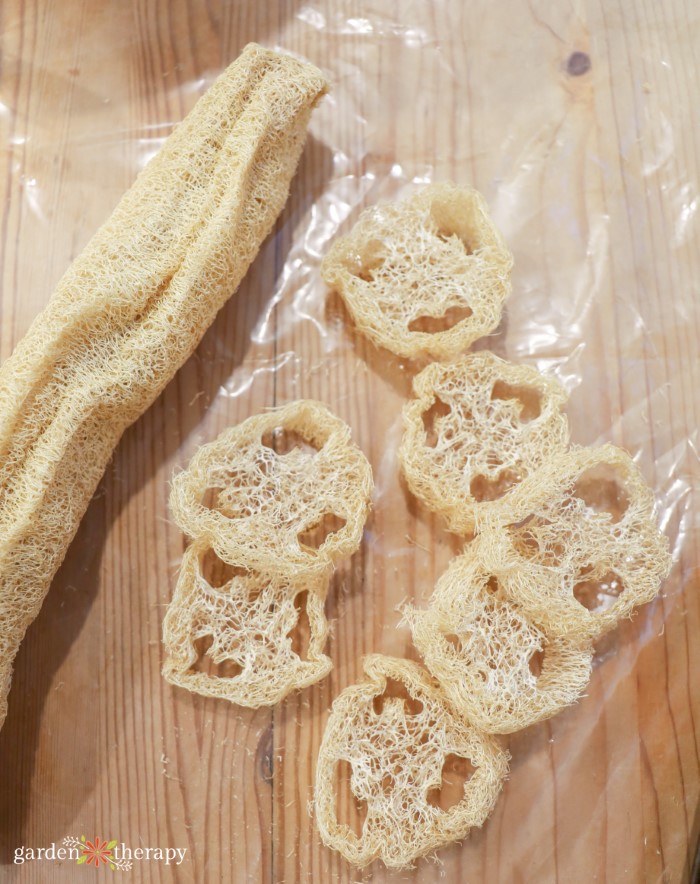
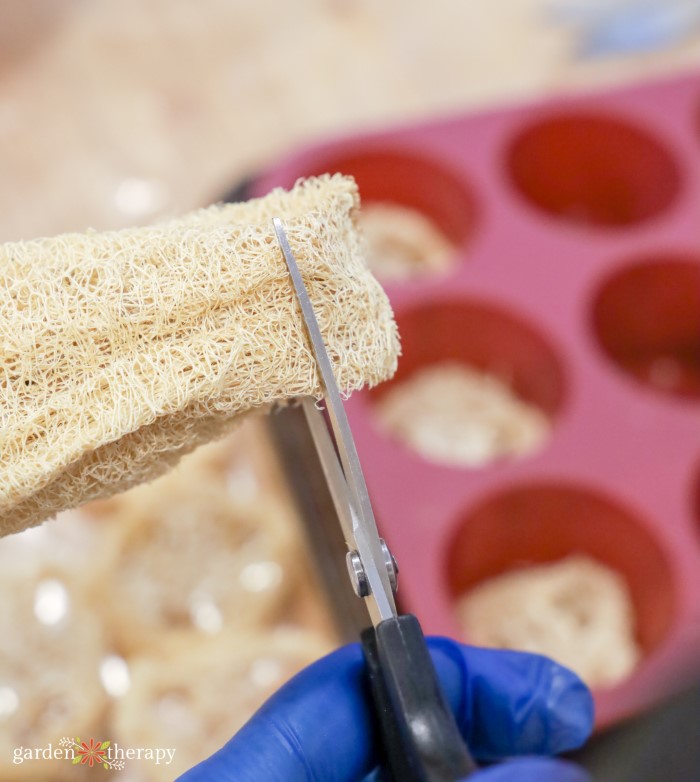
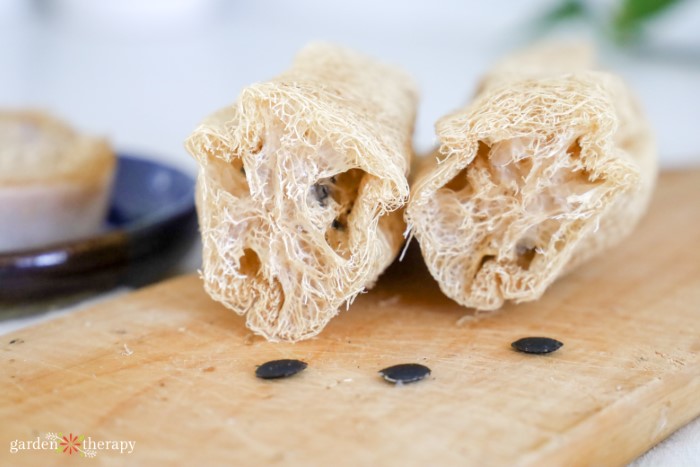
Cut Your Loofah
You need to cut your loofah into slices for your soap. The thickness depends on personal preference, but anywhere from a ¼” to 1” is a good size for your loofah soap.
I like to cut the loofah before I soak it, but you can also cut it after. Whichever works best for you!
When cutting, take out any seeds. You don’t want the seeds to go into the soap as they will start to decompose. But don’t worry, the loofah itself won’t decompose.
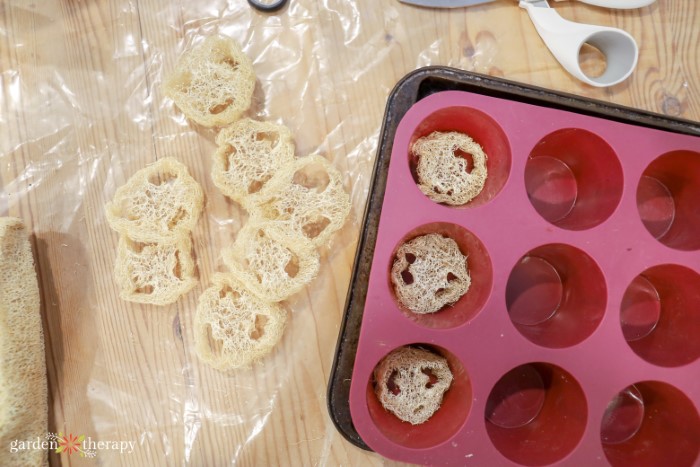
Once cut, make sure to pre-measure the loofah to the silicone mould. Ensure all the loofah slices fit in the mould and sliver off any edges that make it too big.
Make Your Soap
For my soap with luffas, I used my 50/50 blend recipe. This recipe blends coconut and olive oil for a very silky and moisturizing soap which is perfect while you exfoliate your skin with the luffa.
For scent, I added grapefruit essential oil at trace. I wanted this to be a bright and cheerful soap to accompany its lather and scrubbing nature.
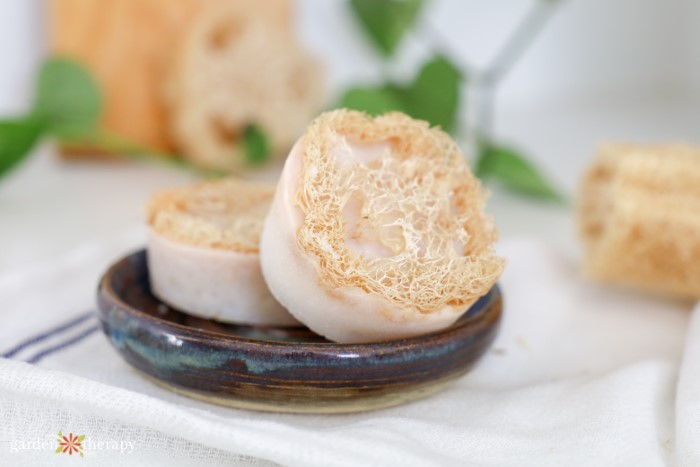
For colour, I wanted it to have a mild and soft pinky-orange colour. I added just a hint of madder root powder and turmeric also at trace and blended it to make this warm off-white colour.
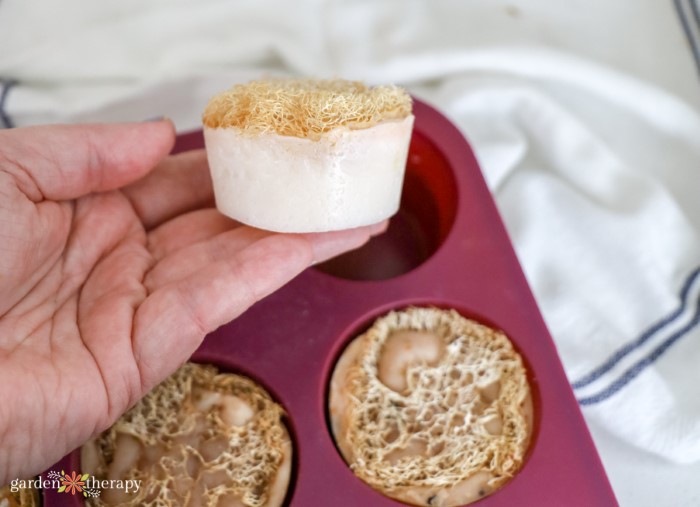
Pour Your Soap
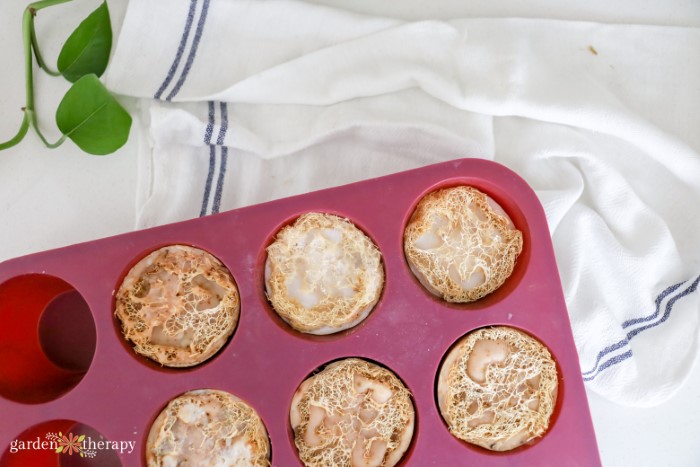
Fill up each cupcake mould with soap to about the halfway point or a little over halfway. Place the dried, cut loofah on top of the soap.
When making this recipe, I also tried putting the loofah on the bottom of the silicone mould. Pouring the soap over the top covers the loofah so you can’t see it very well. It works the same thing in the shower but appears less decorative. However, you can easily still wash with it that way.
Let the Luffa Soap Cure
Let the soap sit in the mould for 48 hours. I leave mine on top of the fridge where it’s slightly warm.
After 48 hours, you can unmould your soap. Place it on a wire rack and let it cure for 6 weeks. After it’s finished curing, it’s ready for use!
How to Use Your Loofah Soap Bar
I love this luffa soap because it exfoliates your body without feeling too scratchy. I use it in the winter when I can use it all over my body to buff away dead skin quickly.
The loofah is soft and has a nice scrub on your hands. It’s great for dry skin, callouses, and the tougher skin on your feet and hands. I also use my loofah soap bar to scrub under my fingernails and exfoliate my legs.
When not using your loofah soap, you want to dry it out between uses to prevent bad bacteria from growing. Get rid of the soap if you notice any mould or a bad odour.
Compost the luffa once the soap is gone. You don’t want to reuse the loofah in some new soap. Instead, grab a new loofah for the next batch!
Frequently Asked Questions About Loofah Soap
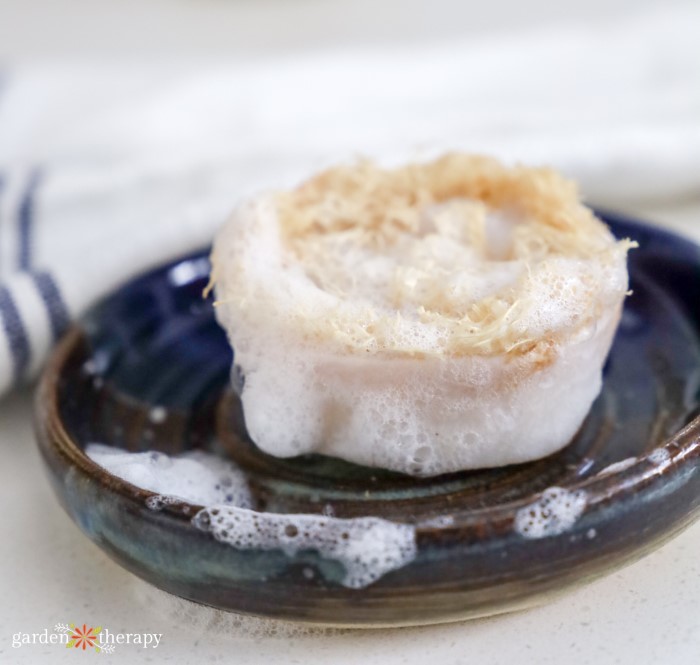
Soap with loofahs creates an excellent lather that makes it easy to soap up your entire body in the shower. My loofah soap helps to exfoliate the whole body. I use this a ton in the winter when my skin is extra dry, and I need to shed all the dead skin cells. Loofah soap can also help to stimulate blood circulation!
As mentioned above, luffa is great for exfoliating dry skin. This buffs off dead skin cells on the top layer of your skin to reveal the younger, more youthful skin underneath.
Loofahs can be too harsh for some skin types. You may notice irritation after using a loofah if you have sensitive skin.
Unless you have really dry skin, you won’t need to use loofah soap every shower. Use it to exfoliate a couple of times a week, and then use regular soap in between.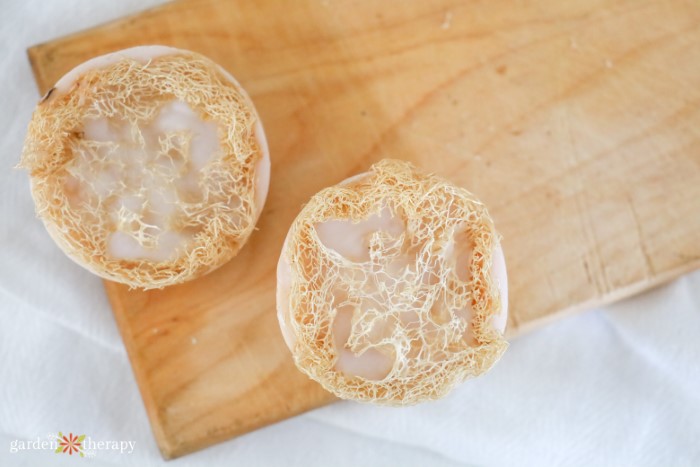
I wouldn’t recommend using the loofah soap on your face. While the loofah itself feels soft, I still think it’s a little too harsh for the delicate skin on your face.
If you want to try an excellent facial exfoliant, I highly recommend this sugar scrub facial recipe.
You can store loofah soap the same way you would any other soap. A container with a lid will help prevent dust from collecting on the soap before you’re ready to use it.
In the shower, I like to use a wooden soap dish. This helps to raise the soap and prevent any water from pooling and making your soap squishy. It also allows the loofah to dry out between uses which is needed to prevent any bacteria from collecting. If needed, store it out of the shower when not in use to avoid it from holding onto moisture.
More Natural Soap Recipes
- How to Make Natural Unscented Soap
- Make an Easy Foaming Soap
- 19 Incredible Natural Homemade Soap Recipes
- Make Your Old Soap New Again with Confetti Soap
Luffa Soap Bar
Equipment
Supplies
- 50/50 soap blend
- 1 Loofah (or grow your own!)
- 20 g grapefruit essential oil
- ½ tsp madder root powder
- ½ tsp turmeric powder
Instructions
- Cut your loofah into slices for your soap. Remove any seeds. Ensure it fits into the cupcake silicone mould.
- Dry your loofah completely. If it is shrunken or misshapen at all, soak it beforehand to restore it to its full size again, then make sure to dry it fully.
- Make your soap using my 50/50 soap recipe. At trace, add in grapefruit essential oil and blend well.
- Add in your turmeric and madder root powder for a light colour. Add a little or more depending on your preference. Blend again.
- Pour the soap halfway (or a little more than halfway) up your silicone cupcake mould. Place a loofah slice on top of each soap.
- Let the soap sit untouched for 48 hours.
- Unmold the soap. Let it cure on a wire rack for 6 weeks before using.
A city girl who learned to garden and it changed everything. Author, artist, Master Gardener. Better living through plants.


Does the turmeric powder cause anything to stain while using soap?
Not if you don’t use much. If you add quite a bit, it will turn the soap orange and it will leave colour on skin and the sink.