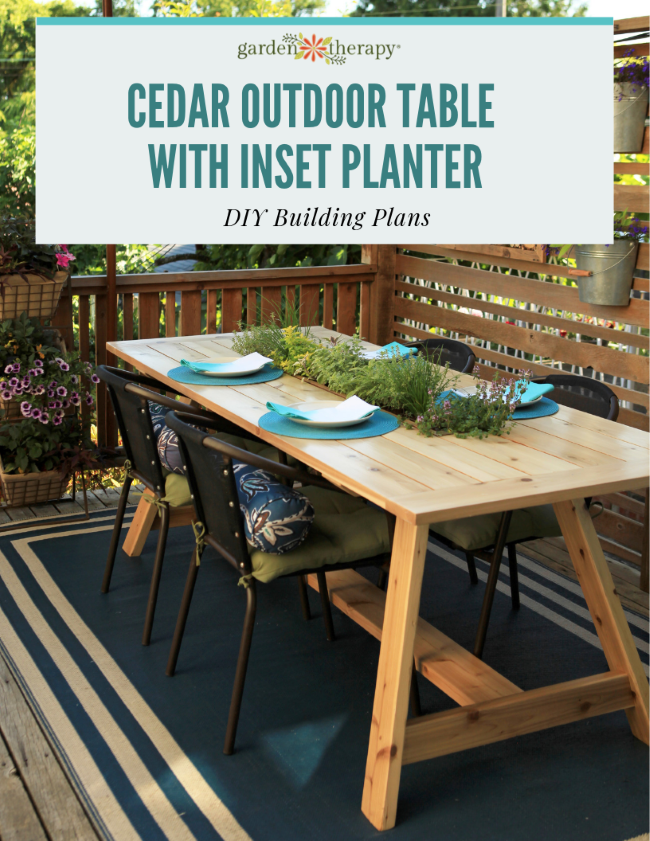
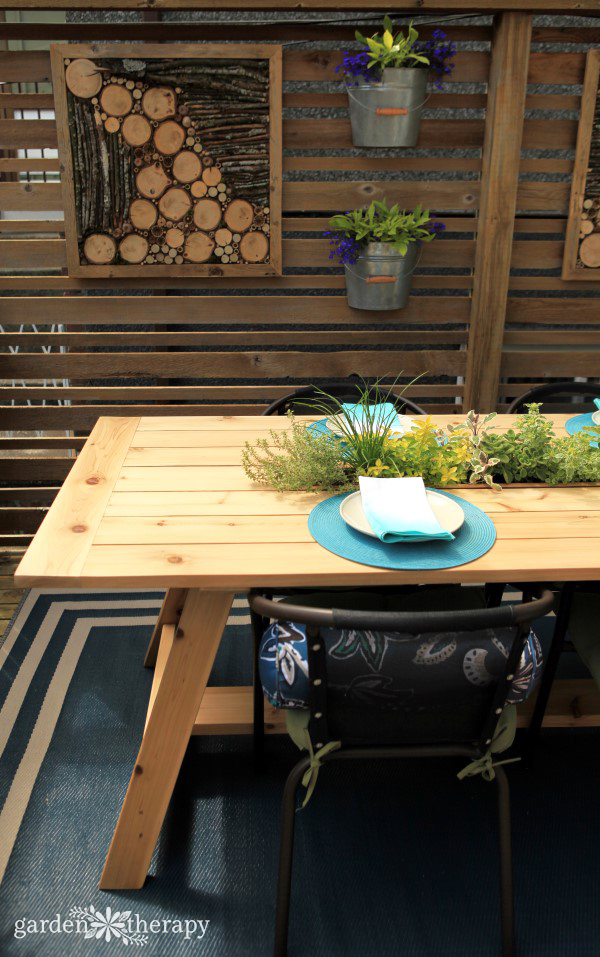
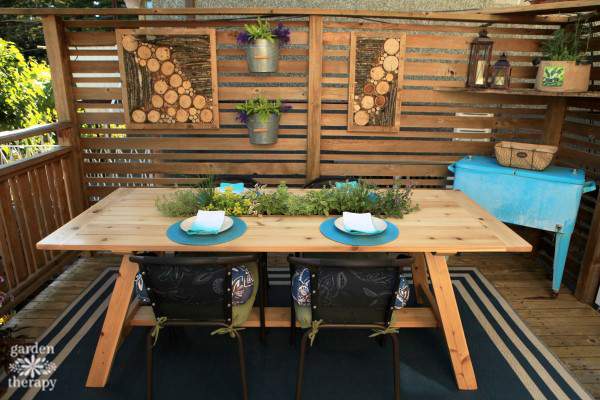
Having just the right furniture for a small space can make all the difference. This DIY cedar outdoor dining table is long and thin to fit as many people in a small space is possible. The added feature of a removable planter makes it so that the table can be decorated with live plants, be used as an inset trough for condiments and drinks, or can be removed and covered with a panel to maximize table space.
Cedar Outdoor Dining Table Building Plans
I have been meaning to share the building plans for the table since the table was built two years ago, but as it turns out, the project was very complex, much too complex to share in a blog post. It took a while but I have finally extracted the woodworking brilliance that came up with this table into a document, which with diagrams and photos is 25 pages long! If you would like the exact instructions for the table, the plans are available as a downloadable PDF. Get the PDF here. 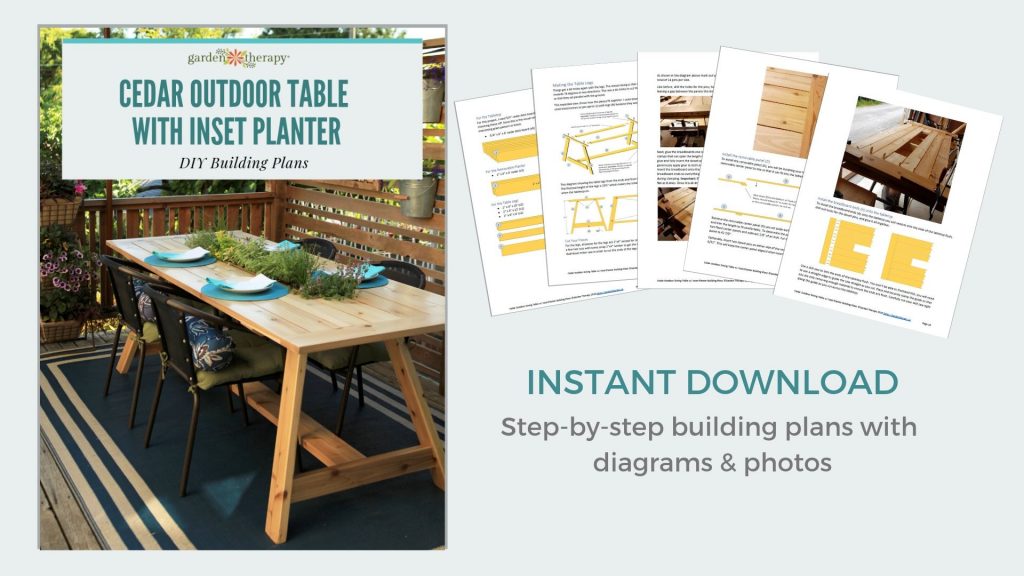
If you have table plans already and are pretty handy, read on some of the important steps in customizing the table to have a removable insert and how we have been using it. I’ll also share a few tips on choosing the right wood and finish for an outdoor table, as well as how to choose plants for the table insert.
The dining table is meant to be left outdoors all season long on the uncovered deck so the wood needs to be durable and long-lasting. For affordability, durability, and beauty we chose to use 5/4″ cedar deck boards. As these are the visual centerpiece of the dining table we hunted for boards that had an interesting grain, pattern, color, or knots.
Picking Cedar Lumber for Building an Outdoor Dining Table
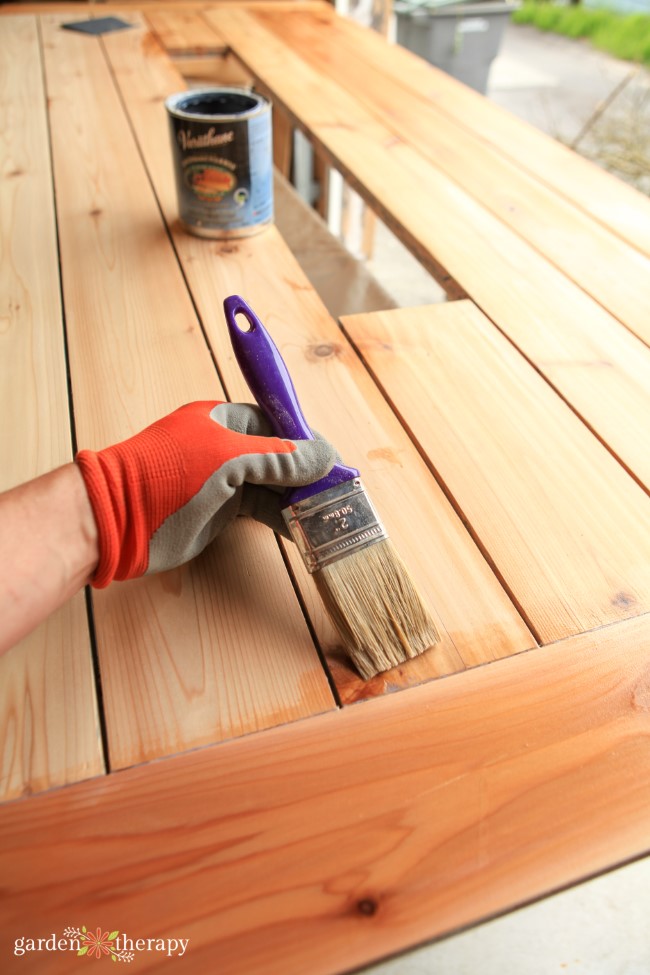
Cedar can have beautiful hues with natural stripes in beige to brown with gold and pink highlights. Naturally weathered and unfinished cedar will, eventually turn gray. For this patio table, we wanted to try and keep the warm honey color variations in the wood so after the table was completed it was treated with a clear varathane product. This maintains the color while protecting the table from water damage.
Since you are making furniture, you will want to ensure take the time to pick lumber that is straight and flat. Leave behind any that is bowed, cupped, or twisted.
Once you get the lumber home, be sure to dry out the lumber. If it was stored outside or is brand new stock, there is a good chance that it’s a bit damp. If you build a table with damp lumber, the table could crack when it dries and shrinks. To dry it, stack the lumber with spacers in between to allow air flow to dry the stock. Depending on how wet it is, give it about a week before you start building.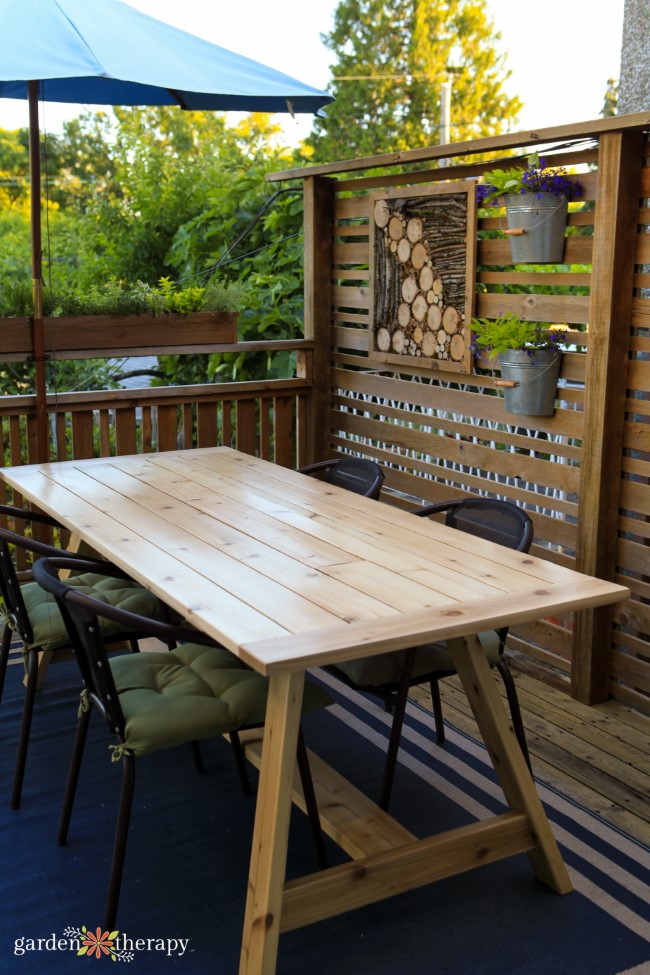
Customizing the Planter Insert
The fun part of this project was the inclusion of the planter in the center. The table was designed so that it is seven boards wide with a center panel being removable. When a center panel is in place it looks like it is one cohesive tabletop. When the center panel is removed, there is a place for a long center trough. Of course, as a garden nerd, the center trough was always meant to be a planter. But it could also be used for other purposes: to hold a variety of condiments for a BBQ party or could even be filled with ice and act as a center cooler to keep wine beer and other drinks cool.
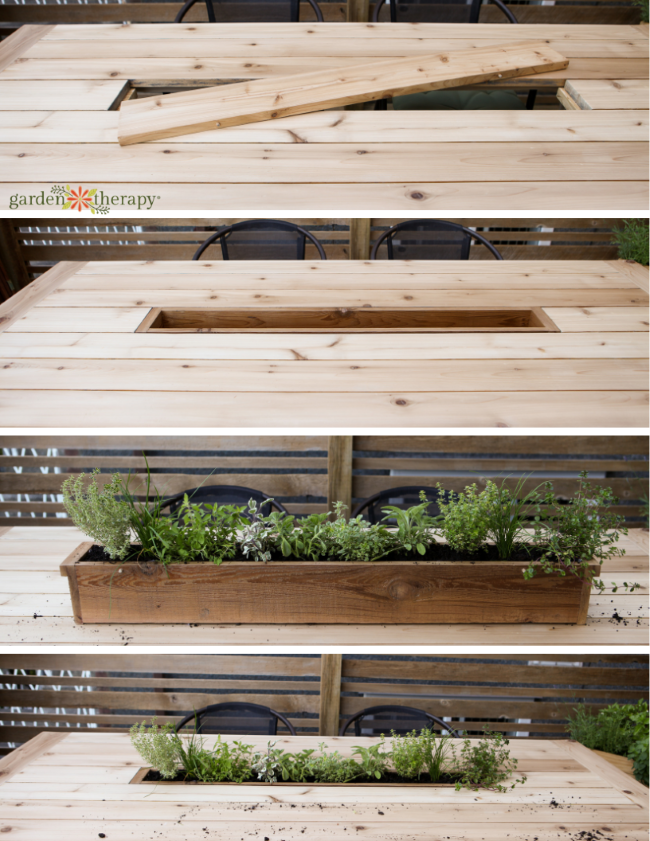
If you choose to use a center trough for these reasons, then it’s worth protecting the wood with spar varnish. As a planter, you would not use varnish, especially if you are planting herbs or edible plants.
I designed the insert to be unfinished cedar with the inclusion of some drainage holes. To prevent soil from dropping through the holes, I lined the inside of the planter with a piece of landscape fabric.
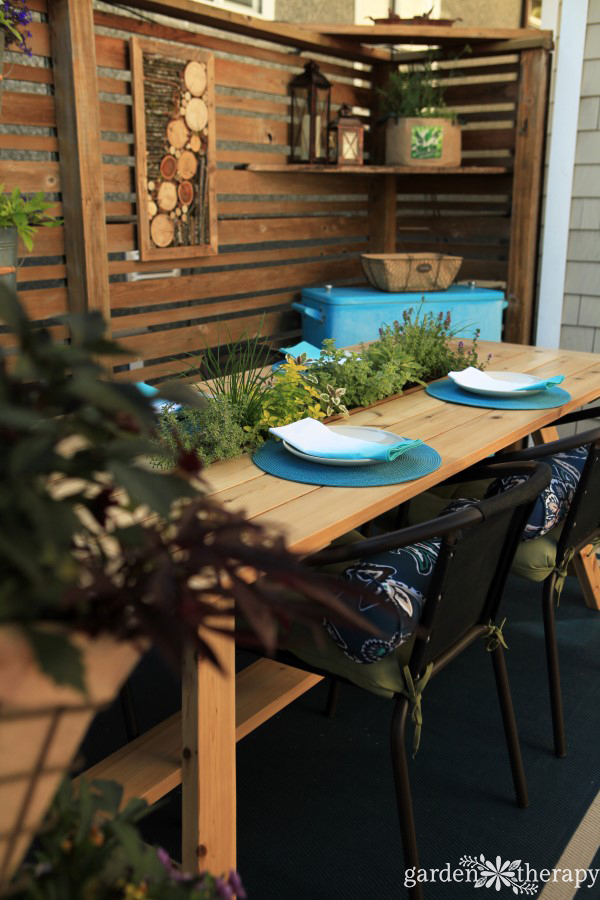
In the first year I planted the trough with low growing ornamental herbs. The center planter is just the perfect size to hold eleven 4” square pots so I purchased eleven different herbs such as lemon thyme, variegated thyme, chives, Cuban oregano, lemon oregano, purple sage, and variegated sage. I alternated the plants so that I had a nice mix of different leaf colors, shapes, and fragrances.
Each one of these plants grew well over the season, and at the end of the season they were removed and planted in the garden. It was fun to have herbs to clip as garnishes for meals, to enjoy their fragrance as we dined, and to watch the buzzing bees that came to visit the flowers that bloomed.
Last year I planted small space pollinator attracting flowers in the trough but struggled to keep them performing well. The space was simply too shallow to hold enough water for the annual flowers to produce well. The table is on a hot sunny so facing deck that gets blistering, direct sun all summer. These conditions were just too drastic for annual flowers. While the herbs from the previous year did need to be watered every day, I chose drought-tolerant, sun loving herbs. The annual flowers were just too delicate for such harsh conditions.
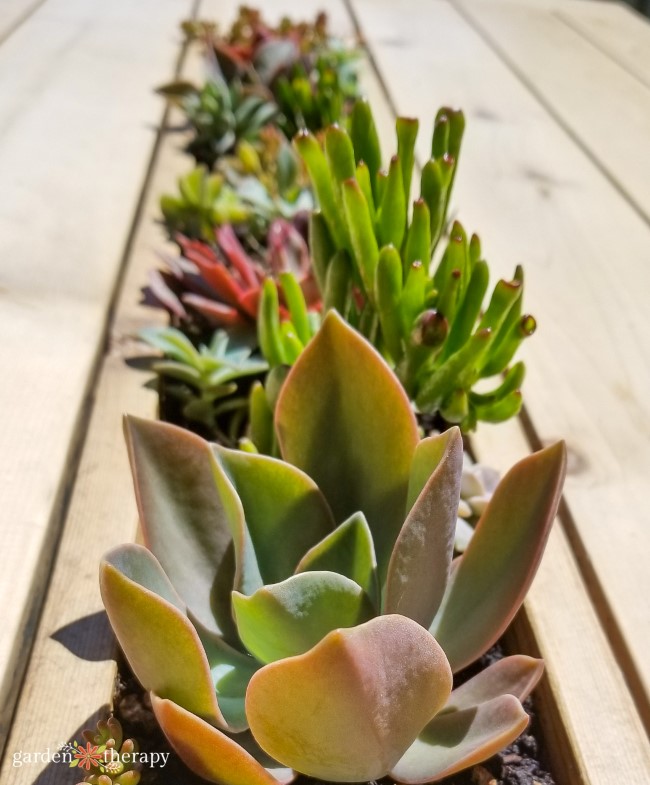
This year, I’ve decided to plant a variety of succulents for an even more low maintenance and low water solution. Using a variety of hardy Sedum, Echeveria, Haworthia, and Crassula, I can get a low growing and low maintenance display.
Which do you prefer? Leave me a comment on which you like better (herbs or succulents) and please leave suggestions for what I should plant next year! I love switching it up every year and trying new ideas.
More DIY Building Projects
- A Beautiful Way to Catch Runoff: How to Build a Dry Stream
- Clever Vertical Herb Gardens That Will Grow a LOT of Herbs in a Small Space!
- DIY Leaf Print Stepping Stones
- Give Wildlife a Helping Hand with DIY Wood Pallet Bird Apartments
- Build an Old Window Greenhouse
- A Wonderful Winter Window Box Planter (That You Can Make Even If You Don’t Have a Window Box!)
- A DIY Espalier Privacy Screen for the Backyard
- Building with Secondhand Stuff: Make a Wood Pallet Planter
- DIY Floating Planter for Water Gardens and Ponds
- How to Make Gorgeous Painted Beehives
- How to Install a Disappearing Fountain in Your Home Garden (It’s Easier Than You Think!)


Hi love this idea and thinking to build this. Was wondering how long did the varathane hold up for ? Did it maintain natural color of cedar?
Thanks
Payal
Hello, yes, it held up in full outdoor conditions for 3 years. I’m refinishing it for year 4 by sanding and resealing it.
Hi! Thanks for the inspiration. I purchased the instructions, and it’s very well written and easy to follow. Unfortunately, you have forgotten to include the last step, joining the assembled legs to the table top. Please contact me with the completed instructions.
Best!
Andreas
Hi Andreas, you know, we never did attach the table top to the base! This way it can be lifted off easily for storage, which we do every winter.
Hi!
Are you able to tell me what tools are needed for this build before I purchase the pdf?
Thank you.