This living succulent wreath is much easier to make than you think. It will take some time and finesse to put together, but as it fills in it will wow anyone who sees it. A succulent wreath like this from a florist or garden center can be hundreds of dollars, but with these tips you can make one at home for a fraction of the cost.

Succulents are easy to care for if you know a little about them so maintenance is limited and they will last year after year. Unless you are in a warm climate, succulents probably aren’t all that inexpensive, so look for overgrown pots of hens and chicks (Sempervivum) at the garden center and use this guide to give you some bang for your buck: Thrifty Gardening: How to Divide Succulents).

Please welcome authors John Gillespie & Christina Symons of the fabulous garden craft book Everyday Eden: 100+ Fun, Green Garden Projects for the Whole Family to Enjoy (Harbour Publishing). I’m overjoyed that they have joined us today to share a project on making a succulent wreath, as I have had my eye on these for a while now. I’ll be out at the garden center getting my supplies, and I bet you will be too when you finish reading how to make this beautiful Semper”Viva” Wreath!
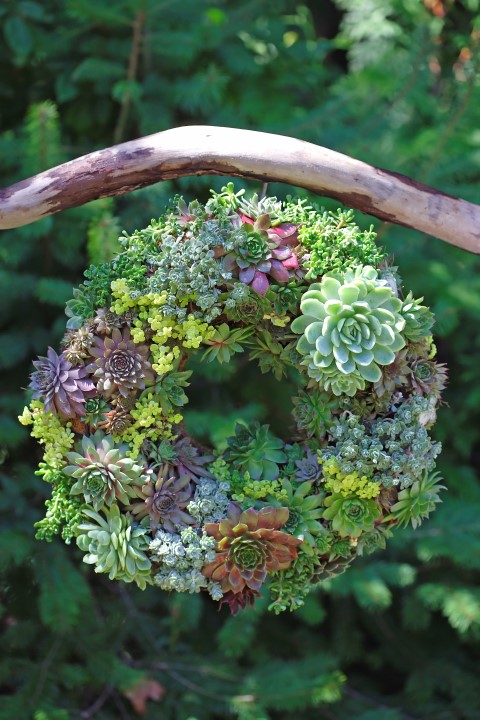
A lush living wreath is easy to make and guaranteed to get lots of “oohs” and “ahs,” whether you place it in the garden, on the front door, or use it as a table centerpiece for special occasions. You can grow your succulent wreath for many seasons or simply re-position your succulents back into the garden when you’re done with it.
Materials
- Heavy-duty wire wreath form and liner designed for planting
- Potting soil
- Sand
- Knife or scissors
- Floral pins (optional)
- Selection of sedum, sempervivum and echeveria plants in a variety of sizes and colors
Make it!
Prepare the wreath by separating the front and back of the form and arranging your liner inside. Pack in a moist mixture of three parts potting soil to one part sand (the sand promotes good drainage).
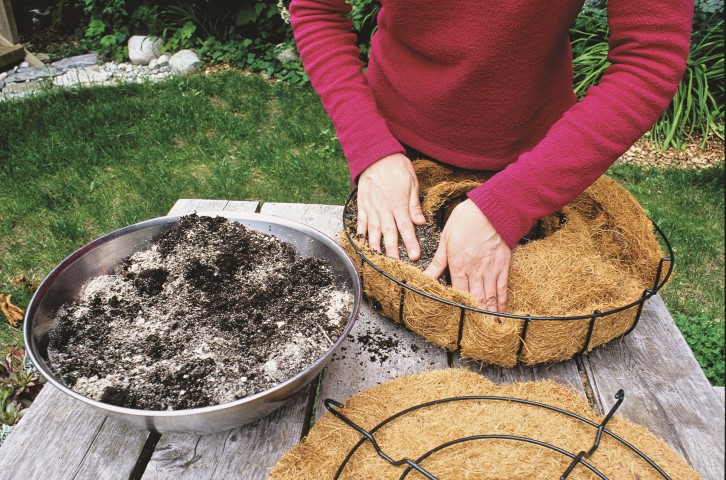
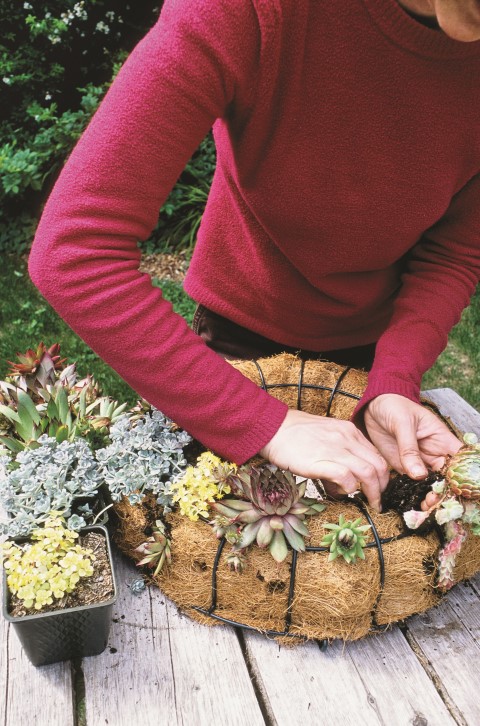
Secure the two wreath pieces back together and tuck in or cut away any extra bits of liner. Lay the wreath form flat on a table. Create holes for your succulents by piercing the liner with a knife or scissors and then use your fingers to push away the soil, making a small cavity for each plant. Carefully tuck the succulents into the cavities and use floral pins to secure the plants if needed. Continue planting, working your way around the wreath until it appears full and lush.
Water it well and allow the wreath to “set” on a flat surface for several weeks before hanging. For best results, always water your wreath on a flat surface. Keep it well protected in a greenhouse, under cover, or indoors during cold winter weather.
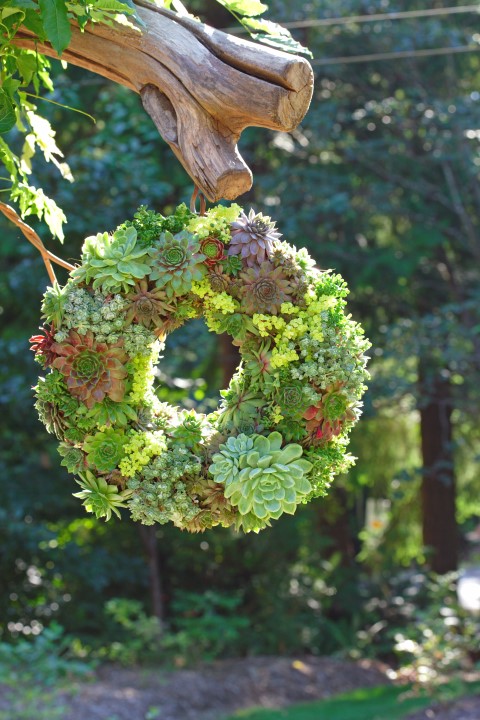
Here’s what we planted in our succulent wreath:
- Sedum album ‘Coral Carpet’
- Sedum makinoi ‘Ogon’
- Sedum spathulifolium ‘Cape Blanco’
- Sempervivum arachnoideum
- Sempervivum ‘Belladonna’
- Sempervivum giuseppii
- Sempervivum montanum
- Sempervivum tectorum
- Echeveria elegans

Be sure to grab a copy of Everyday Eden: 100+ Fun, Green Garden Projects for the Whole Family to Enjoy. The book is filled with projects using inexpensive, often recycled, materials and easy techniques. This lively collection of garden projects and practices will delight beginner gardeners and experienced green thumbs alike.


This wreath is so beautiful! I hope I know about it sooner to prepare the succulent for this Christmas wreath T.T
Very nice idea I like it.
Remember to do it in spring because that’s when these plants are multiplying. Do not do it in autumn or winter because they are asleep then and won’t grow roots ;) Btw I love this idea and will definitely try that!