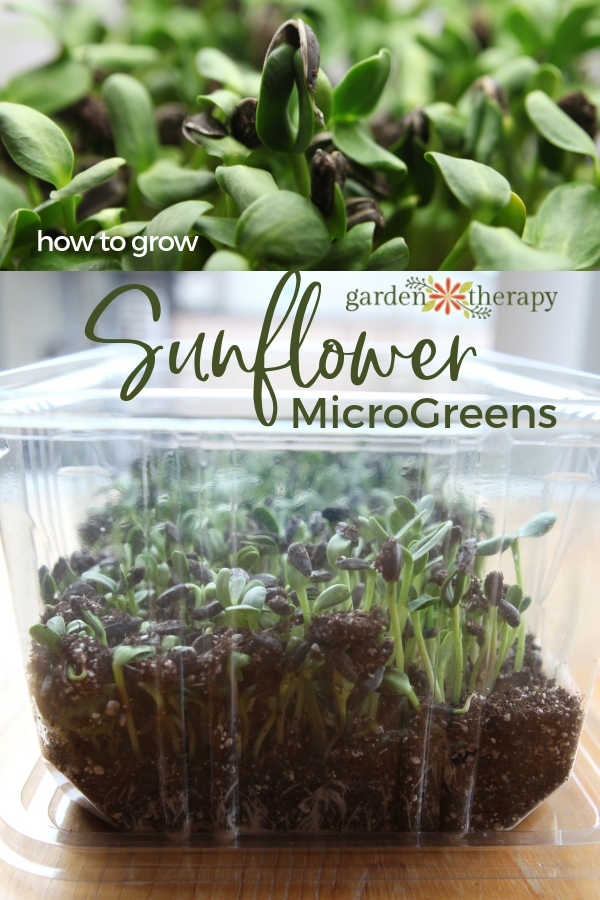
Sunflower microgreens have the deliciously nutty flavour of raw sunflower seeds with the texture of spinach. Not only is sprouting sunflower seeds easy, but they are ready to harvest and eat in two weeks!
Sunflower microgreens are one of the most underrated sprouts out there in my opinion! If I had it my way, every home would have a container of sunflower sprouts on their counter at all times.
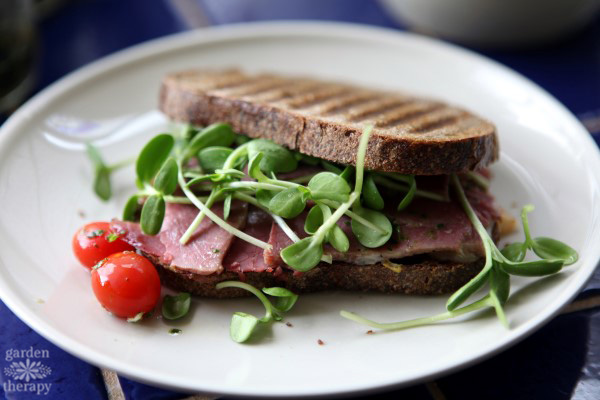
These sprouts are tiny but mighty. They pack a serious nutritious punch while adding flavour and crunch to salads, soups, sandwiches, and dips. Can you tell I love sunflower microgreens?
Sprouts and microgreens are one of my favourite ways to enjoy freshly grown food all year round. They’re a staple on my countertop during the winter months.
This post shares a detailed set of instructions on how to grow deliciously tasty sunflower microgreens that are healthy and (more importantly) safe to eat.
So what are we waiting for? Let me tell you how to grow sunflower microgreens.
- Supplies You Need to Grow Sunflower Microgreens
- How to Make a Greenhouse for Microgreens
- Use the Best Sunflower Seeds Possible
- Best Soil for Growing Sunflower Microgreens
- How to Store Extra Soil
- The Difference Between Sprouting and Growing Microgreens
- How to Plant Sunflower Microgreens
- How to Water The Sunflower Shoots
- How to Harvest Sunflower Microgreens
- More Resources:

Supplies You Need to Grow Sunflower Microgreens
These tasty greens are easy to grow in just about any container you can find around the house, such as clear plastic salad-mix boxes. I’ll cover more of these supplies in detail, but here’s a quick snapshot.
- Makeshift mini greenhouse or a store-bought version like this one
- Organic black oil sunflower seeds
- Seedling mix potting soil
- Small salad spinner

How to Make a Greenhouse for Microgreens
No fancy equipment is needed to make a growing environment for this high-brow salad trimming. I used a biodegradable plastic salad box as it’s the perfect soil tray and greenhouse. Please make sure it’s food-safe by checking the plastic number here before growing in it!
You could also grow your sunflower microgreens in a milk jug cut in half, a cake tray, chicken dome, or whatever you can imagine that would create a mini greenhouse.
Of course, you can use a dome made specifically for growing microgreens like this one. The benefit of the store-bought dome is that it fits a standard seedling tray and has vents to allow humidity to regulate.
Use the Best Sunflower Seeds Possible
The better the seed, the better the sprout! Use organic black oil sunflower seeds specifically labelled for sprouting, or grow your own! Many people want to use the ones that are packaged as birdseed, but I strongly recommend not doing that as they are not regulated for human consumption.
I always buy my sprouting seeds from a trusted source that intends them for sprouting to ensure safety. I like to get mine from West Coast Seeds.
You certainly could use the raw striped sunflower seeds sold as snack foods (as long as they aren’t roasted or salted and still have shells). I’ve used them before, and they work well. Black oil sunflower seeds taste a bit more flavourful, so if you like the striped ones, venture out to try the others someday.

Best Soil for Growing Sunflower Microgreens
You don’t need much of it but choose your soil wisely. I use a sterilized seedling mix (like the blend in this post) because it’s light and clean. Why not just use garden soil, you ask?
- First, soil gnats! Ugh, those annoying little flies that you JUST CAN NOT CATCH NO MATTER HOW HARD YOU TRY should be enough of a reason, but there are more.
- Second, the microbes, bacteria, fungi and other goodies in garden soil may be gold for outdoor growing, but those little seeds have all they need to grow into a nice crunchy microgreen without any additional soil nutrition. Plus, some of what is in your soil may not play nice with your sprouts, growing mould and killing them before you get them on your salad.
- Third, you need soil that will stay moist but not soggy, and the seedling mix is made just for this.
How to Store Extra Soil
Since this growing project requires so little soil, you may be wondering what to do with the rest of the bag. My first suggestion is to grow more plants! :)
That being said, you can transfer the soil to a large plastic tub with a lid and store it someplace cool and dry. That will keep it sterile and free of those annoying soil gnats that seem to appear when soil is moist.
The Difference Between Sprouting and Growing Microgreens
Some people ask if you can grow sunflower microgreens without soil. The difference between sprouting and growing microgreens is whether you use soil or not. When you are sprouting, you do not need soil. Microgreens, on the other hand, require soil.
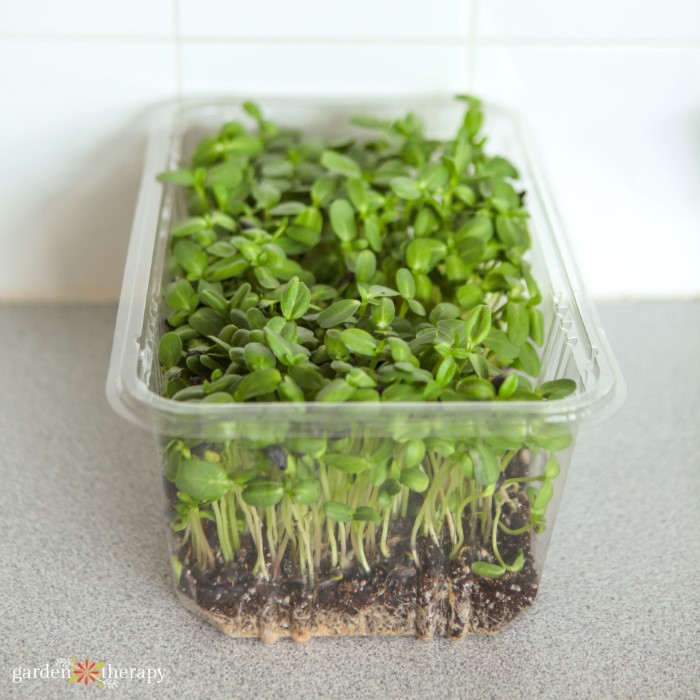
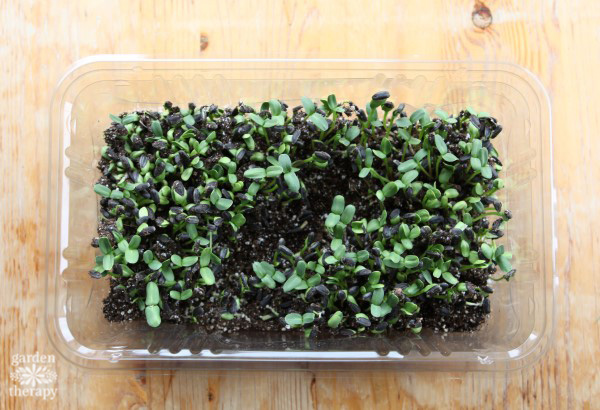
I have done both, and I much prefer sunflowers as microgreens. I get many more greens, and they last longer. Do you see how the sunflowers push through the soil?
It helps to knock off the seed husks. This burst of energy also affects the flavour. Mung beans are like this as well, and to get the best flavour, I put weights in my sprouter, so the mung beans have to work. But I digress (you can read more about sprouting here).

How to Plant Sunflower Microgreens
As you’ll see, growing sunflower microgreens is very easy.
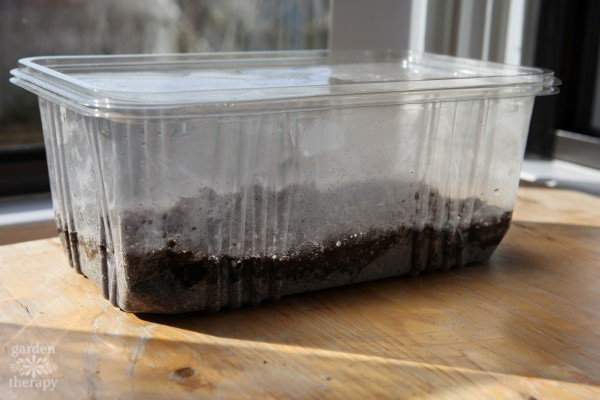
First of all, add about an inch of clean, indoor soil to the bottom tray and spread sunflower seeds over the top. I generously cover the soil with seeds, not letting any of them overlap.
Cover the seeds with a wee bit of soil—just enough to hold moisture—and put your mini greenhouse in a warm place out of direct sunlight.
How to Water The Sunflower Shoots
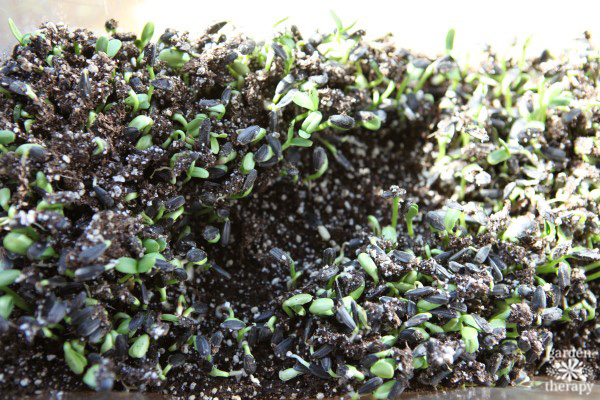
Water the soil and keep it moist but not soggy. While the sunflower seeds are breaking open, you will want to keep some humidity in, but remove the lid a few times each day to refresh the air inside.
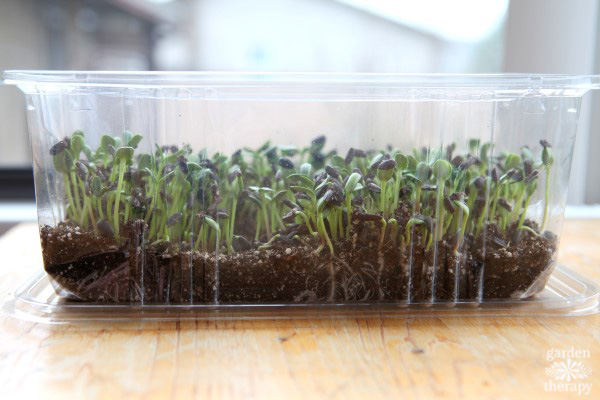
Once the seedlings start to grow, remove the lid altogether and let them enjoy the fresh air. Water only to moisten the soil. You should be mindful that over-watering can cause rot and fungus growth.
How to Harvest Sunflower Microgreens
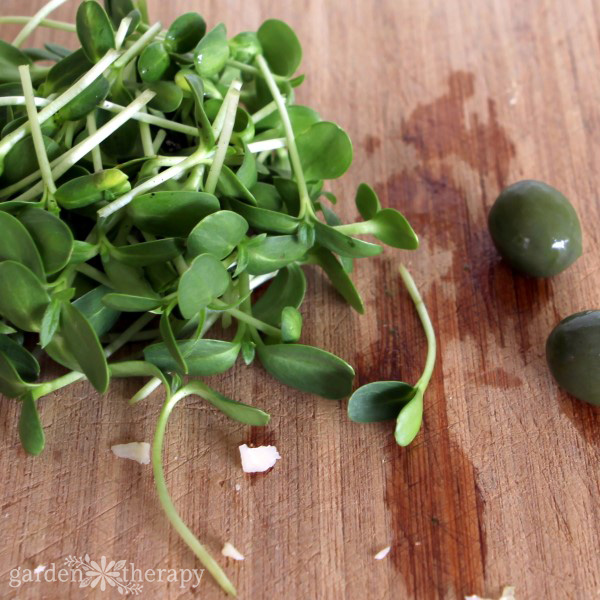
The sunflower microgreens are ready to harvest when the mighty seedlings push up the soil and lose their shells. They should have two fat seed leaves, just like the ones in the photo.
If all of the shells don’t come off, I tousle the tops of the seedlings to dislodge them at harvest time, or else I pick them off in the salad spinner when I wash the microgreens.
Snip the seedlings at the base and wash in a small salad spinner (I use this one). I generally keep them in the salad spinner after harvest so I can give them a rinse every few days.
I spin them dry and store them right inside the salad spinner in the fridge, as the colander inside promotes good drainage and prevents rot/ mold.
Once the microgreens are harvested, compost the soil and roots, as they will not regrow. To make a new batch, use a clean seedling mix and start again.
There may have been some contaminants that have entered the soil from the first batch, plus there will be roots decomposing in the soil that could compromise the new batch.
For more ideas, check out growing sunflower sprouts in photos over 17 days: Sunflower Micro Greens: A Time Lapse Photo Journal.
Sunflower Microgreens FAQ
Mine take me about two weeks to grow. You can see the time-lapse of my countertop microgreens in this post.
I recommend buying your sunflower seeds from a trusted source, as they are grown with the intention of sprouting and eating. Ideally, you want to use black oil sunflower seeds specifically labelled for sprouting. I get mine from West Coast Seeds. You can eat the whole microgreen, stem and leaves.
They’re very healthy for you. They contain Vitamins A, B, D, and E, as well as calcium, iron, magnesium, potassium, and phosphorus. For a small green, they’re packed with nutrients.
More Small Space Winter Gardening
- Countertop Gardening for Every Kitchen
- Sprouting Seeds: The Simple Guide to Growing Food Indoors
- Which Herbs to Grow Indoors (and Which Ones NOT to)
- The Urban Homesteading Almanac: Thriving in the Concrete Jungle
A city girl who learned to garden and it changed everything. Author, artist, Master Gardener. Better living through plants.


Pardon my ignorance, but how do you use these greens? In salads? Anything else??
salads, sandwiches, topping soup, made into pesto, by the handful! haha. They can be used in so many ways.