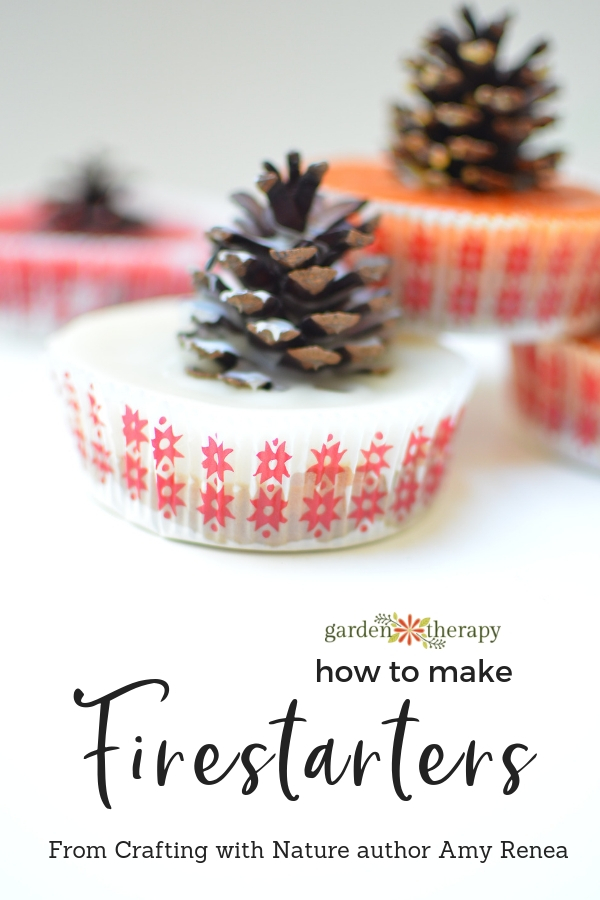
Make your own natural and eco-friendly DIY firestarter with pinecones! Use them to start your campfires or grill in the summer, or cozy on up to the stove or fireplace during the winter months. Pinecone firestarters are easy to make and a beautiful way to kick off a fire.
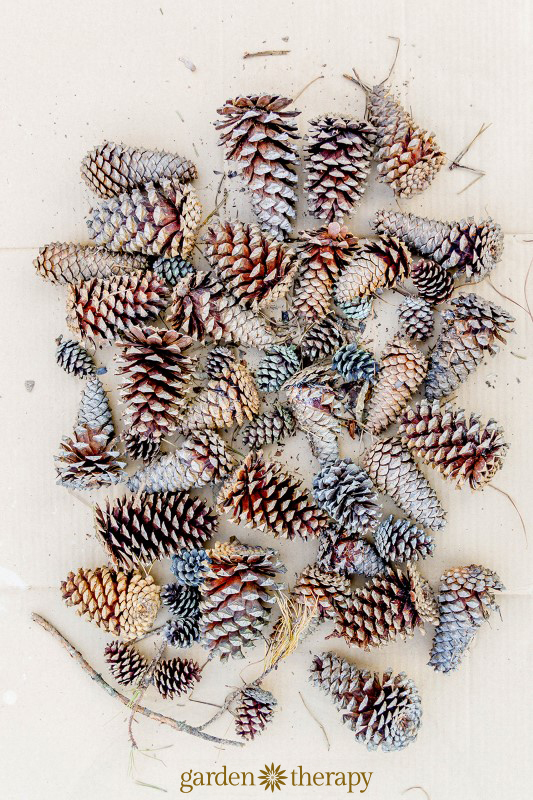
If you are anything like me, you have a collection of pinecones somewhere. Perhaps you found some delightful ones on a walk in the neighbourhood or a visit to a park. They just begged to be picked up, don’t they? That’s nature doing its job.
As you collect those pinecones, you may notice papery seed pods floating out of them. You are helping to reseed it and will be left with a perfect woody cone perfect for crafting up pinecone firestarters.
Today, Amy Renea, the author of Crafting with Nature joins me with an incredible idea of what to do with your pinecone collection. Make pinecone firestarters!
These easy DIY firestarters make a great gift that’s both pretty and practical.
This post will cover…
- Why Do I Need a Firestarter?
- How to Make Firestarters With Pinecones
- Materials
- Make It!
- 2. Melt the Wax
- 3. Drip the Wax onto the Pinecone
- 4. Add Another Coat of Wax
- 5. Let Dry
- 6. Your Firestarters Are Ready to Use!
- How to Make Colourful Pinecone Fire Starters
- Frequently Asked Questions About DIY Pinecone Firestarters
- More Ways to Use Pinecones
Why Do I Need a Firestarter?
Firestarters aren’t necessary, but they are a surefire method to starting a fire. As an avid camper, I’ve gotten pretty good at setting up a campfire. But when in the home, I like something a little easier that I know I can just pop in and start a fire really easily.
When making a fire, you need two things: a spark and tinder. Tinder helps to turn those initial sparks into a full sized fire. When you use items like newspaper as your tinder, it doesn’t always start a fire since it burns out too quickly.
If you struggle starting fires, a firestarter can help prolong that initial small fire so you can add more kindling and eventually logs to create a cozy fire to snuggle up to.
How to Make Firestarters With Pinecones
Arguably, my favourite pinecone craft is these beautiful yet incredibly functional firestarters. These make fantastic gifts for the host with a functional fireplace or friends who go camping or enjoy backyard firepit parties.
Materials
- Dry Pinecones with wide, open scales, baked at 200 degrees for 20 minutes
- Beeswax or Paraffin Wax Slab (or leftover wax from candles)
- Small Melting Crock Pot or Double Boiler
- String or Jute for hanging
- Wire rack or parchment paper
- Food coloring (optional)
Make It!
Here’s how you can make your very own pinecone firestarters.
1. Bake the Pinecones
Prep your pinecones by baking at 200 degrees for 20 minutes or until sap has glazed the pinecones. Smaller pinecones will take less time than larger specimens. See how to dry and scent pinecones.
2. Melt the Wax
While the pinecones are prepping, melt your wax in small 3-4” pieces in a small crock pot on low. Alternatively, you can use a double boiler. Just make sure to heat slowly as you don’t want to wax to catch a flame.
When the wax is completely liquid, it’s ready to dip or drip. Optional: Add 2-3 drops of food colouring if you would like your pinecones to have a coloured tint. But, do note that this might stain your melting crock, and the colour might be difficult to remove.
3. Drip the Wax onto the Pinecone
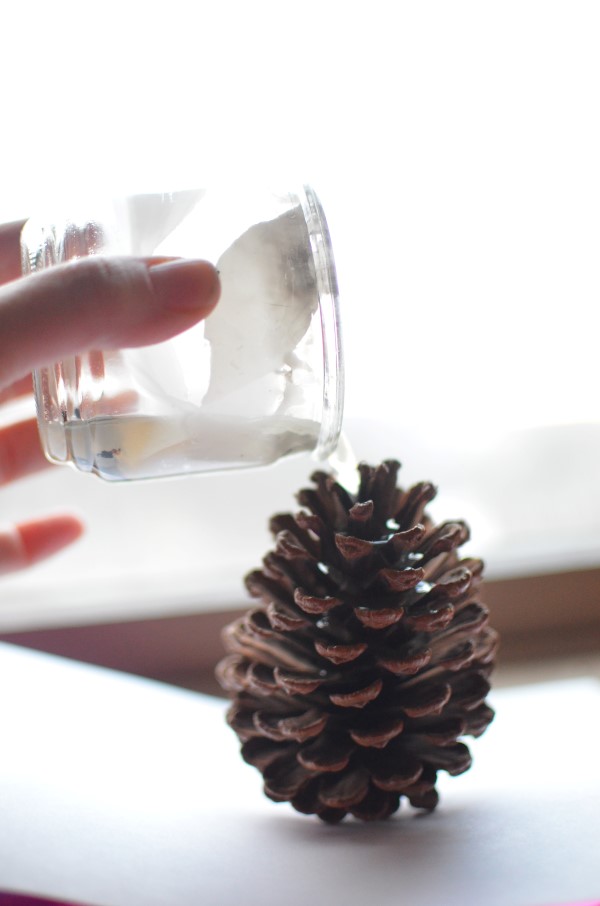
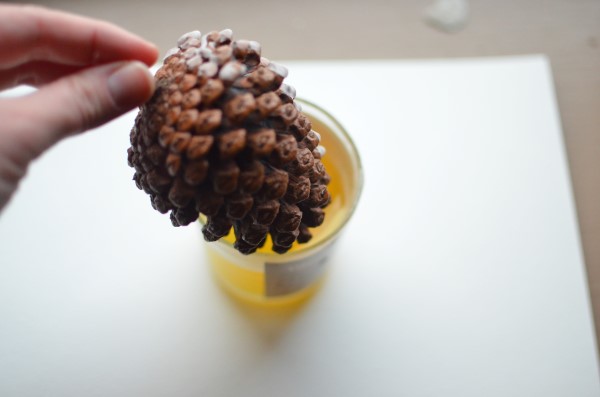
Attach small jute or string loops to your pinecones and carefully dip them into the wax, or gently pour wax down from the top of the cone. Make sure to cover your work surface to collect bits of errant wax.
4. Add Another Coat of Wax
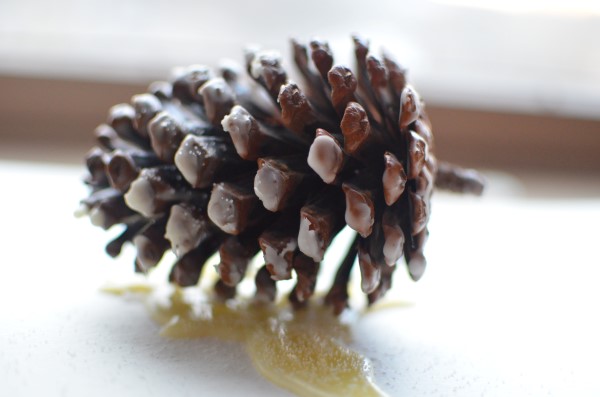
Dip or drip pinecones again until the wax is thick enough to coat the cone completely.
5. Let Dry
Allow the pinecones to sit on parchment paper or a wire rack to dry. Optional: As the wax dries, sprinkle eco-friendly glitter or Epsom salt to add a festive feel to your pinecones.
6. Your Firestarters Are Ready to Use!
Use 3-5 pinecones to start a fire, lighting the jute string and placing the cones into the kindling. Fire should always be contained in a fire pit or fireplace.
How to Make Colourful Pinecone Fire Starters
These DIY firestarters can also be a beautiful display, especially when you colourize them. Then, you can put them in a nice basket alongside the fireplace, ready for use when you are!
To make them colourful, simply add candle dye, food colouring, or crayons to the melted wax before you dip them. Soy and paraffin wax are naturally white in colour so they will take on the colour of the dye well.
These pinecones can also give off coloured flames! Completely non-toxic, the colour comes from presoaking the pinecones with a household solution. To do so, fill a bucket with water and then add in one of these additives:
- Borax – green flames
- Salt with potassium – purple flames
- Epsom salt – white flames
- Table salt – bright yellow flames
Let the pinecones soak for eight hours. After, they need to dry completely before you can dip them in the wax.
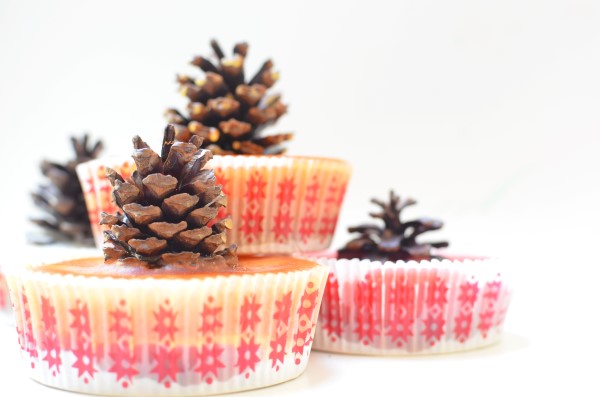
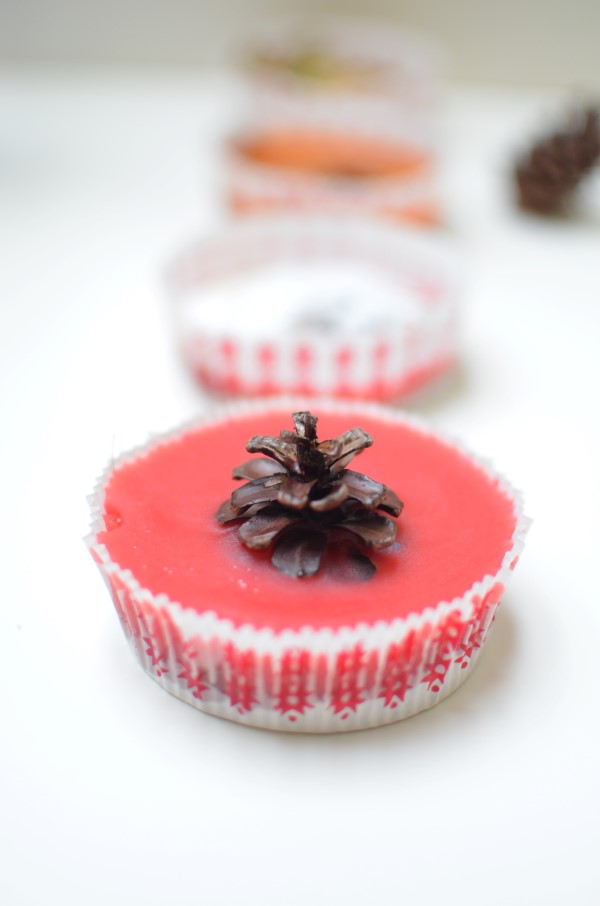
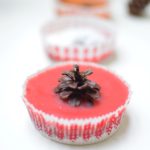
Bonus! You can make these adorable cupcake pinecone firestarters by filling a cupcake liner with sawdust, placing the pinecone in the center, and then covering it with coloured wax.
Frequently Asked Questions About DIY Pinecone Firestarters
Pinecones are very flammable when dry and are considered tinder when used as a firestarter. This means it’s meant to help the beginning flame by burning for more than a few seconds. This encourages the surrounding wood to ignite.
To use a pinecone firestarter properly, place it in the center of your pit, stove, or fireplace. Arrange dry kindling around the firestarter in a pyramid shape. Ignite the pinecone with a BBQ lighter and then slowly add more kindling and then wood logs as it burns.
You can use any kind of wax for this project. My preference goes to soy wax or paraffin wax as they ignite well, aren’t too costly, and dries white. Beeswax tends to be a little pricier and I like to reserve it for my homemade candles. But! This is a great project to use up your leftover candle wax that might otherwise go to waste.
Cinnamon pinecones are a popular craft for seasonal décor. If you’ve made them yourself, you can easily turn them into a pinecone firestarter. If you purchased them, I would not burn them since you don’t know what was used to make them. You don’t want to burn any toxic chemicals and inhale them.
If you want scented pinecone firestarters, you can actually add essential oil to the melted wax before you dip it (you’ll need to add a decent amount for the pinecones to take it on). The scent will last on the pinecone for about a year if you don’t burn them.
Alternatively, you make your own scented pinecone diffuser for the season! These make for beautiful décor all while emitting your seasonal scent of choice into the air.
More Ways to Use Pinecones
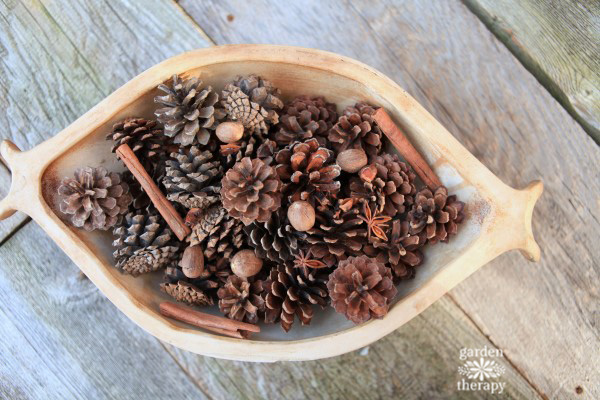
- How to Make Homemade Scented Pinecones
- Make GORGEOUS Bleached Pinecones
- A Fabulous Fall Bleached Pinecone Wreath
- Elegant + Upscale Pinecone Crafts
DIY Pinecone Firestarter
Equipment
- Small Melting Crock Pot or Double Boiler
Supplies
- Dry pinecones with wide, open scales, baked at 200 degrees for 20 minutes
- Beeswax or Paraffin Wax Slab
- String or Jute for hanging
- Wire rack or parchment paper
- Food coloring (optional)
Instructions
- Prep your pinecones by baking them at 200 degrees for about 20 minutes or until any sap on the pinecone has glazed.
- Meanwhile, melt small 3-4" pieces of wax in a small crock pot on low, or a double boiler. If you want your pinecones to have a tinted colour, add 2-3 drops of food coloring to the wax.
- Attach a string loop to your pinecone and carefully dip it into the wax, or gently pour wax down over the cone.
- Repeat and add more wax to the pinecone, until it is thick enough to coat the cone completely.
- Allow the firestarters to dry on a wire rack or sheet of parchment paper.
- Use 3-5 pinecones to start a fire. Simply light the string and place the cones into the kindling.
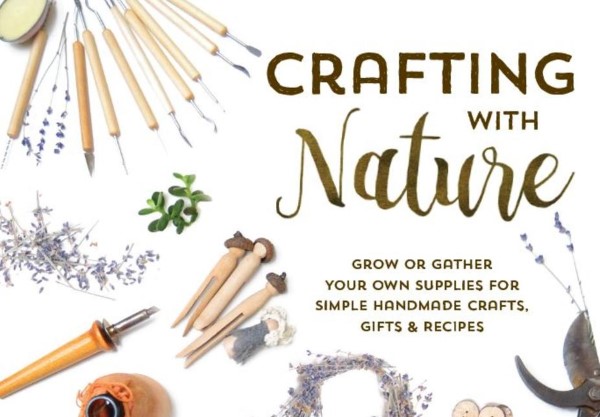
Thank you, Amy for sharing your pinecone craft with me today! Be sure to checkout her blog, A Nest for All Seasons, and her book, Crafting With Nature. In it, Amy teaches you how to use objects and ingredients from nature to create delightful DIY gifts (for your loved ones or yourself). There are plenty of ideas for DIY crafts, recipes and gifts made with natural materials you can grow or gather yourself.



great tranks
so nice post! very good i like this!
very cute. Congratulations
Very good, i like this. Congratulations!
parabéns gostei muito