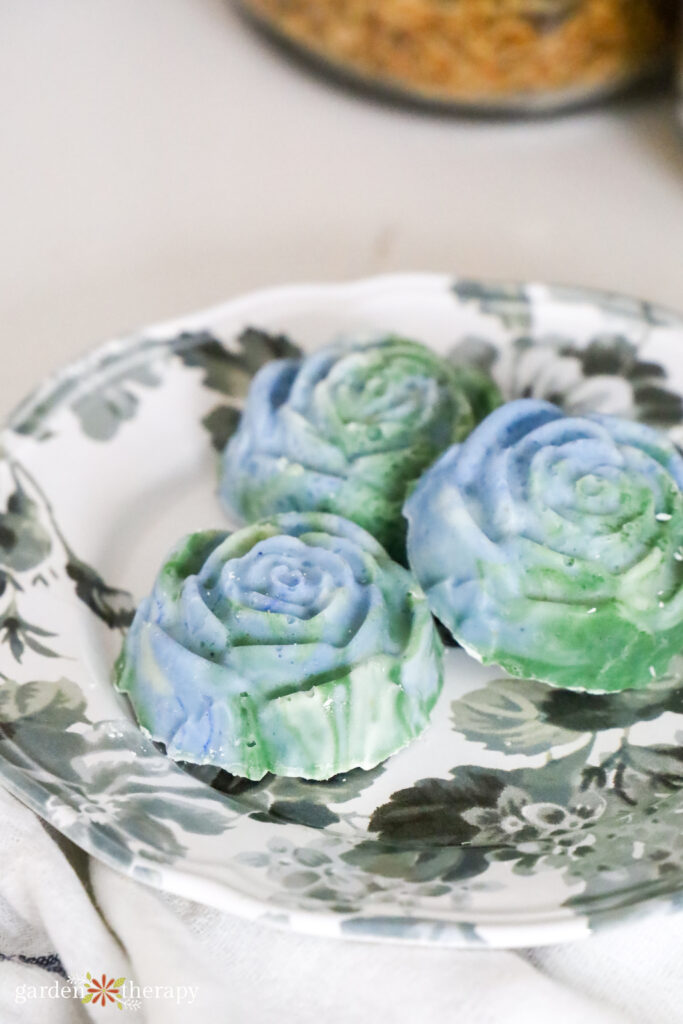
Chances are, you’ve been gifted a bouquet of flowers. But have you ever been gifted soap flowers before? This unique gift-giving idea is beautiful, practical, and 100% natural. Here’s how to make pretty soap roses for yourself or to give as thoughtful presents to your friends and family.
I’m a big fan of homemade gifts. In my eyes, they’re just so much more personalized and come from the heart. They make the best surprises since no one could possibly add something like that to their Amazon wish list!
At my house, I always have SO much soap on the go. Since I test out so many soap recipes to share with you, I have more soap than I could ever go through all by myself. If you ever stop by my house and check out my apothecary, it’s practically a soap shop where you can pick out your favourite scents to take home.
As someone who gives out many homemade gifts, I’m always looking for creative ways to package and present them. When I first saw someone give away a “bouquet” of soap flowers, I thought that was just the cutest idea. It reminded me of my succulent Valentine. With just a little ingenuity, we can refresh an existing gift idea.
It’s actually very easy to make your own soap flowers. All you need is the right rose-shaped soap mould!
This post will cover…
- Choosing the Right Soap Flower Moulds
- Packaging Your Soap Flowers
- Make Your Own Soap Flowers
- Materials
- Ingredients
- Make It!
- Frequently Asked Questions About Soap Flowers
- More Soap Recipes to Try
Choosing the Right Soap Flower Moulds
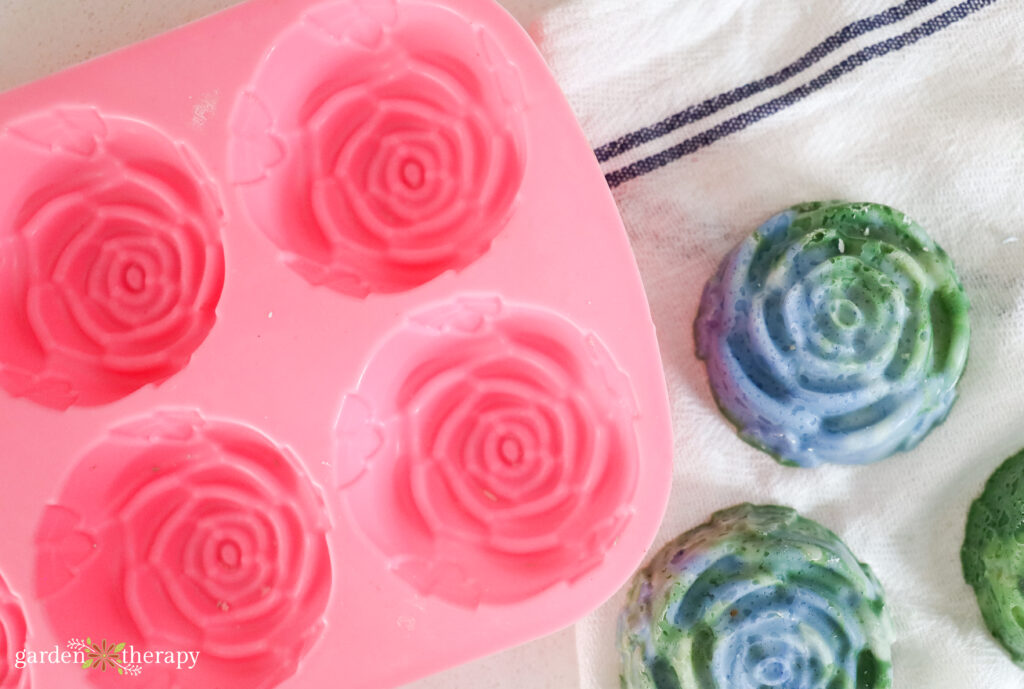
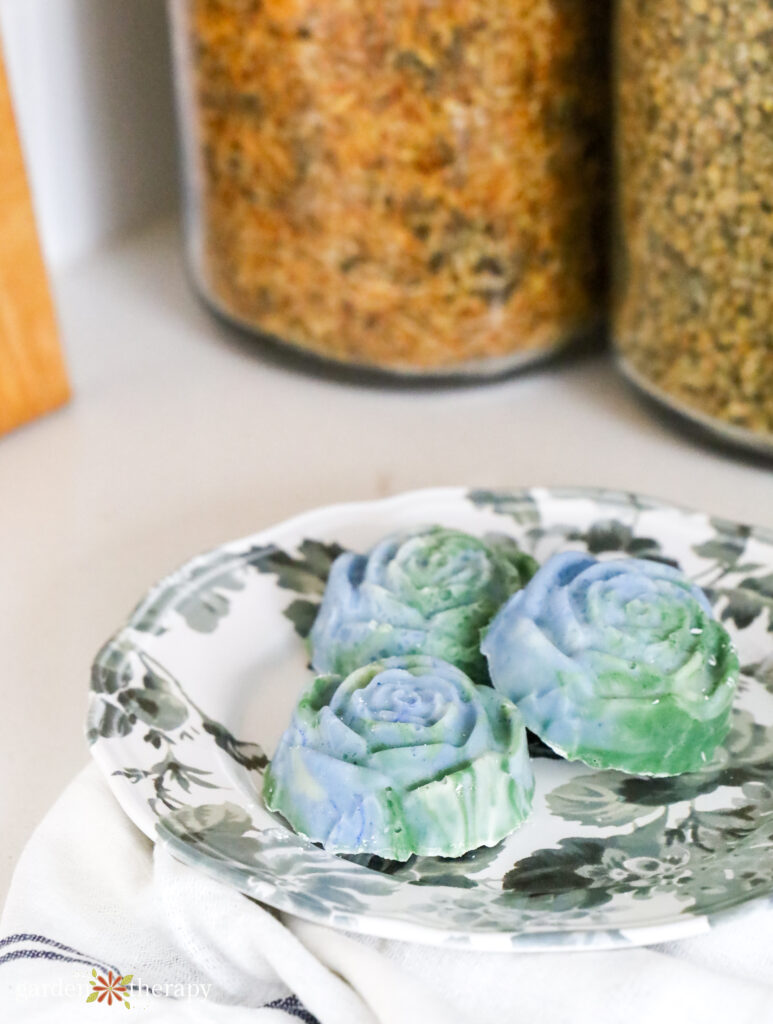
You can get very different-looking soap flowers based on the type of mould you choose. I like moulds with a design on one side and are flat on the other side. Not only do these look pretty, but they are also the most functional in terms of soap.
My go-to is this soap rose mould I used in this post’s photographs. I also use this flower mould, which you can see in the photos for my calendula lotion bars.
Another popular soap rose mould option are these ones, which have a very different shape. I have not personally used these ones since I don’t like the shape as much when it comes to actually using the soap.
Make sure your mould is made of silicone, as this allows you to easily remove the soap without ruining the flower shape.
Packaging Your Soap Flowers
Packaging is where you can get as creative as you like and create unique gifts using your soap roses. Most people choose to display their soap roses in chocolate boxes (like I did with my succulent Valentine). I suggest using a box with a clear top so you can really show off the soap flowers.
If you want to make these into a bouquet, you can insert paper sticks for making lollipops and cake pops. Do this right after you pour your soap into the mould so it can firmly be set with the soap. Just be sure to get some that are tall enough for your display.

Make Your Own Soap Flowers
This recipe is what I used to make my own soap flowers. You can choose to change the scent and colouring based on your personal preferences. The base of this soap is my 50/50 recipe, made of equal parts coconut oil and olive oil.
If this is your first time making soap, I highly recommend you check out my more detailed step-by-step instructions here first.
Materials
There are materials I use for every soap-making project, such as safety gear, a kitchen scale, an immersion blender, and more. You can read more about those materials in this post.
For this recipe specifically, you will want your soap flower moulds. Choose one of these options:
Ingredients
For exact measurements, see the recipe at the bottom of this post.
Jump to Recipe- Coconut oil
- Olive oil
- Grapeseed oil
- Shea butter, mango butter, or cocoa butter
- Distilled water
- Lye
- Blue mica
- Green mica
- Peppermint essential oil
- Basil essential oil
Make It!
Start by putting on your safety gear and weighing all your ingredients using a kitchen scale.
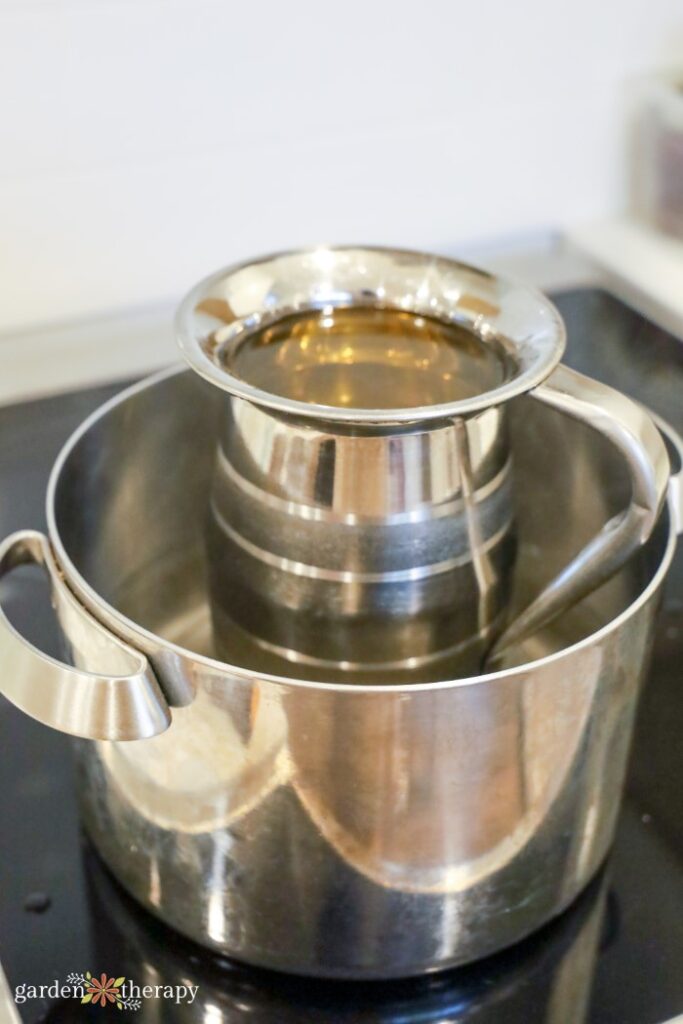
Over low-medium heat, gently heat together your coconut oil, olive oil, grapeseed oil, and butter of choice. I do this in either a stainless steel double boiler or a Turkish coffee pot.
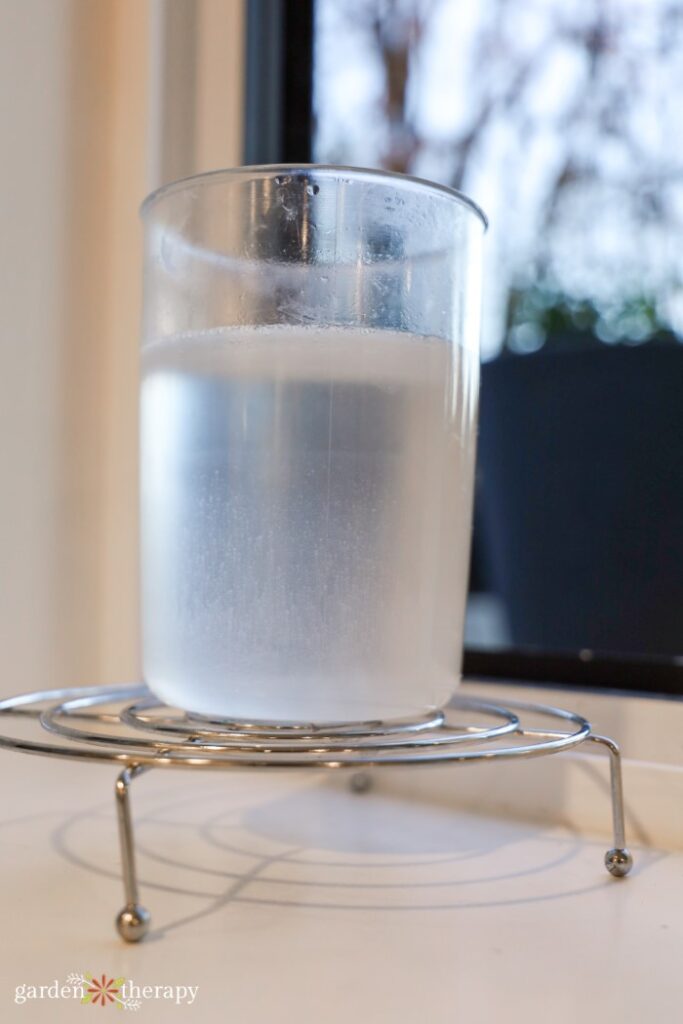
While the oils gently heat, you’ll make your lye water. This needs to be done in a well-ventilated space since the chemical reaction creates strong fumes. Also, do so in a heat-proof container since the reaction generates lots of sudden heat. Add your lye to your water and stir until fully dissolved.
Both your oils and lye water need to be 115°F before combining. Place the container in an ice bath in the sink to cool down your lye water.
When both the oils and the lye water are at the right temperature, add the oil to a large mixing bowl and slowly pour in the lye water. Use an immersion blender to blend together for about a minute until the mixture reaches a light trace.
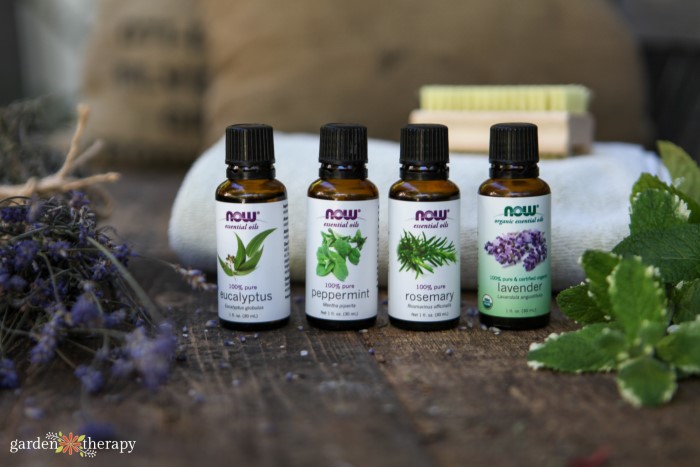
At this point, you can add in your scent and then blend again. I went with a peppermint and basil combination.
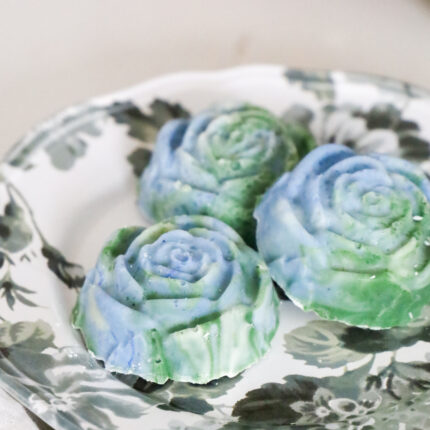
Next, you can add your colouring. You can swirl your soap like I did using this technique.
After the colour, you can pour your soap into the soap mould. Gently tap the mould on the counter to help remove any bubbles.
Cover the mould in a towel and place somewhere warm for 48 hours for it to set.
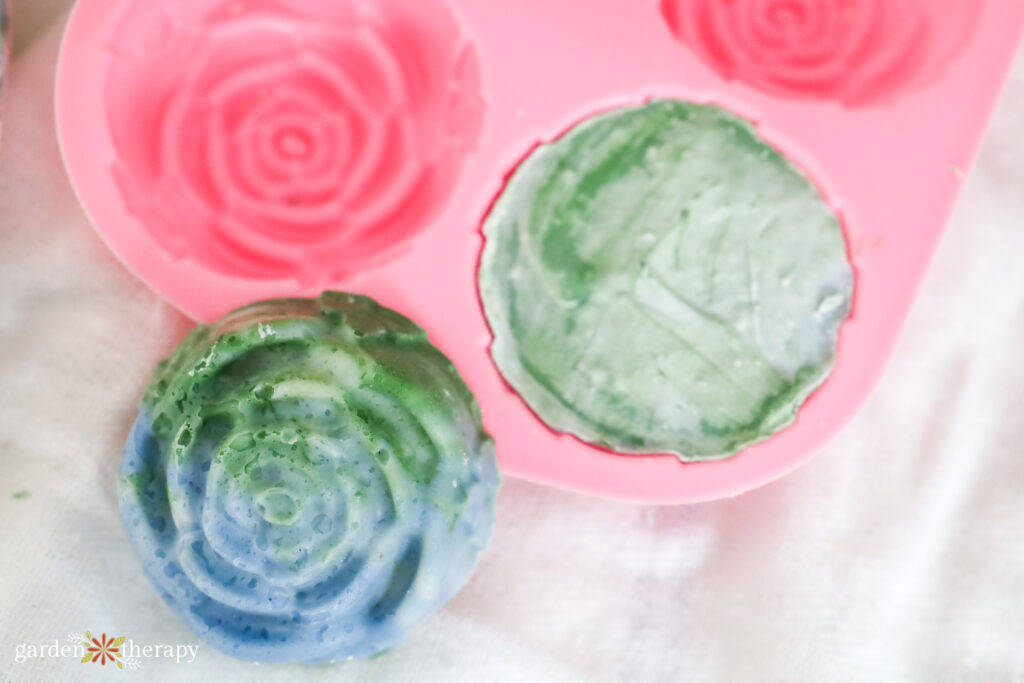
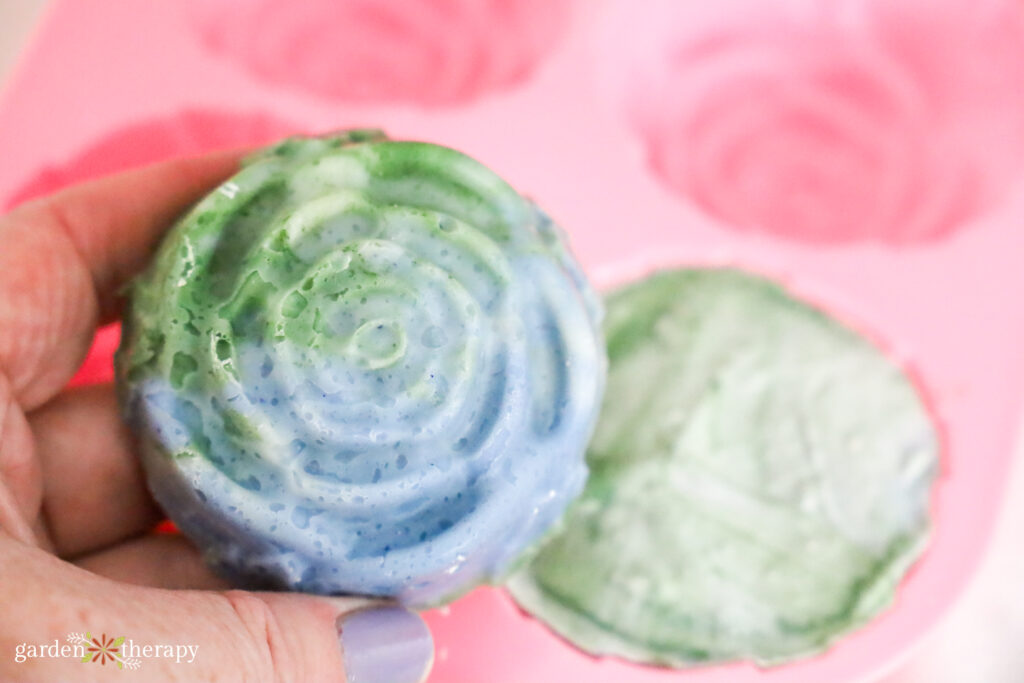
After 48 hours, remove the soap from the mould. Let it sit on a wire rack and cure for six weeks before using (and gifting!).
Package and gift your soap, or save it all for yourself. Enjoy!
Frequently Asked Questions About Soap Flowers
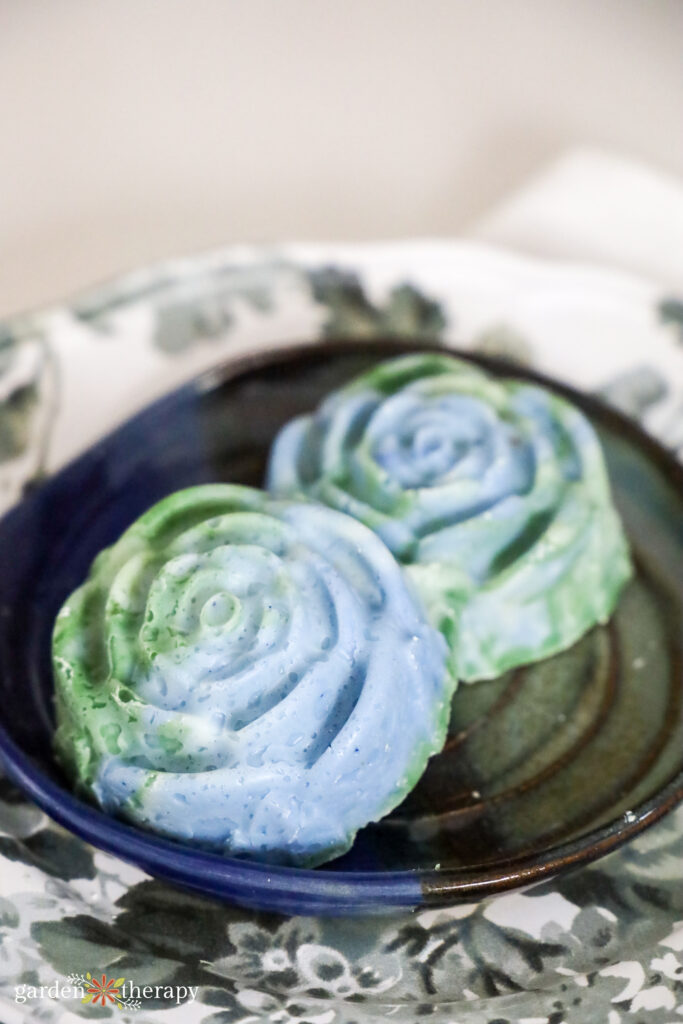
Use these soap flowers the same way you would any other soap. It’s great to use for the whole body. Leave the bar soap on a soap tray to keep it from getting squishy and soft. Use it in conjunction with a loofah for a luscious lather, though this is optional.
One of my bars of soap typically lasts about two months if one person uses it. The flower design will fade after you use it but will last about two weeks before it looks like regular soap.
Of course! However, once the rose-shaped soap gets wet and used, it will lose its design. If you want to keep them as decoration, I don’t recommend getting them wet.

Are you planning to make these soap flowers for yourself or to give them as a gift? Let me know in the comments below!
More Soap Recipes to Try
- Gentle on the Skin Rose Soap Recipe
- Budget-Friendly Soapmaking With Lard Soap
- Make Your Old Soap New Again With Confetti Soap
- Homemade Irish Spring Soap With a Fresh and Natural Scent
- Soothe Irritated Skin With This Chamomile Soap Recipe
Homemade Soap Flowers
Equipment
- Safety gear (rubber gloves, face mask, apron, eye protection, etc.)
- Double boiler or Turkish coffee pot
- Pyrex or heatproof glass measuring cup
Supplies
- 12 oz coconut oil
- 12 oz olive oil
- 2 oz grapeseed oil
- 0.5 oz shea butter, mango butter, or cocoa butter
- 9 oz distilled water
- 4 oz lye
- 1 tsp blue mica
- 1 tsp green mica
- 10 g peppermint essential oil
- 10 g basil essential oil
Instructions
- Put on your safety gear, then weigh your ingredients.
- Heat your oils and butter over low heat until it reaches 115°F.
- In a well-ventilated area, add lye to your water in a heat-proof container. Stir until fully dissolved. Cool in an ice bath until it reaches 115°F.
- When they're the lye water and oils are both 115°F, add them together in a large mixing bowl. Blend with an immersion blender until it reaches a light trace.
- Add your essential oils and blend again.
- Make a swirl by adding green mica to one side of the bowl and blue mica to the other. Mix them in place using the immersion blender. Use a chopstick to blend a couple of swirls in the bowl before pouring.
- Pour in the soap mould. Let sit somewhere warm for 48 hours.
- After 48 hours, remove the soap from the mould. Let it cure on a wire rack for six weeks before using.
A city girl who learned to garden and it changed everything. Author, artist, Master Gardener. Better living through plants.


