Starting plants from seeds is a fantastic way to save money on gardening while opening up a wide array of crop varietal options that are unavailable to purchase as seedlings. Smart gardeners know that seed starting must be done with care to produce robust seedlings that are resistant to pests and transplant shock. You can find a number of different DIY and store-bought container ideas for seed starting here and here. This method, however, requires no container at all! It’s an efficient and sustainable way to start seeds economically and successfully at home.
What Are Soil blocks?
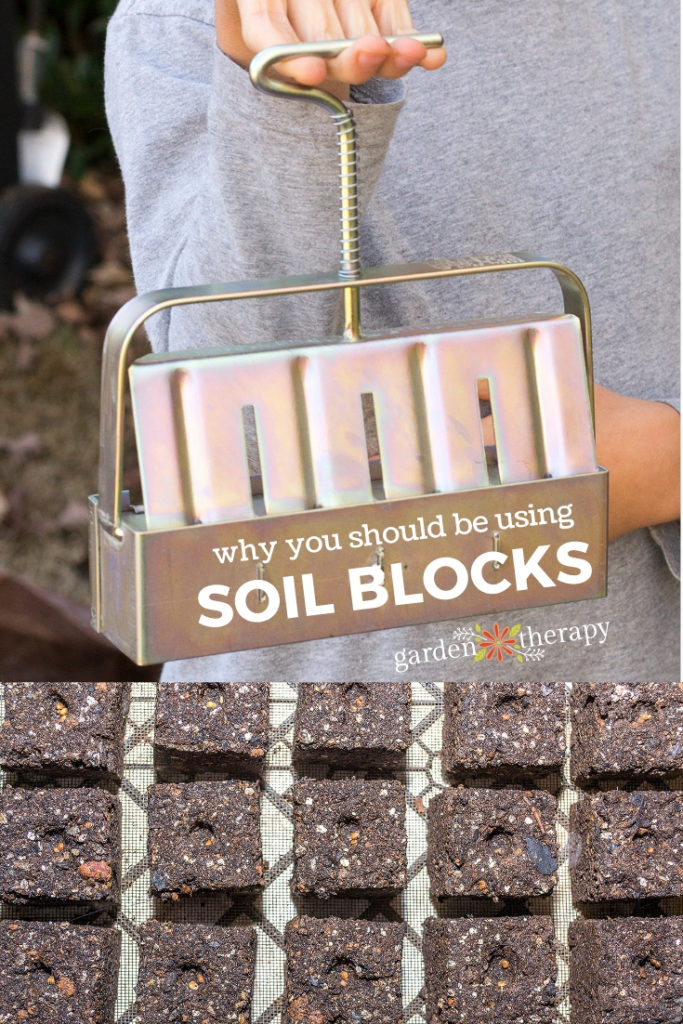
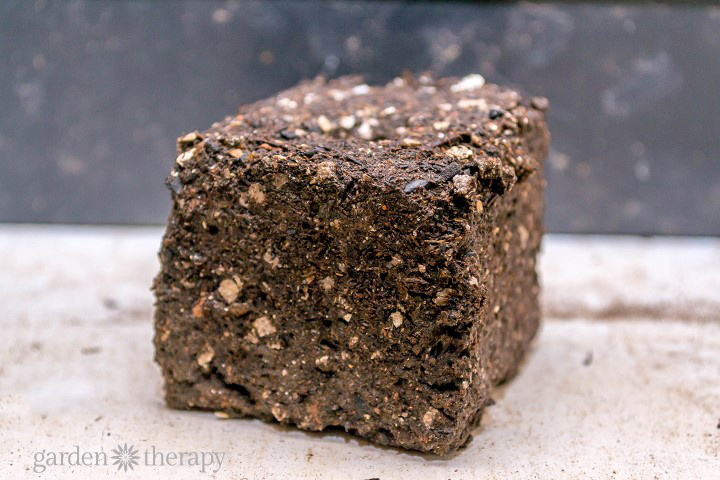
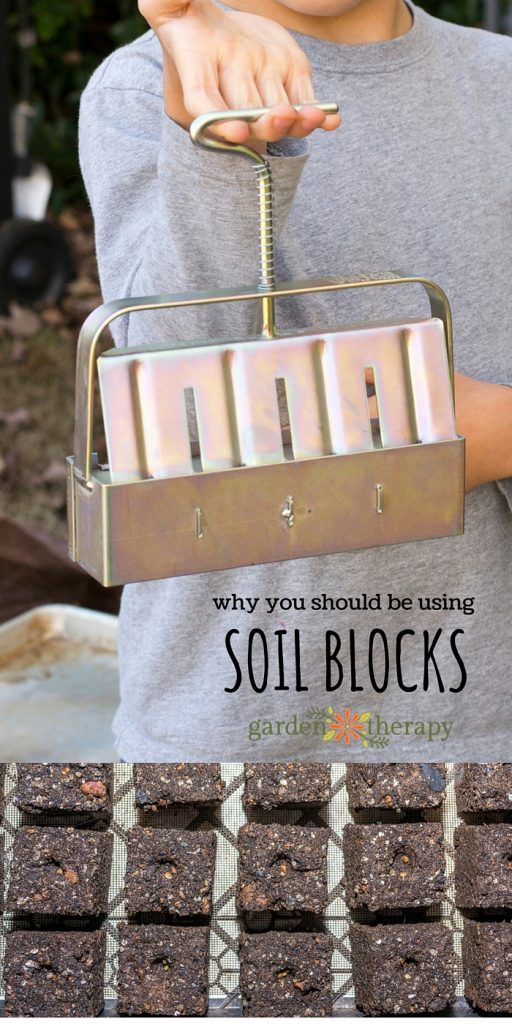
Soil blocks are just what they sound like: compressed cubes of seed starting soil. The special blocking mix, when compressed, requires no pot because it holds its shape while the seed germinates and grows into a plantable size.
The soil block is held together by the internal friction of the interlocking organic fibers and the natural soil “glues” added to the mix by compost and garden soil.
Soil blocking mix may be purchased ready-made, or you can make it yourself with ingredients that most gardeners will have readily available.
Why Soil Blocks vs Other Methods?
Using soil blocks to start garden seeds offers a host of benefits over other methods. First, there is no pot to buy, store or throw away. Second, the blocking mix is nutrient rich, eliminating the need for additional fertilization until planting time.
Also, the blocking mix is made of living soil instead of sterilized ingredients. Exposure to beneficial soil-borne microbes at the time of germination helps the young seedling grow a strong healthy root system, uptake nutrients efficiently and develop resistance to diseases and pests.
As an additional bonus, the cube shape of soil blocks is a greater volume than cylindrical peat pellets or tapered pots. The added volume offers a larger root zone for the seedlings. The larger root zone and lack of disturbance related to “unpotting” allows seedlings to hit the ground running.
How to Make Soil Blocks
Materials
Seed Block Soil Mix Recipe
To make blocking mix, add these ingredients in the order listed, mixing thoroughly each time an ingredient is added. A wheelbarrow and hoe make a good mixing bowl and spoon.
- 2 parts screened and sterilized compost
- 2 parts peat moss alternative (see recipe linked)
- 1 part perlite
- 1 part vermiculite
Make It!
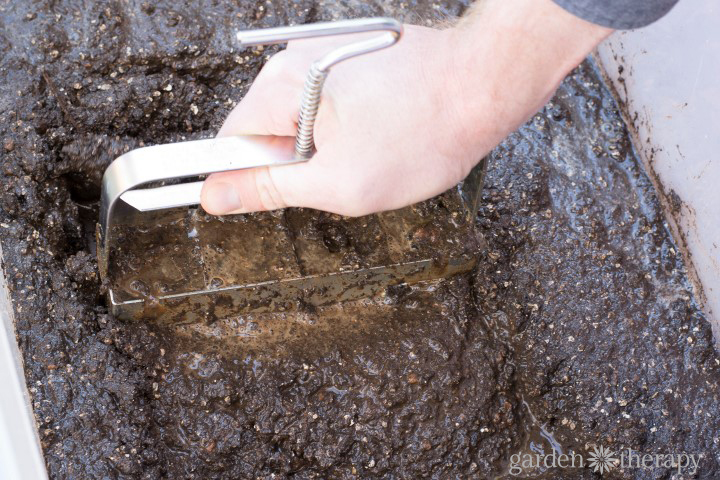
To make blocks, simply mix in enough water to the mix to make an oatmeal-like texture. Do not wet the entire batch at once because a little dry mix may be needed to thicken the slurry after blocking commences.
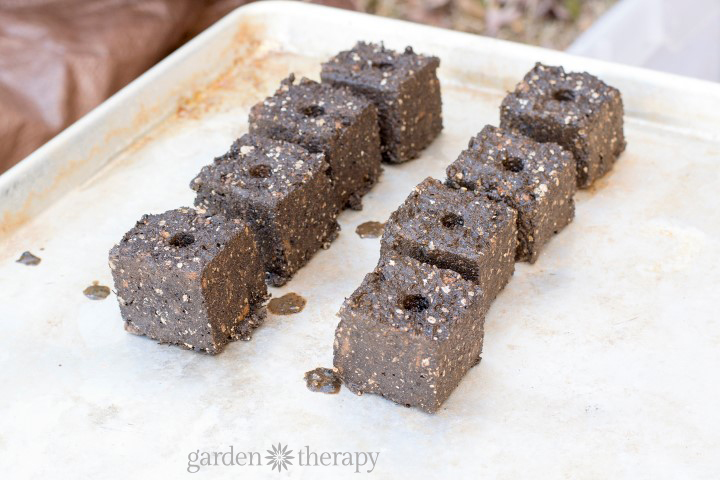
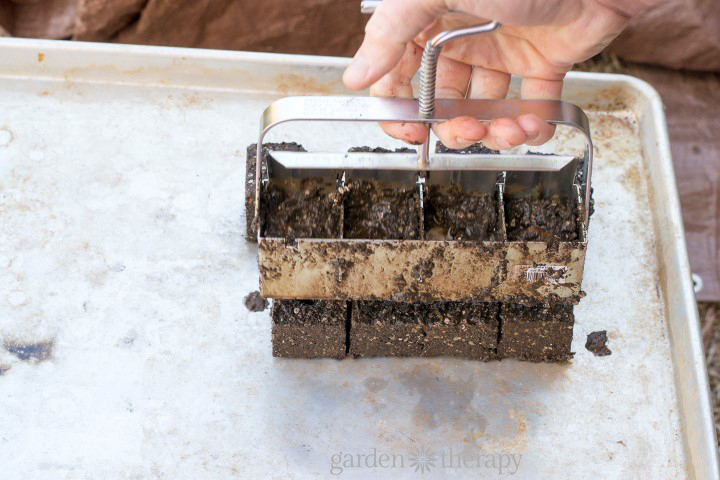
The soil blocker is a handheld tool that comes in a variety of sizes. It is pushed into the wet mix, pressure is applied to pack it tight, then it is placed on a tray to eject the pressed blocks using a spring-loaded release.
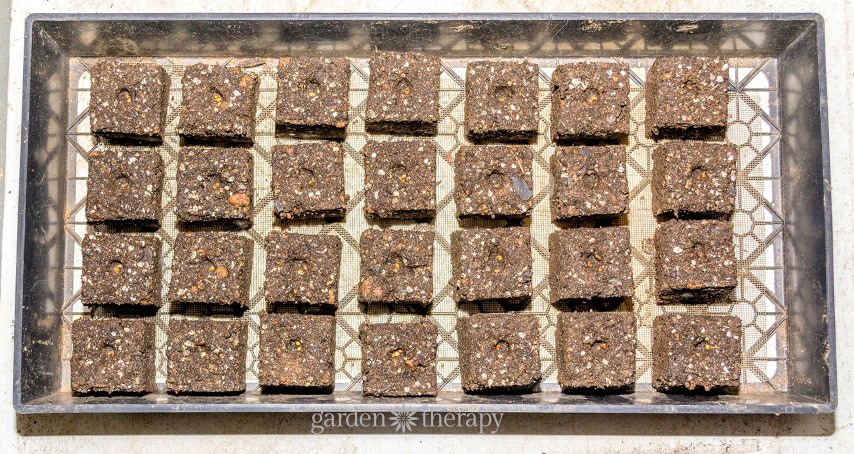
A popular size is the 1.5” blocker that makes 4 blocks at a time. Press the blocks onto a waterproof tray at least ½ inch thick with a rim. This way, if you want to water the blocks by “flooding” the water will not flow out from the bottom. The blocks may be seeded immediately.
How to Care for Soil Blocks Once the Seeds Germinate
Until the seeds germinate, simply keep them covered to maintain high humidity. Once germination begins in earnest, offer plenty of light and remove the cover.
Water when the surface of the blocks is dry but before it feels crusty, either by misting regularly or by flooding the tray and draining. To flood the tray, simply pour water onto tray up to the rim.
Let the blocks absorb the water for a few minutes (the blocks will turn darker in color). Then, carefully pour off any excess water. Keep the soil blocks moist but not soggy.
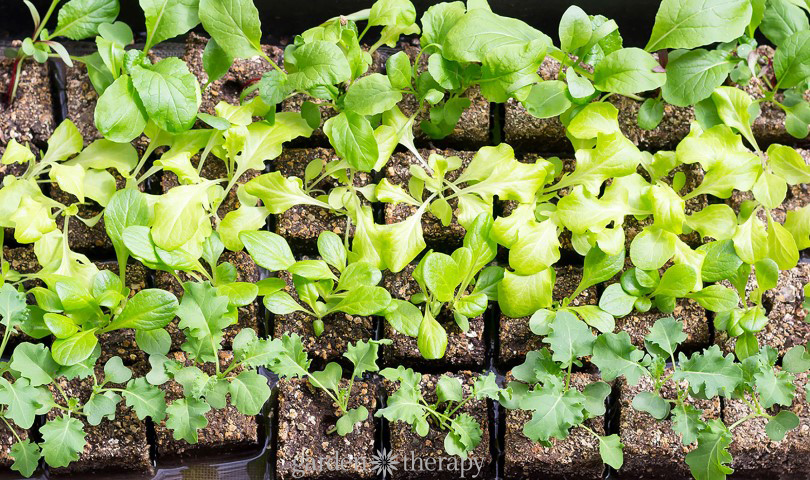
Once your seedlings are ready to plant, remember to harden them off at least two weeks before planting outdoors.
Plant your garden with stronger plants this year, and send less waste to the recycler or dump. Plant in soil blocks and enjoy your sustainable gardening success!
Read more about seed starting in the Ultimate Seed Starting Series!



I switched to soil blocks last year and I’ll never look back. I found them to be a far superior way to start seeds and well worth a little extra effort.
Fascinating… I’ve never tried these before but the negation of the use of pots (plastic) is intriguing
Great idea for a seed starter , we are going to try it . Your site is fantastic, i am purchasing your book to make our own dog shampoo. Sheila
Thanks Sheila!
Hi, is it possible to incorporate coir instead of using all peat?
Thank you!