Forget a perfectly stacked log cabin and helplessly blowing on your tiny flame. Spend time enjoying your summer nights, not getting frustrated trying to start a fire. These camping fire starters are one of the easiest ways to start a fire, whether that’s out in the woods or in your backyard.
Besides being out in the garden, you’ll also find me out in the woods come summertime. And just like gardening, I didn’t grow up as a camper.
It was always something I wanted to try out, and when I first saw my pop top camper van, it was love at first sight. I knew it would the perfect little home on wheels for kiddo and I. You can see it on my camping blog!
One of the most beloved parts of camping is the nights spent around the campfire under the stars. While I have a propane fire that I often use for ease, you can’t deny the magic that comes from the crackling wood and smell of a real campfire.
Starting a campfire can take some finessing (are you team teepee or log cabin?), and sometimes, no matter how much newspaper and kindling you have, the fire just doesn’t catch.
This is precisely why I like to use wax fire starters. They’re much more reliable and easier to use! Better yet, they don’t require you to have pounds of sawdust or go foraging for witch’s hair lichen to make them.
Here’s how to make fire starters to use for camping or your backyard!
- Homemade Camping Fire Starters
- Equipment
- Materials
- Melt the Wax
- Prepare Your Liners
- Pour Your Wax
- Add Your Decorative Elements
- Let The Camping Fire Starters Cool
- Make These Wax Fire Starters as Gifts!
- More Fun Crafty Projects to Try

Homemade Camping Fire Starters
These camping fire starters are quite simple to make, especially if you’ve made candles before! While they can be simple and plain, I like to turn these campfire starters into a little bit of a craft project. Because who doesn’t love pretty things?
Equipment
- Large pot or melting crock
- Spatula
- Muffin tin
Materials
- Soy wax
- Cotton candle wick
- Food colouring (optional)
- Wick tabs (optional)
- Wick glue dots (optional)
- Fragrance oil (optional)
- Cupcake/muffin paper liners
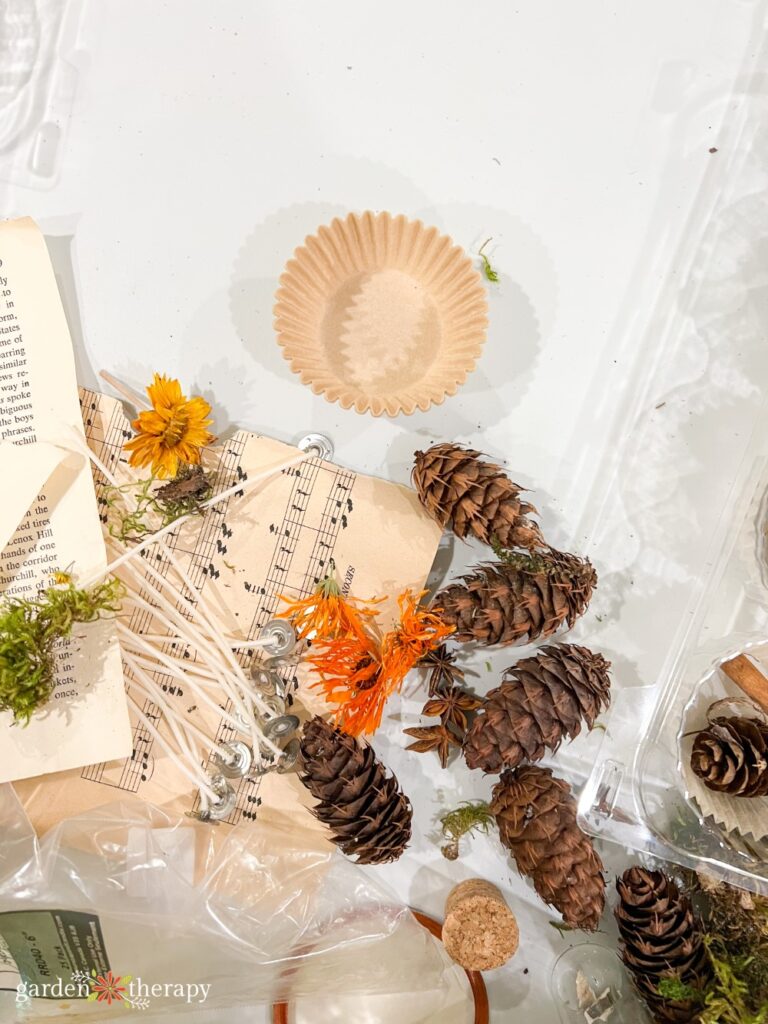
- Decorative elements like dried flowers, pinecones, cinnamon sticks, etc.
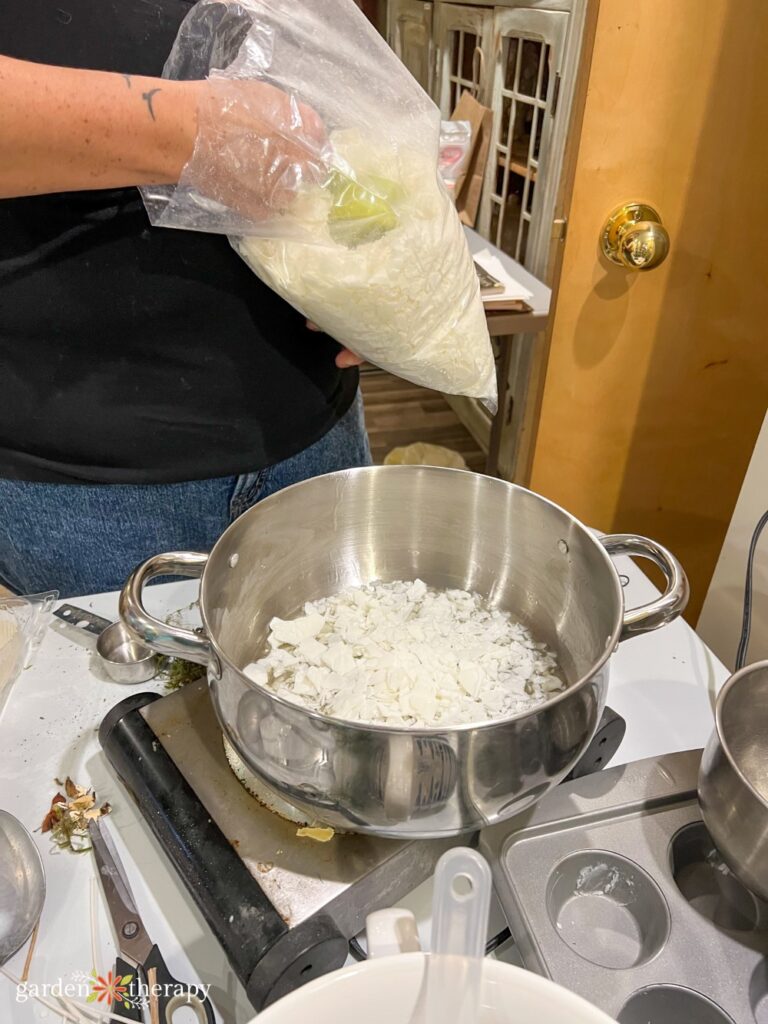
Melt the Wax
When making these wax fire starters, I use standard soy wax. It’s what I use for most of my candle-making projects. Soy burns quite clean and produces less soot. They’re also pretty affordable compared to beeswax.
That being said, you can use just about any wax for this project. Feel free to use the leftover wax from the bottom of old candles to give them a second life.
Melt your wax in a large pot over low heat. If needed, break up your wax into smaller chunks beforehand to help it melt faster.
You can also add a few drops of food colouring to the wax once fully melted if you want it to be a specific colour. I’ve also popped in an old crayon to change the colour.
You can also add fragrance oil for a delicious-smelling campfire! The right scent, like citronella, might even repel mosquitoes.
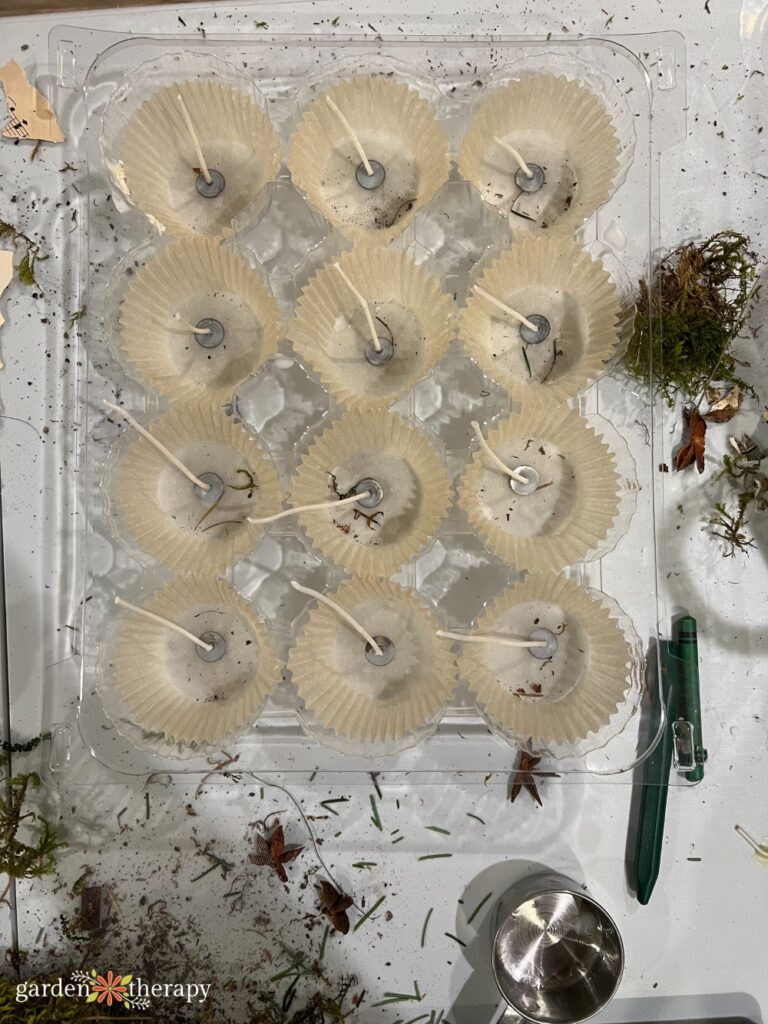
Prepare Your Liners
Line up your paper muffin liners in a muffin tin like you’re about to make a batch of cupcakes. This is the easiest way to make a shape for your DIY campfire starter.
Next, add in your cotton wick. You can use metal wick tabs as well as candle glue dots to hold your wick in place. Just know that the metal tab won’t burn, and you will have to remove this from the ashes when you’re cleaning up your fire.
If you’re okay with a wick that’s a little loosey-goosey rather than straight, it’s easiest to skip the metal wick tabs altogether.
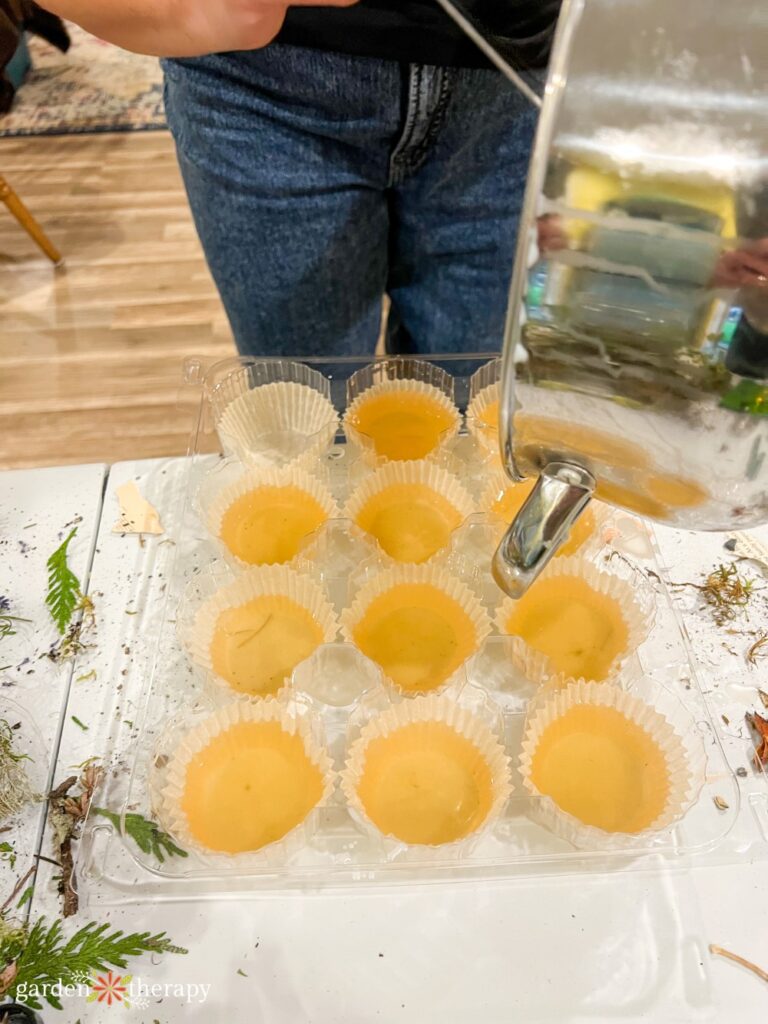
Pour Your Wax
Pour your wax directly into the liners, filling them about 2/3 of the way full. To make this step a little easier, you can pour directly from the pot or use a ladle or smaller vessel with a pour spout.
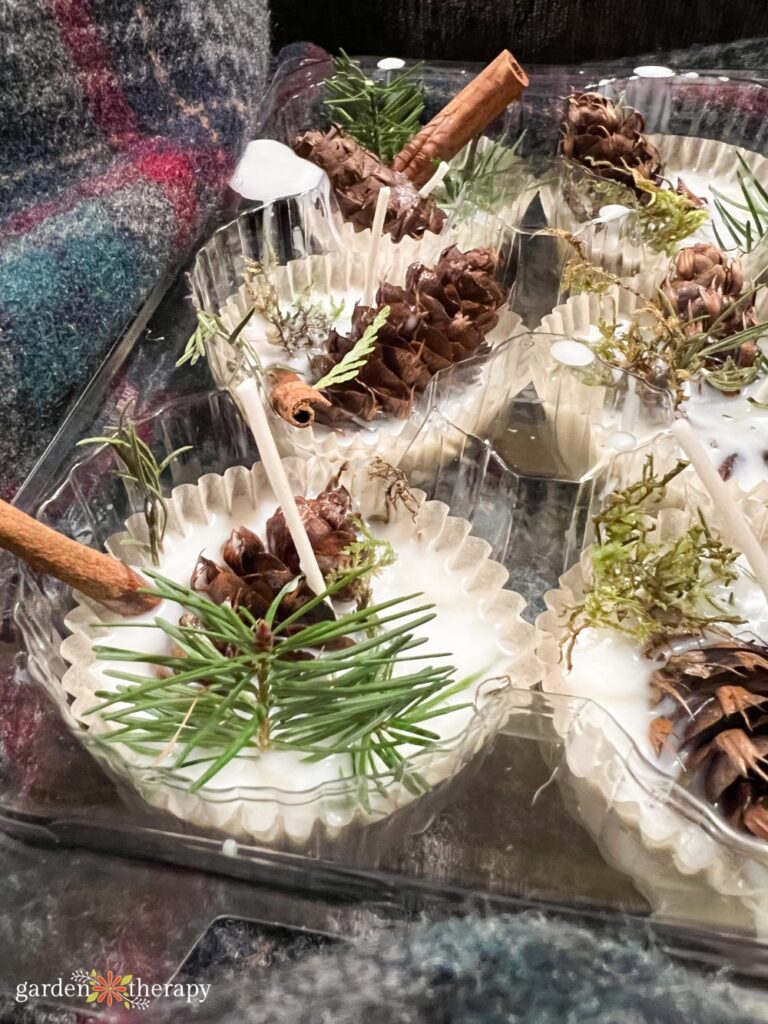
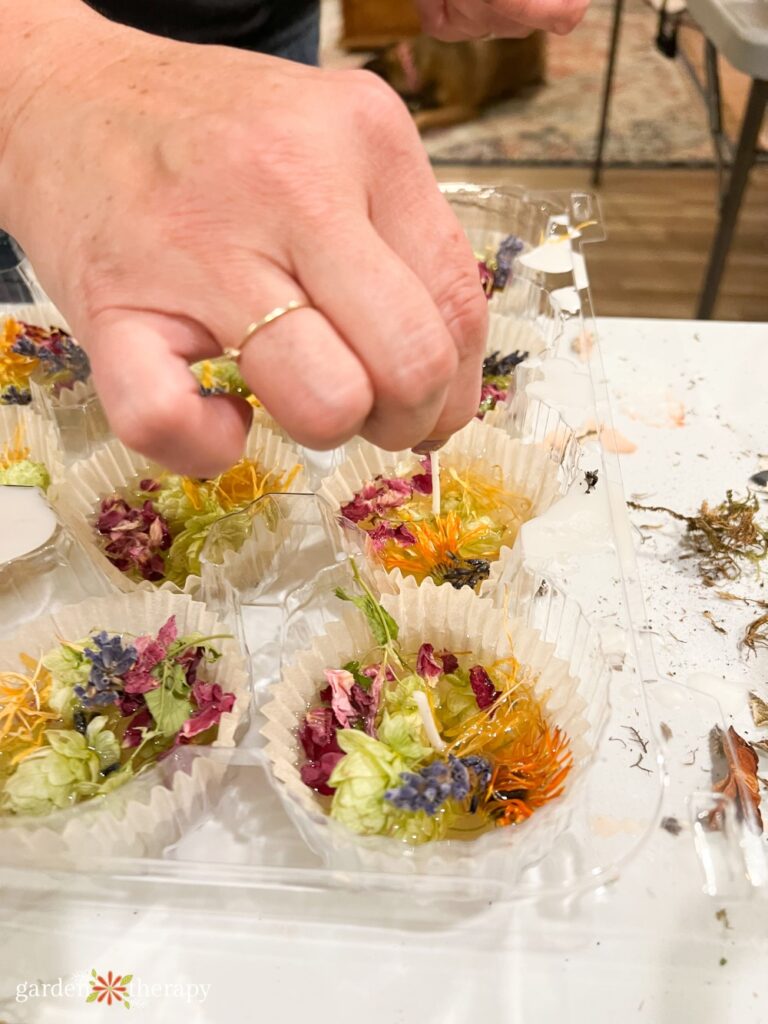
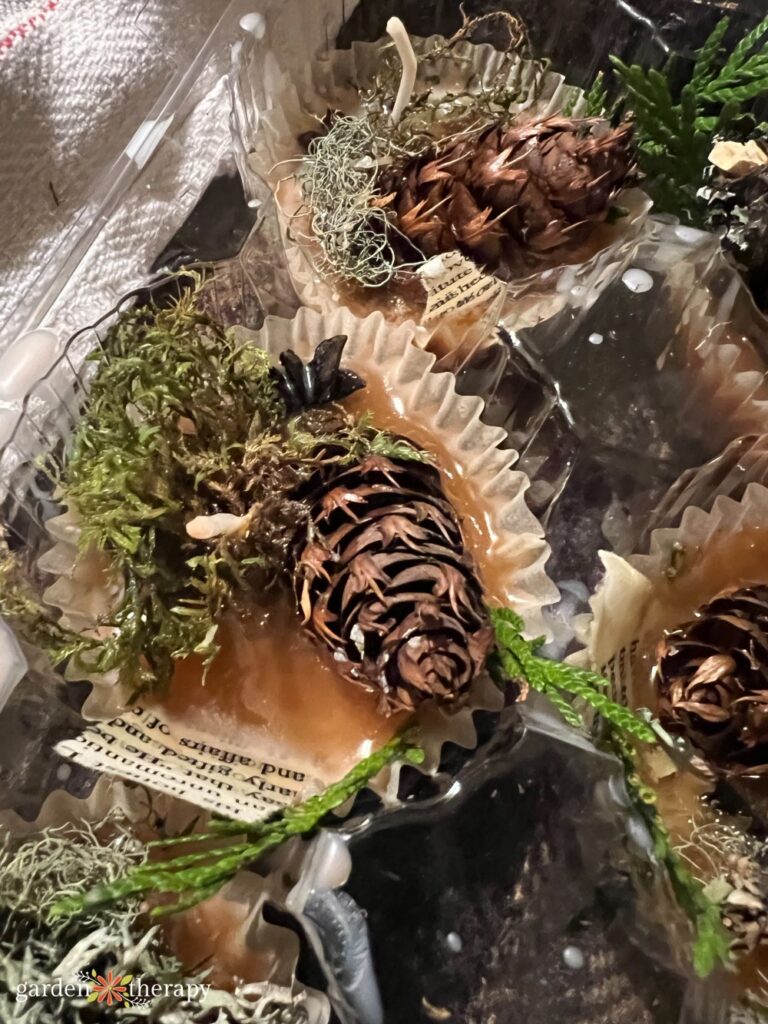
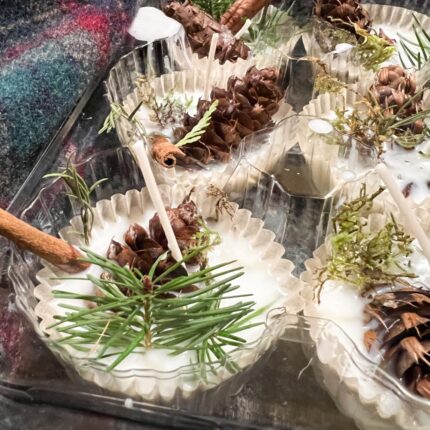
Add Your Decorative Elements
These wax fire starts can be as simple as just straight wax. But where’s the fun in that? In my summer themed camping fire starters, I used dried flowers such as hops, calendula, rose, and lavender to make them really pretty.
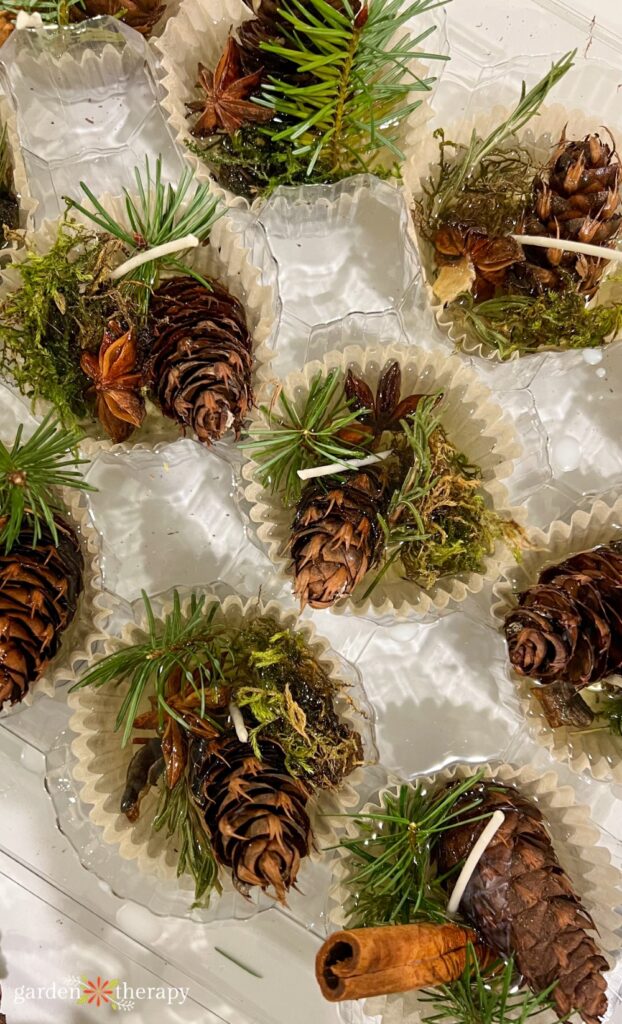
But here are some more ideas of what you can add:
- Pinecones
- Cinnamon sticks
- Fresh pine
- Fresh herbs like rosemary
- Star anise
- Dried lichen or moss
- Bay leaves
- Bits of recycled paper like books or sheet music
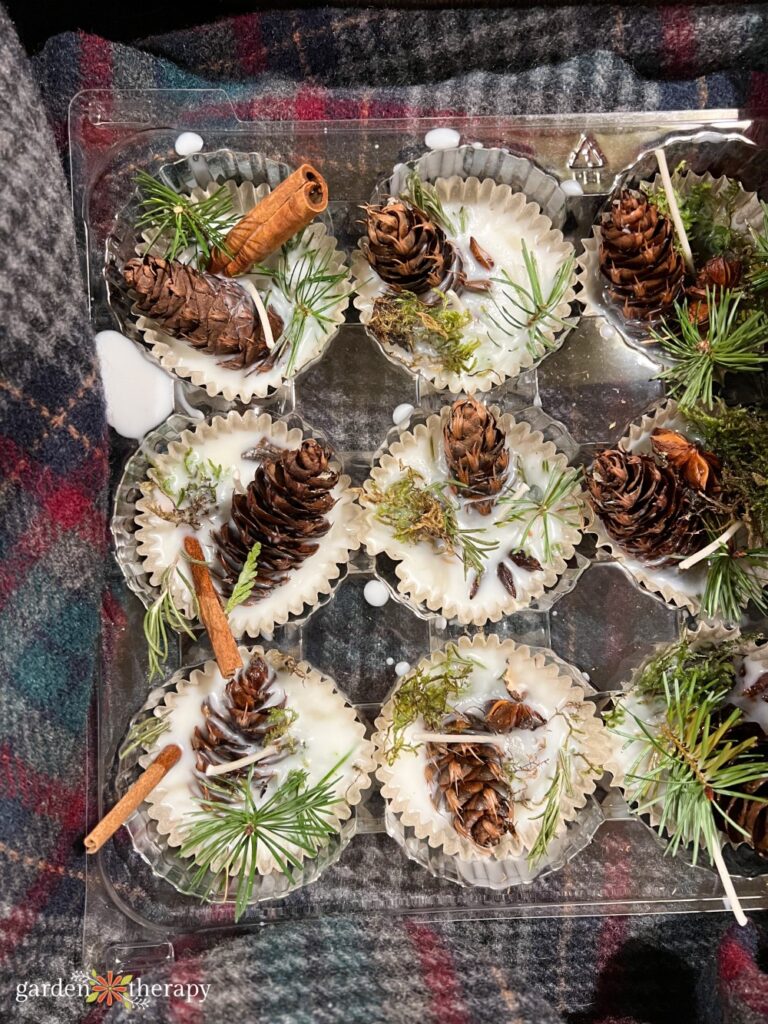
Let The Camping Fire Starters Cool
Once you’re satisfied with all your decorative elements, let your wax fire starters completely cool before you remove them from the muffin tin.
And then they’re ready to use! Simply light the wick to ignite your camping fire starter.

Make These Wax Fire Starters as Gifts!
I make these wax fire starters year-round. While they’re perfect for camping, you can use them in the summer for backyard fires.
They also work wonderfully indoors during the winter. They’re pretty enough to be on display on the fire mantle or nearby in a stack. For a winter version, you can add different additions, such as pinecones or cinnamon sticks.
Wax fire starters are a wonderful hostess gift. If you know someone who has a wood-burning stove or fireplace in their home, these can be a unique handmade gift for the winter season.
I think these are just the best campfire starters because they’re easy to use and make. And they don’t cost much in materials at all! Let me know if you use these for a summer night under the stars in the comments below.
More Fun Crafty Projects to Try
- Your New Favourite Candle: How to Make Soy Candles
- DIY Wind Chime Made With Clay Terracotta Pots
- How to Make Hammered Flower Print Cards
- Make Resin Coasters With Pressed Garden Flowers
- How to Make a Stunning Sand Art Terrarium
Wax Camping Fire Starters
Equipment
- Large pot or melting crock
Supplies
- 1 lb soy wax
- 12 pieces cotton candle wick
- Food colouring optional
- 12 wick tabs optional
- 12 wick glue dots
- 12 paper muffin liners
- Decorative elements such as dried flowers, pinecones, cinnamon sticks, etc.
Instructions
- Melt wax in a large pot over low heat. If needed, break up wax into smaller chunks beforehand to lessen melting time.
- Add in food colouring or a crayon to dye the wax if wanted.
- Line up muffin liners in a muffin tin. Add in the cotton wick, using wick tabs and glue dots if wanted. These help to hold the wick in place, though the wick tab will not burn.
- Pour melted wax into the liners until they're about 2/3 full.
- Add in decorative elements, allowing the tops of the decorations to stick out of the wax. Adjust the wick placement if needed.
- Allow the wax to cool fully. Light the wick to use your fire starter!
A city girl who learned to garden and it changed everything. Author, artist, Master Gardener. Better living through plants.