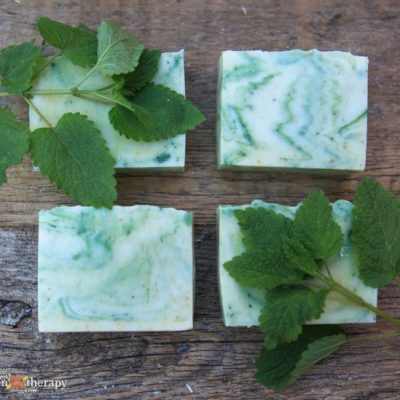
Lovely Lemon Balm Soap (Cold Process Recipe)
This lemon balm soap recipe is soft and rich from the high percentage of olive oil. It has … Read More
This lemon balm soap recipe is soft and rich from the high percentage of olive oil. It has … Read More
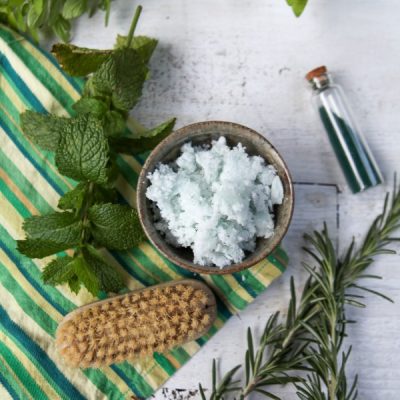
Looking for a way to perk yourself up in the morning before you even get that first cup … Read More
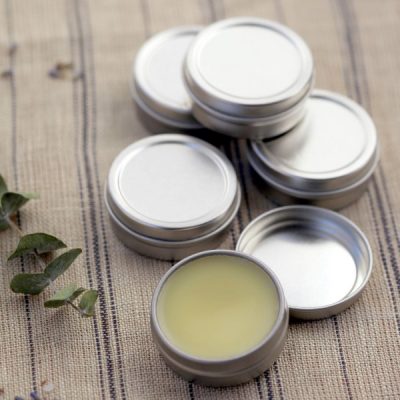
Home chefs, gardeners, and just about anyone who works with their hands can regularly have problems with dry, … Read More
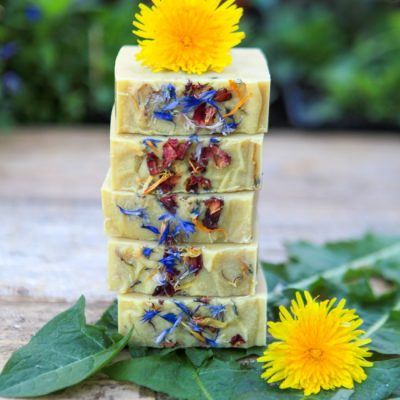
This wildflower soap reminds me of walking through meadow flowers. It’s natural and vibrant, while being nourishing and … Read More
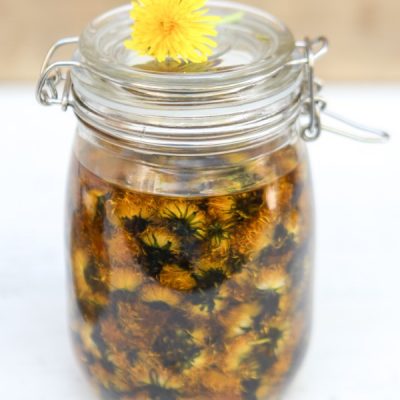
Whether you see dandelions as lawn invaders or wildflowers, I’m sure that by now you’ve heard they are … Read More
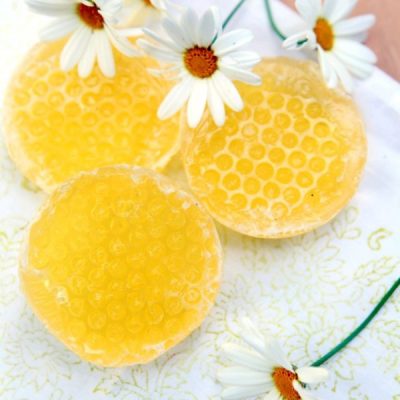
I’m just buzzing about this honey soap because it was easy to make, and it comes with a … Read More
Your guide to creating a stunning outdoor space using found materials, free resources, community connections, and your own creativity.
My weekly newsletter full of tips for gardening and green living, including timely insights on how gardens can nurture our emotional well-being.

