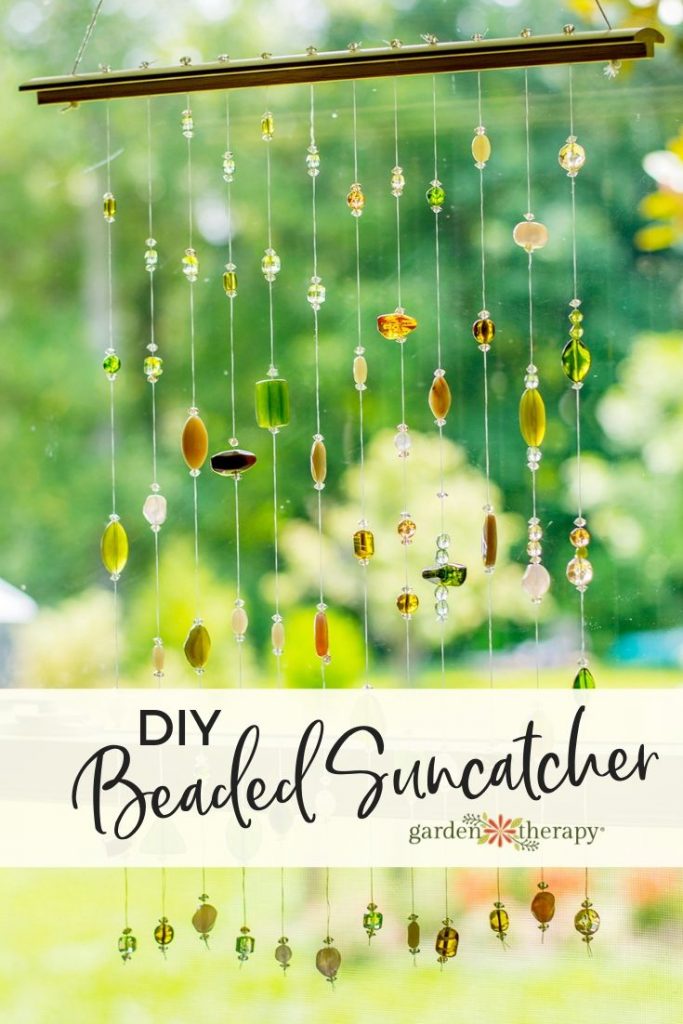
Whether you want to catch the golden rays of the sun or just want to add a little dazzle to your window, a beaded suncatcher is a fun and easy project you can complete in an afternoon.
I have a window in the back of my living room that was a persistent danger to my feathered friends. Birds would fly into that window on a daily basis. And with each loud bang, I knew I had to try to do something to prevent them from hurting themselves.
Why do birds fly into windows? It’s because they see the reflection of the sky or trees in the pane of glass instead of a window.
The best way to help the birds from doing this is to disrupt the reflection. There are several ways to do this: you can use stickers, cover the window, or draw streaks across the surface with soap. I wanted a prettier solution: a suncatcher!
Here’s how you can make your own.
- How to Make a Beaded Suncatcher Mobile
- Materials
- Make It!
- More Hanging Craft Projects for Gardens and Plants
How to Make a Beaded Suncatcher Mobile
Depending on what type of beads you select for this project, your beaded suncatcher can look so unique. Add some colour to really help the birds see the difference in the window.
Materials
- 12-14 inch piece of wood
- Drill
- Beading string
- Beading needle
- Assorted beads (semi-transparent and colourful ones work best)
- Thin nylon rope (like mason line)
- Pencil
- Ruler

Make It!
Get your piece of wood and measure in 1-inch increments along its length. I used a piece of bamboo flooring leftover from another DIY project. You can use a dowel rod or even driftwood for this project. I drilled 12 holes along the length of the bamboo.
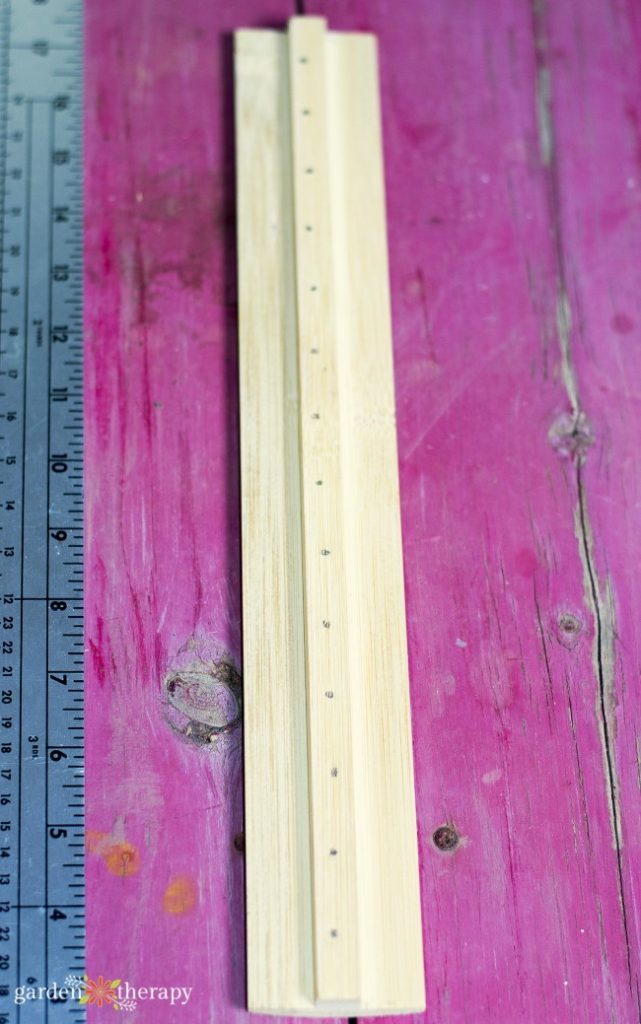
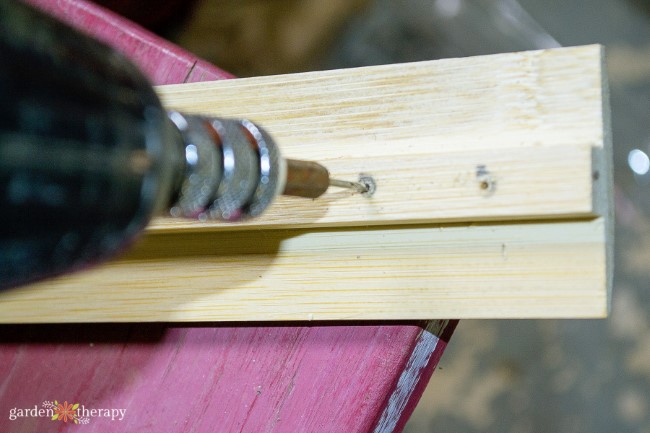
Use a small drill bit to drill a hole in each of your marked increments. The two holes at each end of the wood will be where the nylon string will be inserted to create a hanger, so these might have to be a little bit larger in order to fit the thicker nylon rope. I drilled 12 holes in all. This means I need 10 strings of beads for my mobile.
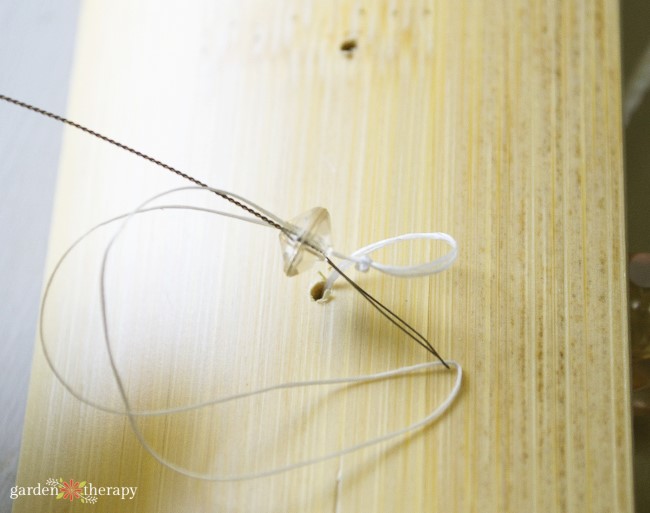
Cut a length of rope at least 24 inches long. String the nylon rope through one of the drilled holes on the end. Pull it through and string in through the drilled hole on the opposite end of the piece of wood.
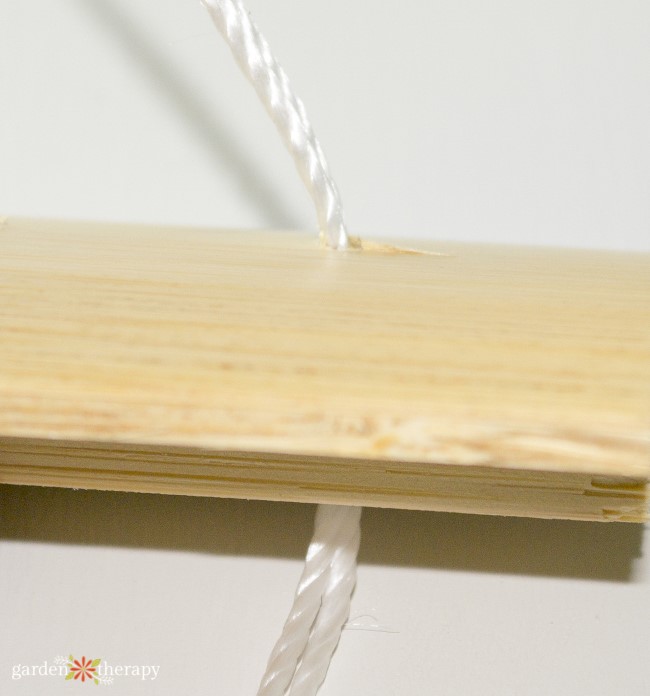
Secure the nylon rope with a double knot on each end.

Cut a length of beading string and thread the beading needle and secure the tail with a knot. My beading string was about 36 inches long. Once it was threaded and knotted it was about 13 inches long (I double threaded my needle).
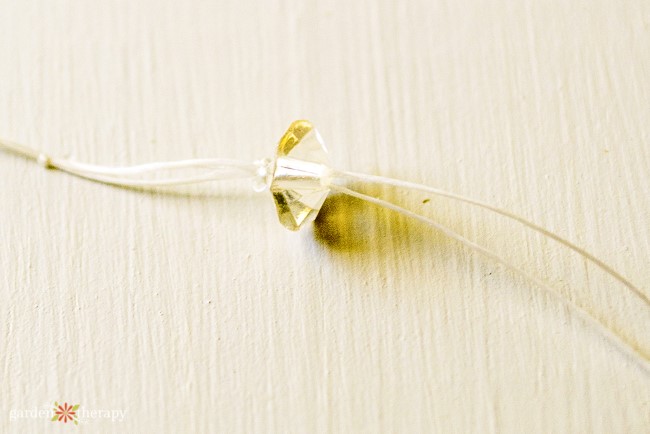
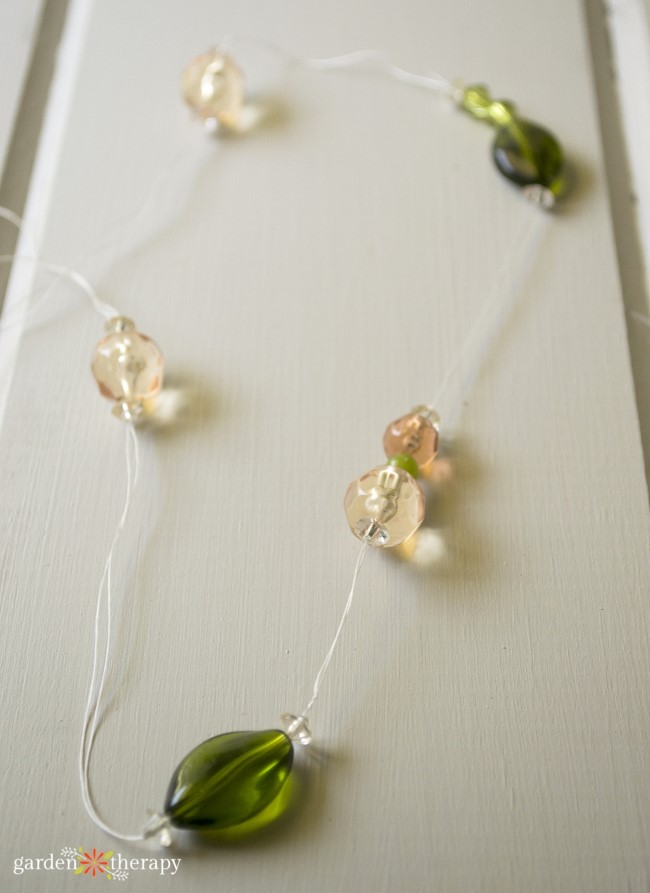
String up a small bead on the threaded needle. Pull the thread through from the bottom of the bead to the top of the bead. Once it’s in the desired place on the string, you’ll thread the bead again. So take the needle and thread the string through the bottom of the bead to the top of the bead.
This will create a loop around the outside of the bead and hold it in place. The small bead will act as a stopper bead for the larger beads.
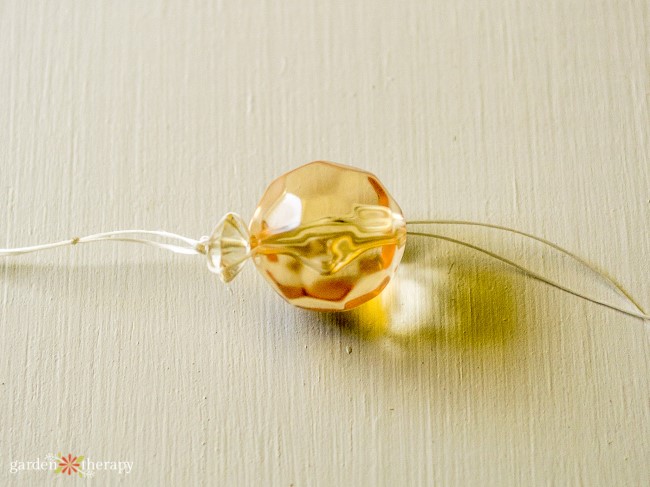
String up a larger bead and place it next to the smaller stopper bead.
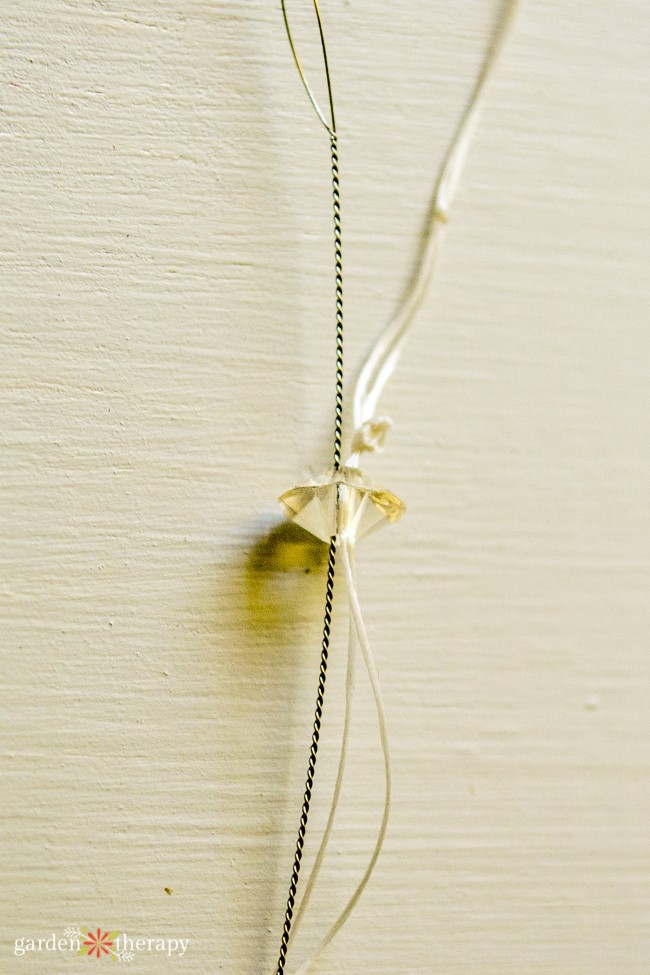
Keep adding as many beads as you’d like. If you want to create a gap of string between beads as I did, end with a smaller bead (the stopper bead) by following the same instructions above. This will lock the larger beads in place.
Continue to string beads. I spaced my few inches apart for an open look. You can also stack the beads one after another. Each one of my beaded strings were about 13 inches long. You can make them longer or shorter if you like.
Pass the bead needle (that’s still attached to your completed string of beads) through one of the holes in the piece of wood. Take a small bead and pass the beading needle through. Bring the beading needle back around and pass it through the bead again. Secure it with a knot and cut the string.

Continue making strings of beads and securing them to the piece of wood one string at a time.
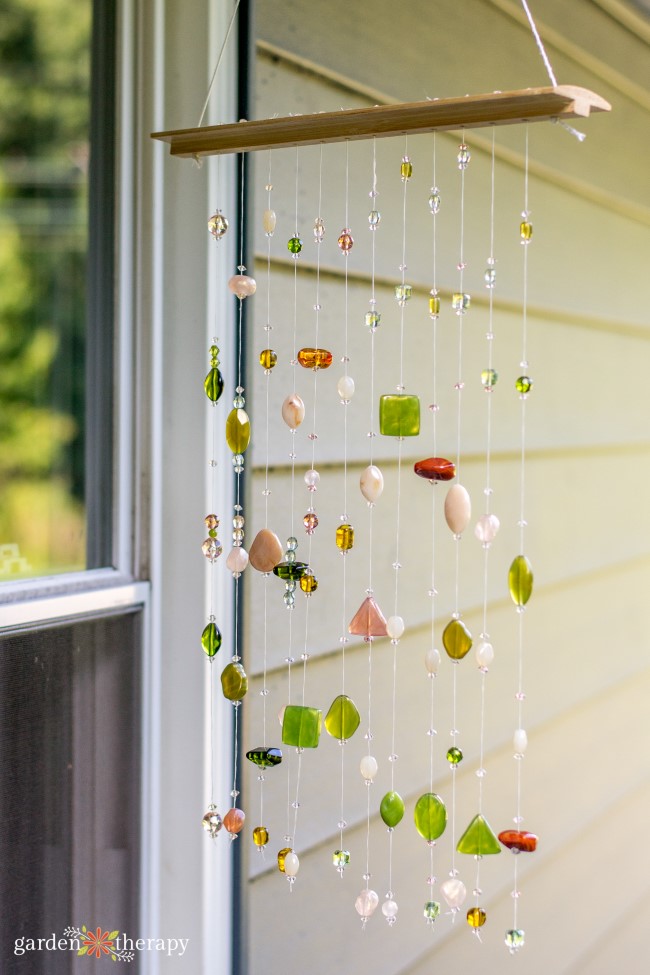
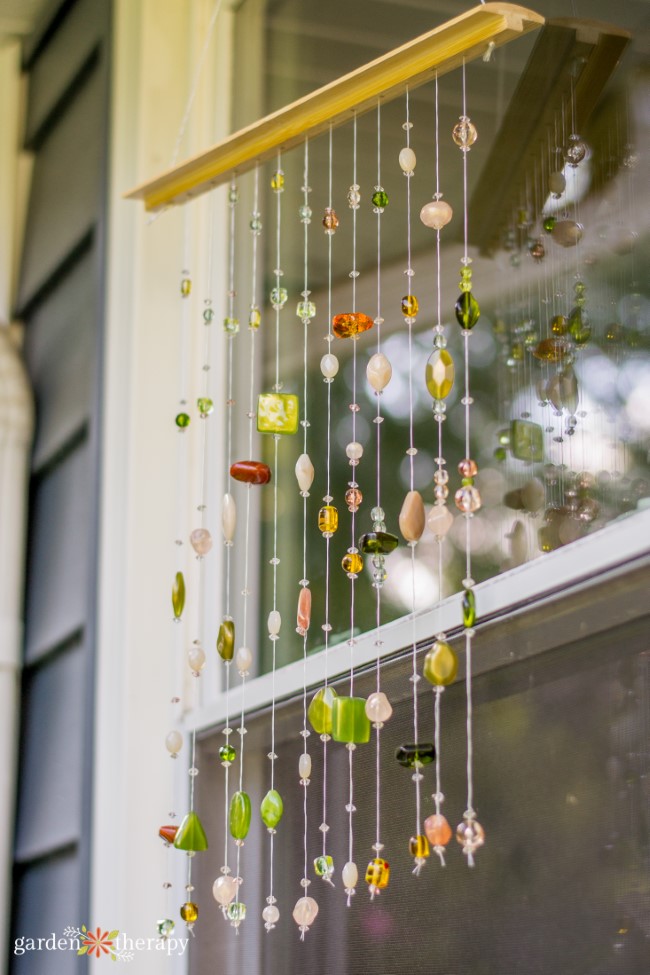
Now, hang your beaded suncatcher mobile in a window that gets plenty of sunlight and watch it sparkle! My mobile hangs in the window that the birds were flying into and I am glad to report that the suncatcher is doing its job of breaking up the reflection. It’s pretty and keeping my backyard birds safe.
More Hanging Craft Projects for Gardens and Plants
- If you liked the suncatchers, you’ll love these Modern Macramé Plant Hangers
- Add sparkle to the garden with this Beautiful Beaded Wind Chime
- Try a DIY Lavender Wreath or a Make a Gorgeous Culinary Herb Wreath
- Create an urban floating forest with Ferns and Kokedama
- VIDEO: Bring Light and Movement to the Garden with a DIY Wind Spinner
Debbie Wolfe is a mom of two rambunctious boys, wife, and work-at-home mom from Georgia. In her free time (when there is such a thing), she is in the garden or hidden away reading the latest post-apocalyptic sci-fi drama! As interests, Debbie is an obsessive crafter, home chef, and gardener. She is a freelance writer, blogger, and is a co-author and photographer behind the garden blog, The Prudent Garden; a collection of tips, crafts, and articles that highlight home gardening.


That whole first step, beading that small bead and tying it off…then you said to do it again ‘as it was explained before…’
Oh my…I’m so confused. I came here to your site because it said “Garden Therapy” And because the blurb about it said tutorial and tying (the thing I have the hardest time with) — I am feeling untherapied right now…can you clarify the first part, please? Thank you.
To everyone struggling with the first step: imagine you’re threading a bead with a needle going into the bottom hole and out the top hole. Then you take the needle and go into the bottom hole and out the top hole again. Basically you’re threading it twice the same direction through the bead.
The string will loop around the outside of the bead to hold it in place. You’ll be able to slide the bead if you really need to, but it’ll otherwise stay in place because of the tension of that looped string. Hope this helps.
Thank you. I would love to put this on our blog: blog.GoodyBeads.com It’s perfect for Spring Cleaning your stash of beads.
Thank you for the great tutorial! I hope to share in my June newsletter to give ideas on crafting to correlate with summer solstice.
I love this project! I want to make some to hang at our community garden! It’s lovely.
I’m with EVERYBODY who doesn’t understand the first step (crucial to understand). Can ANYONE post something which more easily explains how you string the ‘stopper’ bead, thread back through it and add a bigger bead then continue in??? The artist does not explain this well and I see many posts here which indicate other people gave up on this project, too. IF ANYONE CAN MORE EASILY EXPLAIN THE BEADING PROCESS, PLEASE DO SO!!!!! Thanks!
I think the trick is to go through the lil stopper guy twice so he stays put. Does that make any sense?