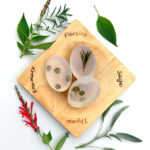
These beautiful botanical soap bars are equal parts pretty and practical! A clear soap bar is made into a work of art with botanicals such as flowers, leaves, and herbs, a perfect way to preserve your garden’s bounty. Whether you gift these or keep them for yourself, this melt and pour project is absolutely stunning.
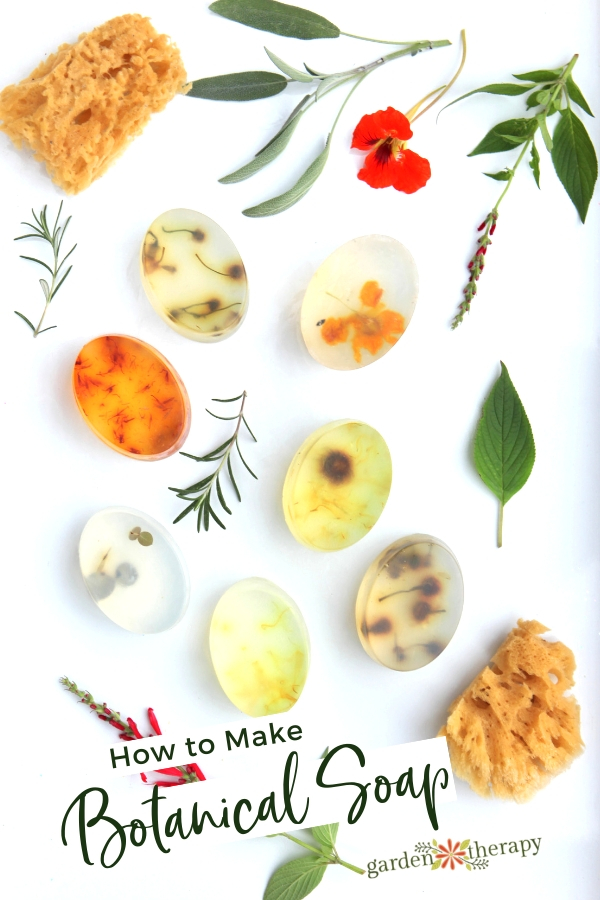
This botanical soap is a fun project for encapsulating what grows in your own backyard to bring a little nature to your bath or shower. Handmade soap makes a lovely gift and it is surprisingly simple to make a large batch of botanical soaps with little effort. It’s amazing what you can create with the beauty of nature and a few melt and pour soap supplies!
Botanical Soap Recipe
I’m going to start this post off by sharing the basic soap recipe, and then we’ll get into the fun part, the botanicals!
Supplies Needed to Make Clear Soap Bars
- 2 lb clear glycerine soap base
- 4-cup Pyrex measuring cup
- Microwave or double boiler
- 1 teaspoon essential oil (your choice of scent)
- Oval silicone soap/cupcake mold
- Botanicals (see test ingredients below for ideas)
Make it!
If you haven’t done soapmaking before, this melt and pour soap is a great place to start. Here’s how to make the entire botanical soap project step by step.
Choose the Botanicals
Gather up a variety of flowers, leaves, and herbs that are small enough to fit into a silicone soap/cupcake mold. See the list below on the botanicals I tested for this recipe and choose the results that you like the best.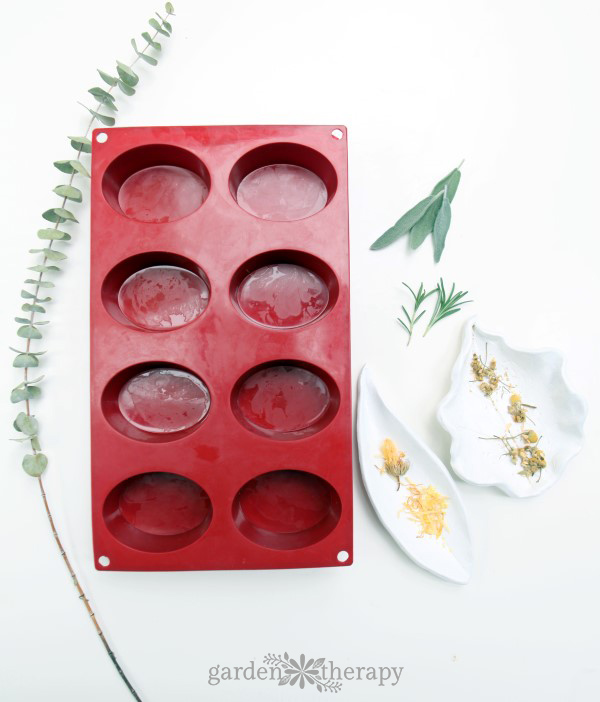
Make the Clear Soap Bars
Start with a crystal clear glycerine soap base so you can clearly see the botanicals when the soap is complete. Cut up the glycerine soap base into 1-inch cubes and add them to the Pyrex measuring cup.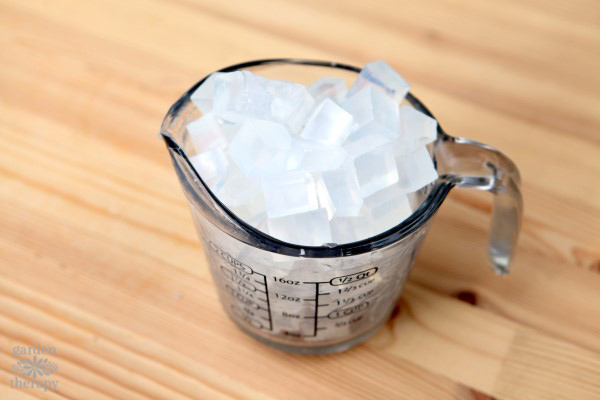
Melt the soap base in a microwave or double-boiler so that it is just melted. You want the soap base to melt, but not cook. Remove the soap base from the microwave or off of the double boiler before it starts to steam. There may be a few chunks left, but that is just fine. Those will melt if you keep stirring the soap base for a few minutes after removing it from the heat.
When your soap base is melted, add in the essential oils to the soap mix.
Add in the Botanicals
Pour half of the soap into the silicone mold and add your botanicals. Allow them to set for a few minutes before topping up the molds with more melted soap base. You may need to gently poke the botanicals into place using a toothpick.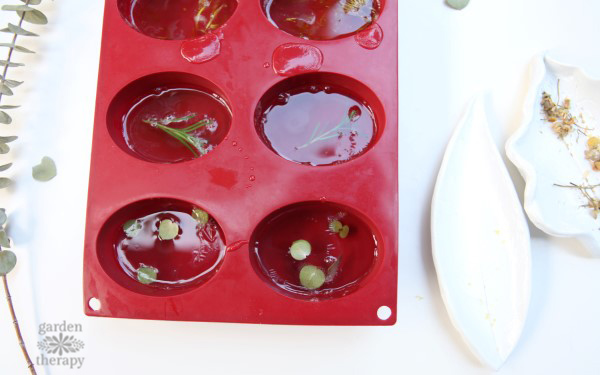
Use a metal spoon to skim any bubbles off the top of the soap before it dries.
Unmold the soaps when they are completely dry and then they are ready to use.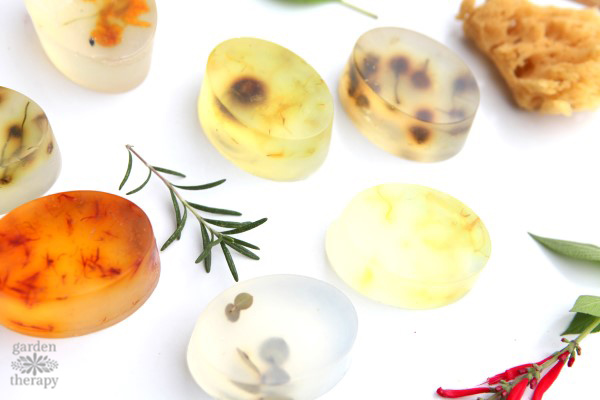
Botanical Soap Ingredient Ideas
As I mentioned above, I tested a number of different botanicals from the garden for this soap project. I definitely had some unexpected results! Let’s go through them one by one.
Saffron
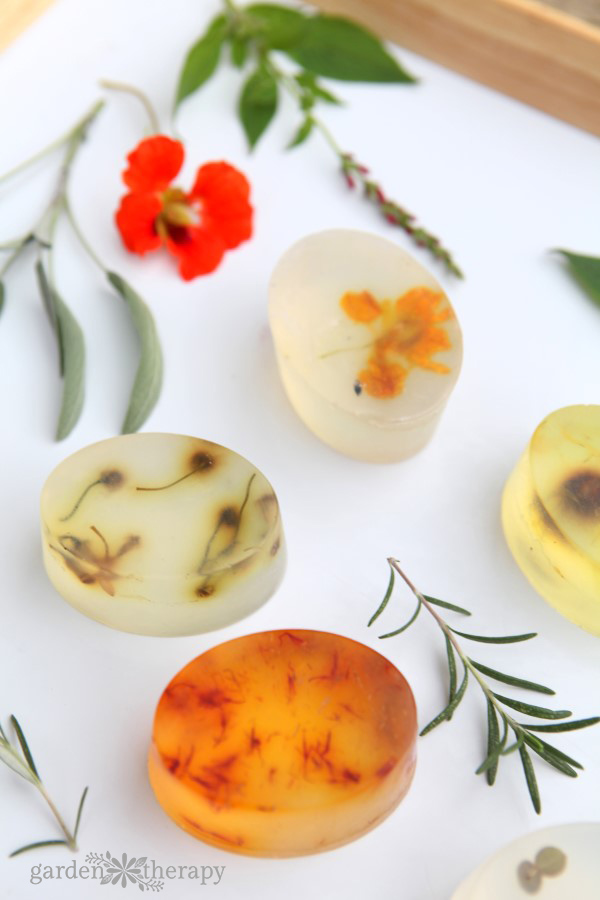
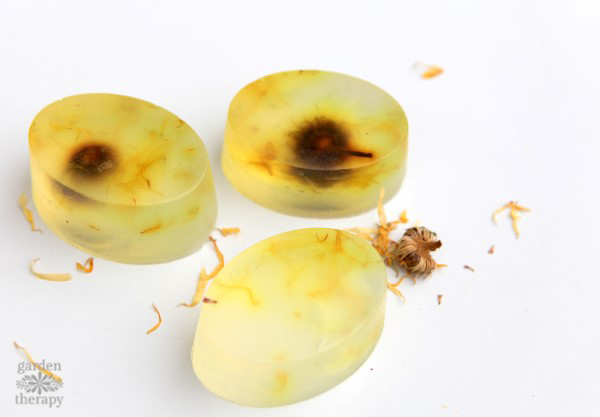
I am so in love with the saffron soap. It took on the color and lightness of saffron and is the most striking result of them all.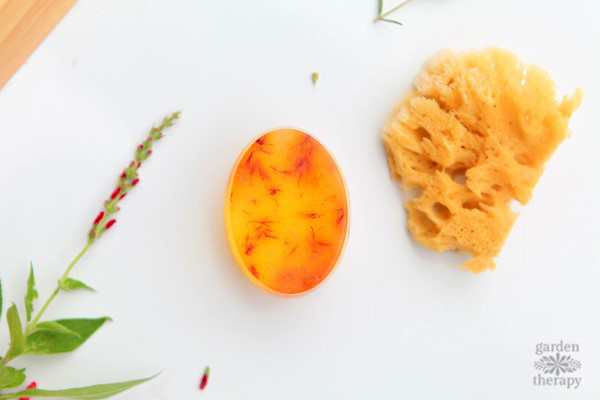
Chamomile
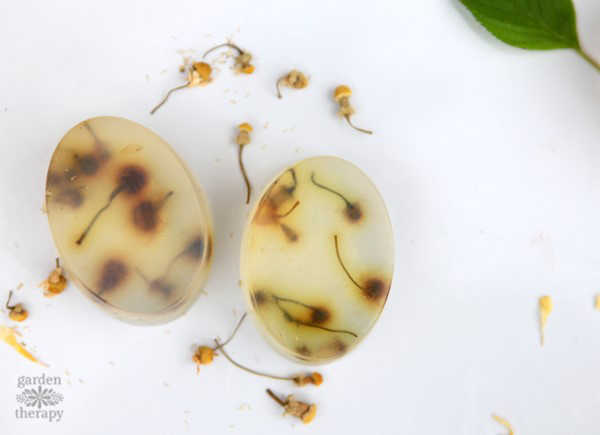
The chamomile botanical soap is another favorite as the soap magnifies the small flower heads and the stems float organically in the soap.
Calendula
The calendula soap looks airy with pale yellow petals floating in the soap and bursts of the flower heads.
Rosemary
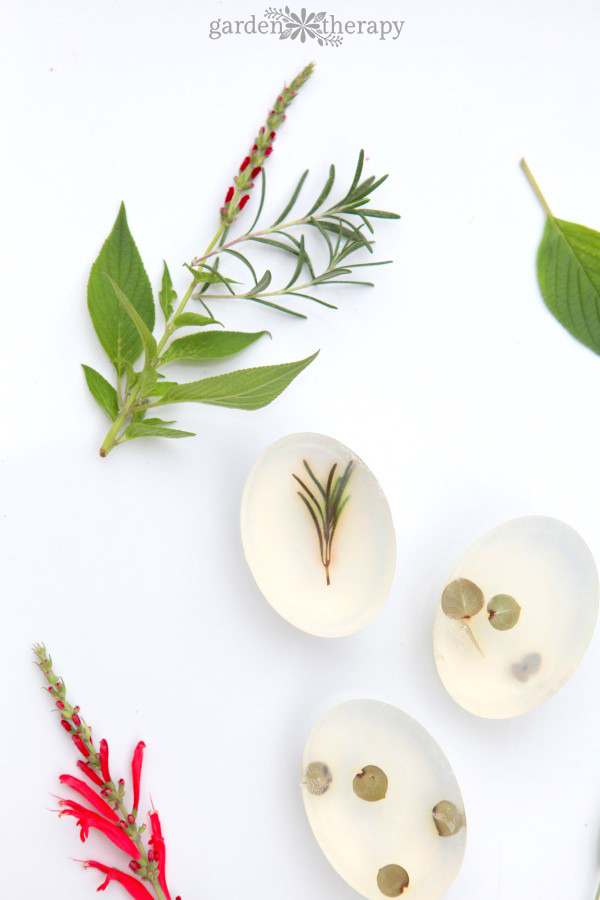
The rosemary was cut fresh, unlike the dried herbs. While it held its shape very well, it did start to brown a little in the soap, which I don’t like as much.
Eucalyptus
The eucalyptus leaves were hard to keep in place in the soap as they are so light that they float around quite a bit. They hold their color and shape beautifully, though. (Eucalyptus shown above)
Nasturtium
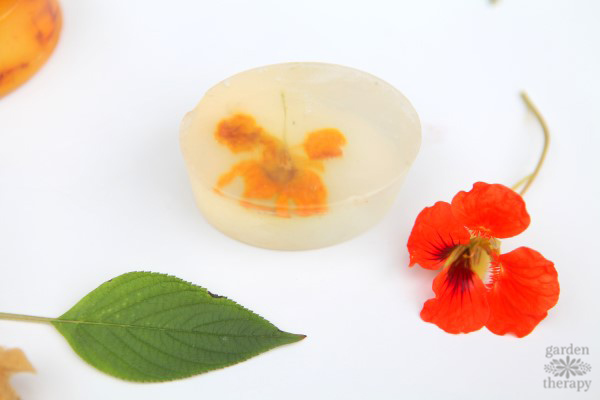
I didn’t know what to expect from the nasturtium. It was a bit of a gamble, and I thought it would probably wilt and shrivel up. Surprisingly, it actually held the color and shape fairly well. I would use nasturtium petals next time to see if that changes the overall look.
Botanicals to Skip for This Project
There were a few botanical soaps that did not turn out very well, mainly the rose petal and sage leaf. I would probably try a bay leaf next time instead of a sage leaf. The sage leaf curled and browned in the soap and doesn’t look all that interesting. The rose petals turned into brown blobs in the soap and look really ugly. 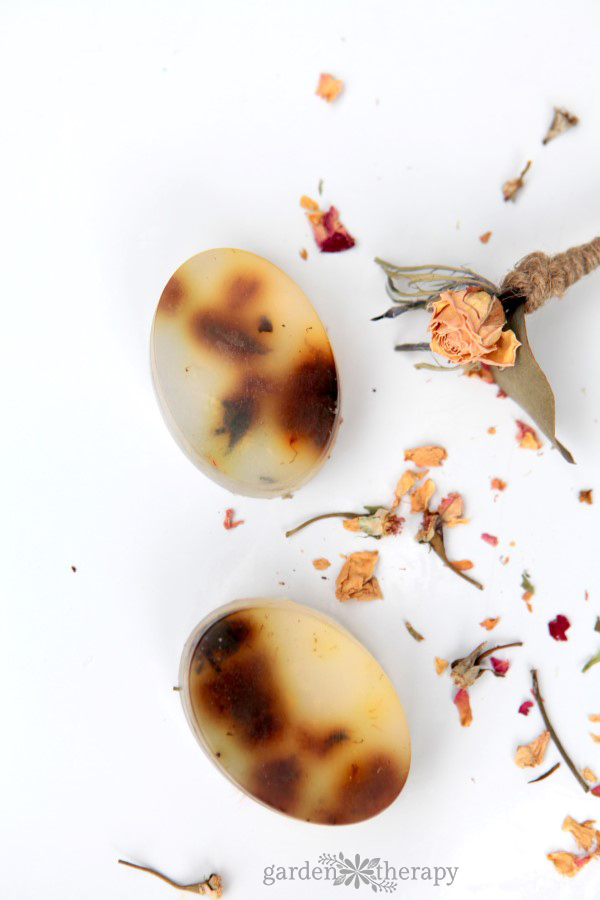
What a surprise! I thought that the rose petal soap would look the prettiest. I have reserved the leftover rose petals for a whole different soap project that will let their beauty shine through.
More Soap Recipes to Try
Here are some more recipes for making soap at home. I love to make soap and I’m sure you will find a recipe or two that suits you here:
- Rosemary Lemon Soap-on-a-Rope {Stars and Bars}
- Lovely Lavender Ombre Melt and Pour Soap
- Gorgeous Lavender Oatmeal Soap Cupcakes (That Anyone Can Make)
- Homemade Foaming Hand Soap Recipe + a DIY Mason Jar Soap Dispenser
- Pink Grapefruit Soap Recipe
- Cold-Process All-Natural Handmade Soap
DIY Botanical Soap Bars
Equipment
- Microwave or double boiler
- 4-cup Pyrex measuring cup
- Oval silicone soap/cupcake mold
Supplies
- 2 lb clear glycerine soap base
- 1 tsp essential oil in the scent of your choice
- botanicals see post for more info
Instructions
- Gather your botanicals. Make sure they are small enough to fit into the soap mold.
- Cut your clear soap base into 1" cubes, then place them all into the glass measuring cup. Use the microwave or the double boiler to melt the cubes, making sure to stir frequently.
- Remove the soap from heat before it begins to steam. Then add your essential oils to the soap and stir again.
- Pour half of the soap into the mold. Next, layer your botanicals into the soap. Let them set for a few minutes, then top off the rest of the mold with melted soap.
- If you notice any bubbles on the top of the soap, use a metal spoon to skim them off. Then allow them to dry fully.
- Unmold and enjoy!



Enjoyed your presentation at Epcot’s Flower and Garden show. You’ve inspired me to re-ignite my passion for gardebing and crafting. Thank you
Thank you, Diane! I’m so glad to hear it. It was a pleasure meeting you.
THANKS LOOK’S SIMPLE
Hi Stephany, I wanted to ask you a question. I have been working with soaps and things for awile, I just have had the ability to do nything about it mabe Fe-Mar next year. Will cause a complication as you also sel soaps. I so new to all of this sale/affiliate side I don’t want to stel on anyones toes. Can you please advise me? Thank you,
Hugs, Debi
Hi Debi, I don’t sell soap. I just provide the recipes and then I give it away. Have fun!
Talk about all the mistakes. In a deep brain fog. LOL
I’ve been there! No worries. If you need to ask another question for clarity, I’m all eyes :)
One of my best are a combination of dried leaves of sage and rosemary that i cut a little bit… they smell delicious!!
sounds lovely!