Looking for a unique way to bring your love of the outdoors to your home? Make this pretty DIY clay leaf dish! Whether you use them for soap dishes, to hold jewellry, or as a gift for a friend, making this project is simple.
These clay leaf dishes are a project you can make anytime throughout the year. Head out to the garden and look for unique shapes to preserve.
Perhaps you have a special tree that you’d like to commemorate? I know that I can get very sentimental about my trees, and this is a nice way to preserve the leaf of a loved tree for years to come.
Thanks to air dry clay, it’s simple to do this clay project at home in a weekend. Here’s how to make these clay leaf dishes.
This post will cover…
- Choosing Leaves for Clay Imprints
- How to Use Air Dry Clay
- How to Make a DIY Clay Leaf Dish
- Materials
- Make it!
- Paint the Clay Leaf
- Where to Use the Clay Leaves
- More Crafty Garden Clay Projects:
Choosing Leaves for Clay Imprints
When choosing leaves, look for those that are still supple, as dry leaves may crack and break before you get a good mold from them. Leaves that have interesting shapes like oak and maple will make bowls with deeply grooved edges, making them interesting yet impractical for holding much.
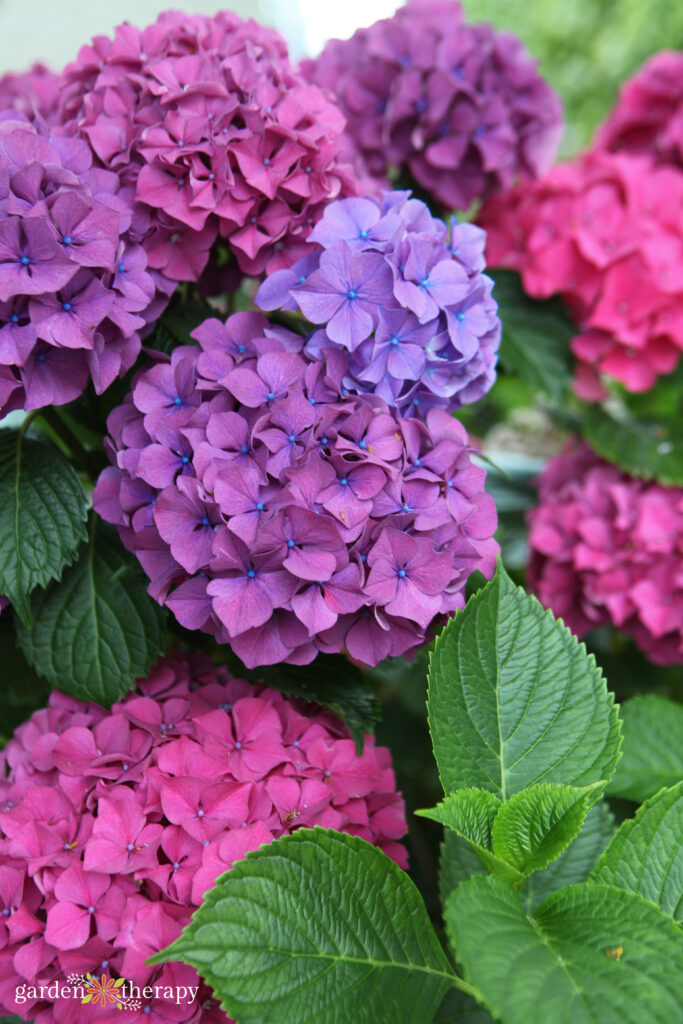
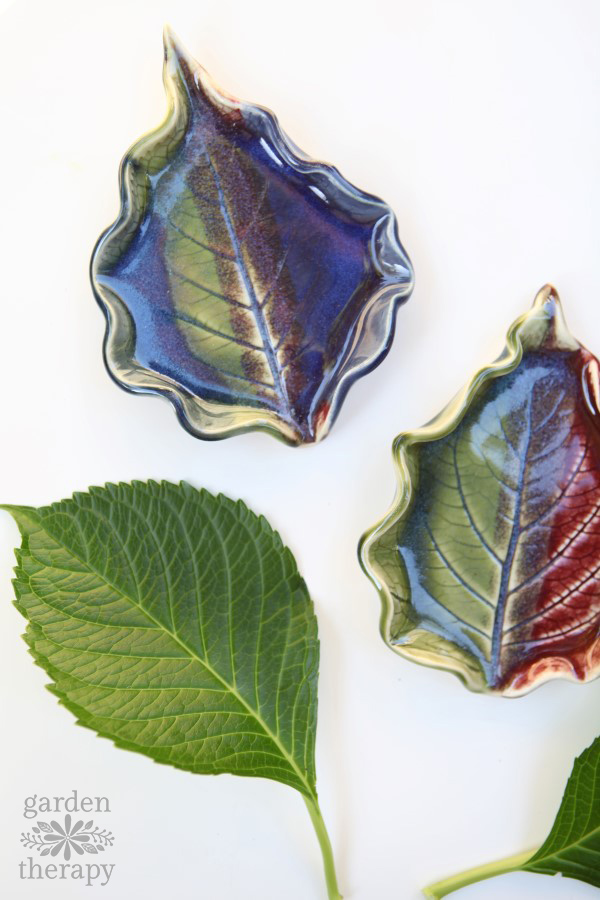
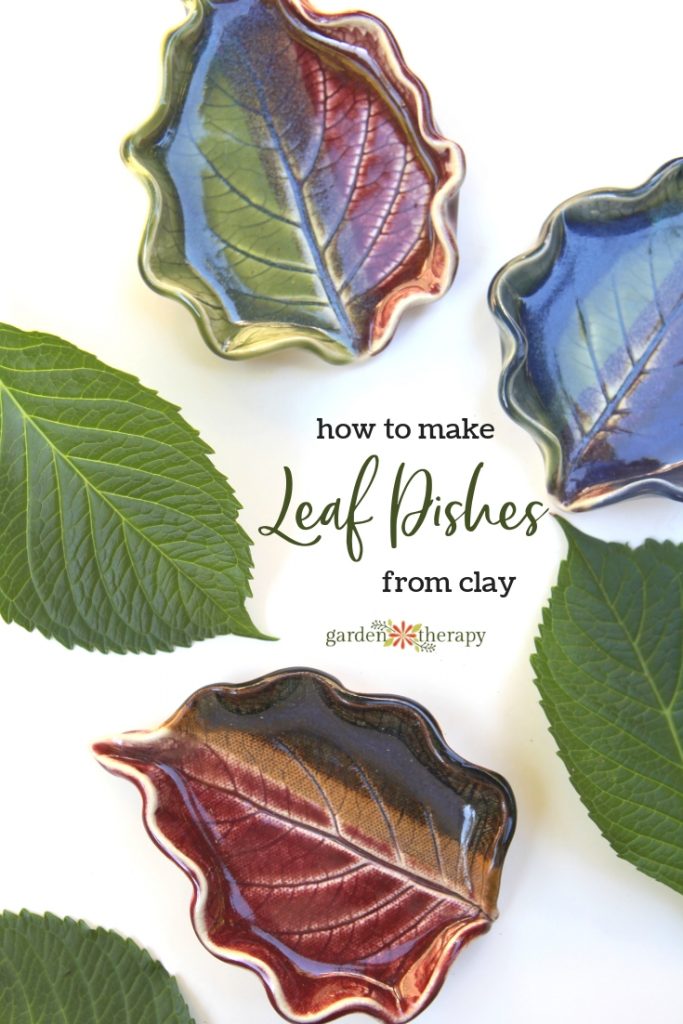
I like to use smooth-edged leaves with a fairly large size, about as big as the palm of your hand for a small pinch bowl or as large as your whole hand for a decorative jewelry dish. Hydrangea leaves make a perfect bowl shape and you can ruffle the edges for a bit more decoration. And long leaves make an interesting ring holder.
Once you’ve chosen your leaves, then it’s just a matter of using clay to mould them and paint to decorate. You can make these at home and finish them with a coat of paint or head to a local pottery studio and use a kiln to glaze them, but no matter how you decide to finish them, here is how to make these lovely leaf dishes.
How to Use Air Dry Clay
Air dry clay is an easy material to work with, but it’s not as durable as kiln fired clay. Air dry clay can break easily and turn to mush if left outside in the rain without sealer. The good news is that it is really easy (and fun!) to work with so it is worth taking a bit of extra care.
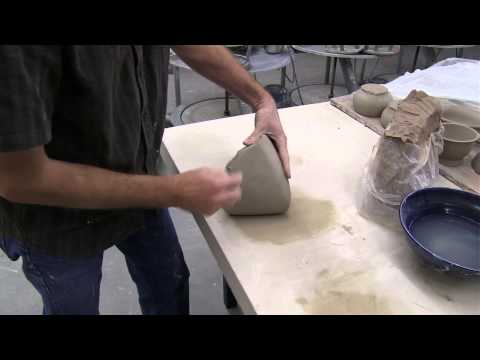
Make sure that you work out the bubbles before you mold your clay. If your clay is new from the package you can cut off a slab and roll that out without too many air bubbles. If you have a ball that has been previously handled, you can work out the bubbles by kneading the air bubbles out.
Potters call this “wedging.” While this is absolutely necessary in kiln pottery, air dry clay is a bit more forgiving. See how to wedge clay in this video and use it to reshape your clay and remove air bubbles.
Air dry clay dries out very quickly. To avoid cracks, keep your clay moist and smooth out any cracks with a wet sponge before allowing it to dry. Dry air dry clay slowly in a cool room. Check it often to make sure the shape is holding as the edges can curl up.
When the clay is completely dry, paint it and use a clay sealer to protect the finished piece. With these tips, air dry clay is an easy way to start sculpting!
How to Make a DIY Clay Leaf Dish
Making these dishes are simple, and will be enjoyed for years to come!
Materials
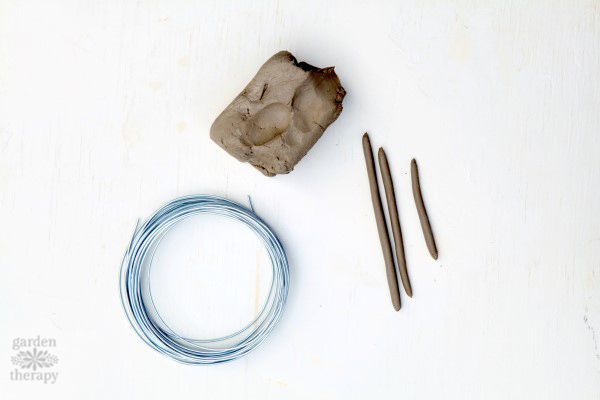
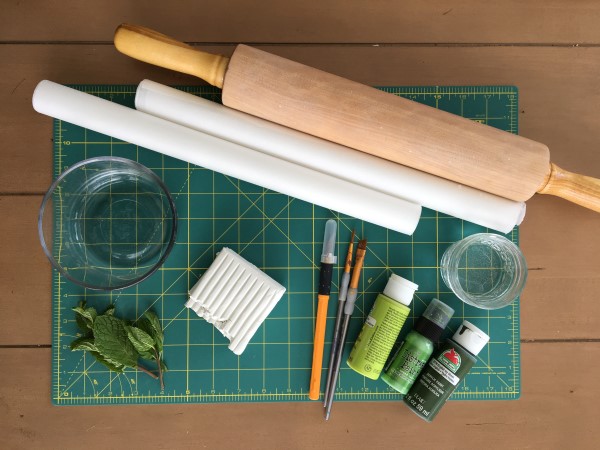
- Air dry clay
- Dental floss
- Leaves
- Rolling pin
- Sharp edge or knife
- Sponge
- Craft paint
- Sealer
Make it!
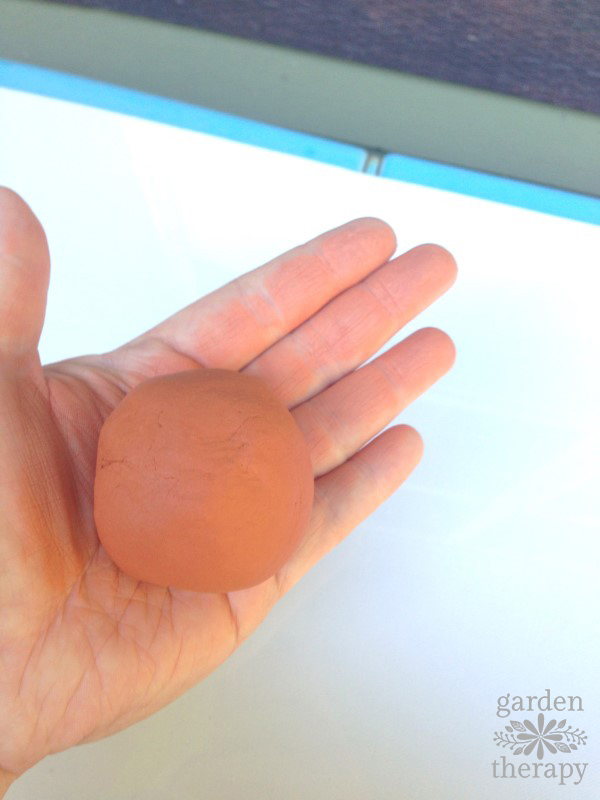
Start by removing a section of clay from the block using string or dental floss. Wrap the string around your 2 index fingers, the width of the block apart and use it to pull through the clay to cut off a chunk. Start at the back and pull towards you.
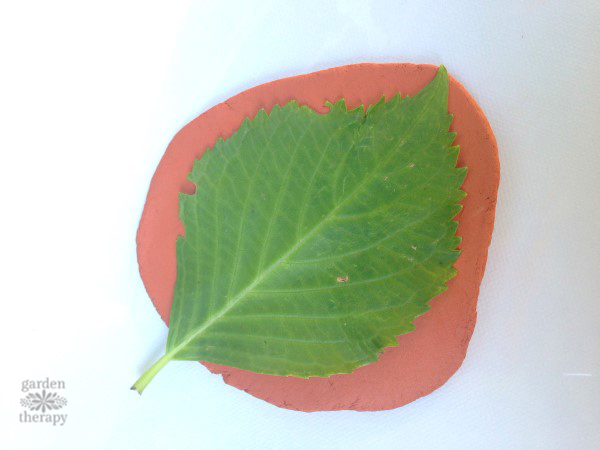
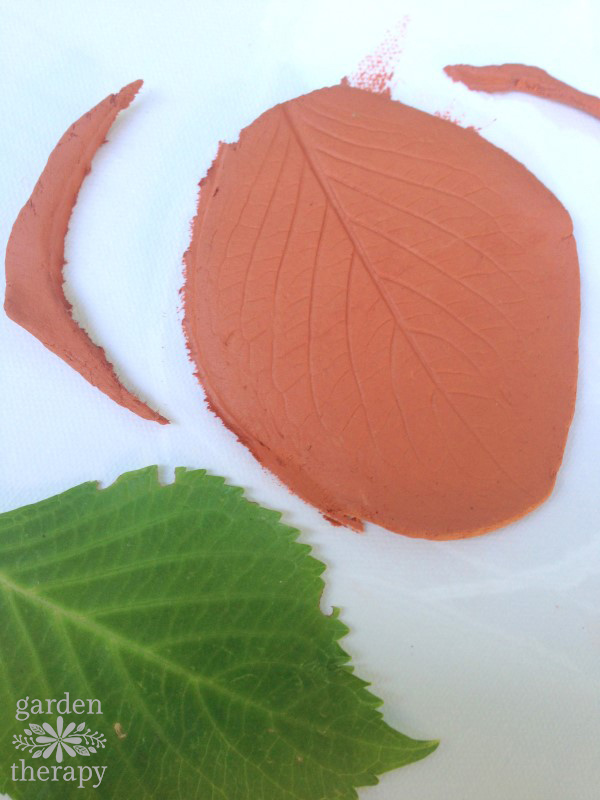
Roll out the clay to 1/2 inch thickness and place the leaf, with veins facing down, on the clay. Use the rolling pin to gently imprint the leaf’s details and shape into the clay.
Use a sharp edge of a knife to cut out the shape of the leaf and pull the leaf off.
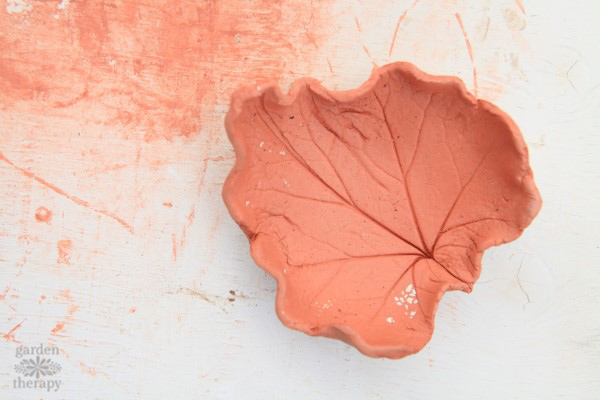
Cup the finished clay leaf in your hands and gently work it into a bowl shape by curling up the edges.
To ruffle the edges, use both hands to curve the edges back and forth, creating a wave pattern.
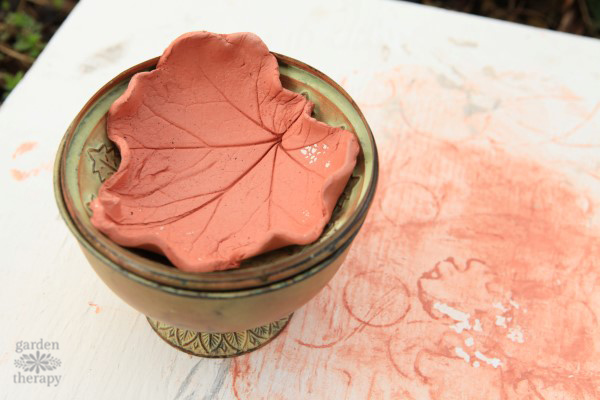
You can set the leaf in a shallow bowl to dry and take on the shape, or roll up some newspaper to set under the edges of the bowl. This will make sure it keeps the curved shape as it dries.
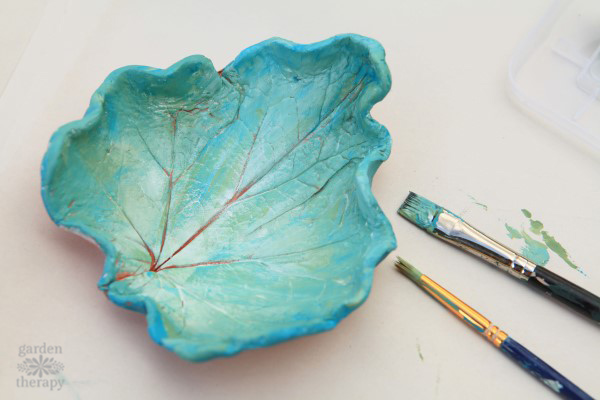
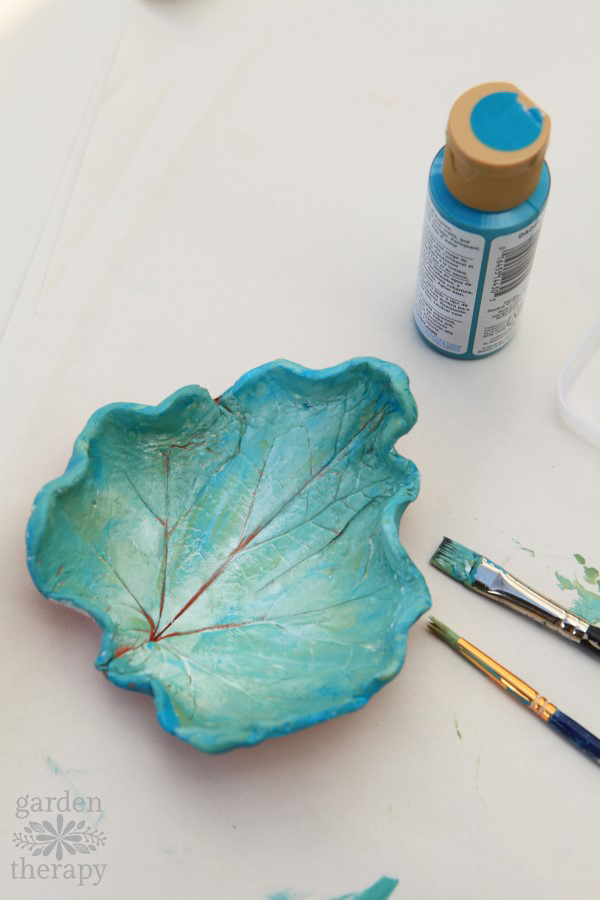
Paint the Clay Leaf
After the clay is completely dry, you can paint it any way you like! From simple white to multicoloured, a set of craft paints will transform it. Try painting geometric shapes, splatter painting it Pollock style, or adding your own touch.
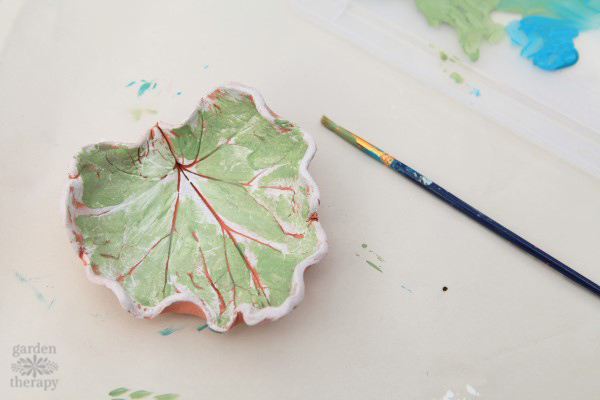
Use a gloss or matte sealer to protect the finish and set it out to enjoy.
Where to Use the Clay Leaves
Note: these clay leaf dishes are decorative and not meant for food. It is not possible to wash them or submerge them in water. It’s best that they are used to show off pretty collections or other small items you want to display.
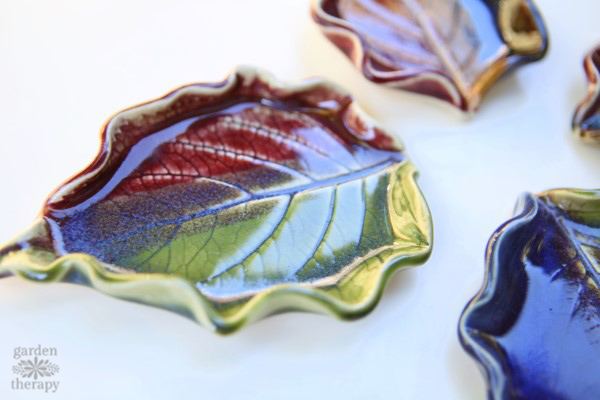
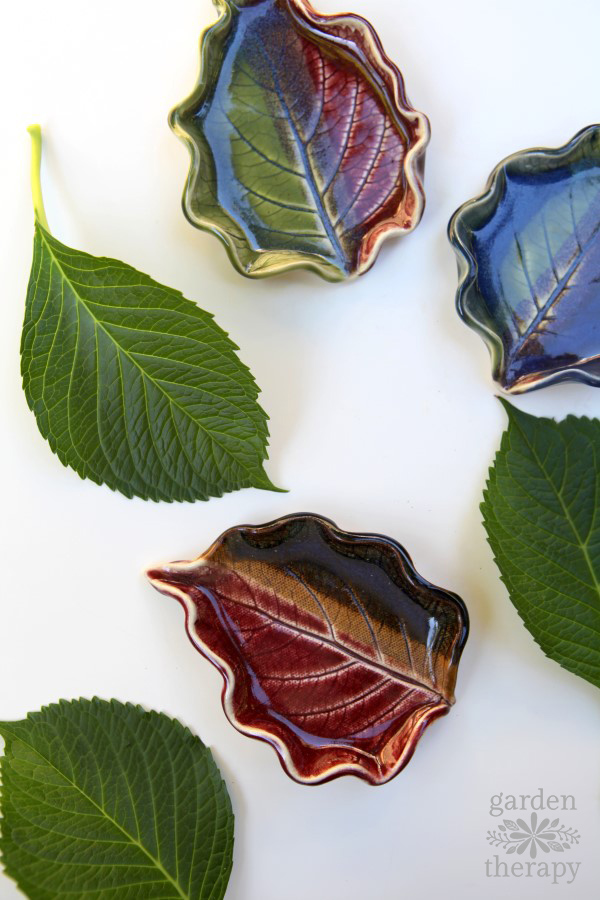
If you want to have food-safe dishes, join a pottery studio and make this simple project there! You don’t need much experience and you can make beautiful designs with the glazes. Here are some that I made in a pottery studio with the hydrangea leaves.
I use these as soap dishes for my handmade soap at home and as gifts.
More Crafty Garden Clay Projects
- Add Whimsy to Your Terrariums with DIY Clay Mushrooms
- You’ll Love Making These Simple & Pretty Clay Plant Stakes
- Clay Acorn Ornaments
- Tag It With Love: DIY Gift Tags Made With Clay
- These Aromatherapy Closet Fresheners are a Crafty Way to Outsmart Moths
How to Make a Clay Leaf Dish
Equipment
- Sharp edge or knife
- Sponge
- Dental floss
Supplies
Instructions
- Wrap the dental floss around your fingers and use it to break off a chunk of the clay.
- Then roll the clay to 1/2" thick, and lay your leaf with the veins facing down on the clay.
- Use the rolling pin to transfer the imprint of the veins to the clay.
- With the craft knife, trace out the leaf's shape in the clay.
- Cup the clay leaf in your hands and gently form the bowl shape by curling the edges upwards.
- Let the clay dry completely.
- Paint the dried clay leaf with craft paint. Then protect the finish with a sealer.
A city girl who learned to garden and it changed everything. Author, artist, Master Gardener. Better living through plants.


These look stunning. Especially after the sealer is applied, it looks like a store-bought dish.Thank you for sharing with us at #HomeMattersParty .We would love to see you again next week.
thanks!
These bowls are simply gorgeous, I love this technique! I can’t wait to try it with my own children! #MerryMonday
thanks!
oh wow!! This is such a great idea! Really love the finished look of these #WakeupWednesday
I seriously love these, awesome job!
So pretty! I have to give this a try.
Amalia
xo