With their iconic shape and eye-catching colour varieties, tulips just might be my favourite spring flower—both in the ground and in a vase! It’s no wonder they’re one of the most popular cut flowers, and they’re surprisingly easy to grow. The only catch is that these bulbs should be planted in the fall, so let’s get into my advice for growing cutting tulips.
What do most people love about the tulips? You plant tulip bulbs in the fall and the flowers pop up in the spring to give you a much-needed burst of colour after a snowy (or, in my case, grey) winter.
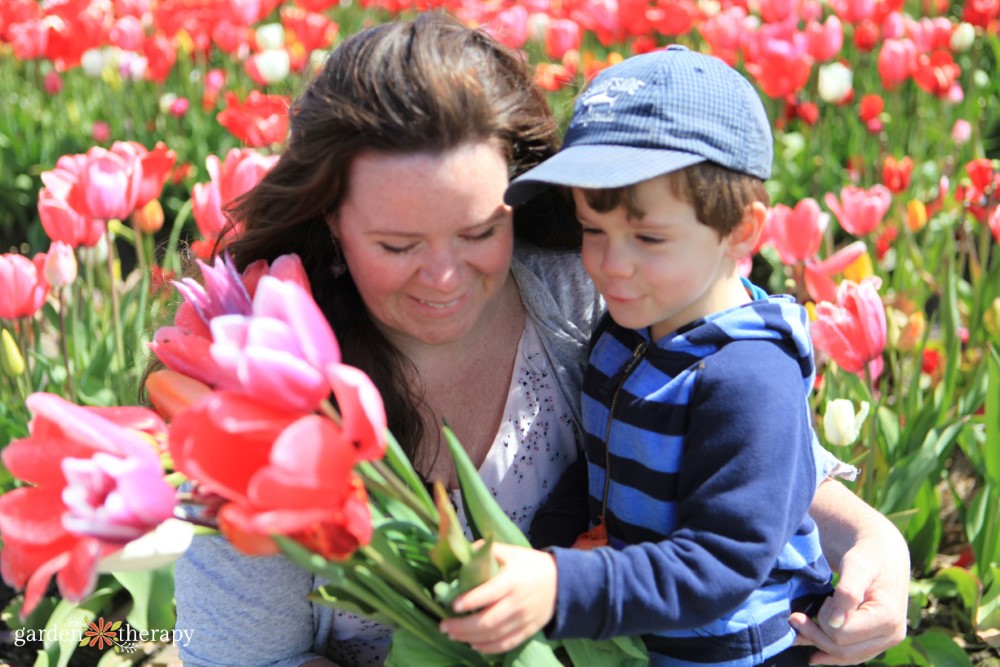
While many people hope tulips will return year after year, most varieties are best enjoyed as annuals. Embracing this approach lets you enjoy the blooms in full as stunning cut flowers. Planting tulips specifically for a cutting garden brings cheery colour and beauty from your garden into your home each spring.
Think of it as a delightful cycle: plant whatever tulips spark joy for you, cut them in the spring to bring indoors, and then choose new bulbs the next fall. This way, you can focus on the fresh, abundant bouquets each season.
The price of tulip bulbs is very similar to that of other annuals you might find at the garden center, but they cost less than a bouquet of cut tulips. That’s garden math at its best.
Here are some tips for creating a seasonal tulip cutting garden you’ll enjoy growing anew each year.
- Perennial vs Annual Tulips
- My Tulip Garden Design
- How to Plant Cutting Tulips
- Harvesting Your Tulips
- The Best Tulips for Cut Flowers
- FAQs About Cutting Tulips
- More Helpful Tips for Growing Tulips
Sponsored: I’m thrilled that this post has been sponsored by Flowerbulb.eu. They’re an amazing resource for all things bulbs, and graciously supported the planting of my bulb lawn last year and the tulip cutting garden this year. Be sure to check them out for more growing information on spring and summer flowering bulbs.
Perennial vs Annual Tulips
If you’re growing tulips as cut flowers, it’s important to set your expectations first. Many people think of all tulips as perennials, but a majority of the fancy tulips we grow as cutting flowers don’t naturalize. This is because many of us don’t grow tulips in the same conditions as where they’re native, Central Asia.
I’ve written quite a bit about both perennial and annual tulips. Perennials will naturalize in your garden and are great for a low-maintenance garden, but they don’t usually have as big a “wow factor” as annuals.
Annual tulips are bred specifically for looks. They come in the showiest colours and textures, which means they’re perfect for cutting. You can choose exactly the look you’re going for, and their colours tend to be bolder than their perennial counterparts.
Most tulip growers and those in botanical gardens will plant tulips every year, treating them as annuals. That’s because you can guarantee that the flower that emerges in the spring will be a good one and what the package describes, whether that is big blooms, strong or long stems, and brilliant colours. Planting them as annuals showcases the consistency.
What happens if you don’t replant them? If you leave the bulbs in the ground, there’s still a good chance they’ll return the following year. You might get more blooms for several seasons, but their quality will decrease over time.
And hey, why not plant tulips expecting them for one year? Then, you might get lucky and see them return for the following year and experience the surprise and delight if they do.
My Tulip Garden Design
Last year, I planted a tulip border on one side of my bulb lawn, and the flowers were so enticing that I couldn’t stop myself from cutting a bunch to bring indoors all spring. While there were still many flowers left to enjoy, I knew I wanted to plant flowers specifically for cutting this year.
Since the best vase life comes from cutting tulips before they bloom, I wanted them in a place that would already have enough interest that you wouldn’t notice that I kept taking the flowers away.
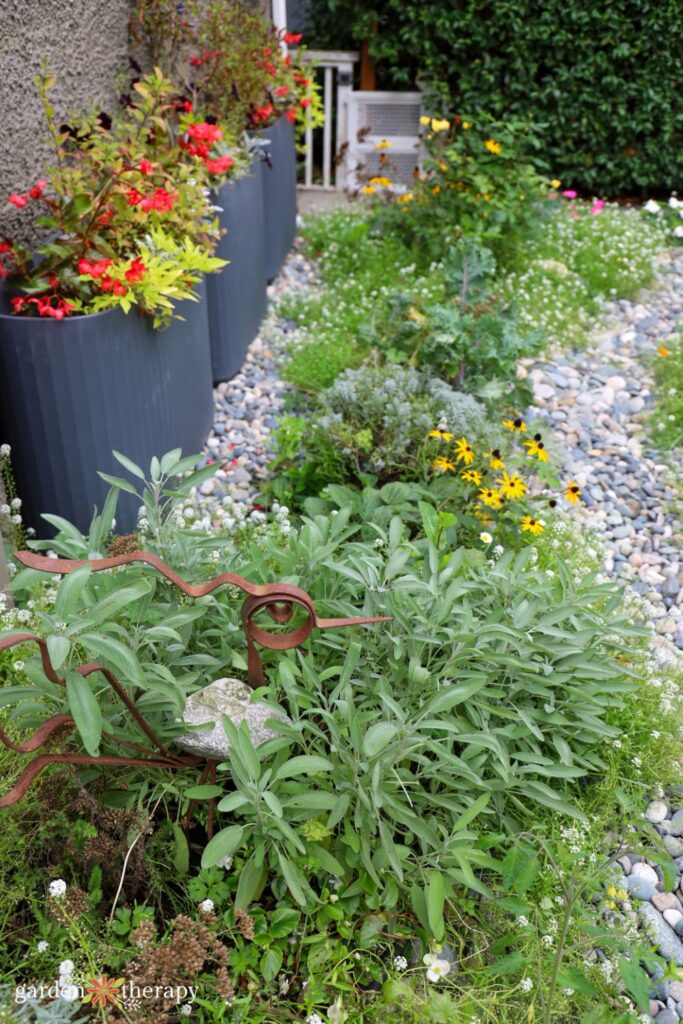
Ideally, for a cutting garden, you would have a bed that is in the ideal conditions and dedicate it to cutting flowers. My small, urban garden has space at a premium, so I had to be creative.
I mixed my cutting tulips into my herb garden! It’s in the sunniest part of my yard, has beautifully amended soil, and has a drip irrigation line installed to support the plants. In the spring, the herbs will just be starting their growth as the tulips pop up in clusters in between.
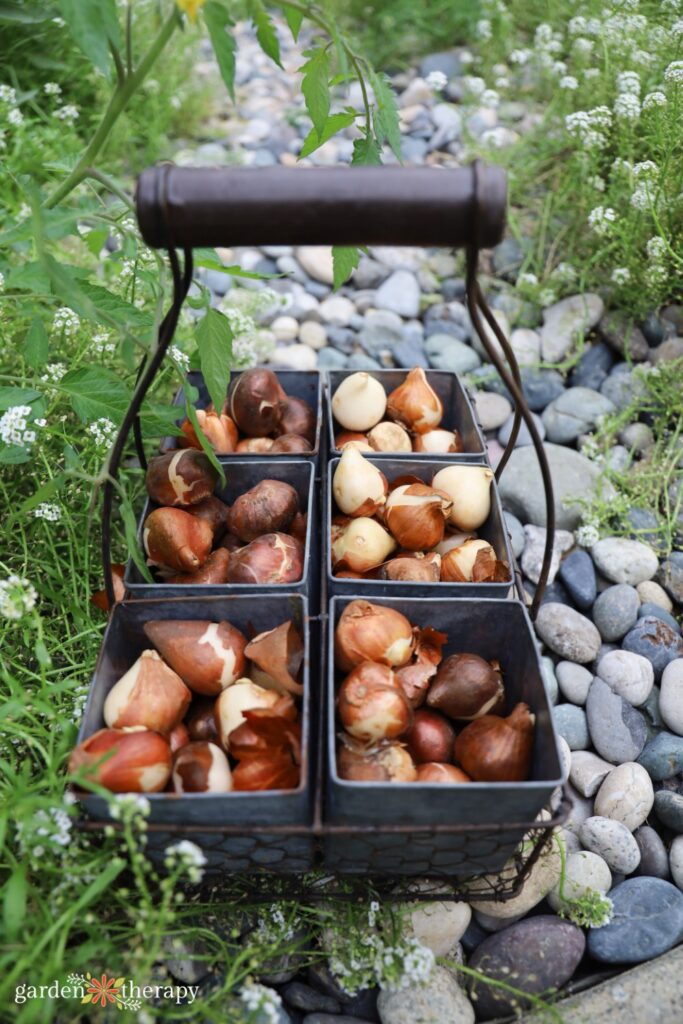
I usually get my tulips in the ground by mid-October, so now is the perfect time to start planting. If you can, choose a sunny spot in your garden, although tulips can handle some shade, they bloom best in the sun.
Tulips require at least six weeks of freezing temperatures to bloom. If you live somewhere with mild winters that don’t freeze, you can purchase pre-chilled bulbs.
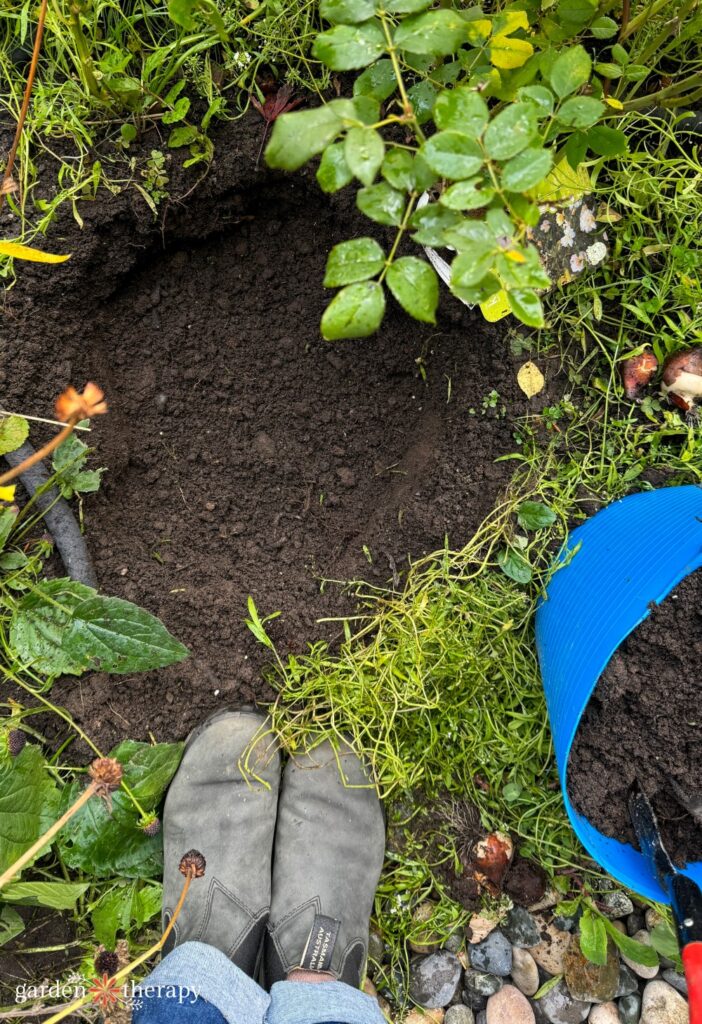
When you’re planting a ton of tulips, it’s best to dig a large hole or trench rather than digging individual holes for each bulb. It’s a big time saver, and what expert flower farmers do.
While I’m not planting as many tulips as a farmer, I still planted a fair few tulips: Two hundred and fifty bulbs to be exact! I dug eight large holes as my trenches to hold around 25-40 bulbs each.
The general rule of thumb for tulips is to plant them 6-8 inches deep to the base of the bulb.
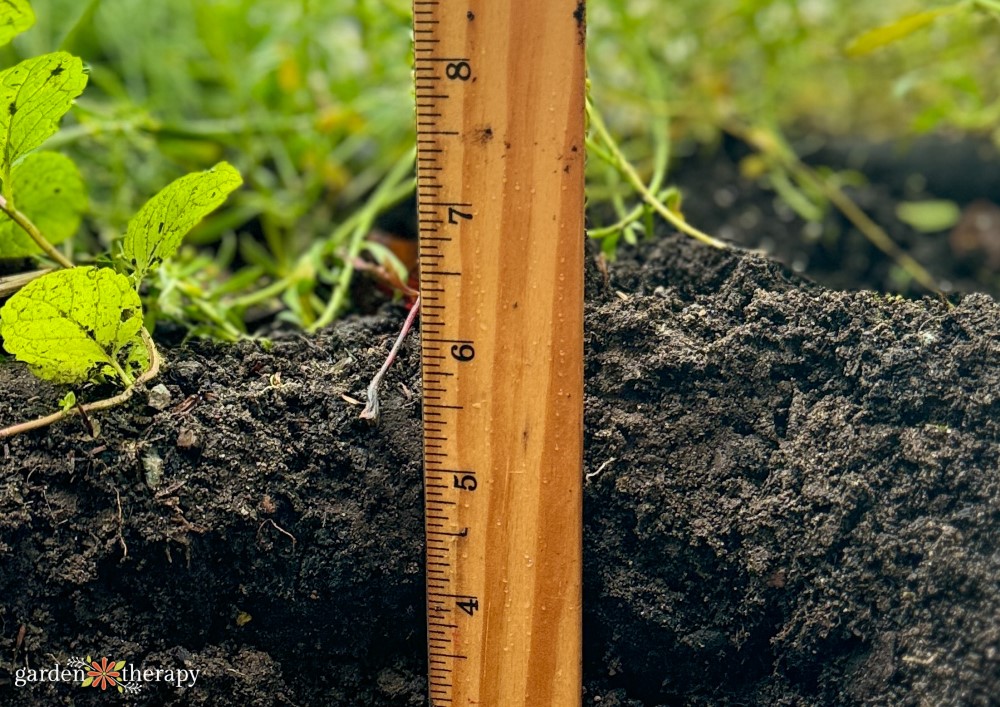
To increase the likelihood of tulip bulbs returning the next year, some growers plant them deeper than 8 inches, which helps prevent the bulbs from reproducing and keeps them well out of reach of squirrels.
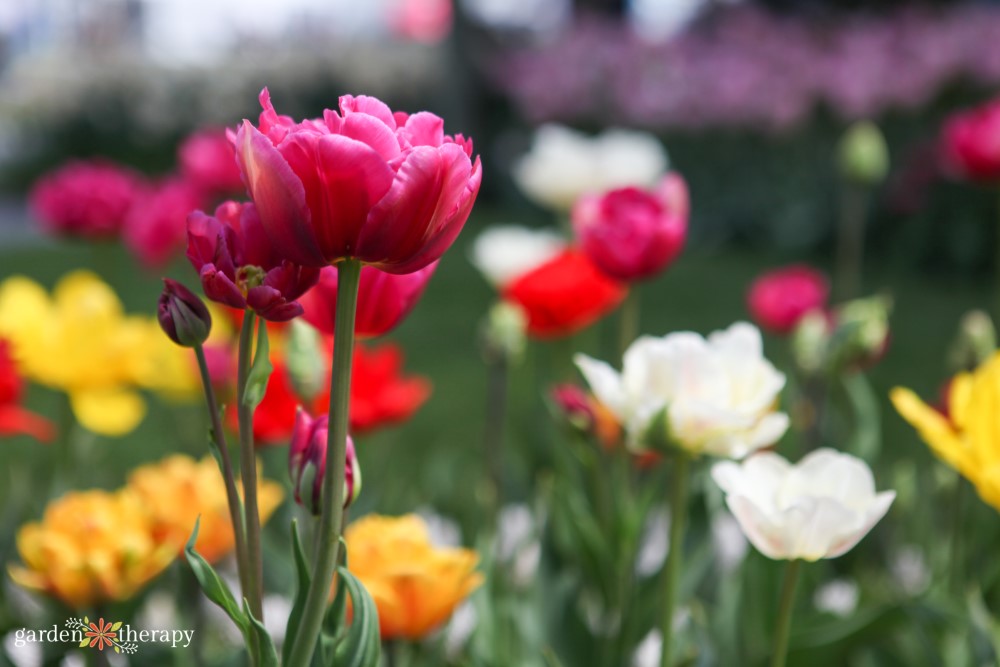
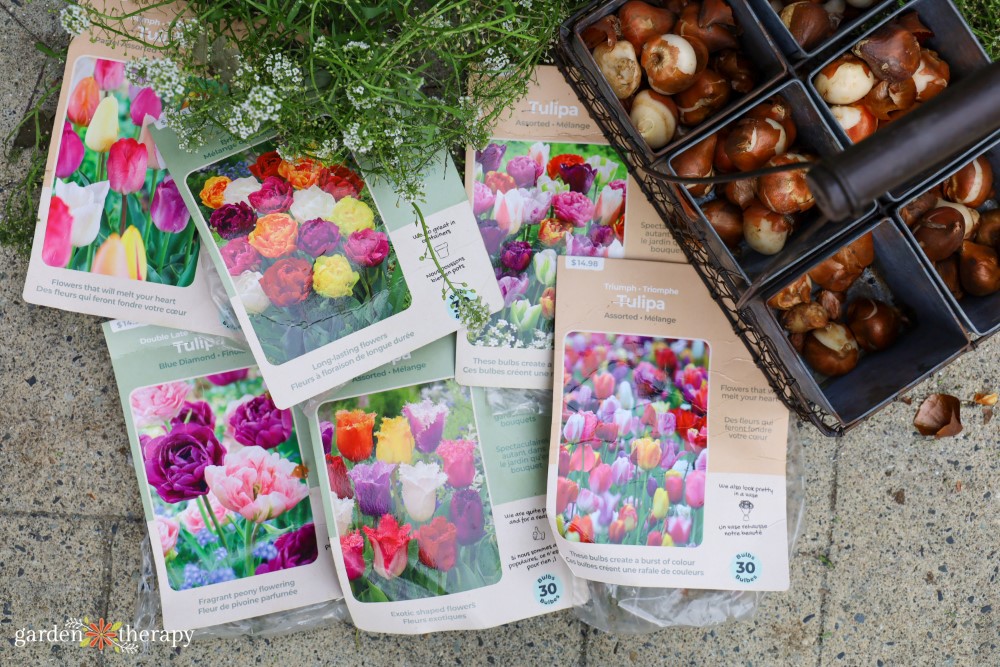
The beauty of planting a cutting garden is that it offers something new each year. This season, I chose to maximize diversity, aiming for bouquets filled with a rainbow of colours. I picked up a mix of bulbs from a big box store that included a wide variety of Triumph, Fringed, Double Early, and Single Late tulips.
For the longest cut flower season, choose a variety of flowers from each part of the season: Early Spring, Mid-Spring, and Late Spring. In my area (Vancouver, BC, Canada), the season runs from late March to May.
How to Plant Cutting Tulips
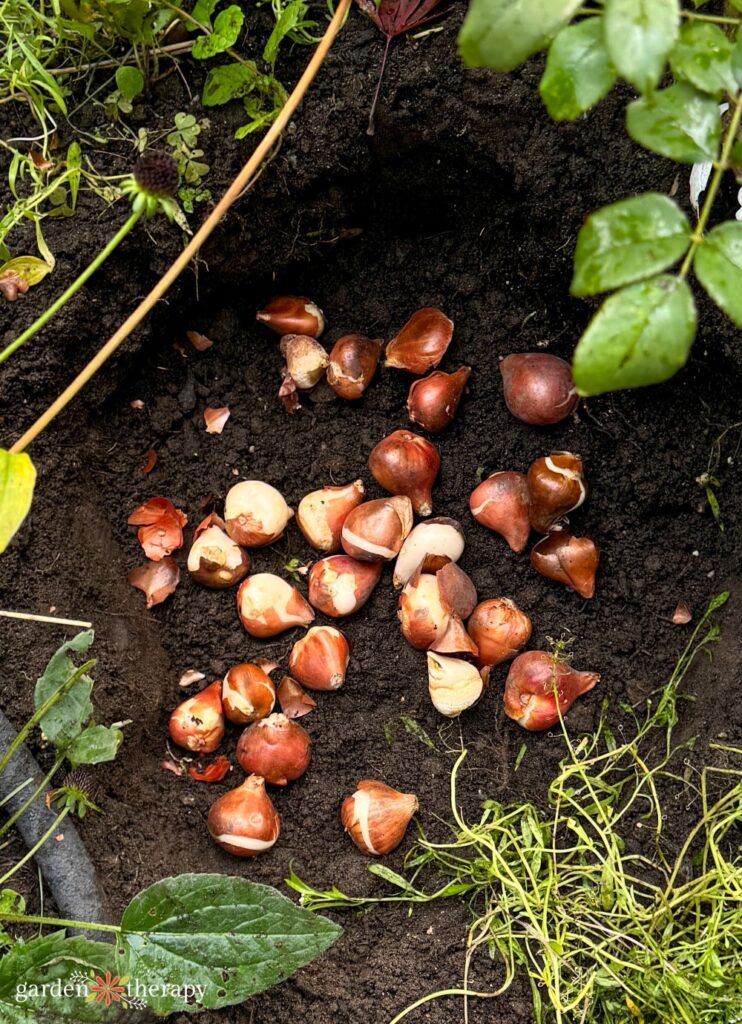
Once you’ve chosen a spot, you can start placing your bulbs in loose soil with the roots down and the pointy end facing up.

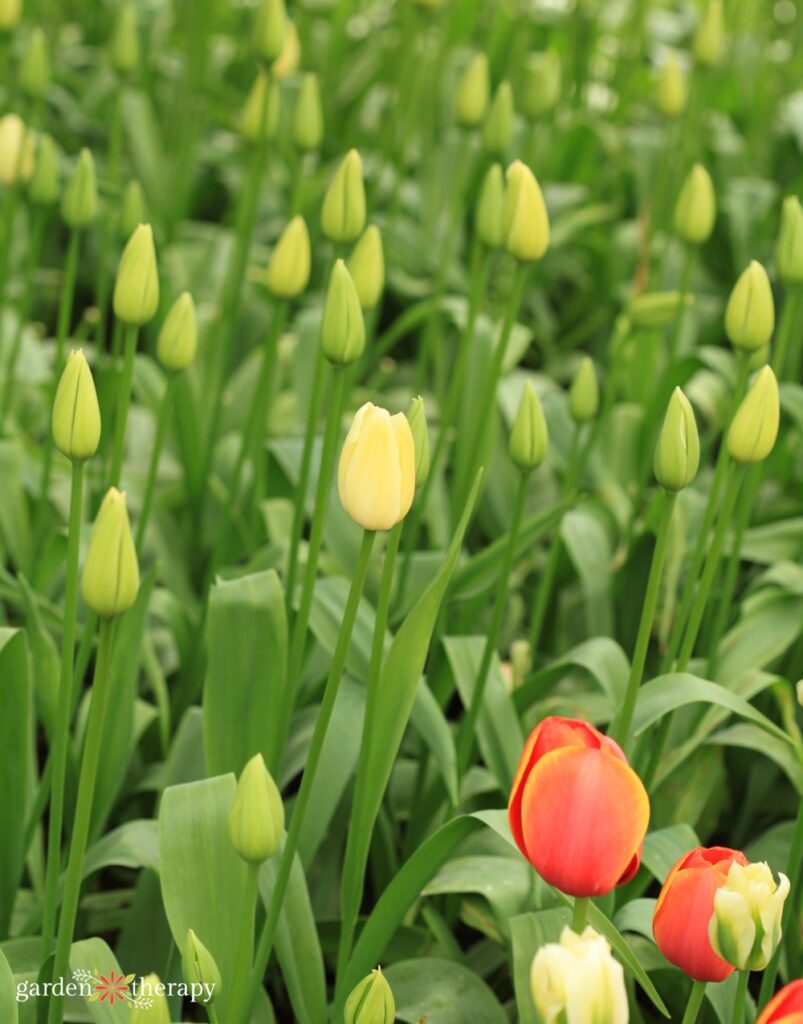
The nice thing about growing tulips for cutting purposes is that they can be placed quite close together. They can be less than an inch from one another. So pack them in!

Once you have replaced the soil, you can spread a layer of mulch over it and give it a good watering. I used leaf mulch.
After this, they won’t need any more water or fertilizer until they sprout in the spring (unless you have a prolonged period of drought).
Harvesting Your Tulips
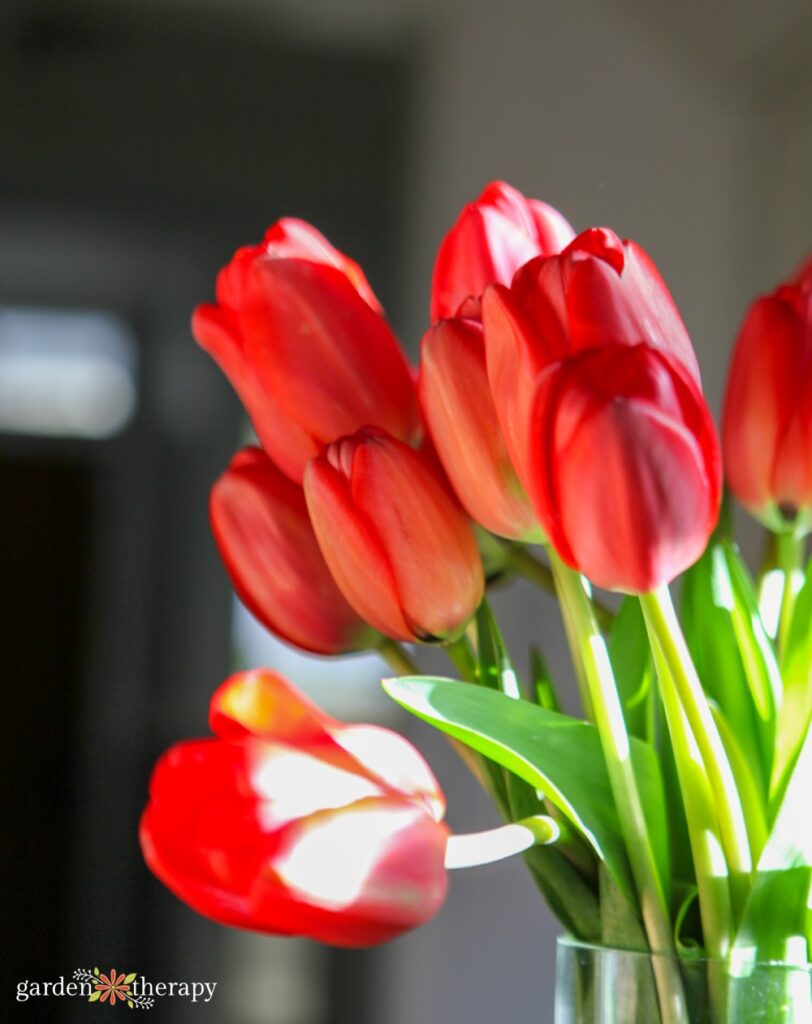
Once your tulips have opened slightly and some colour is showing on the outside, it’s time for the exciting part: cutting your beautiful tulips so you can bring them inside!
To get the longest vase life possible, you want to make sure you’re cutting them at the right time. Don’t cut them when they’re still tight and green. You want half of their colour to show. The key is to cut them just before they bloom, so they bloom in the vase and not outside.
When the time comes for harvesting, I recommend doing so in the morning when it’s not too hot out and the tulips are the most hydrated.
Like I mentioned, I recommend treating all tulips as annuals if you’re growing them for cutting. This means you can pull the entire plant out of the ground, including the bulb. The nice thing about this method is that it gives you a longer stem.
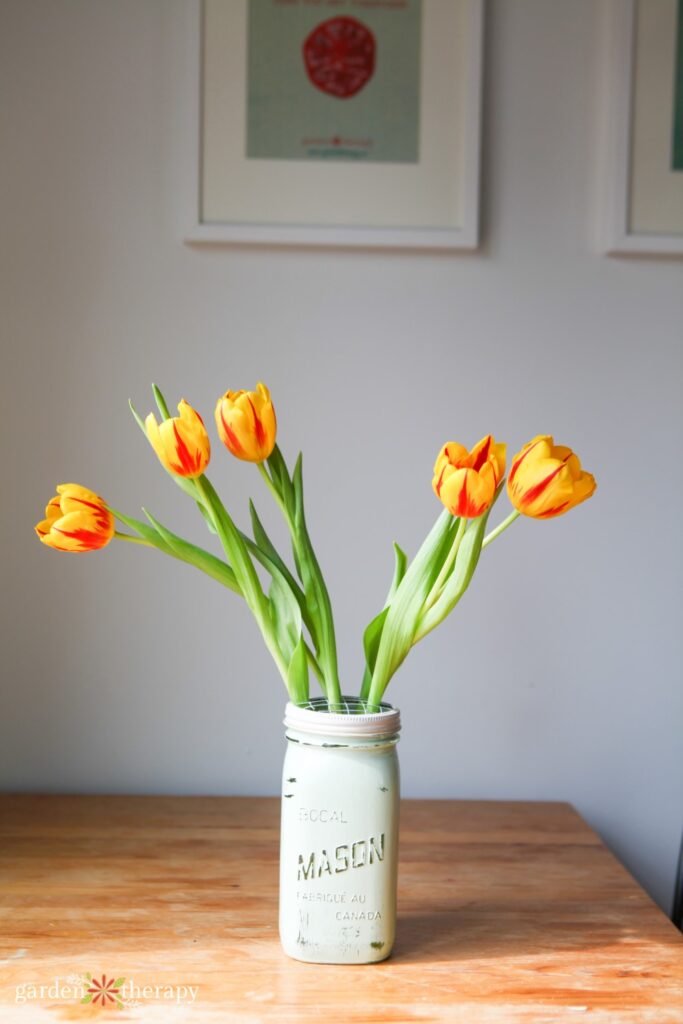
If you’re not planning on putting them in a vase immediately, you can also store them dry in a cooler for up to two weeks. Otherwise, just cut off the bulb and place it in water. I can usually enjoy a vase of tulips for about seven to ten days.
If you’ve ever had tulips, you’ll know that the stems have a habit of curving, which causes the flowers to look droopy. One trick I’ve learned is to wrap the stems in paper and leave them in a vase the night before you arrange them. When you remove the paper, they’ll stand straighter.
When you’re arranging your tulips, also keep in mind that they do continue to grow in the vase.
The Best Tulips for Cut Flowers
- Triumph tulips are the largest group of tulips, which means they come in a wide variety of colours and shapes. Their tall, sturdy stems make them a great choice for cutting.
- Rembrandt tulips are known for their distinct striped markings. I like that they add a beautiful pop of uniqueness to any arrangement.
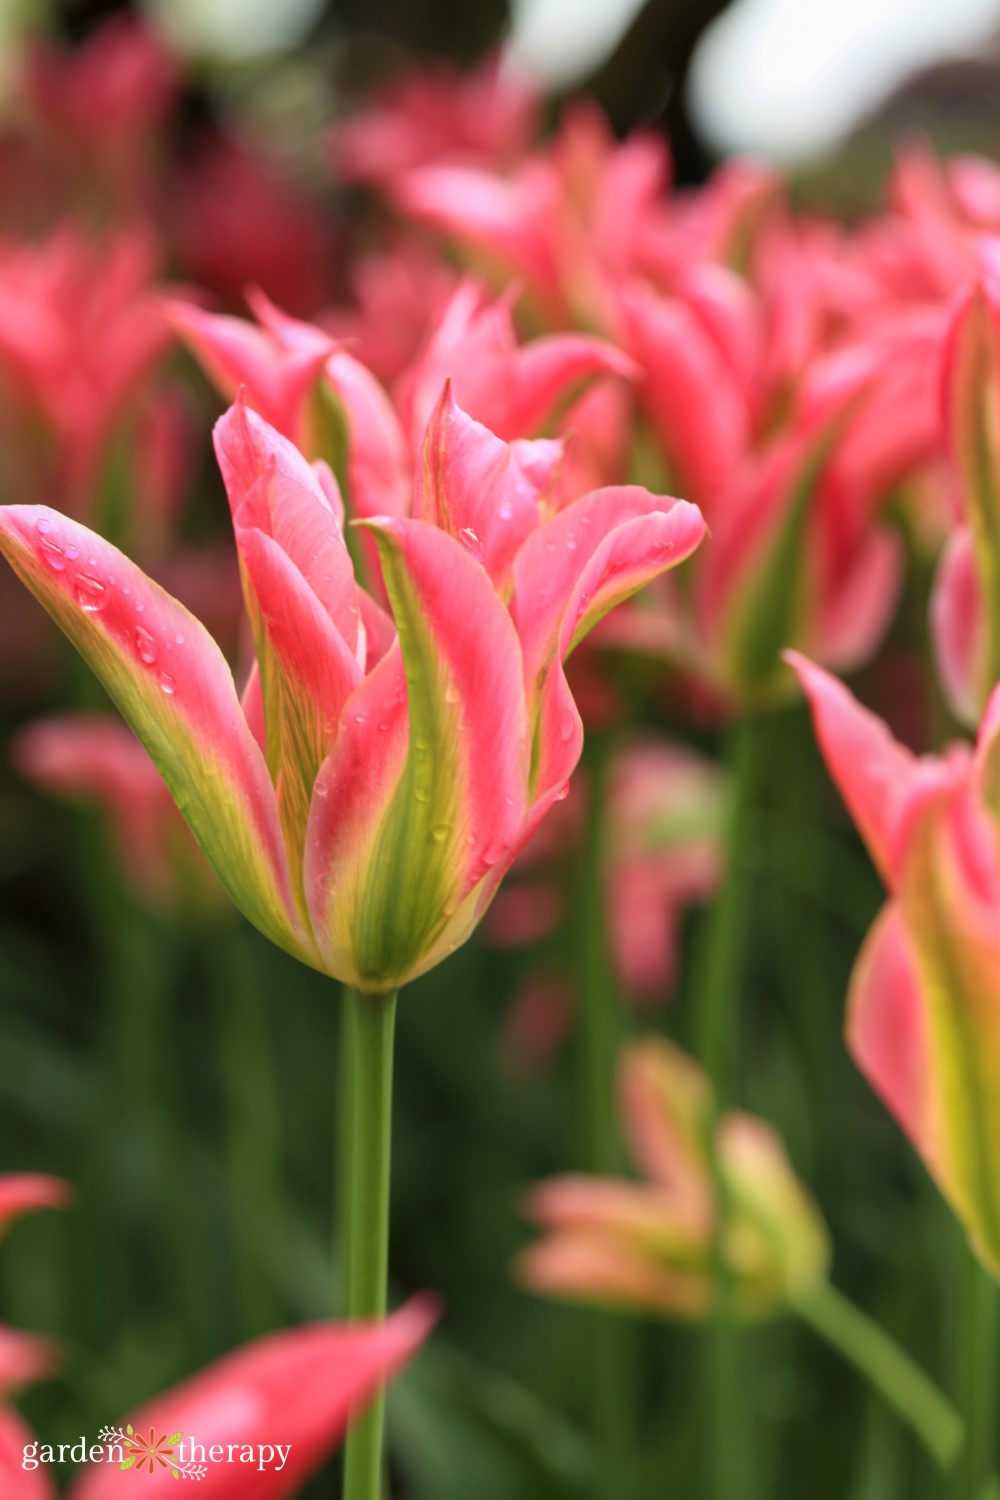
- Fringed tulips are recognizable by their serrated petals, which give them a fluffy look. They’re excellent for adding a contrasting texture to a classic tulip bouquet.
- Double late tulips are often mistaken for peonies as they have lush, rounded petals. With a variety of single and bi-colour options, these look beautiful in vases and gardens alike.

FAQs About Cutting Tulips
When you harvest tulips fresh from your garden, they can last up to two weeks in a vase! If you’ve ever had store-bought tulips, you’ll know this is quite the improvement from the typical four to five days.
I always recommend giving your tulips a good trim before placing them in your vase to avoid putting the leaves in water. This helps the tulips last longer and makes them easier to arrange.
Harvesting your flowers at the right time really is key to using tulips as cut flowers. Wait until your tulips have opened slightly, but make sure to cut them before they’re in full bloom. You’ll know it’s the right time when about half their colour is visible.
More Helpful Tips for Growing Tulips
- The Unknown World of Tulips: Types of Tulips to Grow in Your Garden
- How to Plant Perennial Tulips for Spring Colour Year After Year
- Tantalizing Tulips: Embrace the Joy of Growing Annual Tulips
- Design and Plant a Front Yard Bulb Garden and Lawn
- Beyond Tulips: 12 Extraordinary Spring Flowering Bulbs to Plant in Fall
A city girl who learned to garden and it changed everything. Author, artist, Master Gardener. Better living through plants.


