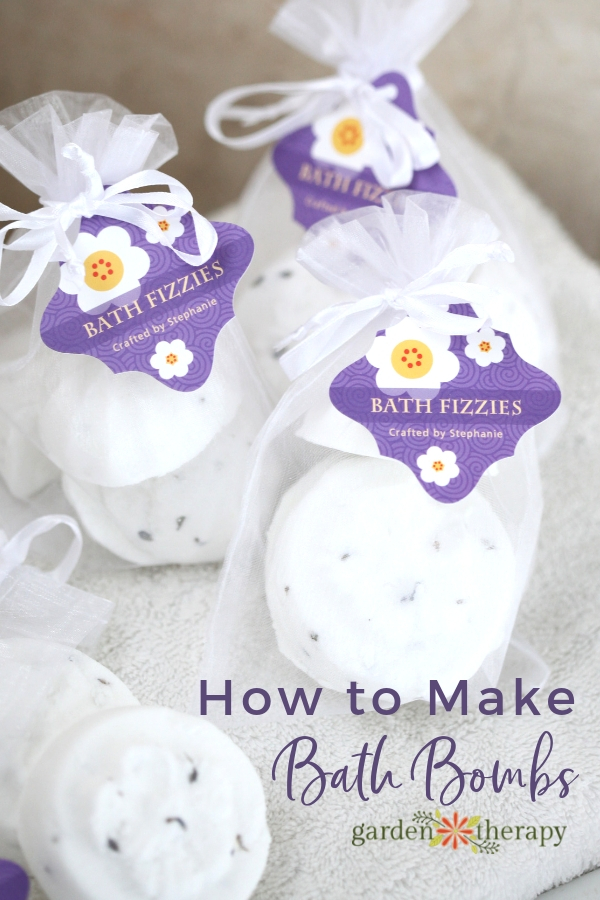
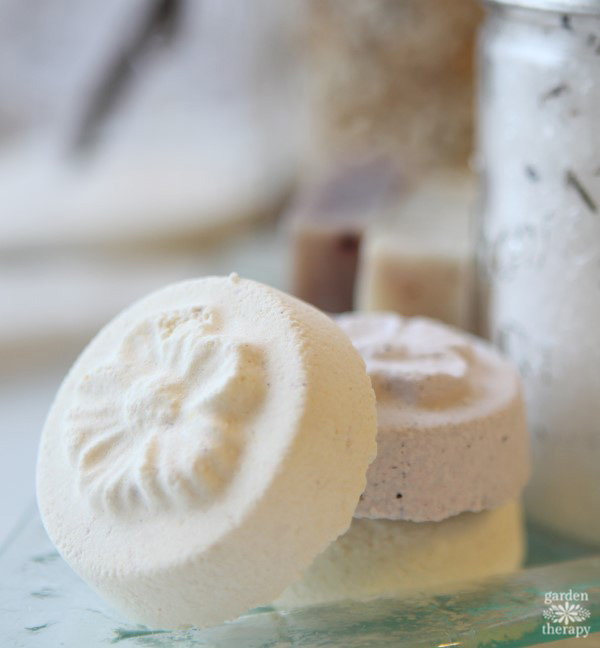
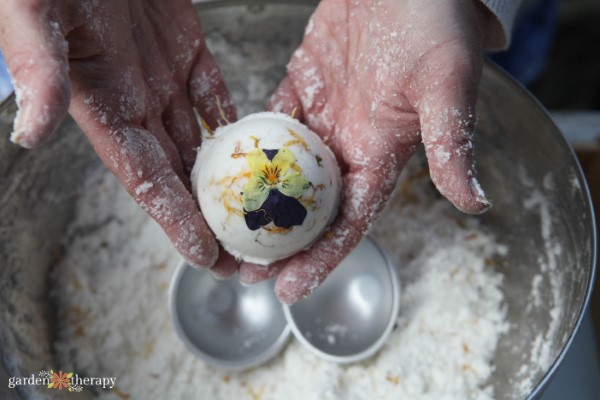
Learn how to make bath bombs! Love those awesome fizzing bath bombs but don’t want to spend $6 a piece? It’s easy to make your own DIY bath bombs with natural ingredients that soften your skin. Rather than large round balls, these homemade bath bombs are half the size. It is just enough for one bath, making your materials go much further. Using floral or decorative moulds makes these look pretty and a breeze to make without the fuss and headaches of trying to get the round bath bomb to stick together.
Don’t get me wrong here, I love a round bath bomb and have made many in my days crafting skincare and beauty products. I’ll admit it, though: the technique does take a bit of practice to master.
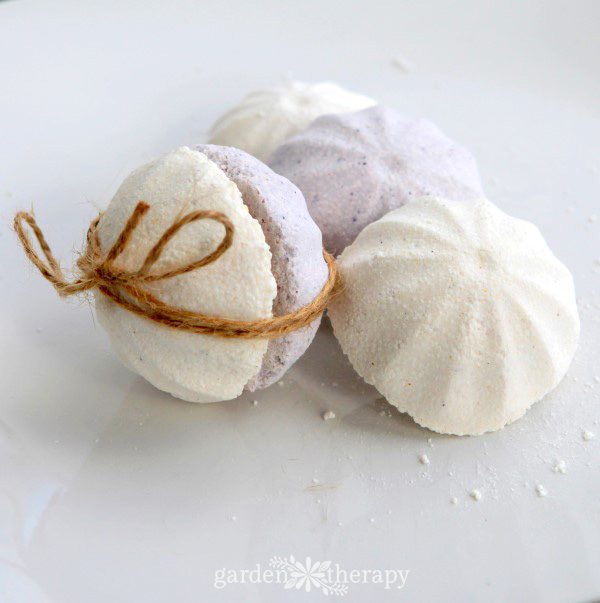
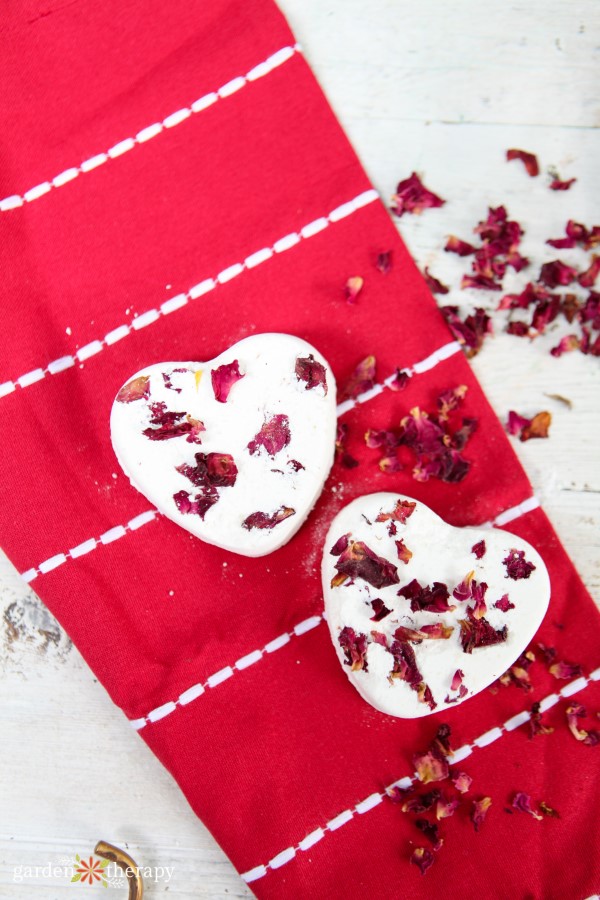
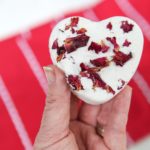
To be honest, there are times when you want to make a bunch of them to give away as gifts and know FOR SURE that they will not crack or explode and look pretty enough to give away. When you press one into a floral, heart, or shell-shaped mould, it will almost certainly turn out beautifully!
That’s why these DIY bath bombs are a great project for beginners and kids. That being said, if you WANT to make a round shape, then you can certainly use this bath bomb recipe, and there are instructions down at the end of the post.
This post will cover…
- Making the Switch to Natural Ingredients in Homemade Bath Bombs
- Natural Fragrance for DIY Bath Bombs
- Bath Bomb Benefits
- How to Add Natural Colour to a Homemade Bath Bomb Recipe
- How to Make Bath Bombs
- Bath Bomb Ingredients and Supplies
- DIY Bath Bombs Instructions
- Make Bath Bombs Round
- Frequently Asked Questions About How to Make Bath Bombs
- More Posts About Bath Bombs and DIY Natural Skin Care You Will Love!
Making the Switch to Natural Ingredients in Homemade Bath Bombs
As this recipe is part of the Natural Skincare Series, you can feel good that the ingredients are natural and safe for your skin and the water. I see so many projects (unicorn rainbow, anyone!?) loaded with artificial dyes and colourants that are just unnecessary.
Plants and nature have provided us with many wonderful scents in the form of real essential oils and just as many natural colour options. There is a better way!
I know many other bath bomb recipes recommend using synthetic fragrances and colouring. Yes, they make bright and beautiful bath bombs. There’s a trade-off, though. I don’t want to say they are toxic, but I choose to use natural ingredients.
Want to cover your bases? You can certainly look up the ingredients that you plan to use for your DIY skin care projects and prepared packaged products on the SkinDeep database.
Natural Fragrance for DIY Bath Bombs
I will say that I choose to use essential oils as a natural fragrance because they also add helpful properties to bath bombs, like aromatherapy. The soothing fragrance of lavender is the perfect complement to a relaxing bath.
Just a few drops of essential oils in your bath bomb will add a subtle fragrance that can help to soothe stress and restlessness.
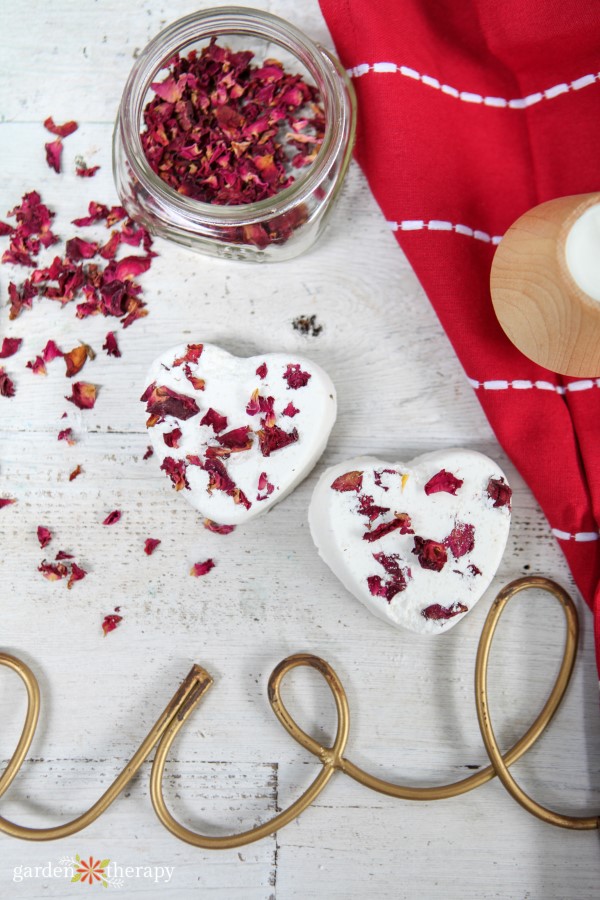
You can also add lavender buds, rose petals, or other flowers right onto the homemade bath bomb as I did on the cover of my Home Apothecary book!
Bath Bomb Benefits
While it’s proven that bath bombs are just a good time and a fun additive to the bath, are there any real bath bomb benefits? In some cases, no.
Bath bombs are a reaction between the baking soda and the citric acid, and the fizzing results from the release of carbon dioxide. The actual process doesn’t have any benefits, but the release of other additives like essential oils does.
Many essential oils have beneficial properties, so depending on what you put in, you can get those benefits.
Most store-bought bath bombs, however, aren’t adding anything to the bath except for a fun experience. In fact, it may be causing the opposite. Artificial fragrances and dyes can irritate the skin.
In the end, I love them the most for the sensory experience. But I also don’t mind the aromatherapy from the bombs themselves.
How to Add Natural Colour to a Homemade Bath Bomb Recipe
As for colouring, there are many options available that are plant-based and will not harm you when absorbed into your skin. Try powders like:
- Turmeric for a golden yellow
- Ratanjot for a lovely purple
- Blueberry for a blue/purple
- Spirulina for a blue/green
- Madder root powder for pink
Want a visual? Check out this post on Easter egg bath bombs to see how these natural colours turned out.
How to Make Bath Bombs
You can feel confident that when you use these natural products or give them as gifts, that they are healthy for the body. Making your own DIY bath bombs is a great way to know exactly what is going into the water and onto your skin (or the skin of those you love!).
Bath Bomb Ingredients and Supplies
Makes 6-7 large / 12-14 small bath fizzers (one-sided), or 3-4 large / 6-7 small bath bombs (two-sided)
- 2 cups baking soda
- 1 cup citric acid
- 100% pure witch hazel
- spray bottle
- 10-20 drops of 100% pure essential oils (do not use fragrance for any bath or body products)
- Natural colourant (green = spirulina, yellow = turmeric, purple = ratanjot)
- Metal or hard plastic moulds
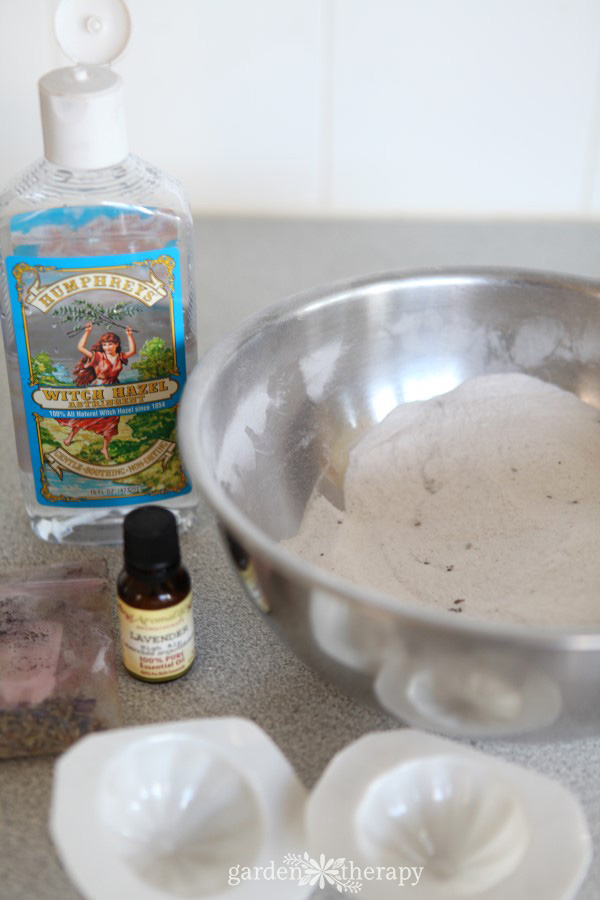
DIY Bath Bombs Instructions
1. In a large bowl, measure in the baking soda and citric acid and mix well.
2. Add a 1/2 teaspoon of colouring and mix well. Add more colouring if you want a deeper colour, but remember that too much colouring will leave a ring in your tub, so go easy. The colour will become more pronounced when you add the witch hazel, anyhow.
3. Add 20-30 drops of essential oils and mix well.
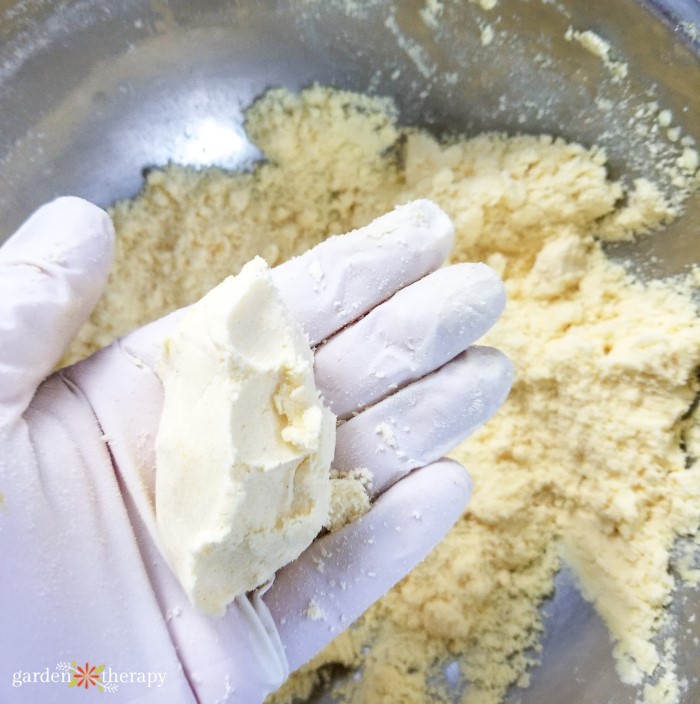
4. Using an atomizer or spray bottle filled with witch hazel, spray the entire surface of the powder mix and mix with your hands. Keep spraying and mixing rapidly until the mixture holds together when scrunched with your hand (think of making snowballs).
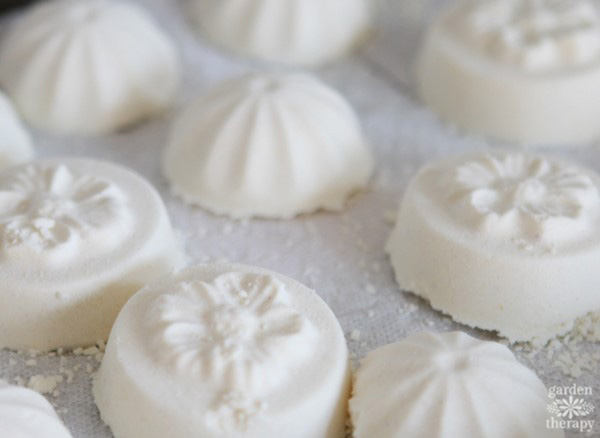
5. Working quickly, firmly press the mixture into the DIY bath bomb moulds. You can use soap-making moulds, chocolate moulds, ice cube trays, or even plastic Christmas tree ornaments that snap into two parts. The key is that they are plastic and large enough for the homemade bath bombs to set.
6. Gently tap the mould, so the bath bomb releases, and carefully lay it on a towel or tray to dry.
7. Let the homemade bath bombs dry for 30 minutes or until they are firm and won’t fall apart. Use after 24 hours.
Make Bath Bombs Round
Round bath bombs are much more difficult to make, but I understand the appeal. They’re the classic shape, and sometimes you want to try and replicate the store-made ones as much as possible.
To make a round bath bomb, over-fill two round halves. You want them loose but overflowing. Press both sides together firmly. Let it sit for a minute before tapping the moulds to release the bath bomb. Let them sit for 24 hours like the other bath bombs before using or packaging them.
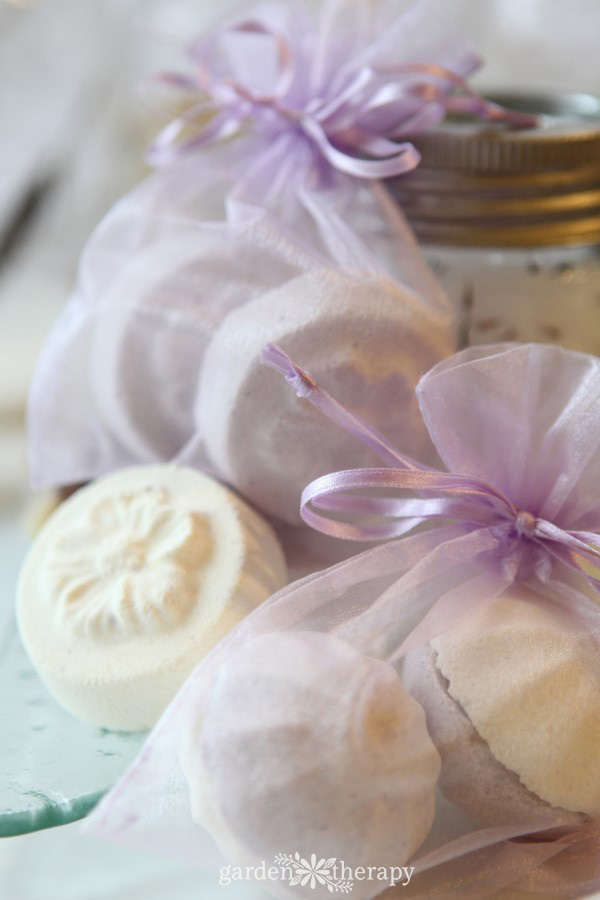
Another way to get amazing-looking bath bombs is to package up the halves in pairs in an organza bag.
Frequently Asked Questions About How to Make Bath Bombs
I use turmeric (yellow), raratanjot (purple), blueberry (blue/purple), spirulina (green) and madder root powder (pink) for natural colourants. You can add anything that comes in powder form. Find more natural colourants in this guide.
Just add a tiny bit of the colour to avoid dying the bathtub (and even your skin). For my bath bomb recipe, I add ½ tsp of colouring.
If you notice your bath bombs expanding while making them, it means there was too much witch hazel added.
When following the bath bombs recipe, lightly spritz the mixture with witch hazel and mix quickly. This ensures everything gets wet enough to stick together but does not fizz.
You can replace the witch hazel in the recipe with water, but the alcohol in the witch hazel helps to make the mixture drier when bonding the bath bombs. The witch hazel also helps to make the colour more pronounced.
Bath bombs need to be pressed very firmly into their moulds. Besides your thumbs, a spoon may help you push in the mixture. Then, they must sit in the mould for a minute before gently tapping them. Let them dry completely and left undisturbed, so they dry properly.
If it’s still falling apart, the mixture may be too dry. In this case, spritz more witch hazel and mix it in before trying to press the homemade bath bombs again.
Bath bombs at the store can get pretty pricey. If you tend to use bath bombs often, it may be easier to make them yourself and get the moulds. All it requires is baking soda, citric acid, and water, with optional additives like witch hazel, essential oils, or colourants.
Citric acid is probably the most uncommon ingredient, costing about 10-15$ for a 1 lb bag. This price is the equivalent of just two bath bombs at popular stores like Lush! My recipe requires just 1 cup of citric acid and 2 cups of baking soda to make 3-4 large bath bombs.
Bath bombs require few ingredients and are pretty straightforward to make. Getting the technique right can take a few tries so your bath bombs don’t fall apart. For beginners, I recommend pressing the mixture into silicone, metal, or plastic moulds before trying to make the round bath bombs using a special mould.
More Posts About Bath Bombs and DIY Natural Skin Care You Will Love!
- Romancing the Bath with Rose Petal Bath Bombs
- Easter Egg Bath Bombs Made with Natural Colors
- Make & Give Home Apothecary – Easy Ideas for Making & Packaging Bath Bombs, Salts, Scrubs & More
- Lavender and Cocoa Butter Bath Melts
- Cleaning Bombs Make Household Chores Easy
DIY Bath Bombs
Equipment
- plastic molds in the shape of your choice
Supplies
- 2 cups baking soda
- 1 cup citric acid
- 100% pure witch hazel
- 20-30 drops 100% pure essential oils
- natural colorant green: spirulina, yellow: turmeric, purple: ratanjot
Instructions
- In a large bowl, measure in the baking soda and citric acid and mix well.
- Add a 1/2 teaspoon of coloring and mix well. If needed, slowly add more colour.
- Add 20 drops of essential oils and mix well.
- Use an atomizer or spray bottle filled with witch hazel, then spray the entire surface of the powder mix and mix with your hands.
- Keep spraying and mixing rapidly until the mixture holds together when scrunched with your hand (think of making snowballs).
- Working quickly, firmly press mixture into the DIY bath bombs molds.
- Gently tap the mold so that the bath bomb releases and carefully lay on a towel or tray to dry.
- Let the DIY bath bombs dry for 30 minutes or until they are firm and won't fall apart.
Notes
A city girl who learned to garden and it changed everything. Author, artist, Master Gardener. Better living through plants.


Thank you for sharing this beautiful post at Potpourri Friday! Have a very Merry Christmas and wonderful Holiday Season!
Thank you. This is a great post. I just stumbled upon your site through someone else’s favorite bar. I pinned this in Pinterest about half an hour ago and it is being re-pinned like crazy. Thanks again.
Thanks, Tammy. Yes, I see it is getting a lot of pinning on pinterest from all over the place. Love pinterest!
Stevie – Just wanted to give an update on what happened to my “too much witch hazel” bath bomb mix. (First of all, don’t EVER try putting in, um, into a loosely lidded jar until it is completely – and I mean completely done “souffleeing”…picture a loud BOOM followed by me discovering a literally exploded bath “bomb” all over the ceiling, cabinets, curtains, refrigerator, windows, and Rufus the cat! The upshot was the kitchen got a good cleaning and smelled GREAT!)
Eventually, the mixture dried out. After the little catastrophe mentioned above, I gave up on the mix and just let it sort of fizzle itself out for about an hour, figuring I would take one heck of a long luxurious bath that night. Lo and behold, it eventually dried out enough to match the consistency you described – incredible! It didn’t want to stay in my silicone ice cube tray moulds, so I abandoned the mould idea altogether and just sort of stirred the dried, crumbly mixture – Behold: Bath FIZZ! I managed to fill a few small mason jars with Bergamot Bath Fizz and used what was left in the bowl for my own bath. Success, in an unexpected way! Thanks for all your fantastic posts – you inspired me to make a lot of Christmas presents this year, and I’m so grateful!
Happy New Year!
Oh my, Aimee, you have had an adventure! Well I very much hope that all you have written here will help others. The lesson: go easy of the witch hazel…and have a good sense of humour! I’m sorry about your explosion, but happy to hear you found success in the end.
Thanks you for trying the projects and for coming back to comment. I really appreciate your feedback and compliments.
There are lots more projects coming this year, so get ready for more adventure!
Stevie
So Aimee, am I correct in understanding you used too much witch hazel? My reason for asking is I had my own adventure this morning. Everything seemed fine, but when I tried putting the mix in the ball molds I bought they kept popping open and continued growing larger and larger. Eventually I took everything out of the molds and just tried making round balls with my hands. I then set them on a towel to dry. They have continued to grow and spread to where I now have a dozen blobs drying. Too funny! Looks like I’ll be making up jars of fizzy powder too. Have you ever made these since and with more success? If so, tell me your secret!
Hi Judy, there might be something about the ingredients you are using that is causing your adventure. What sort of baking soda / citric acid / essential oils / witch hazel are you using? One idea could be to try spritzing water on the mixture instead of witch hazel. If there is still a big reaction, then it could be one of the other ingredients that is causing it. I’d love to hear more because this has never happened to me and I have never been that picky with the brands for each of the ingredients, other than to make sure they are all pure.
thanks for sharing
Thanks for linking up to Serenity Saturday Link Party, hope to see you there again this week
Natasha xx
http://serenityyou.blogspot.com/search/label/Serenity%20Saturday
A person essentially assist to make significantly posts I might state. That is the very first time I frequented your web page and thus far? I surprised with the analysis you made to create this actual publish incredible. Great task!