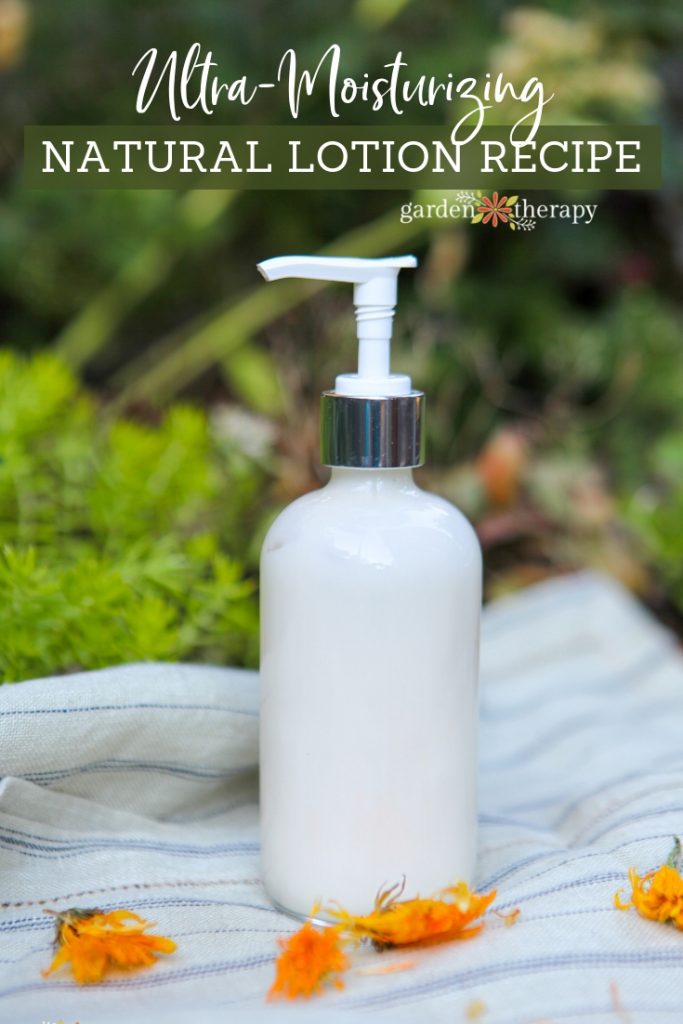
This homemade DIY lotion is ultra-moisturizing and full of natural ingredients that you can feel good about. If you have been wondering how to make lotion, this helpful post will walk you through the process step by step.

I like my lotions to be rich, moisturizing, and, above all else, natural. A good lotion can make your skin feel wonderful. As part of my switch to plant-based beauty products, I replaced all of my soaps, scrubs, and balms with organic and natural recipes that are skin-healing rather than just problem-masking.
This meant I needed to develop my own DIY lotion that could keep my skin healthy and moisturized while also being plant-based and economical!
This post will cover…
- DIY Lotion with Natural Ingredients
- Components that Make Up a Lotion
- Emulsifiers
- Thickeners
- Preservatives
- Hydrosols and Essential Oils
- Avoid Contamination
- Basic DIY Lotion Recipe
- The 3 Phases of Lotion Making
- Aqueous Phase Ingredients
- Oil Phase Ingredients
- Cool Phase Ingredients
- Make It!
- More Plant-Based Beauty Recipes to Try
DIY Lotion with Natural Ingredients
In general, DIY beauty recipes are relatively easy to make. Typically you just follow the simple steps of measuring the ingredients, melting them together, and pouring them into molds or containers.
Lotions, however, are a bit more complicated to make. There are some specific steps that need to be taken in a DIY lotion recipe to ensure that you are making a good quality, safe product to use on your skin.
I often use lotion bars for moisturizing my skin, which make wonderful gifts as well since they are so pretty. To learn more about those, see my recipes for Vanilla Bean Winter Lotion Bars and Calendula Summer Lotion Bars. While these are lovely to apply all over my skin after the bath or shower, I also make a liquid lotion for use on my face and hands.
Components that Make Up a Lotion
“Lotion,” “moisturizer,” and “cream” are all names for the same product, an emulsion. Bringing together oil and water means that there are a few more elements needed than just melting together all of the ingredients like in a lotion bar. You will need an emulsifier to hold the oil and water together, a thickener to give the lotion some body, and a preservative to keep the nasty stuff out.
Don’t let that scare you though–the ingredients may be a bit more complicated, but that doesn’t mean they can’t be natural. There are plenty of eco-certified ingredients that are from all-natural sources which can be used in lotion making, even if they are not names you have heard of before!
Emulsifiers
Because oil and water are known to be unable to mix together on their own, an emulsifier is needed to help the ingredients combine and stay mixed. In natural skincare products, many people use eWax (emulsifying wax), which is sourced from naturally occurring fats and esters.
Another option, and my preferred emulsifier, is Behentrimonium Methosulfate or BTMS, a vegetable-based conditioning emulsifier. It absorbs quickly and is good for face cream. eWax, on the other hand, is thicker and heavier feeling than BTMS 25 which may be preferred for body lotion or foot cream.
Thickeners
Cetyl alcohol and stearic acid are also added to skincare products as a way to help the oil and water bind and keep it from separating, but they also give a thickness to the lotion.
There are many sources of both ingredients, so look for the ones that are eco-certified. Cetyl alcohol is a fatty alcohol that adds a lighter feeling than stearic acid. Stearic acid is a fatty acid that adds fluffiness and it has a heavier feeling than cetyl alcohol.
Preservatives
Any time you are using water in a natural beauty recipe, a preservative is essential to keep mold, yeast, and bacteria from growing. Without preservatives, a lotion’s shelf life is very short (around a week) and it needs to be kept refrigerated at all times.
There is a common misconception that grapefruit seed extract, rosemary seed extract, and Vitamin E oil are preservatives and help to prevent mold and bacterial growth. While those ingredients are wonderful at extending the shelf life of the ingredients, they are not effective at preventing microbial or bacterial growth.
There are many preservatives available on the market like potasium sorbate, sodium anisate and sodium levulinate combined, radish root ferment (Leucidal® Liquid), and Geogard ECT.
I have only tried Leucidal in my lotion recipes and it works well for me. It contains a peptide from fermenting radish root in kimchi that has antimicrobial properties. It’s eco-certified and easy to find.

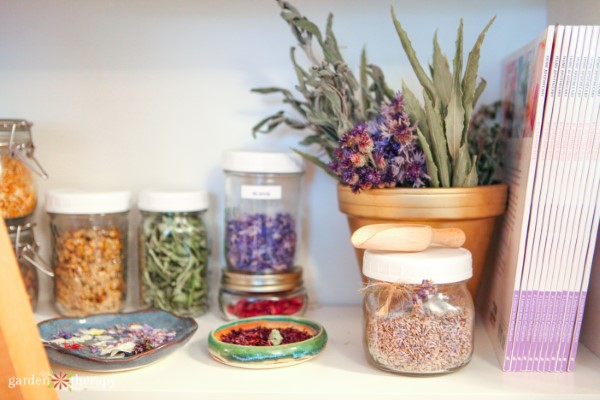
Hydrosols and Essential Oils
I like to gently scent this lotion by replacing some of the distilled water with a floral hydrosol like chamomile, calendula, rose, or lavender. Hydrosols are produced by distilling fresh plant material and have similar properties to essential oils, but less concentrated. Hydrosols are a great way to get the benefits of plants that are either too expensive or not available as essential oils like chamomile, rose, and calendula.
You can also opt to add essential oils to this lotion for more fragrance. The measurement is listed in the cool-down phase for this recipe. I often make my lotion unscented or very lightly scented with a hydrosol, but you can choose to add the benefits of essential oils for your own personal skincare needs and preferences.
Avoid Contamination
Even if all of your ingredients are organic and fresh, you can easily contaminate your lotion from the workspace, your hands, the equipment, and even the water.
Be sure to clean your workspace thoroughly with alcohol, wear gloves and keep hands clean, sterilize your bowls, utensils, and equipment, and use distilled water, not tap water. Tap water can contain microorganisms that could contaminate your lotion.
Basic DIY Lotion Recipe
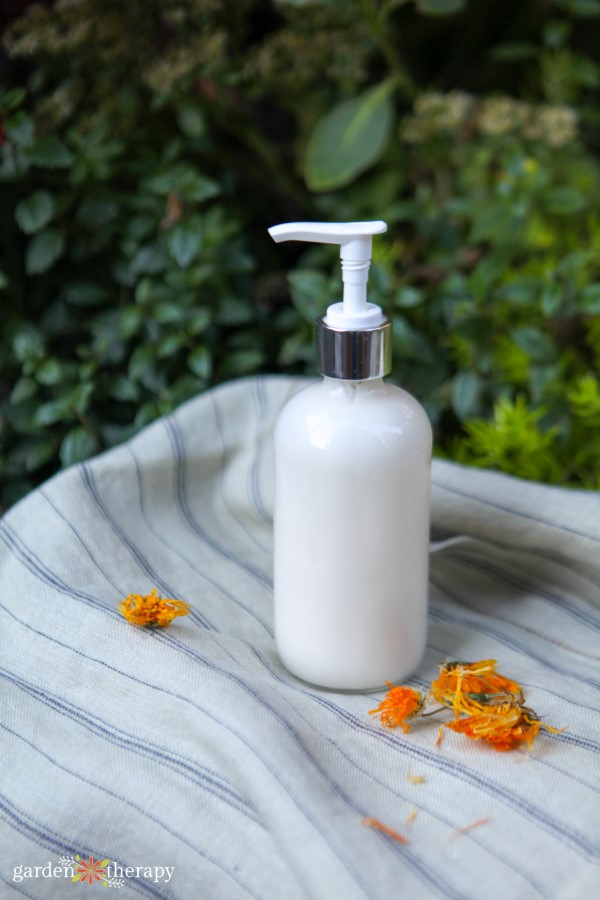
I’m not prone to acne but I have very dry and sensitive skin. I formulated this recipe to absorb quickly, not clog pores, and feel moisturizing without being too heavy. Personally, I often use it on my face in the morning when skin is less absorbent and use this rose lotion at night to help settle redness and inflammation from the day.
I love this DIY lotion so much that I have a bottle at my desk, on my bedside, and in my studio so I can apply lotion to my hands throughout the day. It’s very effective and I can make a large batch of excellent quality lotion without breaking the bank.
Everyone has different skin types, so this lotion may not work for you at all. Or it may be the best lotion you have ever tried. The only way you will know for sure is to give it a try.
I’ll share more recipes in the future that make some changes to this recipe for different purposes. But for now, this is my go-to basic moisturizing lotion recipe and I hope you enjoy it!
The 3 Phases of Lotion Making
Lotions are made in three phases: the aqueous (water) phase, the oil phase, and the cool phase. While these are called “phases,” they can be measured all at once.
They are separated into different phases so they can be combined at the right time. You will measure all of the aqueous ingredients like water, hydrosols, and aloe vera into one heatproof container. Then measure your oils, butters, emulsifiers, and thickeners into a separate heatproof container.
Finally, measure ingredients that can be damaged by heat like essential oils, honey, and preservatives in a third container (this one doesn’t need to be heatproof) for the cool phase.
Got it? Okay, let’s make lotion!
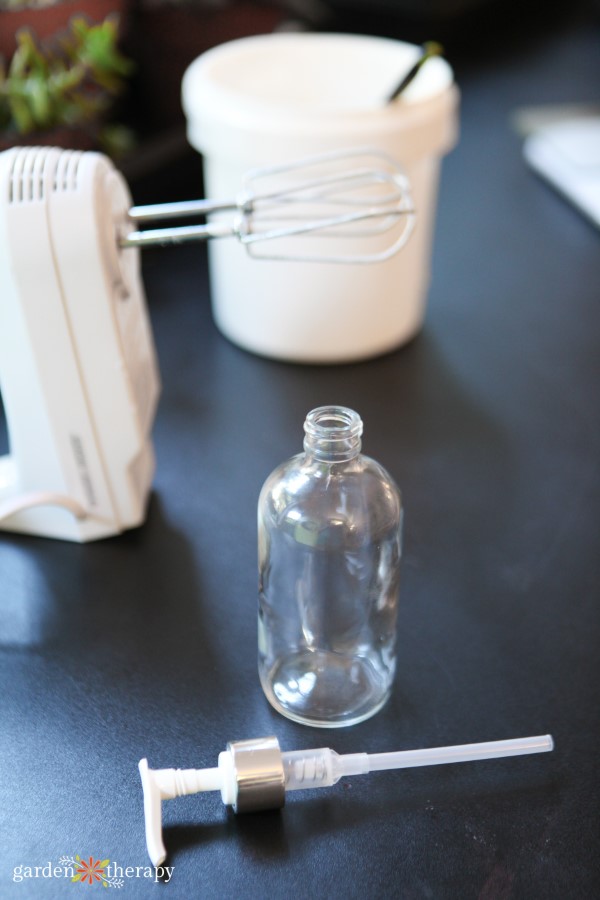
Equipment
- Beakers or other heatproof containers
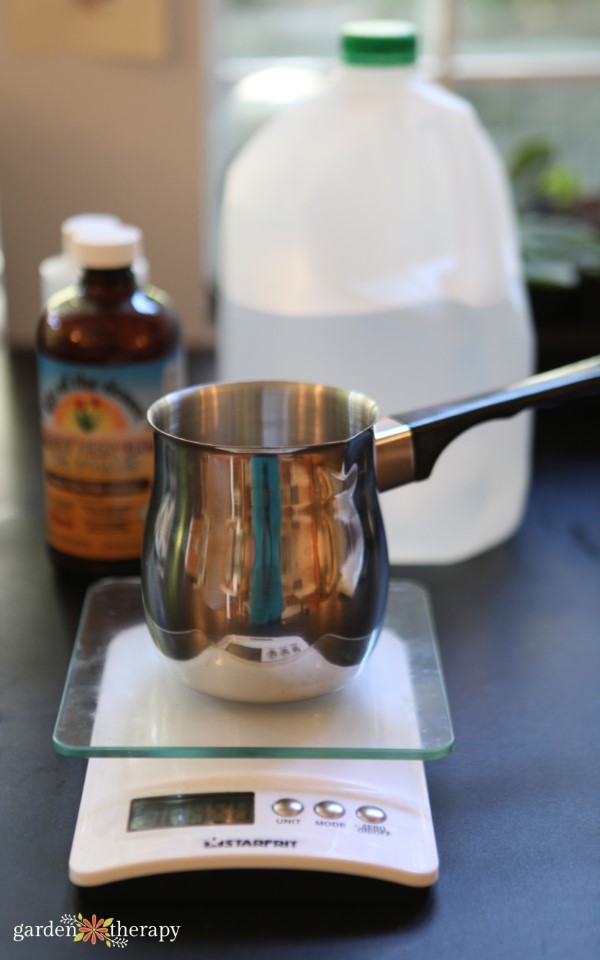
- Kitchen scale
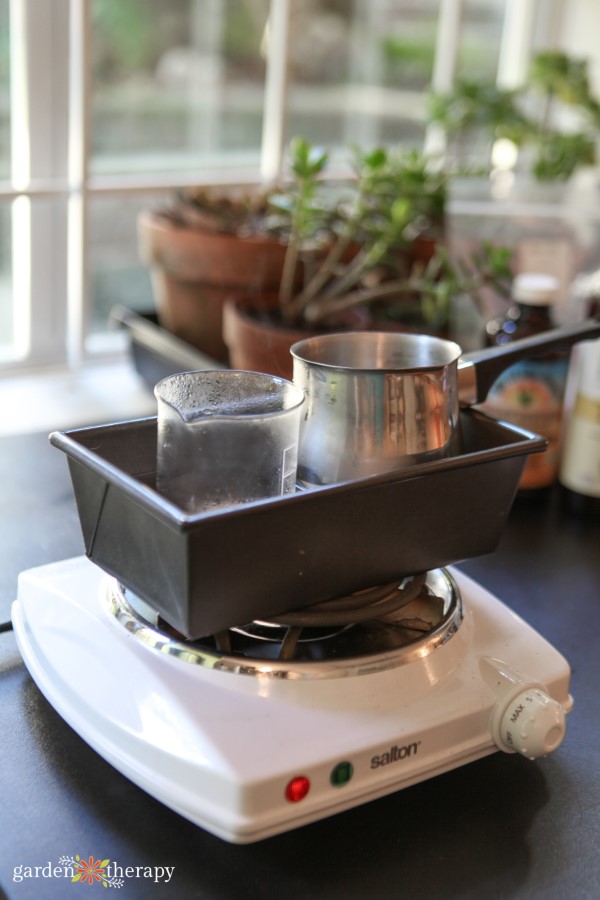
- Double boiler
- Spatula
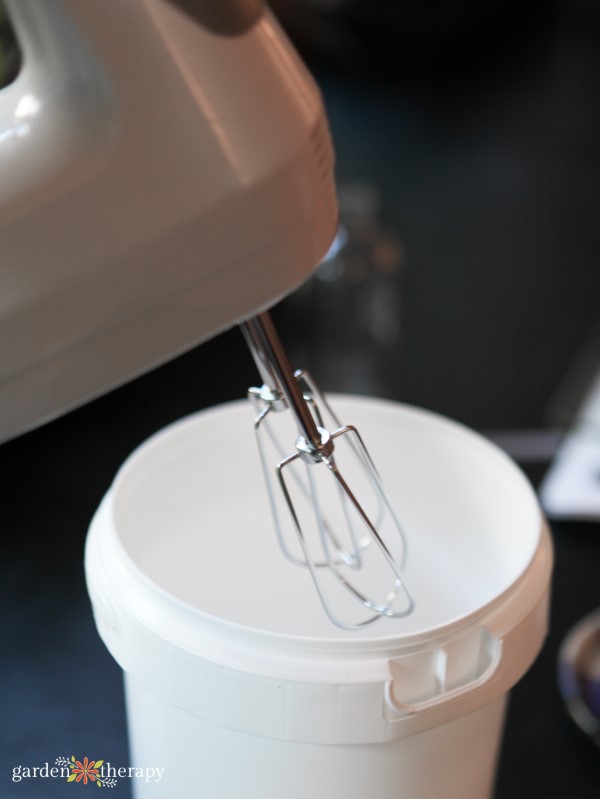
- Electric mixer
- Mixing bowl
- Alcohol (to sterilize equipment and tools)
Ingredients
Makes 200g
Aqueous Phase Ingredients
- 70 g distilled water
- 40 g floral hydrosol like chamomile, rose, or lavender.
- 3 g aloe vera gel
- 3 g glycerine
Oil Phase Ingredients
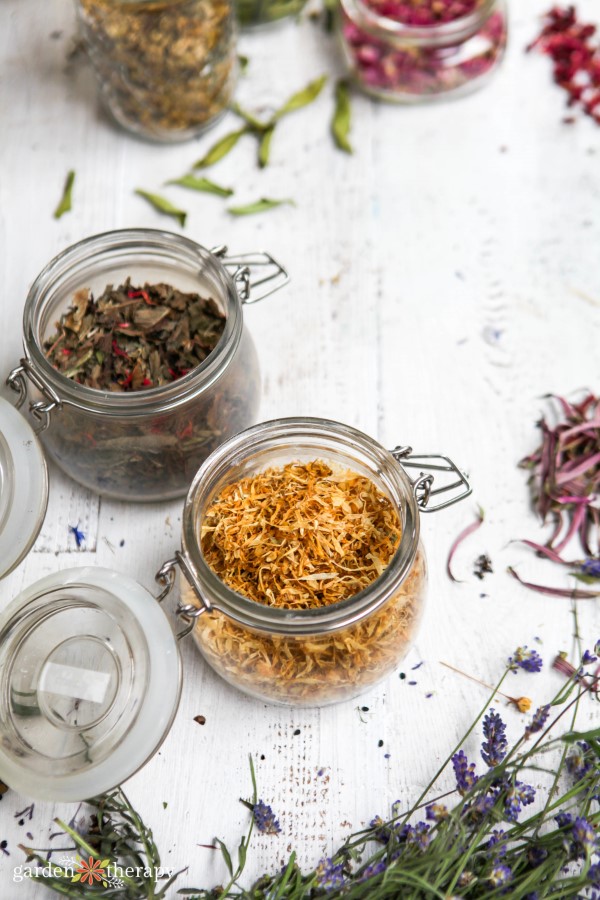
- 20 g organic grapeseed oil (infused with herb of choice)
- 20 g organic sunflower oil (infused with herb of choice)
- 8 g BTMS 25
- 8 g cetyl alcohol
- 4 drops Vitamin E oil
Cool Phase Ingredients
Make It!
Before you start, please make sure that all of your equipment and workspace are sterilized using alcohol. It may be tempting to skip this step, but I strongly encourage you to do this and do it well.
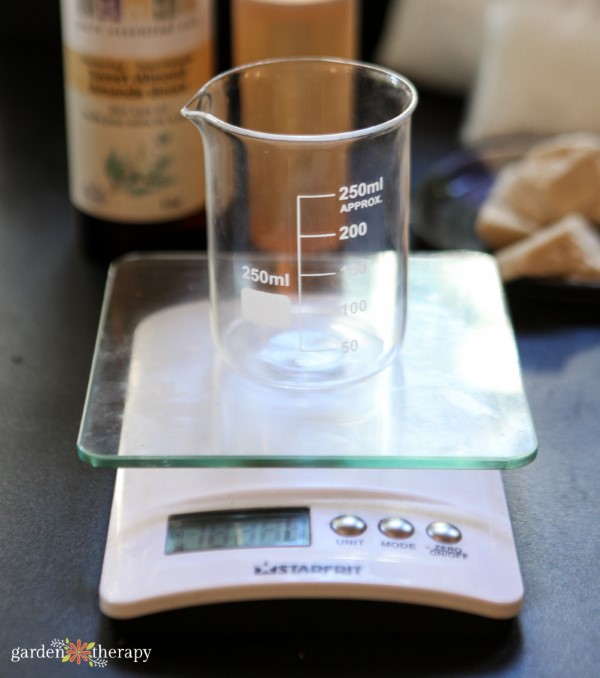
Use a kitchen scale to measure the oil ingredients in a heatproof container like a beaker.
Next, measure all of the water ingredients in another heatproof container. In this case, I used a Turkish coffee pot.
Create a double boiler and heat both the oil ingredients and the water ingredients to 160 degrees.
Keep both the water ingredients and oil ingredients at 160 degrees for 20 minutes. Similar to canning, this helps to kill off any bacteria.
In a mixing bowl, add the oil ingredients first and then pour in the water ingredients.
Use an electric mixer to combine the ingredients. In a large bowl, they should thicken up quickly and cool down.
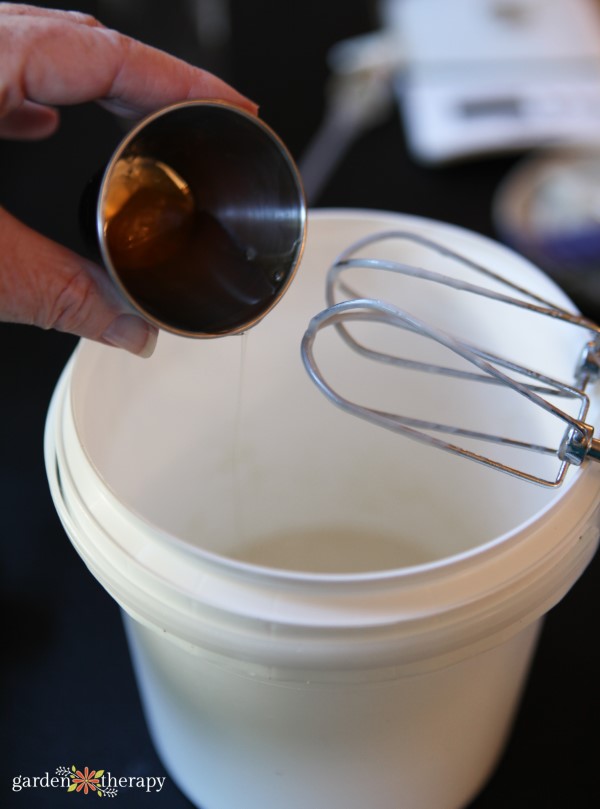
Once the ingredients have reached 80 degrees, you can add the cool phase ingredients. Remember, these ingredients are heat-sensitive and will break down at higher temperatures, which is why they’re added at this time.
Continue mixing your lotion until it’s thick and fluffy.
Now you can add it into a sterilized container.
If the opening to your container is quite small, then you can put the ingredients into a piping bag for frosting or a plastic zipper bag. Cut off one of the corners of the zipper bag, and it should be easy to get all of the lotion into a pump bottle with a small opening.
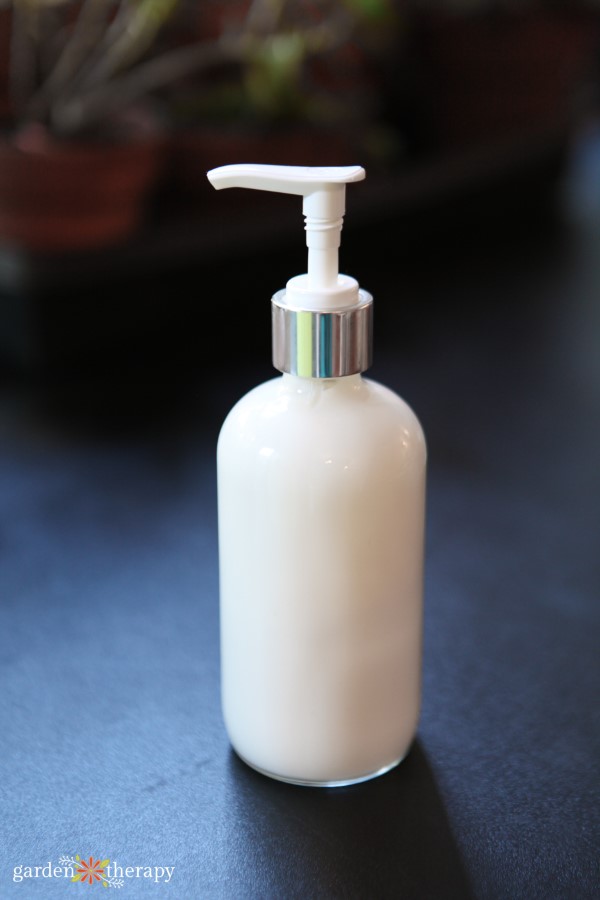
I like using a pump because it releases lotion without any risk of contaminating the lotion by touching it with your hands.
Use this DIY lotion within six months.
More Plant-Based Beauty Recipes to Try
- Pampering Peppermint Coconut Foot Scrub
- Activated Charcoal Drawing Salve Recipe for Splinters, Bug Bites, Blisters, and More
- Botanical Perfume: Blend Your Own Custom Scent
- Decadent Chocolate Mint Lip Balm
- Lavender and Cocoa Butter Bath Melts
DIY Lotion with Natural Ingredients
Equipment
Supplies
Aqueous Phase Ingredients
- 70 grams distilled water
- 40 grams floral hydrosol like chamomile, rose, or lavender
- 3 grams aloe vera gel
- 3 grams glycerine
Oil Phase Ingredients
- 20 grams organic grapeseed oil (infused with herb of choice)
- 20 grams organic sunflower oil (infused with herb of choice)
- 8 grams BTMS 25
- 8 grams cetyl alcohol
- 4 drops Vitamin E oil
Instructions
- Sterilize all equipment, including your work surface prior to beginning.
- Measure the oil ingredients in a heatproof container on a kitchen scale.
- Next, measure all the water ingredients in a separate heatproof container.
- Create a double boiler, and heat both the water and oil ingredients to 160 degrees. It will need to remain at this temperature for 20 minutes to kill off any bacteria.
- Add the oil ingredients into a large mixing bowl. Then, add the water ingredients.
- Thicken the mixture by using an electric mixer. This will also help them quickly cool down.
- Once the mixture has cooled to 80 degrees, add the cool ingredients. Don't add them before, as heat will break them down.
- Mix until the DIY lotion is thick and fluffy, then scoop into a sterilized container. I recommend using a pump to eliminate bacteria from your hands entering the lotion.
- Use and enjoy!
A city girl who learned to garden and it changed everything. Author, artist, Master Gardener. Better living through plants.


Upon checking the links a 1/3 of theproducts do not deliver to Canada and those that do end up making this lotion a very expensive proposition. Are there no Canadian affiliate likes to similar products? Thank you.
Barb the links should automatically redirect to Canada.
So upon researching some of these ingredients, why don’t you just buy your lotion? Some of the ingredients are just as toxic.
Hi Amanda, I’m curious as to what you found? I have described why I use the ingredients I use thoroughly in the post, but also put them all through the skin deep database. I maintain that knowing exactly what and how much goes into skin care products is important to me which is why I choose to make my own.
Amen Stephanie. I love your vision.
Mine keeps breaking….where did I go wrong? It looks absolutely perfect and beautiful, then it will break. I heat it back up a bit, mix it again, it breaks again. I followed all the steps perfectly because I I am allergic to Shea butter which is just about every lotion now. I wanted a lotion without. Took me about four + hours and I am so disappointed! I can’t fig out where I went wrong!
$25 dollars for one bottle of lotion seems insane