Once you get the hydrangea bug, you are going to want more. Their big, bouncy blooms are a lovely landscape feature and make for a long-lasting cut flower. However, unless you have an unlimited budget to buy your heart’s content, hydrangeas can get pricey. Never fear, there is an option to satisfy your gardening habit while saving you hundreds of dollars: hydrangea propagation.
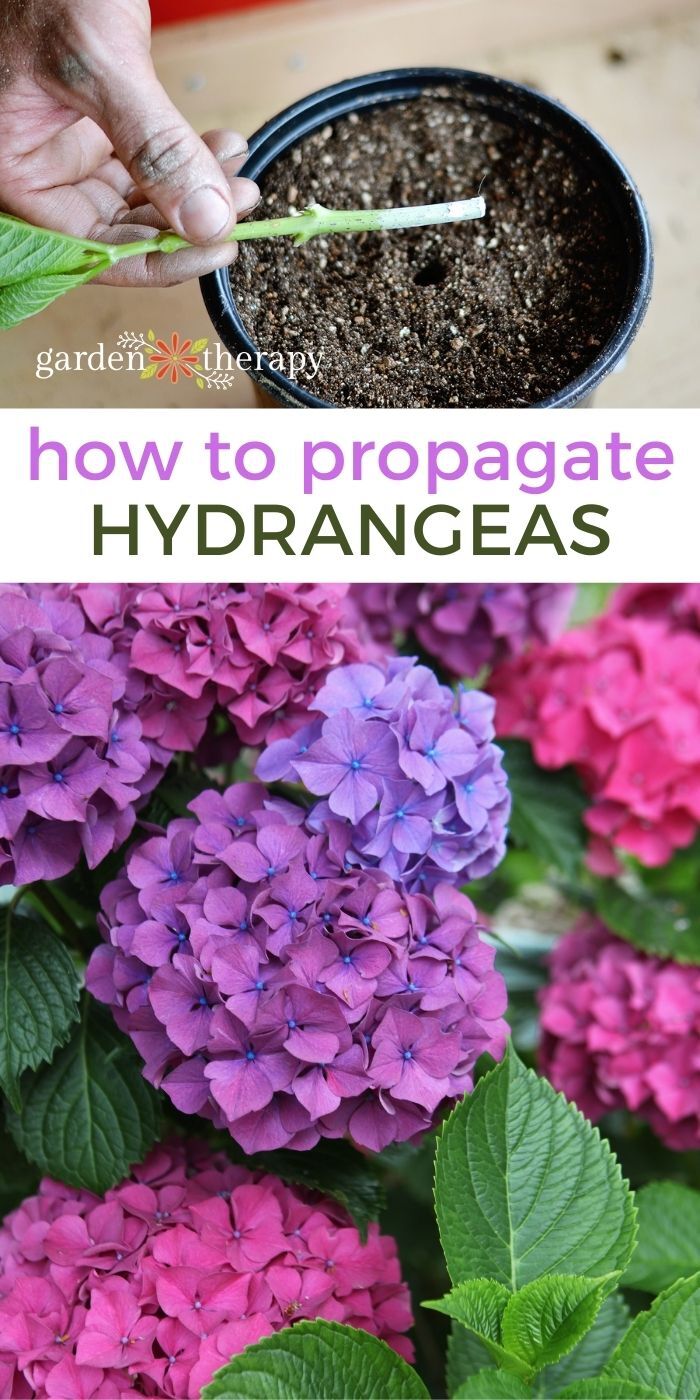
The Magic of Hydrangea Cuttings
What is this magical solution? For hydrangea propagation, you can multiply your current plant through cuttings. It’s an inexpensive way to obtain a brand new plant without much effort. Sure, if you have a gardener friend that wants to share plants with you, by all means, take them.
However, if you have a special species of hydrangea that you can’t find at your local nursery anymore, you can “make a copy” of your plants from cuttings. It’s also a great way to share your garden collection with others or save an old, partially diseased, or damaged plant. If you make enough successful plants from cuttings, you can even hold a backyard plant sale and make a profit.
How to Grow Hydrangeas from Cuttings
Taking a cutting isn’t as simple as grabbing a pair of pruners, chopping off a piece of the plant, and sticking it in soil. There’s a proper way to do it in order to get successful hydrangea babies! Here’s how to propagate hydrangeas.
Select Cuttings
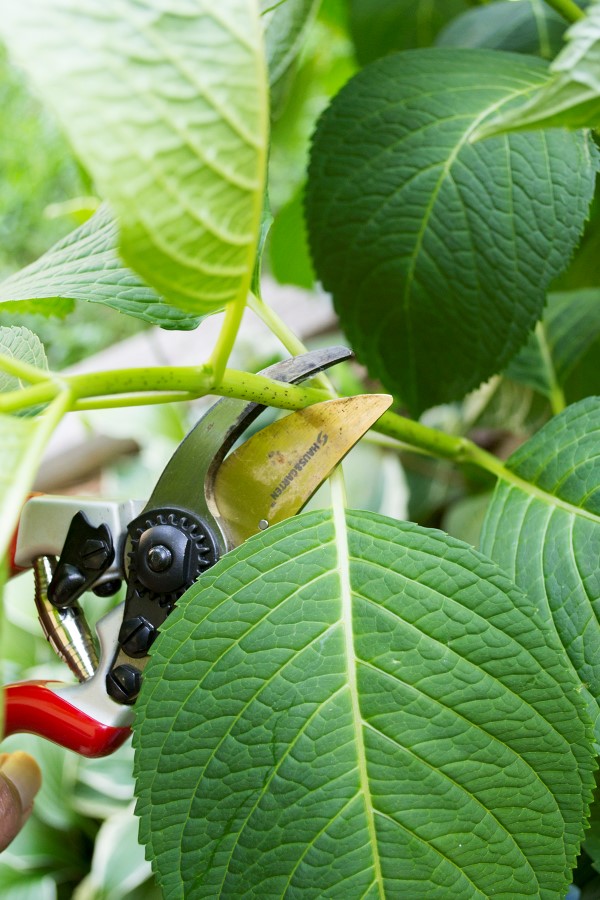
The first step in hydrangea propagation is selecting the right cuttings. Look for healthy, stocky, growing tips with (relatively) closely spaced foliage. Avoid diseased or insect-infested parts of the plant.
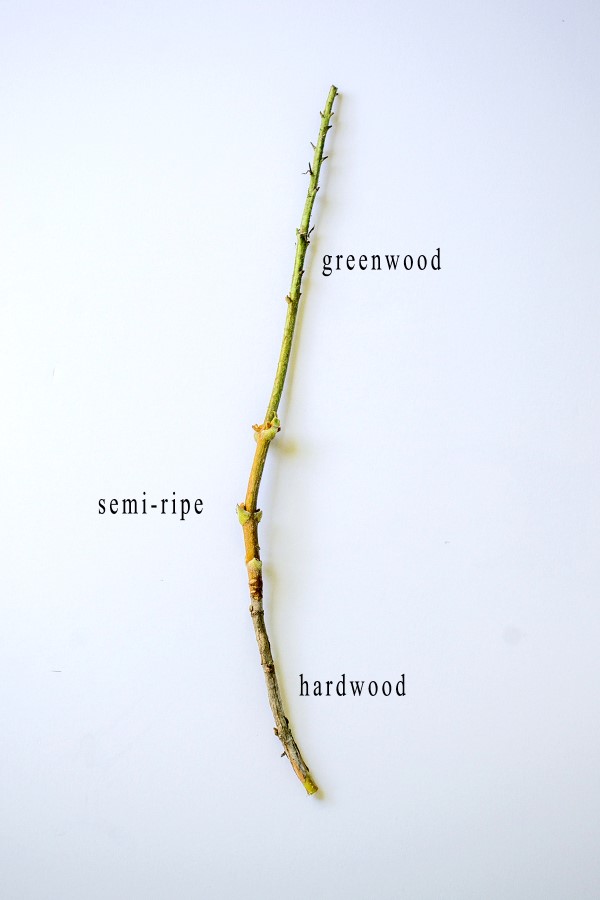
You also need to know the difference between greenwood, semi-ripe, or hardwood cuttings. As a general rule, greenwood cuttings are taken in late spring or early summer, semi-ripe in late summer, and hardwood in fall or winter.
For hydrangeas, you will want to use softwood cuttings. Since hydrangeas bloom from old wood, you want to select the newest growth. Try to choose a stem that has no flowers on it if possible.
The best time of year to take hydrangea cuttings is from spring to late summer. You want to make sure you have lush leaves, regardless of the season. The plants need time to develop roots before they go dormant for the winter.
How to Take Cuttings
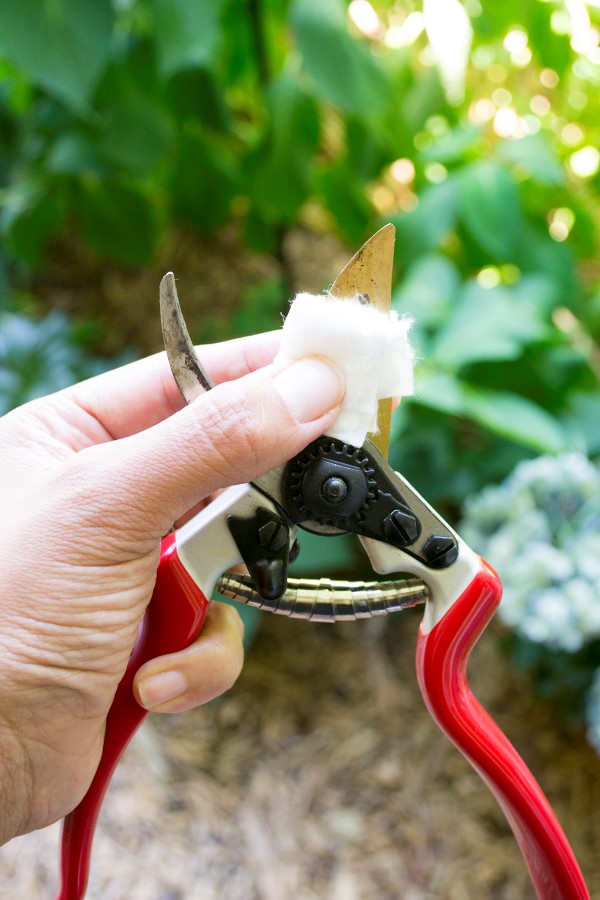
You will need a sharp tool (knife or pruners) that has been disinfected. To disinfect, wash the tool with soapy water, then wipe down the blades with rubbing alcohol. Cut 6” of a branch tip off the plant. Strip away the leaves from the lower 4” of the cuttings.
If the leaves are large, cut the remaining leaves in half to conserve moisture while the roots develop. Wrap cuttings in moist paper towels or newspaper immediately after harvest and keep them cool until they are planted. Ideally, you should plant them within 24 hours.
How to Plant the Hydrangea Cuttings
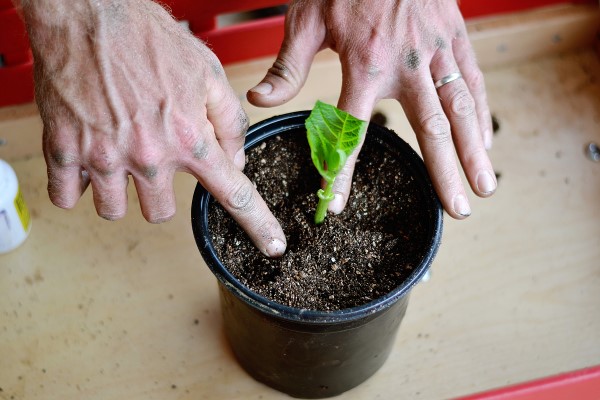
Apply rooting hormone to the lower 4” of the hydrangea cuttings and insert them into containers filled with good potting soil.
Potting soil ingredients can vary, often including a mix of organic and mineral materials. Common ingredients include peat moss, vermiculite, perlite, river sand, aged tree bark, and compost. The mixture should be of a medium-coarse texture that retains moisture while allowing excess water to drain away.
You can use your own soil blocks and seed starting mix as well – see how to make soil blocks here. After planting, water and cover the cuttings with a humidity tent out of a plastic zip bag or plastic wrap to preserve moisture.
Hydrangea Propagation Frequently Asked Questions
Can You Root Hydrangea Cuttings in Water?
While you can root hydrangeas in water, the success rate is much lower. For better results, it’s best to root your hydrangea cuttings directly into soil.
How Long Does it Take Hydrangea Cuttings to Root?
Rooting time varies by temperature and humidity levels, anywhere from 2-3 weeks. If you slightly tug on the cutting and it resists, it has rooted. There is no need to fertilize at this point. Keep soil moist and humidity high until new growth begins to emerge.
Can You Pinch Out Hydrangea Cuttings?
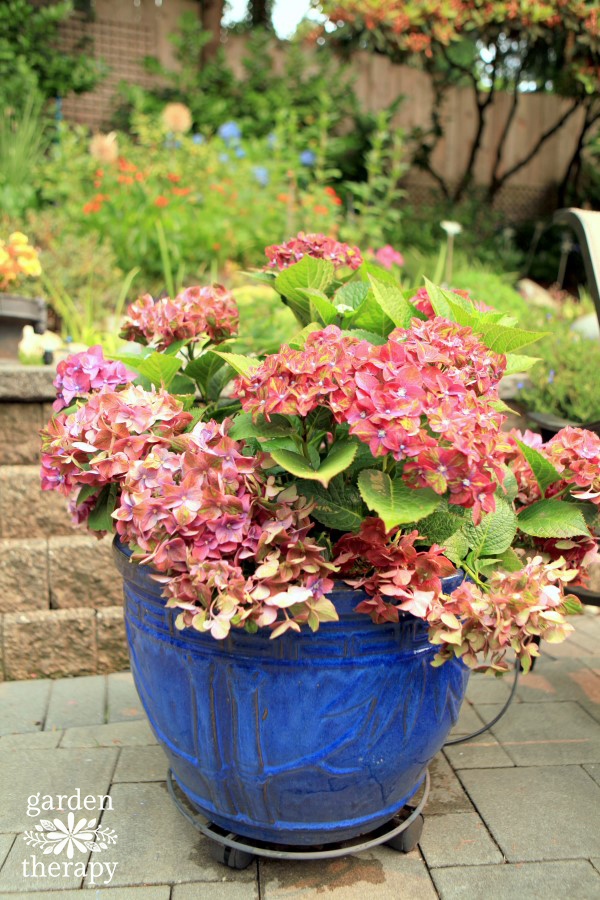
The first couple of years of your hydrangea are essential. To make a rounder, bushier plant, you will want to pinch your hydrangea. Whenever you cut off the tip of a plant, you get double the branches. As your hydrangea gets bigger, keep pinching an inch or two of growth to every new branch.
Repeat this during the first year or two of growing. Afterward, you will want to leave it so the plant can flower.
How do You Make Hydrangeas Blue?
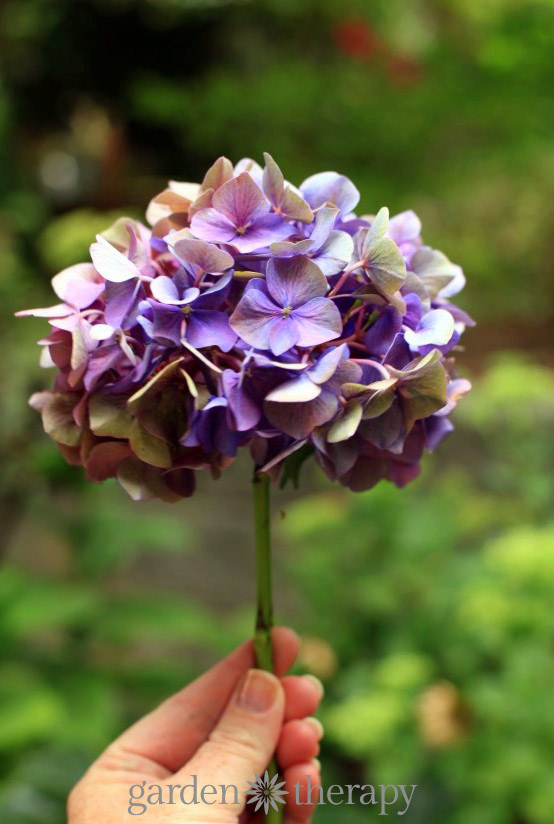
It’s all in the soil! A simple soil hack can change the colour of your hydrangea to blue or pink. Check out my guide on how to make your hydrangea change colour.
When Can I Transplant My Hydrangea Cuttings?
When there is new growth, gradually reduce humidity to ambient conditions and let the soil dry somewhat between waterings. Begin fertilizing at this stage.
After new leaves emerge, the young clone may be planted in a larger pot or taken to its permanent home.
Knowing how to propagate hydrangea from cuttings is a valuable skill to have as your garden expands. It can save you money in the long run and fill your garden with beautiful flowers well into the fall.



I have been propagating hydrangeas for a few years, but I find they all form one long stem and no lower leaves or stems come up from the soil. I cut these long stems just the other day to see if they will start forming new growth from the bottom. Is this something I should always do or should I leave them alone and let them do their thing?
Ok so I just propagated my hydrangeas and put them in a clear tote and covered them. We just had our first cold day here in Alabama. Do I keep them inside the house until they root and then transfer to the ground or leave them inside until spring? Just not sure when to plant them since they will surely be dormant in a few months.
Very interesting and want to learn more!!!