These Printable Canning Labels are the Essential Party Dress for Your Jam!
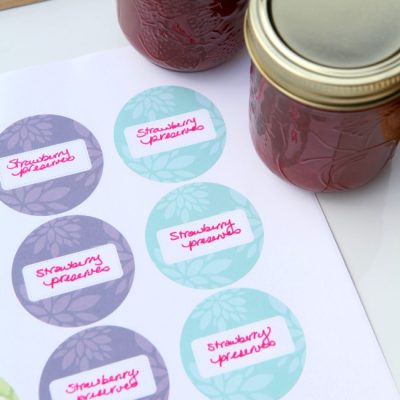
Shouldn’t the label you add to a jar of homemade jam or pickles look as beautiful as the … Read More
Shouldn’t the label you add to a jar of homemade jam or pickles look as beautiful as the … Read More
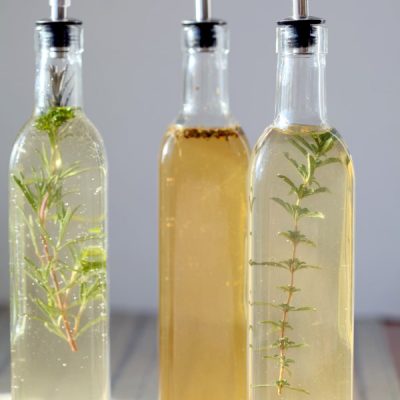
There are so many ways you can use fresh herbs from your garden, but this is my new … Read More
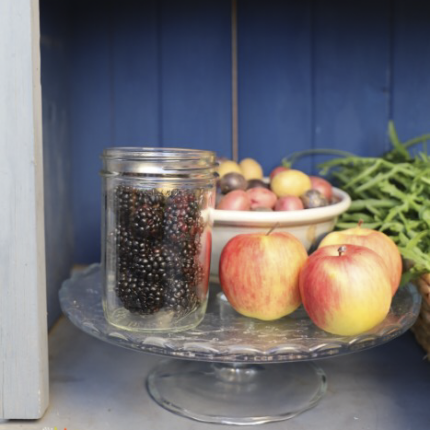
Homesteading is a way of becoming closer to the earth by living a more self-reliant and holistic lifestyle. … Read More
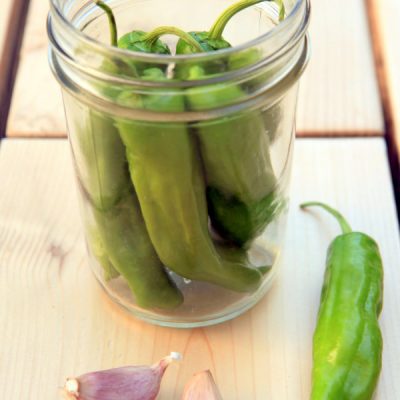
If there’s one way to enjoy your shishito peppers, let it be this. Pickled shishito peppers will be … Read More
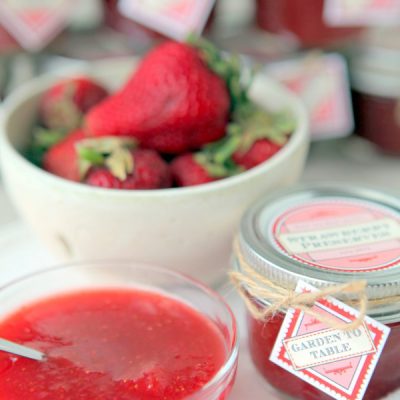
This homemade strawberry jam recipe with low sugar is absolutely incredible. Delicious and easy to make, this strawberry … Read More

Super simple quick-pickled radishes that are ready to eat the next day! You’ll be amazed at how easy … Read More
Your guide to creating a stunning outdoor space using found materials, free resources, community connections, and your own creativity.
My weekly newsletter full of tips for gardening and green living, including timely insights on how gardens can nurture our emotional well-being.

