Have a tree limb that needs removing? Don’t just toss that wood away! Instead, use wood slices to create a set of beautiful, one-of-a-kind DIY coasters! These wooden coasters will quickly become a conversation piece at any gathering…while also protecting your furniture from water rings and spills. Here’s how to make a set of your own.
Sometimes the most beautiful DIYs are the simplest ones. Case in point? Making a set of branch coasters from a fallen tree will allow the beauty of that wood to live on and tell the story in its rings.
When you are out pruning and cutting back the garden, take a look at what you are about to throw in the wood chipper or firewood pile. Wood slices can be turned into many things, but my all-time favourite is these branch coasters that I made a few years back.
I’ve had my cedar coasters now for almost 4 years and have had plenty of questions on the practicality of them. I’ve updated this original article, with some FAQs at the end of the DIY instructions. In short? I still love and use them daily!
This post will cover…
- How to Make DIY Branch Coasters
- Materials
- Make it
- Optional: Add Designs With Wood Burning
- FAQ About These DIY Coasters
- More Garden Crafts to Try
How to Make DIY Branch Coasters
It was a sad day when the largest, oldest tree on my street was hacked down and unceremoniously chucked into construction waste bins. The 50’ Western Red Cedar still had a lot of good years left but got in the way of developers’ dollar signs, and no amount of reasoning could sway them.
Neighbours came to say goodbye, walking through the wreckage and collecting a memento or two; tears were shed. It’s amazing the impact a tree can have and the immensity of the sense of loss for one treated with so little respect.
I collected a few thick branches to turn into sets of coasters that I also passed on to neighbours who remember their kids climbing those same limbs many, many years ago.
Even if you don’t have as personal of a tree story, you can still make these wood-slice coasters. Next time you see a tree trimming crew at work, ask the home’s owner if you can have a branch for a project—chances are, they will have no problem gifting you with a branch or two.
The project is simple but it will take some time to cut and sand each piece. The more time you spend getting them right, the nicer the final product will be.
Materials
- Straight branches that are no smaller than 3.5” in diameter
- Hand saw
- Sandpaper
- Clear varnish
Make it
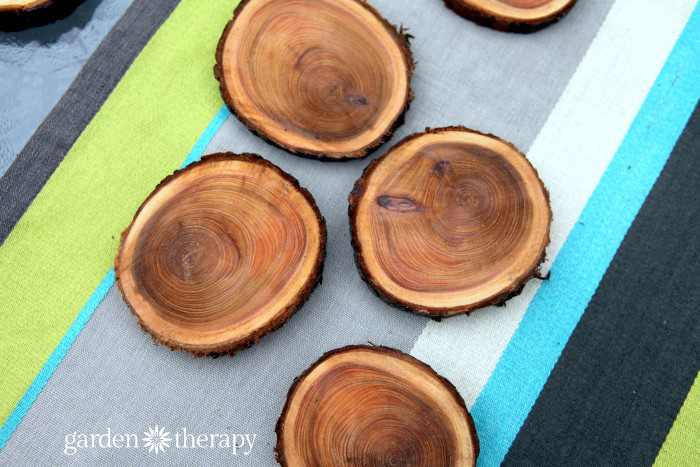
1. Using the saw, cut sections of branches that are ½” thick.
2. Sand each section with heavy grit sandpaper, and then use a finer grit to smooth out the surface. Do not sand the bark on the edges.
3. Coat the front, back, and sides with clear varnish and let dry. Untreated wood can also look beautiful as it absorbs the drips and condensation from the glasses that sit on it.
4. They’re as simple as that on the surface, but I’ve gotten many questions about how to make these. I’ve answered many of them in the FAQ section below.
")
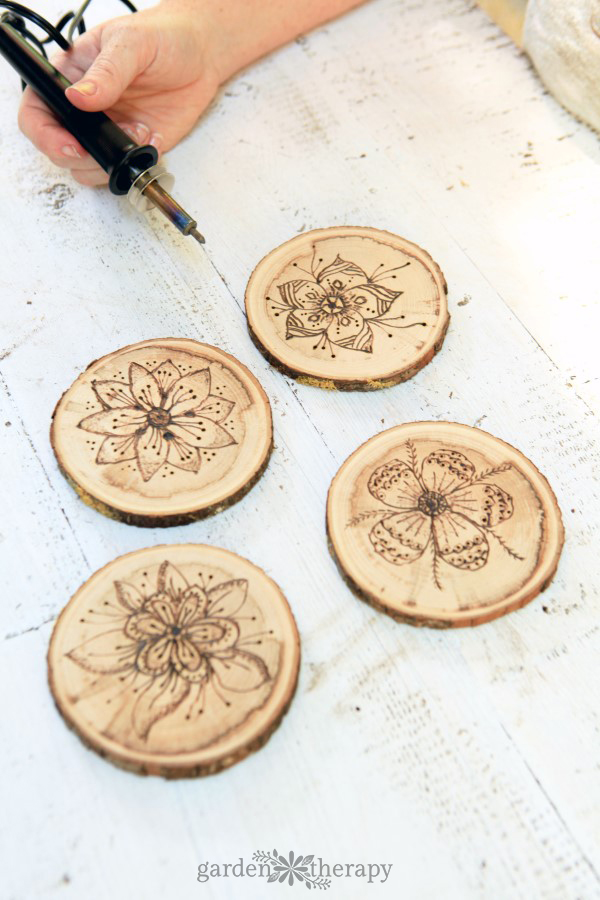
Optional: Add Designs With Wood Burning
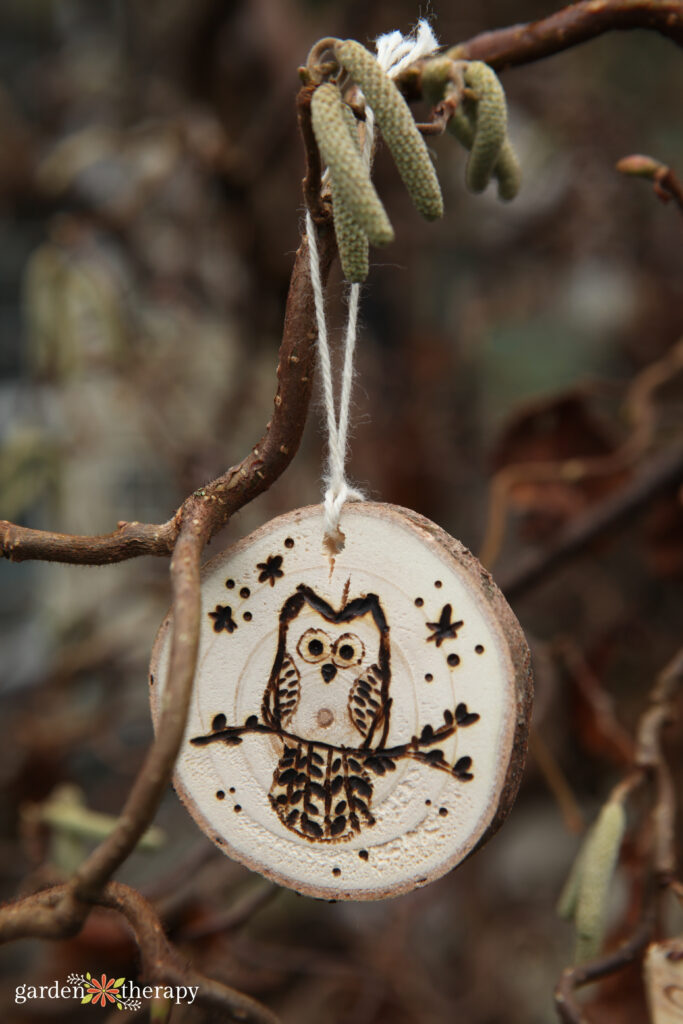
While the wood grain is beautiful on its own, you may feel like adding an extra special touch. An inexpensive wood burner, a bit of time, and creativity are all you need to create designs such as these.
See how to make wood-burned coasters in this post.
Another great option is to turn them into Christmas tree ornaments. I made these ones and hung them up both inside and outside.
FAQ About These DIY Coasters
As I mentioned above, I’ve gotten a lot of questions about these wooden coasters since creating this project years ago. I did my best to answer the most frequently asked ones here, but if you have one that’s not addressed, please leave it in the comments below!
I dried the wood slowly in a cool, dry room before cutting the coasters. Drying in a room that has limited moisture and heat allows the wood to dry slowly and helps to prevent cracking. It took many months as I put them in the basement in the fall and pulled them out the following year. I tested to see if the wood was dry but cutting an end section. Even with this process, a few cracked. I discarded those as I had plenty more to work with.
I can’t give an exact number of months to dry the wood for because it could take you more or less time depending on how wet the wood is, how fresh it is, and the area that you dry it in. The best method is to dry it until it is dry when you cut into it. Test and if it needs more time, then leave it for longer.
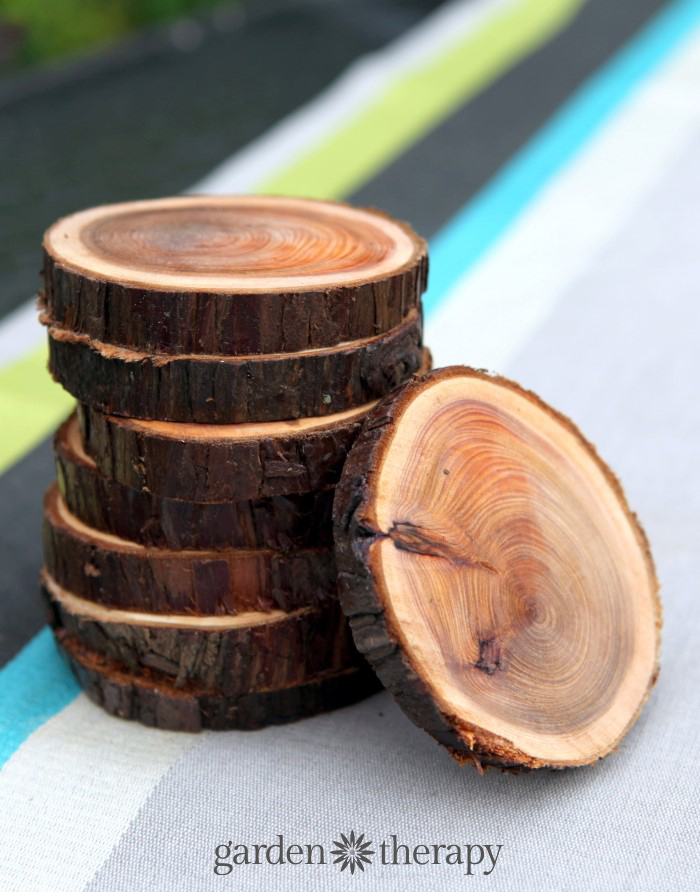
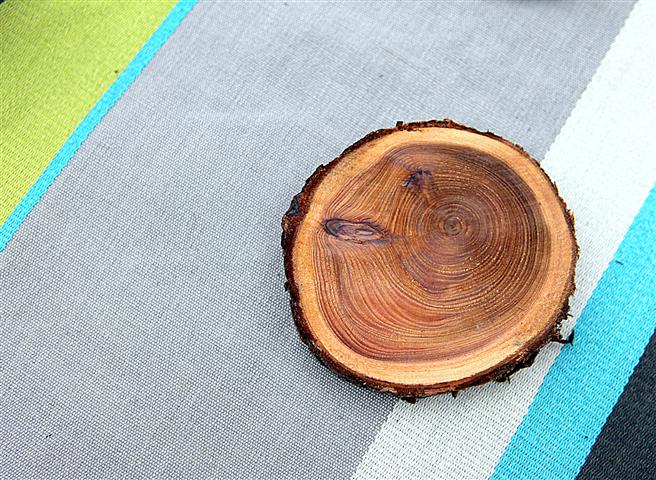
I used Varathane clear satin varnish. The varnish was labeled as clear, but it does have a honey color in the can. It made the final coasters look a little darker than the dry wood (like wet wood), which I expected and like.
No. Perhaps a different kind of wood could leak sap. But I dried the wood thoroughly and have never seen one drop of sap in 4 years of using them.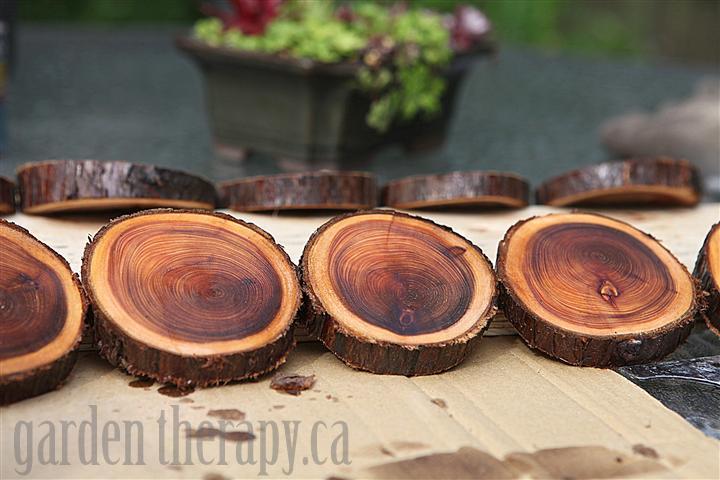
The bark stayed on due to the type of wood, Western Red Cedar. I was careful to not pull it off but it is pretty sturdy. I did varnish the sides around the bark as well.
When sanded, they are smooth, so they won’t scratch anything, and they are varnished and dry, so they don’t stain. You certainly could put felt or little feet on them if you choose, though.
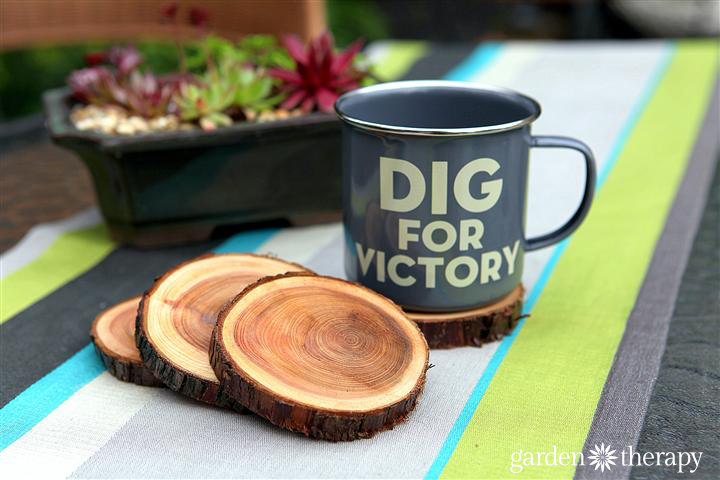
Of course, you can keep and enjoy them for years at home, as I have. However, if you have extras, these make a lovely gift! Consider gifting a set of these coasters along with a mug and a set of tea or artisan coffee.
There are plenty more ideas and tips in the comments section. Have a read over it and please chime in if you have any advice to share!
More Garden Crafts to Try
- Wood Burned Coasters with Floral Pyrography
- Wooden Ornaments: How to Dry, Design, and Seal
- What to Do With a Christmas Tree: 20 Crafty Recycling Projects
- DIY Beaded Suncatcher Mobile
- Rosemary Pressed Herb Candles
- Crafting with Air Plants and Wire
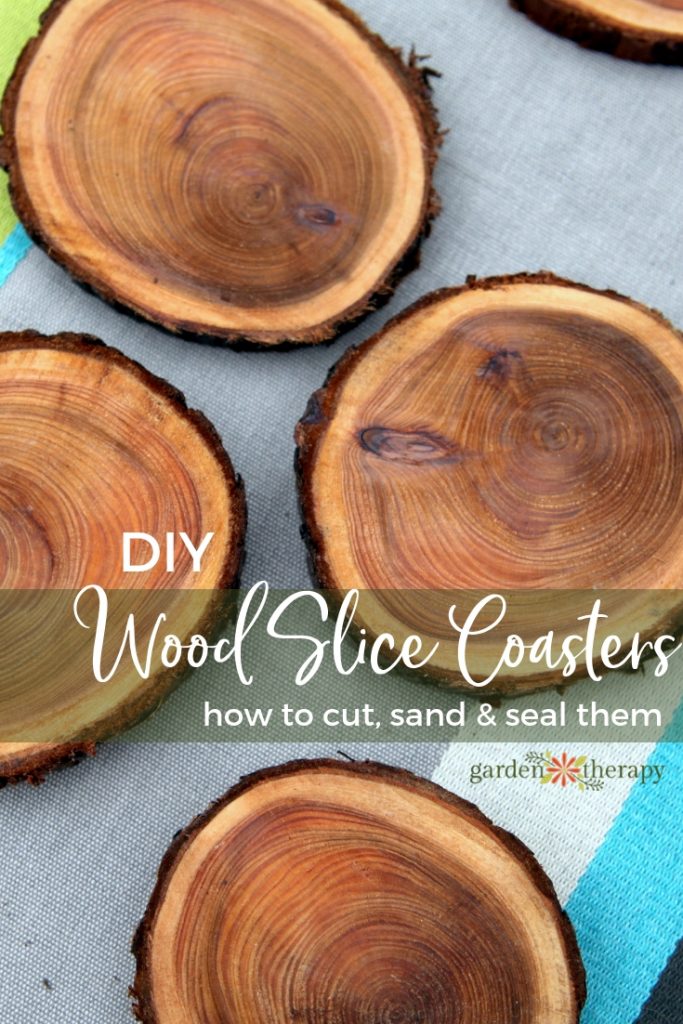
DIY Coasters from Wood Slices
Equipment
- hand saw
Supplies
- branches should be straight and at least 3.5" in diameter
- sandpaper heavy grit + fine grit
- clear varnish optional, but recommended
Instructions
- Slice branches into 1/2" thick pieces with the handsaw. Try to keep the slices as even and straight as possible.
- Sand each wood slice down using the heavy grit paper first, then the fine grit to smooth it out. Don't sand the bark.
- Wipe clean, then coat the front, back, and sides with a clear varnish. This is optional, but can prolong the life of the wooden coaster.
A city girl who learned to garden and it changed everything. Author, artist, Master Gardener. Better living through plants.


Hi there, everything I’m reading about clear varnish on dark surfaces says it dries milky in color — just like someone else’s comments above. I would prefer the honey-color in the can you show on your posting, but when I go to your link, it just goes to the milky white varnish in the can. Can you provide any further details on the color / brand you used? Thanks so much! They are beautiful!
I used varathane to get the clear varnish look. The link does keep changing based on the products online, so visit a hardware store and ask for clear varathane.
Do you dry them before finishing with the varathane?