Beautiful and delicate, clematis is an immensely popular flowering plant for many gardeners. Their vines can climb just about anything, jazzing up a boring fence or trellis. If you have purchased a new plant, this guide covers everything you need to know to give your clematis the best start and make it through that crucial first winter.
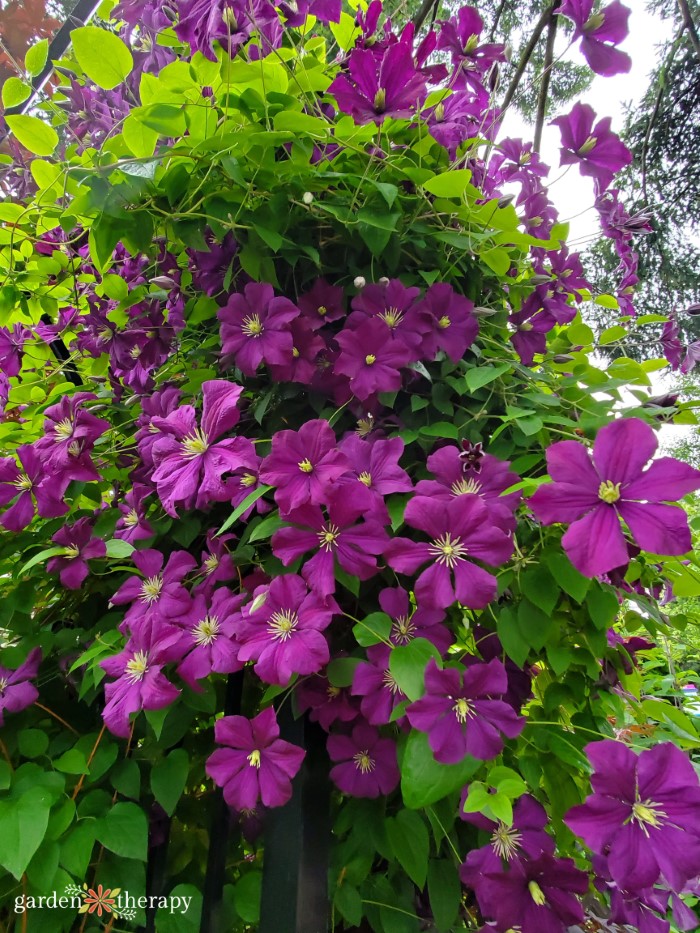
Clematis flowers are one of my favourite ways to add some whimsy and cottage-like charm to a garden. When left to their own devices, they climb trellises, other shrubs, and wooden fences to create a very wild yet beautiful look.
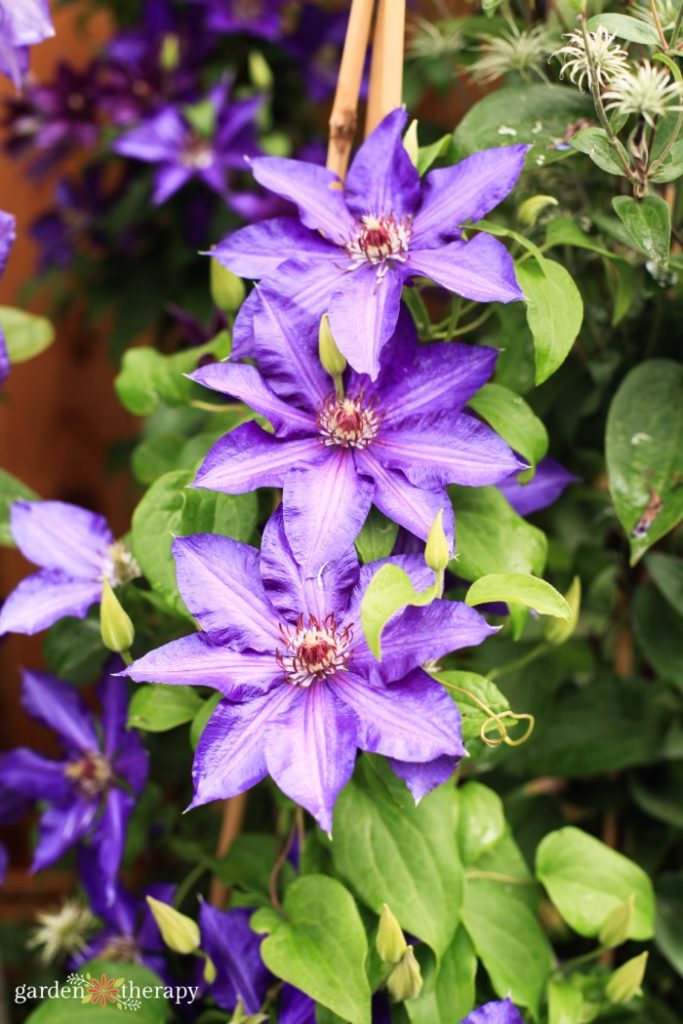
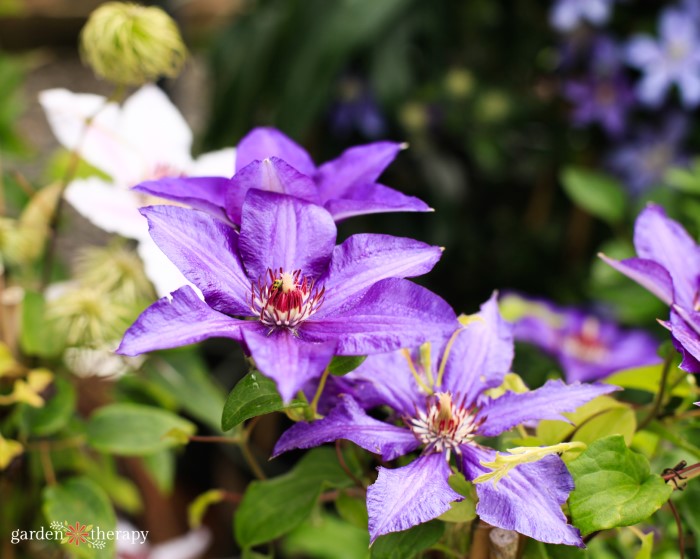
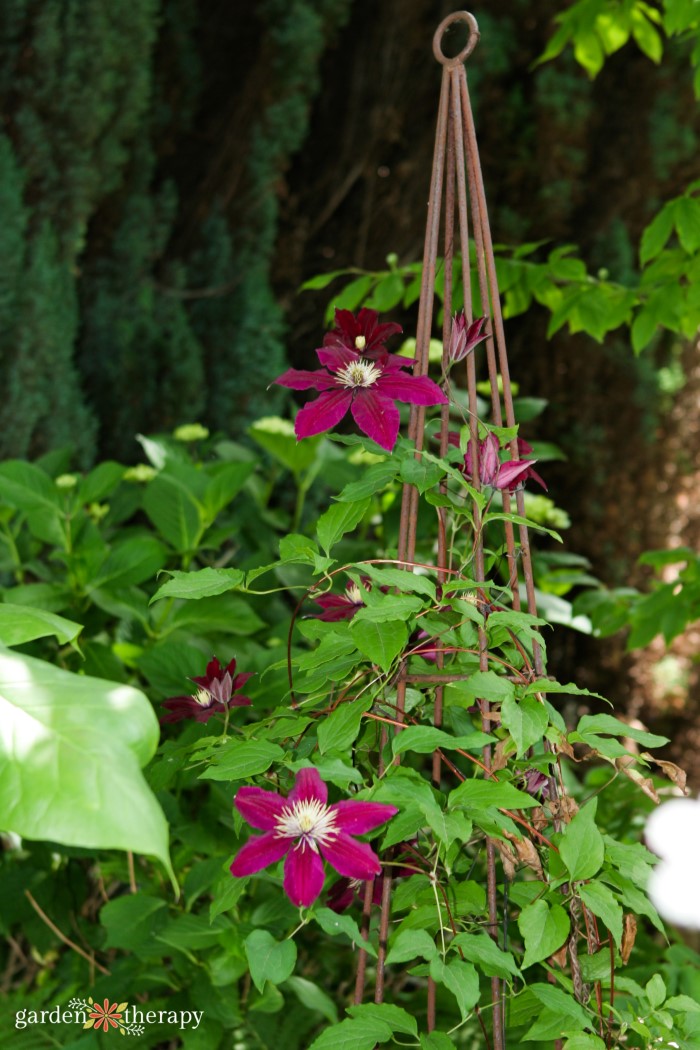
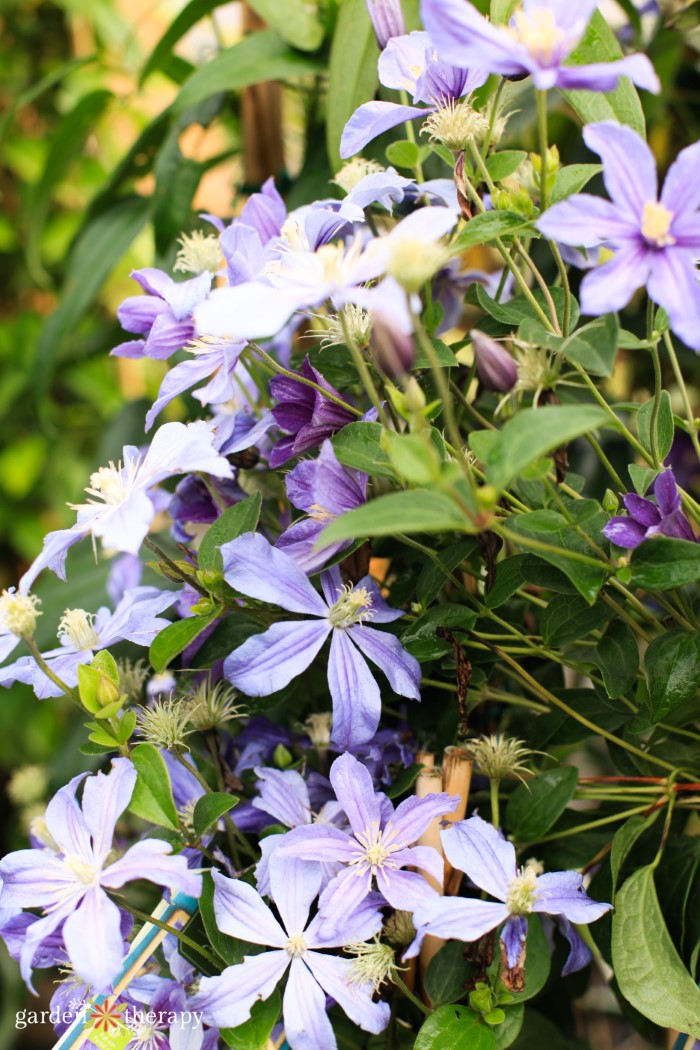
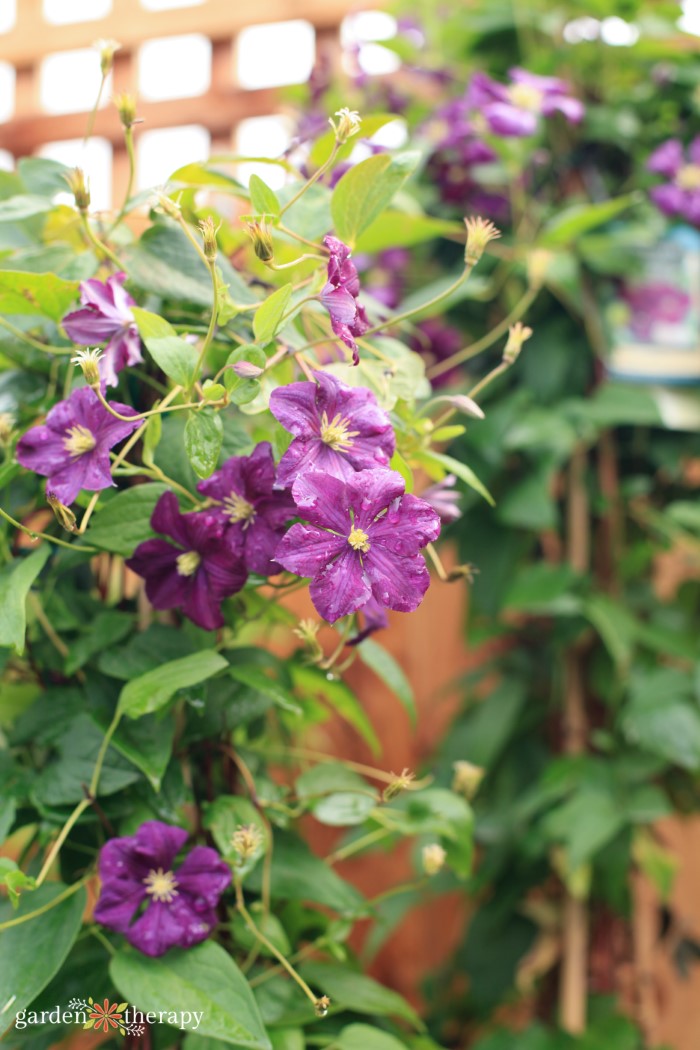
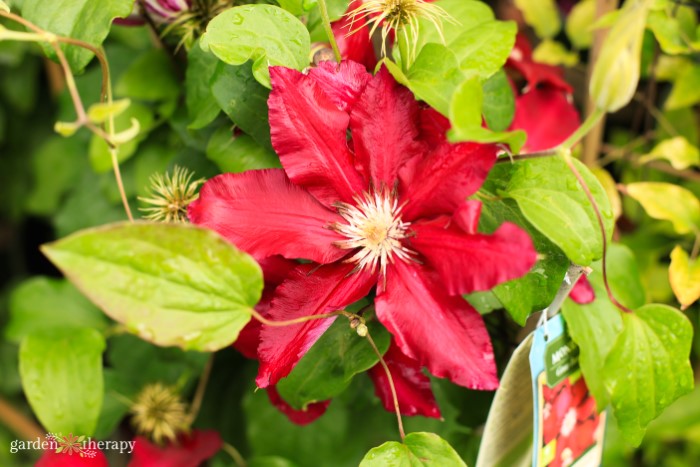
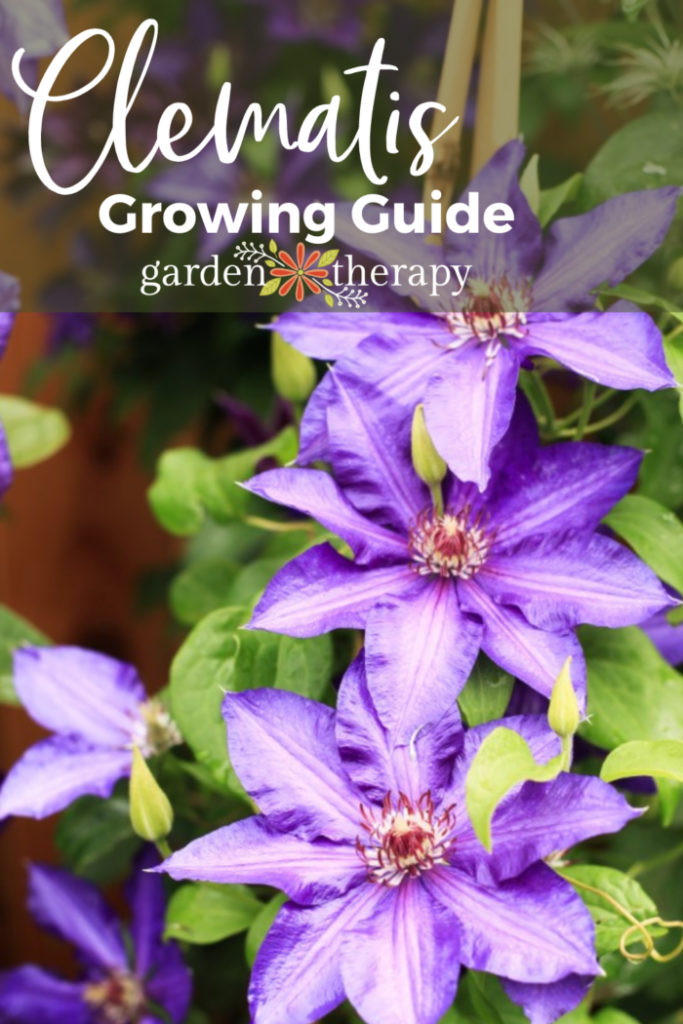
Clematis are incredibly versatile in appearance, thanks to there being over 300 varieties. Their flowers are most often purple but can come in many different hues, including white, pink, red, and blue.
Once established, they require very little care and can be left to climb and grow as they please. I love leaving the clematis flowers even once they’re done blooming, for their seed heads turn into pretty little puffs that decorate the garden well into the fall.
Let’s get into everything you need to know to plant and care for your clematis!
- Meet the Clematis Flower
- When Do Clematis Bloom?
- How to Grow Clematis
- When to Plant
- Where to Plant Clematis
- Clematis Container Planting
- How to Care for Clematis
- Light
- Water
- Fertilization
- How to Prune Clematis
- Common Clematis Pests and Diseases
- Winter Treatment for Clematis Vines
- How to Propagate Clematis
- More Flowers to Grow
Meet the Clematis Flower
Without a doubt, clematis is most known as a great climber. Their name comes from the Greek word klema, which means “a climbing plant.” You can pronounce clematis like kleh-muh-tuhs or kleh-mah-tuhs, both are fine!
Clematis symbolize ingenuity and mental beauty. This is likely related to their clever climbing abilities and how well they can attach themselves to trees and walls.
In 1569, plant collectors brought the first clematis to England from Spain. However, it wasn’t until the 19th century that today’s most popular large-flowered version came from China. Already popular in Japanese gardens, they also became immensely popular with the Victorians.
Unfortunately, wilt disease eliminated most of the commercial supply, and it wasn’t until after WWII that large-scale propagation could begin again. And as we know now, they’ve continued their popularity ever since!
There are over 300 varieties of clematis plants, with even more hybrids. They are often separated into two groups: large-flowered and small-flowered.

When Do Clematis Bloom?
Different varieties of clematis flowers will bloom at different times, but you can find them anywhere between late winter to late fall. Most varieties produce single flowers and are lightly scented.
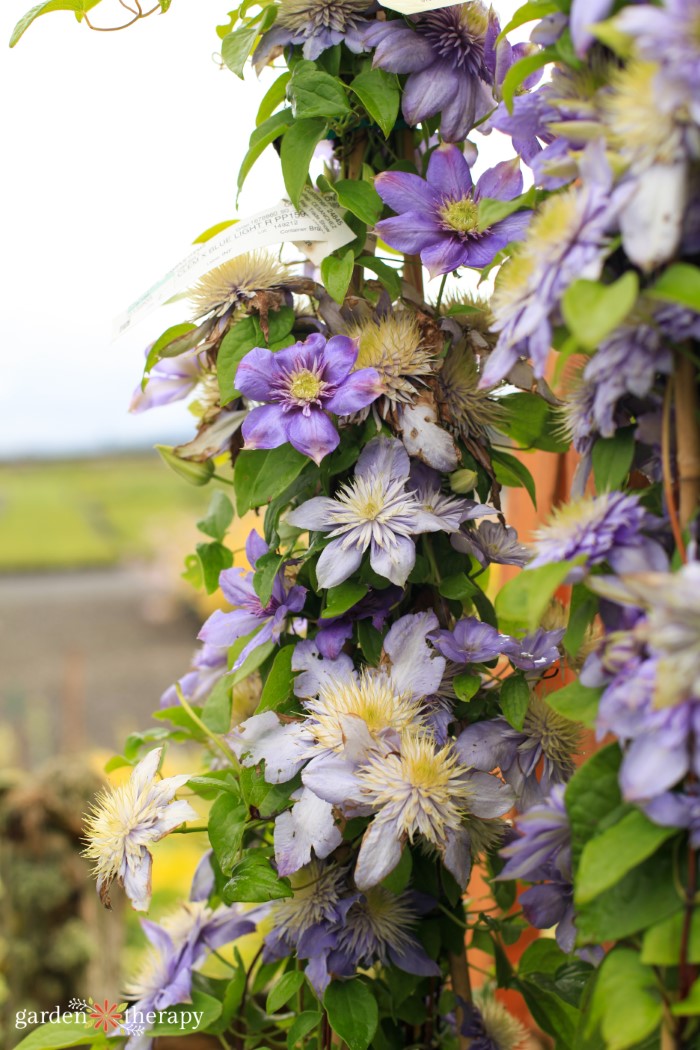
Many clematis flowers will change colour throughout the season, especially in full sun. Once the flowers have finished, pretty seed heads will stay on the plant well into winter.
How to Grow Clematis
Before you buy any clematis plants, tip the plant out of its pot and check for ‘stowaways’ and an abundance of healthy white roots. If the former is present and the latter is not, choose another plant. From the outset, you do not want to import any problems or poor plants into your garden.
Clematis are sold in taller pots for a reason. They need to be planted with the top crown of the plant around 2-3 inches (50-75mm) below ground level. This dramatically reduces the risk of wilt.
When to Plant
You can plant a clematis vine as soon as the ground is workable. Much like bulbs, they do a lot of root growth in the summer and fall in order to store energy for top and flower growth during the spring.
When planting, dig your hole and then cover the bottom with rich compost. Add topsoil to cover the compost, and then add your well-watered clematis. The stem of the new plant will need to be carefully and securely attached to a support of some kind. This plant likes to have cool roots, so you can lay stones or shallow annuals at the base.
You can add a light winter mulch in addition to the above but remember to reduce it once the ground hits +3C to encourage early growth. This is where a ground thermometer can be very useful in spring to monitor your plants.
Consider planting two different varieties together, one early-flowering and the other late-flowering, with a mid-season flowering shrub, for best results.

Where to Plant Clematis
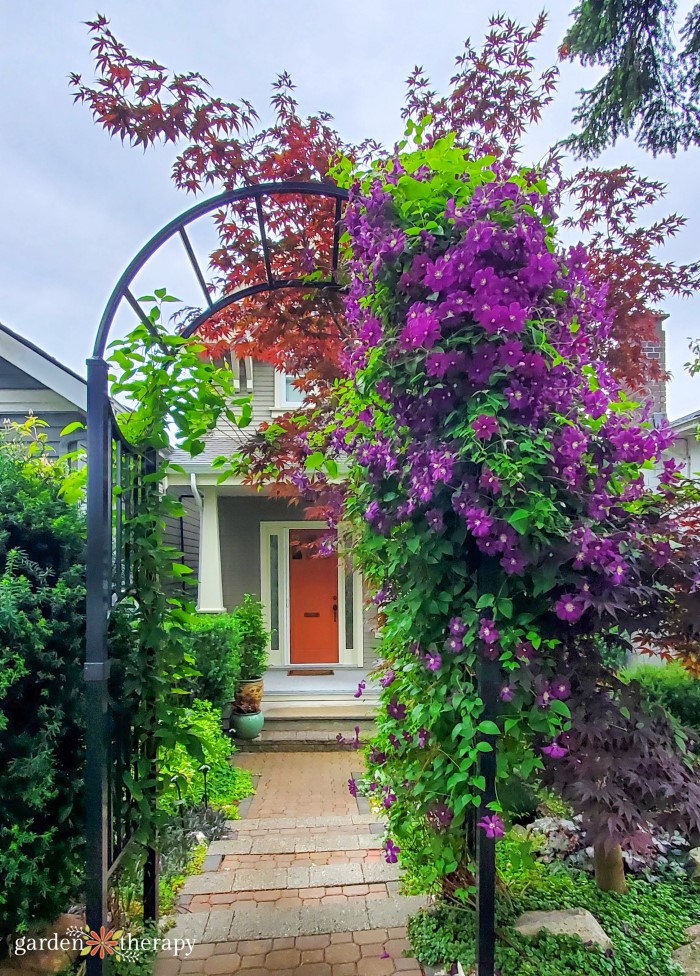
Let the climbers climb and socialize! Think of clematis as social plants that like to ‘mix it.’ They enjoy cool roots and warm, sunny foliage with friends. They are much more likely to succeed when not isolated and exposed to a lattice.
Instead, let them mingle with a rambler rose, honeysuckle, or a wisteria. In more extreme locations, plant an all-season shrub like Osmanthus to screen their base at a distance. Together, they will protect each other from damaging cold or drying winds according to the season.
If you wish to grow a vine near a masonry wall, be sure to plant it around 2 ft (600 mm) from the wall to avoid planting your latest specimen over the foundation slab, which will greatly reduce any root expansion. If your proposed clematis is one of the shorter types, say 6-8 ft, try to relocate it, as the 12 ft+ varieties, like the Montanas, do best against a masonry wall.
Clematis can be planted close to a wooden fence without a problem since their roots can easily negotiate the posts. However, try to avoid planting clematis roots immediately beneath a treated fence, as the water run-off can be a source of contamination.
Without a doubt, the best place to locate a clematis is to allow it to run through another shrub or ornamental tree. In the photo below, Clematis Perle d’Azur can be seen growing through its protective Pittosporum support.
Clematis Container Planting
If you want, you can even grow clematis plants in containers with a little bit of special care. First, choose a container that is a minimum of 18” wide, high, and deep. You will want to avoid any type of container that conducts heat (metal, black in colour) as they like to keep their roots cool.
Plant using potting soil. This will help the plant to retain moisture but will also ensure it is getting enough drainage.
And like any vine, it will need support. Place your container against a wall or trellis, or use bamboo stakes to let it stand on its own. Here’s how you can build a beautiful woven bamboo trellis – the perfect spot for your new plant!
How to Care for Clematis
Now that you’ve planted your clematis, you’re going to need to take care of it! Here are the important things you should know in order to have a happy and healthy plant.
Light
Let the light shine on your clematis. They require at least half a day of full sun or strong filtered light in order to bloom. Try to ensure the area above the roots is shaded during the hottest part of the day, as they do like to keep cool roots. However, avoid using a dark slab over the roots as this can heat up quickly and reduce air and rain to the plant.
Warmer climates that have long growing seasons with hot temperatures can plant a clematis in partial shade. Colder climates with shorter growing seasons, however, should adhere to the above.
Water
Since clematis plants have such deep roots, you will want to water them thoroughly in order to reach them. They require regular watering, especially when conditions have been especially dry.
Fertilization
In the spring, you will want to give them an initial dose of low nitrogen fertilizer when the buds are approximately 2” long. Afterward, alternate feedings with a balanced fertilizer until the end of the growing season.
How to Prune Clematis
There are a few things to note when pruning your clematis plant. In the spring, you will want to prune stems until the lowest pair of healthy buds. Then, you can prune to control the size and shape of the plant.
Clematis flower stems that are four years or older will have fewer and fewer blooms. You can periodically prune old stems in the spring to help encourage compact flowers. Feel free to remove dead or damaged stems whenever necessary.
Do not consider the weight of a growing clematis on other plants. Overall, they are not heavy vines and can grow through a host with very little damage.

Common Clematis Pests and Diseases
When it comes to clematis care, the most common thing you will see is something called clematis wilt. While lots of blooms on delicate-looking stems make for a beautifully dainty plant, it is also its downfall. If the plant is not securely attached, stems may break, and fungi can grow in the wounds. This causes clematis wilt.
This problem most often occurs when the plant is young, and the flower buds are just beginning to open. If clematis wilt occurs, the best thing you can do is immediately remove the affected areas. Next, trim one inch further from the affected areas as the fungus can remain in healthy-looking areas of the plant.
As far as pests go, slugs and earworms are the main concern. Slugs prefer young shoots and will attach in the spring. Earwigs come midsummer and can damage late-flowering clematis overnight. Mix up a natural pest control spray using mixed herbs and vegetables to keep them deterred.
Winter Treatment for Clematis Vines
There is one important step to take to ensure your new clematis plant gets through the winter. Usually, people buy clematis in the spring or early summer and then leave it alone in the autumn. Then, they expect the plant to grow and be bigger and better the following year. However, that’s a big mistake. A young rootstock can exhaust itself by trying to keep the whole plant alive during a long winter.
Instead, here is what you will want to do to give your new plant the best chance of success. During the autumn, after flowering, chop your plant down to between 12 and 18″ (30 – 45cm). Then, ensure the remaining stem is supported off the ground.
That’s it! The young rootstock will save its energy for the winter ahead. Repeat this again for the second winter after purchase. By the third year, the rootstock should be mature enough not to require a third successive autumnal chop.
Clematis plants do need a dormant period in order to grow their best. To reach dormancy, a nightly temperature of 7.5 degrees Celsius for a week is necessary. Afterward, the plant should be in dormancy for approximately six weeks.
How to Propagate Clematis
Propagating clematis is a little different than your average plant. Stem cuttings are the easiest way to propagate the delicate vine, but remember that not all will root successfully. You want to take all cuttings from an established vine that is two or more years old. You can take these cuttings anywhere from late spring until the end of summer.
Follow these steps to propagate your clematis vine:
- Find a vine to cut. You want one that doesn’t have any flowers or buds and is fairly long. This way, you can divide the stem into at least three cuttings. Aim to take a softwood cutting a few weeks into the growing season when it is not too new or too tough.
- Make your cutting above a leaf joint, the area where the two leaves are growing from. Place your cutting in a damp paper towel to avoid shock.
- Using a very sharp knife and a cutting board, you will make your first cutting. Cut an inch above the leaf joint, 2 inches below the leaf joint, and then cut off one leaf so you’re left with only one.
- Dip the cutting in rooting hormone. Use a pencil or your finger to make a hole in your potting soil. Carefully insert the stem into the hole and fill it up with soil. Ensure your cutting has enough support
- Repeat the steps until you have a few cuttings.
- Water your cuttings thoroughly.
- Cover your seedlings with a clear plastic bag to keep the plants humid. Don’t let your cuttings dry out.
- Place your cuttings in a warm area out of the direct sun.
With a little love and attention at the beginning, you’ll enjoy this lovely climbing vine for years to come.
More Flowers to Grow
- How to Grow Lilacs for a Fragrant Spring
- Hooray for Hellebores! Read All About these Elegant Evergreen Beauties
- 10 Fragrant Flowers for a Heavenly-Smelling Garden
- Echinacea Guide: Planting, Pruning and Caring for Coneflowers
A city girl who learned to garden and it changed everything. Author, artist, Master Gardener. Better living through plants.


My clematis had many beautiful flowers for three or four years and this year more leaves than flowers. Everything is the same as far as its location, etc.