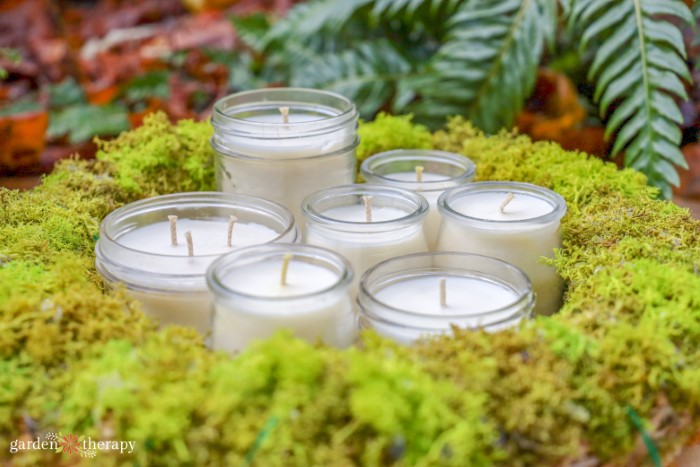
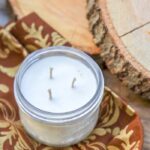
No candle feels quite as luxurious as a 3 wick candle. They’re a must-have for anyone who lights candles regularly! Make your own 3 wick candles this holiday season or add some ambiance to your house during the winter with these hacks and tips.
Is lighting a candle before a bath a part of anyone else’s ritual, or is that just me? Or what about before watching a movie during the cozy season? The second the temperature drops, suddenly, I’m lighting candles left and right.
I’m very sensitive to scents and other funky stuff inside store-bought candles. They can make me sniffle, sneeze, and give me dreaded headaches. But that doesn’t have to stop my love for candles!
I make all of my own candles, and it’s so so simple to do. I always include natural scents from essential oils and pretty additions like herbs or crystals. They’re natural, beautiful, and symptom-free.
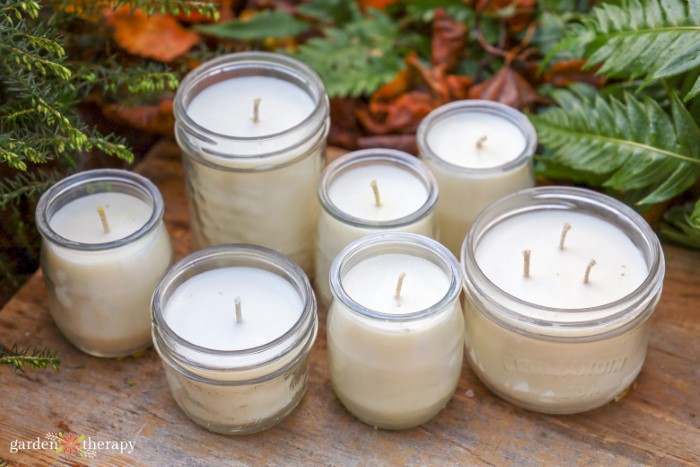
If you’ve never made a candle before, you can jump right into 3 wick candles with no problem. When choosing to do a 3 wick vs a single wick candle, remember that 3 wick candles will require more materials and, therefore, can be a little more expensive.
But! They have a much longer burn time since they burn the wax all the way to the edge. They’re such a lovely gift, or you can be like me and add them to your candle hoard.
This post will cover…
- Choosing a Wick for Your 3-Wick Candle
- How to Set Wicks
- How to Make a 3-Wick Candle
- Burning 3 Wick Candles
- How Long Does a 3-Wick Candle Last?
- More Candle-Making Projects to Try
Choosing a Wick for Your 3-Wick Candle
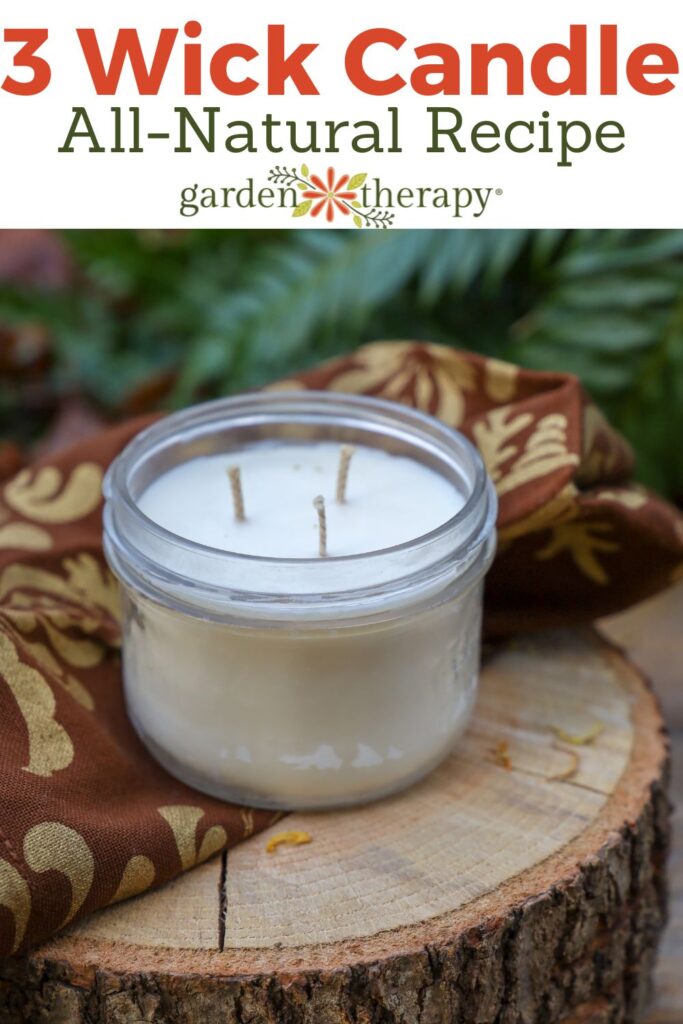
Your wick size will vary greatly based on your container size. A 3 wick candle size tends to be anything 4-12 inches in diameter. Anything less, you’re looking at 1 wick. In most cases, I use three HTP 104 – 65 2.5 wicks for my 3 wick candles.
The right size wick will allow the candle wax to burn to the edges without being too large, which would cause the candle to smoke. Test different size wicks to see if that improves the results.
If the wick disappears into the pool of wax, the wick diameter may be too small for the candle. Use a larger diameter wick next time.
How to Set Wicks
You can purchase a few different types of wicks: cotton, wired, waxed, and wood (learn about the differences). In most cases, you will want to have a metal tab to the bottom of the wick. This will help weigh down the wick while making your 3-wick candle.
If required, assemble the wick with the metal tab on the bottom. For a cotton wick, thread it through the hole in the metal tab and clamp the hole shut using pliers. Trim the excess wick from the bottom of the tab so that it sits flat at the bottom of the container.
Add the wick to the container with a dab of hot glue or wax adhesive on the bottom of the tab. Press it firmly to the bottom center of the container. If you can’t reach your fingers into the container, use a straw or a pen casing (with the ink removed) to press it down firmly.
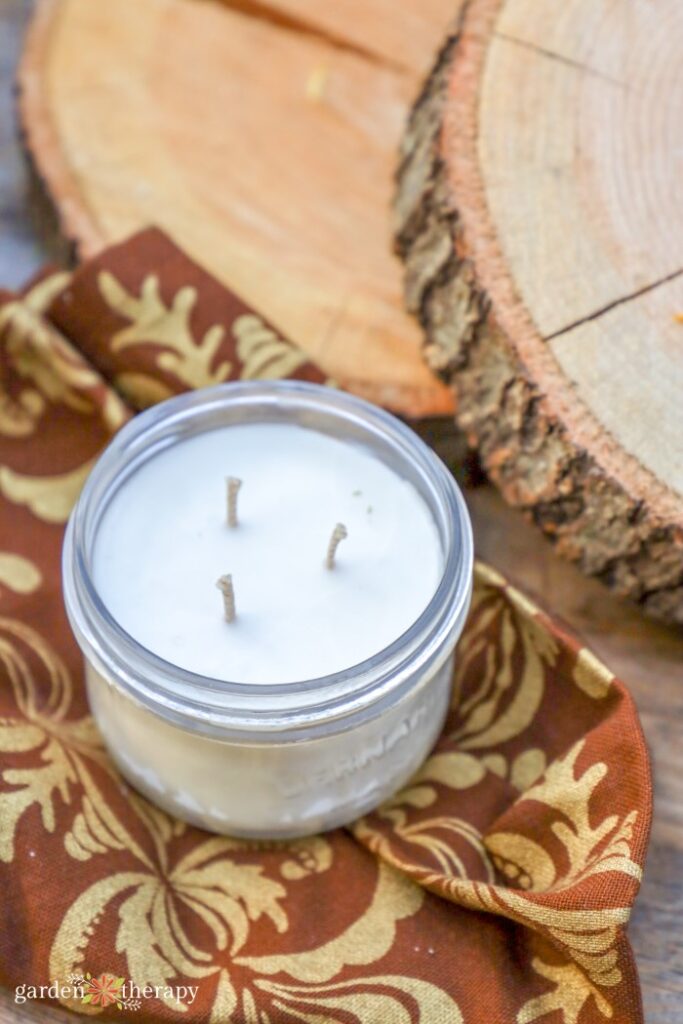
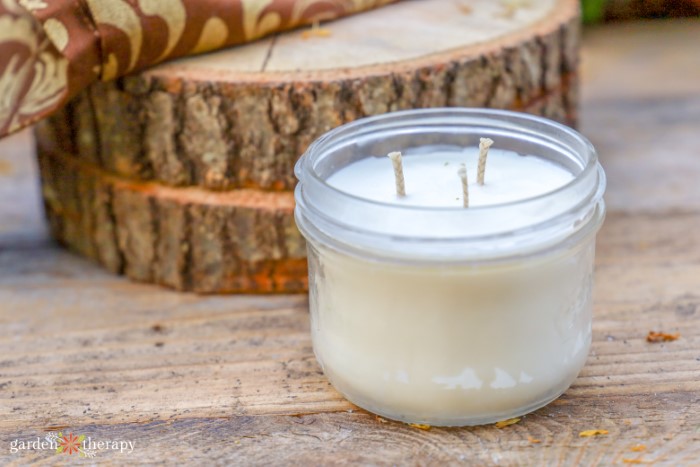
Mastering the 3-wick candle placement is also essential. The wicks should be placed in a triangle around 1 inch apart. Centering templates can help guide you to a perfectly placed wick each time.
How to Make a 3-Wick Candle
Measure your wax, so you have enough to fill your container. I usually use soy wax, but you can also use paraffin or beeswax. Melt in a double boiler over low heat.
While the wax melts, prepare your containers and wicks using the above method for setting wicks.
When the wax is ready, carefully pour it into your containers. After you’ve poured the wax into the container, I recommend using something to hold the wick in place while the wax cools. Usually, I reach for a chopstick or a clothespin.
Cracks in the candle can happen if the wax cools too quickly or if it is left in a cold room. You can heat the container on a candle warming pad before pouring the candle and cool it slowly to prevent wet spots.
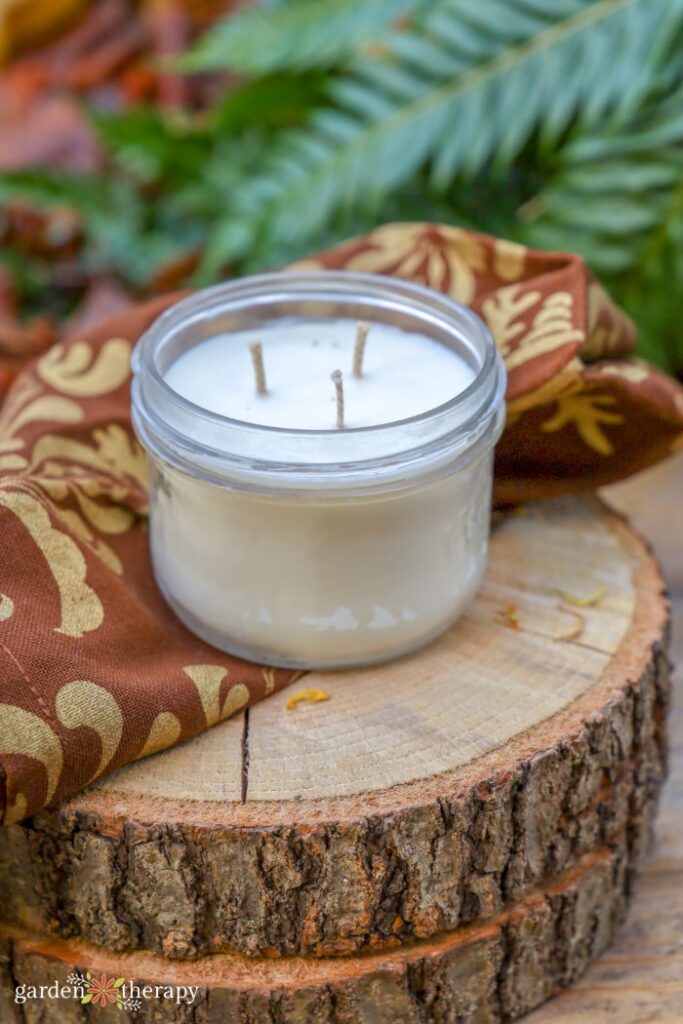
Once the candle is set, trim the wick to ¼” long to avoid excess smokiness and an even burn.
If you want to make a scented candle, check out my instructions on adding scent to candles. And if you want to add colour to the candle, see these tips!
Check out the recipe card below to see exactly how I made my 3-wick candles.
Jump to Recipe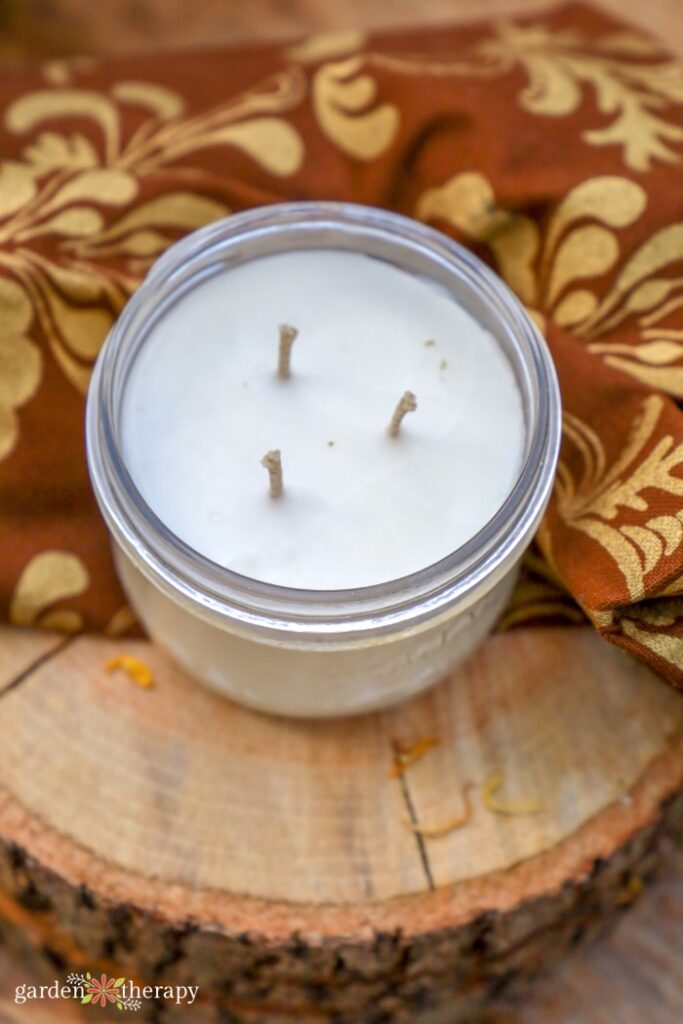
Burning 3 Wick Candles
I’ve heard a few people ask, “Do you light all 3 wicks on a candle?” Yes, you do! Three wick candles are designed to be lit all at once; you do not let one wick burn down before you light another one.
Then, people ask how to light a 3 wick candle. Personally, I like to use a BBQ lighter. Since you have three flames rather than one, it can be difficult to light a candle safely with something shorter, like a lighter or a match.
I’ve also seen a trick on TikTok where you light one wick and tilt the candle so that you use the one lighted wick to ignite the other three. While this does work, the wax melts pretty quickly and can run down the container’s side, so be careful! However, the hack can be helpful in tight containers with no BBQ lighter.
Also, the first time you burn the candle is the most important. You want to burn the candle evenly and let the wax completely pool across the top of the candle before extinguishing the flame.
This will help ensure it burns this way each subsequent time afterwards. Sometimes, this can take 3-4 hours, so make sure you have the time to burn the candle this long!
How Long Does a 3-Wick Candle Last?
In most cases, candles burn 5-7 hours per ounce. But when you have 3 wicks, you’re actually increasing the burn time, even if it’s the same number of ounces as a one wick candle.
Why are 3 wick candles so much better at burning slowly? Well, the wax never tunnels straight down to the center. Tunnelling is when you’re left with so much unused wax on the edge of the candle. Gone to waste!
In 3 wick candles, the wax is hot enough from all three evenly spaced flames to pool across the top of the candle. 3 wick candles burn all of the wax and increase the burn time.

In the case of 3 wick vs 1 wick candles, I’ll always be team 3-wick! I just love lighting a large candle at the end of the day and can always appreciate the incredible flicker and slow burn time. Let me know how well your 3 wick candle goes in the comments below!
More Candle-Making Projects to Try
- How to Safely Make Candles with Dried Flowers
- Make Your Own Healing Crystal Candle
- DIY Pressed Lavender Candle
- How to Make Citronella Candles
Homemade 3 Wick Candle
Equipment
Supplies
- 1 4" container
- 5 oz soy wax for container candles (140 g)
- 3 HTP 104 6" waxed and wired wick with tab
Instructions
- Measure the ingredients. Melt the wax in a double boiler.
- Place the three wicks in a triangular formation at the base of the candle. Attach with wax adhesive or hot glue.
- Pour the wax into the container. Hold up wicks with a clothespin or chopstick. Let the candle sit untouched until cooled.
- Allow the candle to harden, then trim wicks to 1/4". Light and enjoy!
A city girl who learned to garden and it changed everything. Author, artist, Master Gardener. Better living through plants.