Late summer means blackberry season! There’s nothing like a plump, juicy, sun-warmed blackberry straight off the plant, but if you have too many blackberries to eat fresh, first stop and thank your lucky stars, and then make a batch of this yummy jam. You won’t believe the punch of flavor in this extremely easy wild blackberry jam recipe with two options: low sugar or sweetened with stevia /sugar-free.
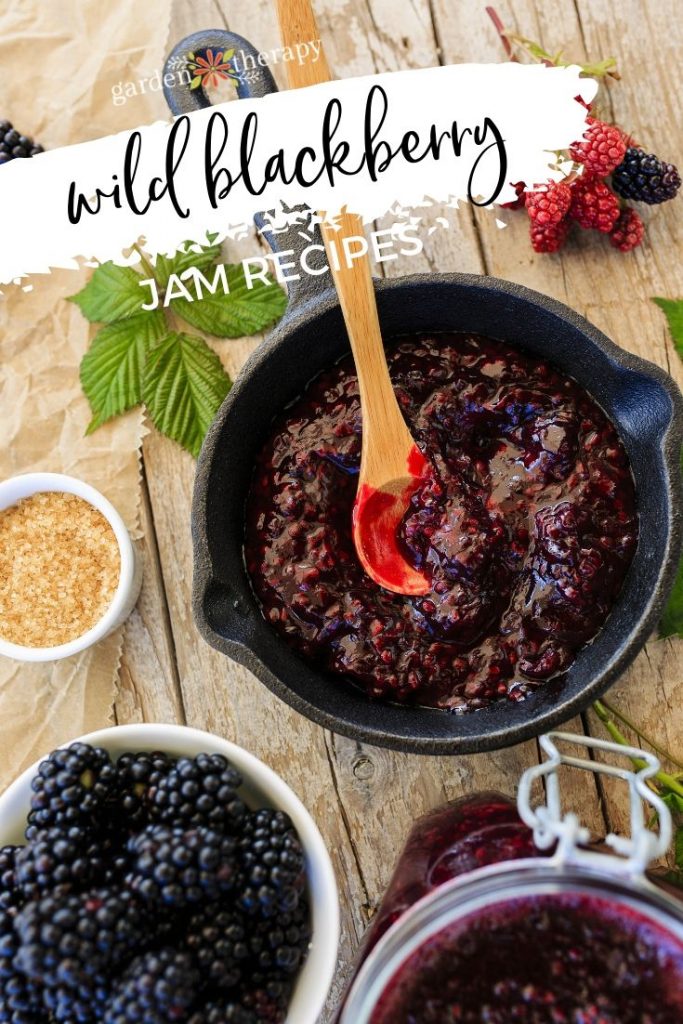
Low Sugar Blackberry Jam Recipe for Canning
I’ve been making this recipe for gift-giving for many years. This recipe was originally shared here in 2012 but you can see that I have a label on one of my photos for 2010 – I’ve been canning it annually for a looooong time!
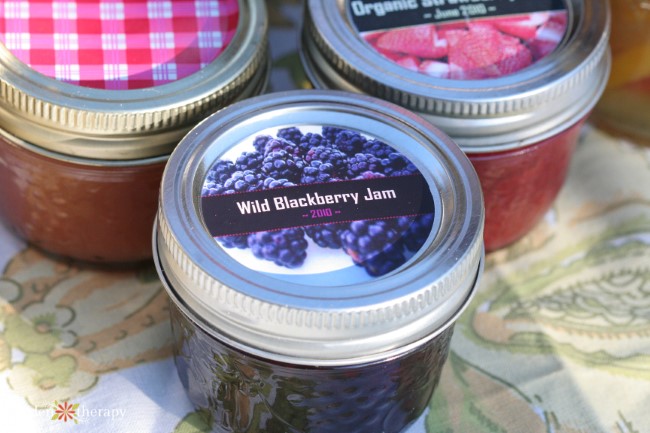
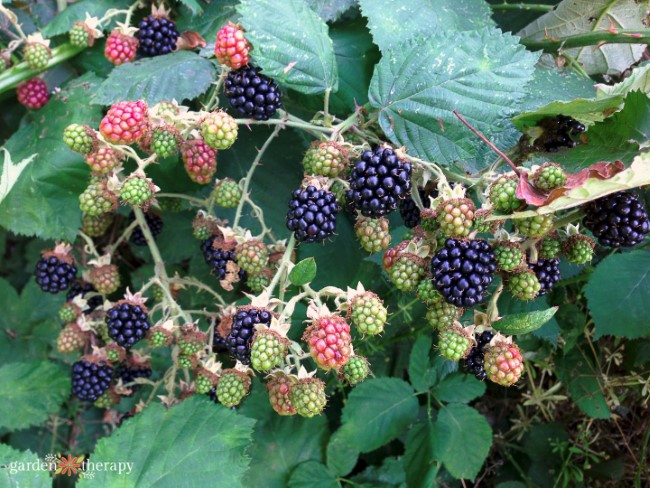
I have a favourite spot for collecting blackberries and I often have more than I can ever use. The low sugar recipe has half the sugar of berries and so before you say, WHAT!? That’s written correctly. Normally a jam recipe has equal or more of the amount of fruit to sugar (yikes), but I truly have always preferred the natural flavor of the fruit to come out more. That’s what makes this low sugar version so thick and decadent. It’s packed with fruit and oh so delicious. It also has the proper ratio of ingredients to be canned and stored in a pantry.
Ingredients
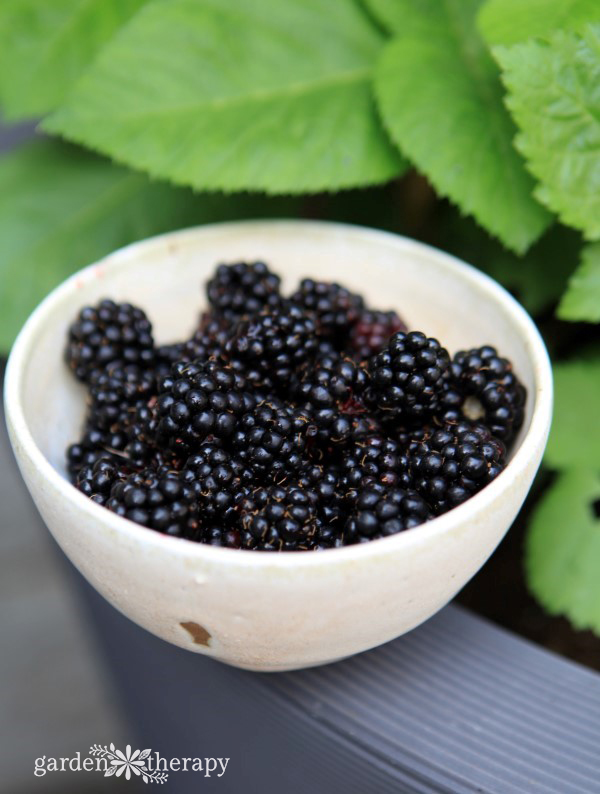
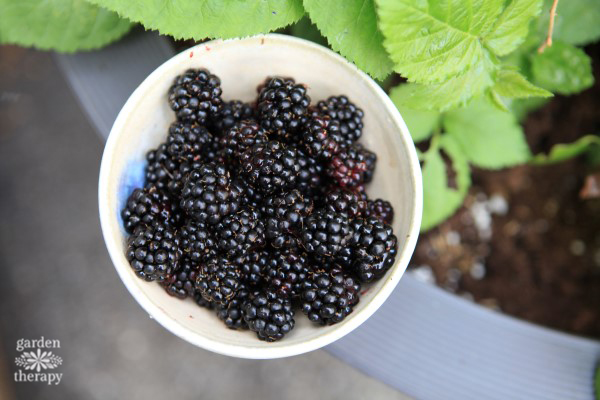
- 8 cups fresh wild blackberries
- 4 cups sugar
- 2 tablespoons lemon juice
 Make it!
Lightly rinse the berries and put into a large pot. Mash them up a bit with a potato masher or fork. Add sugar and lemon and bring to a boil. Reduce to medium low and keep it bubbling lightly until the liquid cooks down to the thickness you desire. I cooked mine for 3 hours, stirring occasionally, to get a really thick final product. This jam will sit piled up on a cracker if I want it too.
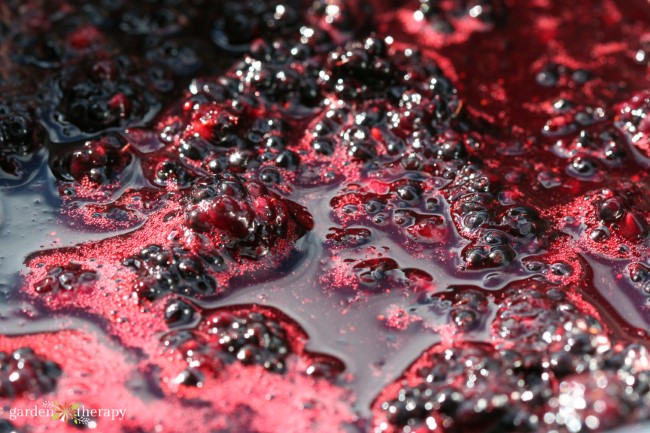
Ladle finished jam into 12 clean, sterilized 125 ml (1/2 cup) canning jars or 6 x 250 ml (1 cup jars; called 1/2 pints in the US). Process in a boiling water canner for 10 minutes for the small jars and 15 minutes for the large jars. Store for up to a year in a cool, dark place.
Sugar-Free Blackberry Jam Recipe with Stevia
More recently, I gave up sugar altogether. I think what I missed the most was enjoying my fresh, homemade jams. With so much sugar added, I just couldn’t justify eating it any more. I tried a number of different recipes with other sweeteners, and overall I don’t tolerate nor do I want to consume any sweeteners other than stevia. Stevia to me is more of an herb than a sugar, and with beneficial properties for health and the ability for me to grow it in my own backyard, I’ve become a huge fan. See how to grow, harvest, and use green stevia here.
This recipe can be made with some liquid stevia to augment the flavor of the natural fruit, but it is truly a more tart fruit spread than what would be considered “jam.” It also can’t be preserved in boiling water bath so please use it within a week and keep it refrigerated, or freeze more jars to use throughout the year.
Ingredients
- 8 cups fresh wild blackberries
- Liquid stevia to taste
- 2 tablespoons lemon juice
Make it!
Lightly rinse the berries and put into a large pot. Mash them up a bit with a potato masher or fork. Add lemon and bring to a boil. Reduce to medium low and keep it bubbling lightly until the liquid cooks down to the thickness you desire. Mash the berries until it becomes more like a jam, and start adding liquid stevia to taste. I add a few full droppers full, stir well, and taste. Some berries are sweeter than others so the amount you add can vary quite a bit. Continue adding stevia until it’s sweet enough for you.
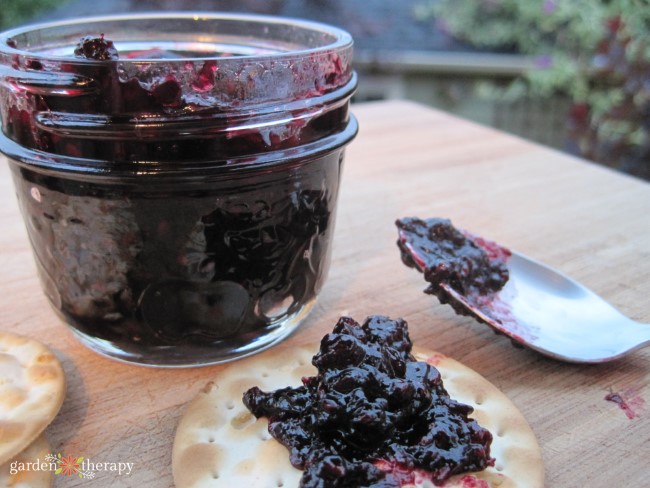
Ladle finished jam into 12 clean, sterilized 125 ml (1/2 cup) canning jars or 6 x 250 ml (1 cup jars; also called 1/2 pints in the US). Use within 7 days and freeze what will be store for later use.


Looks delicious! My blackberries are very seedy. Is there a way to remove the seeds, but still keep some pulp? I’d like to make jam versus jelly.
Thanks!
Jennifer
What can I do to can the stevia sweetened jam?