Chives are a prolific perennial herb in the same family as garlic and onions. They have a mild onion flavor that signals spring for me. They are some of the first greens to be ready for harvest in the spring and the thin, delicate leaves are a perfect addition to the sweet taste of the young lettuce leaves harvested at the same time of year. As the season goes on, the chive leaves get taller and a bit tougher (although not unpleasantly so) and they send up a thick scape (flower stalk) that blooms a delightful purple pom pom flower. I love to use chive blossoms to make this beautiful amethyst-hued vinegar, which has become a spring and summer staple in my household.
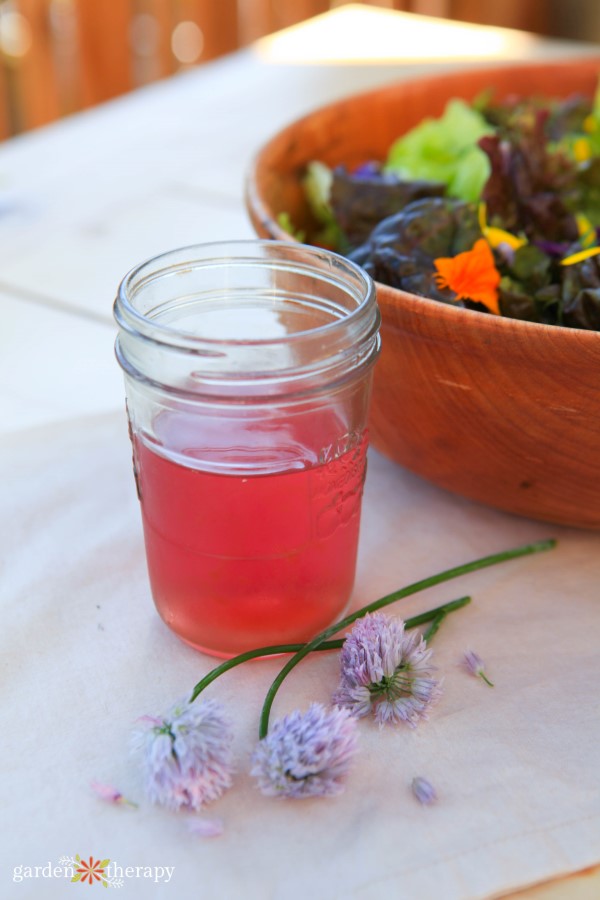
Growing Chive Blossoms
While many people cut their chives back regularly throughout the growing season to encourage new growth, I like to let the chives flower. You probably know by now how much I love edible flowers, and chive blossoms are one of my absolute favorites.
Chive blossoms are wonderful for many reasons. They look decorative in the garden. They’re attractive to pollinators and beneficial insects. They’re edible and taste like a milder version of the green part of chives. And when you harvest at the right time, they impart a beautiful lavender hue to recipes. Making chive blossom vinegar is a great way to preserve these beautiful blooms while making something that tastes delicious for your spring and summer salads.
Harvesting Chive Blossoms
Harvest the flower stalk of the chive blossom at the base of the plant by cutting it, and then cut the flower head off just at the top of the stem. Discard the stem and shake any garden friends and soil off of the blossom. You can wash the flower heads if you prefer this over the “shaking off bugs” method. But chives and the rest of the onion family are a strong deterrent to pests and so they rarely have any unwelcome guests to remove.
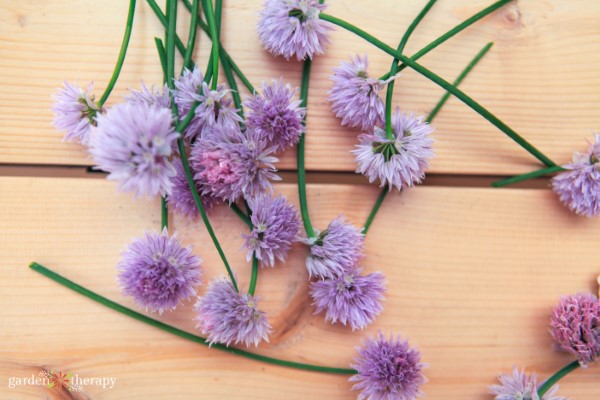
If you want to keep the blossoms for a few weeks or months before making vinegar, then pop the clean, dry flowers into a freezer bag and store them in the freezer for up to 6 months. When they thaw, they will be a bit softer but they will still be fine to use to make vinegar (or add to soups and stews).
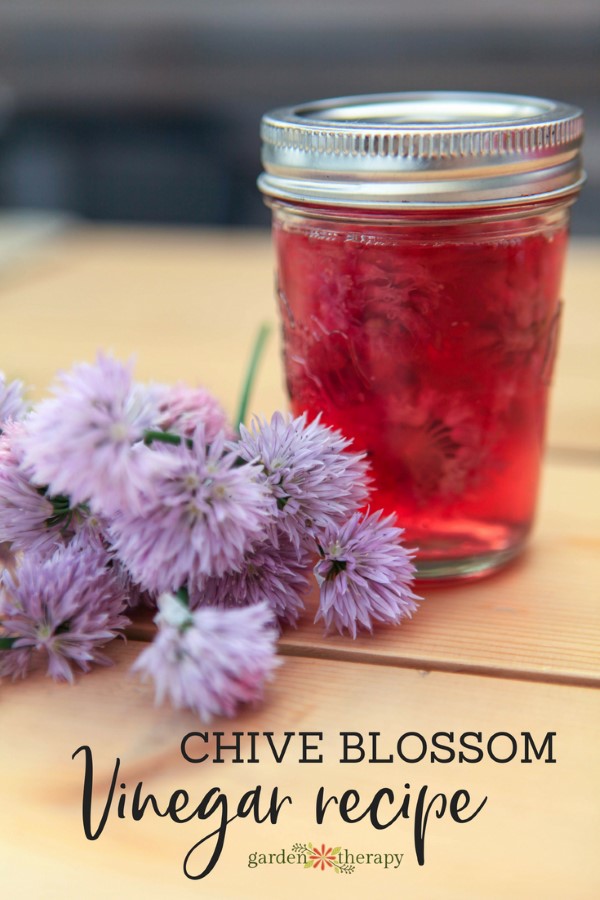
How to Make Chive Blossom Infused Vinegar
Add chive blossoms loosely in a 1 pint Mason jar. Pour white wine vinegar over them and fill up the jar. Add a lid and set in a cool, dark place. After two weeks, strain the vinegar and use it to make vinaigrette.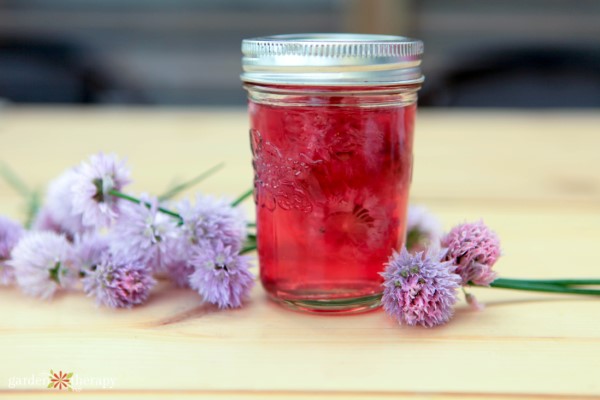
RELATED: For more recipes on infusing vinegar with herbs go to this post where I have detailed instructions on making three different types of herbal vinegars.
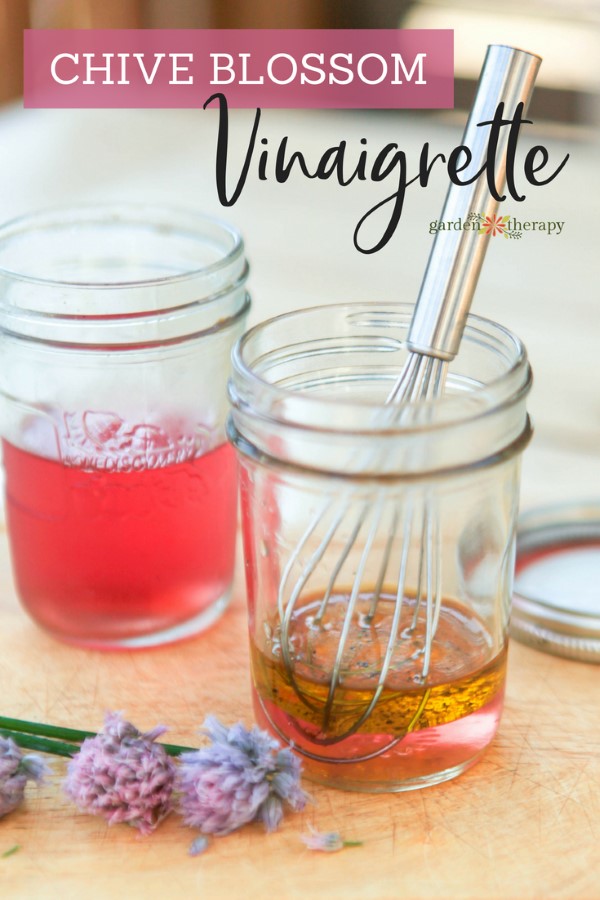
Chive Blossom Vinaigrette Recipe
Ingredients
- 3 tablespoons good quality extra-virgin olive oil
- 2 tablespoons chive blossom vinegar
- Salt and pepper to taste
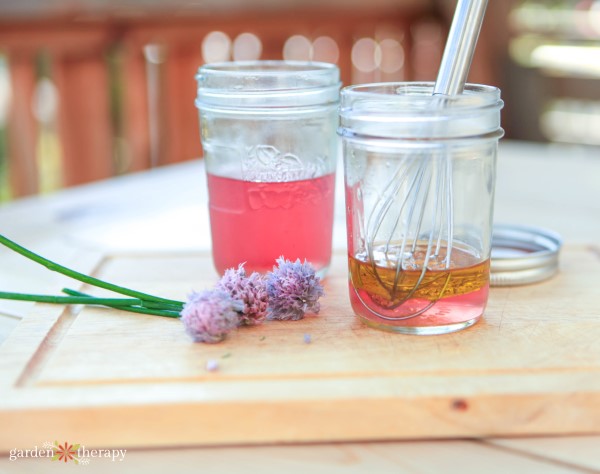 Make it!
Add all of the ingredients into a clean Mason jar. Add a lid to the jar and shake it up. No, I mean really get your frustrations out on it and shake it like crazy. That way you help to emulsify the oil and the vinegar so it doesn’t separate. Note: you can also use a blender or a whisk. But that isn’t nearly as fun, is it? Plus, there is more to clean up. And I would rather be out in the garden than washing dishes.
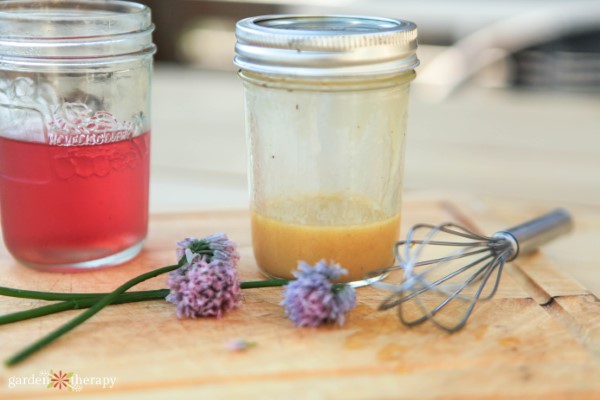
Add it as dressing to this Flowerfetti salad and then replace the cap and store it in the fridge for up to one week.
At first, people may have thought I was crazy adding chives into the Garden Therapy Edible Flowers Collection, but there was a method to my madness. Chives look beautiful in the garden, deter pests, and you can use them to make wonderful recipes like these ones. What’s not to love?! To see what else made it into the collection, see this post.
More Edible Flowers!
- Harvesting, Preparing, and Storing Edible Flowers
- Plant an All-Season Edible Flower Garden with this All-in-One Kit
- How to Make the Perfect Edible Flower Ice Cubes
- Double Duty Plants: 20 Edible Flowers for Companion Planting in the Vegetable Garden
- The Dirt on Edible Flowers (and the Top Ten You Must Try!)
- A Sweet Garden Party Treat: Edible Flower Lollipops


I liked this Chive Blossom Vinegar and Vinaigrette. This looks awesome. Thanks a lot for sharing this post. I really liked it.
Do you put a piece of wax paper on top Of the glass jar before you screw on the lid? Thanks!