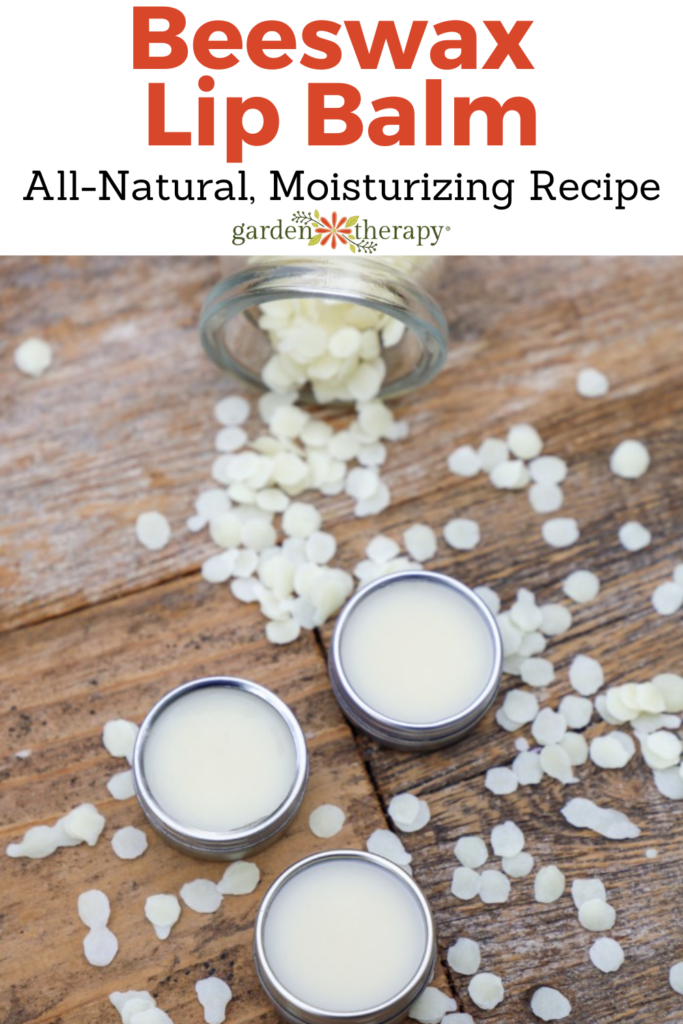
If there’s any product you should take anywhere with you, let it be a good quality lip balm. While you could pick one up at the store, making your own is so easy and much more beneficial for your lip’s delicate skin. This DIY lip balm features beeswax, calendula, chamomile, and other soothing ingredients to give you soft, moisturized, and healthy lips.
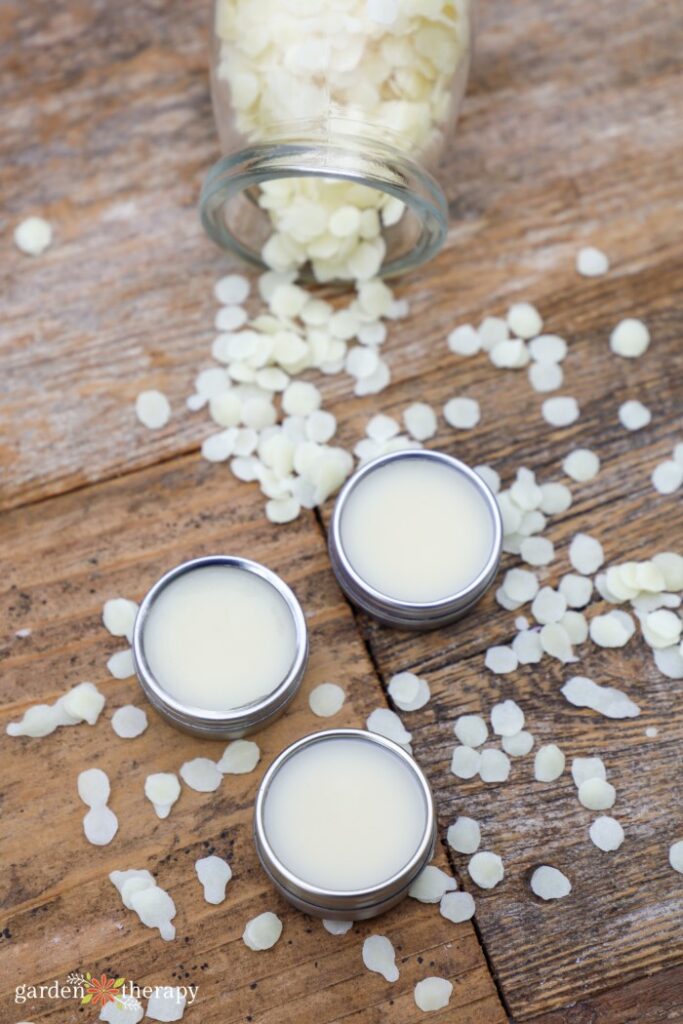
Classics are classics for a reason. And beeswax, well, you just can’t get any more classic than a beeswax and lip balm combo. As long as humans have known bees, we’ve thanked them for their hard work as the ultimate skincare chemist!
Beeswax is good for the body from head to toe. It’s a natural product that minimizes skin irritation and provides maximum benefits. Even those with sensitive skin can enjoy the wonders of beeswax!
Combined with other beneficial ingredients, this DIY lip balm contains plenty of healthy fats, antioxidants, anti-inflammatory, and healing properties to keep your lips moisturized and ready for smooching.
This post will cover...
- Benefits of Beeswax for Skin
- Bee Sustainable
- DIY Beeswax Lip Balm Recipe
- Ingredients
- Make It!
- Use It!
- Frequently Asked Questions About DIY Lip Balm
- More DIY Beauty Recipes
Benefits of Beeswax for Skin
When it comes to making lip balm, you’ll always find me using beeswax in every recipe. One of the most universally safe skin ingredients, it works wonders for the skin.
Beeswax works as a humectant, meaning it helps to attract water and let the skin retain its own moisture. It’s also known as an occlusive, allowing it to create a protective layer over the skin to lock in moisture and keep out toxins and pollutants.
Beeswax works as a natural exfoliant. It can help remove dead skin cells to keep your lips youthful and smooth.
Besides keeping the skin hydrated and soft, beeswax also has antibacterial properties, which make it good for soothing certain skin issues such as excessively dry skin. Also an anti-inflammatory, it reduces redness and irritation. Beeswax won’t clog pores which also makes it good for those with acne around the lips.
Bee Sustainable
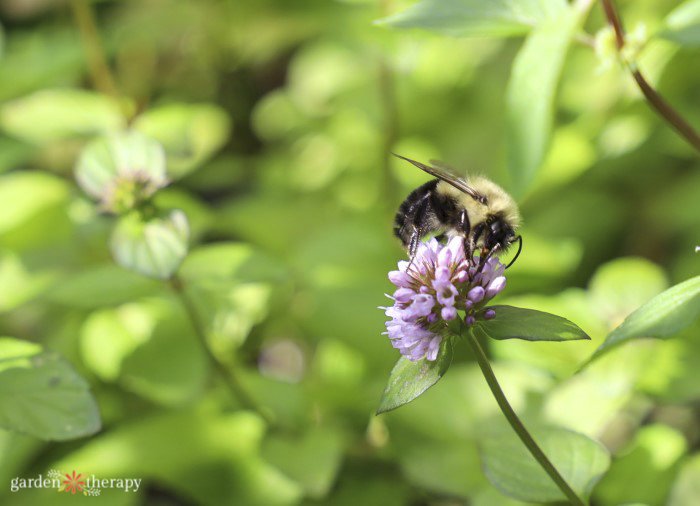
When using beeswax, it’s important to ensure you’re getting it from a sustainable source. One of our most beloved and important insects, we want to ensure we take from bees responsibly and ethically. Many people raise bees and sell their honey and wax in sustainable and ethical ways.
To avoid those who destroy colonies of bees and take too much, get properly sourced beeswax whenever possible for your DIY lip balm.
DIY Beeswax Lip Balm Recipe
You can’t get a more classic and versatile lip balm than this recipe. Make sure you make enough for a few containers because you’ll soon be applying it wherever you go! Purse, car, bathroom, desk…they all need their own lip balm, right?
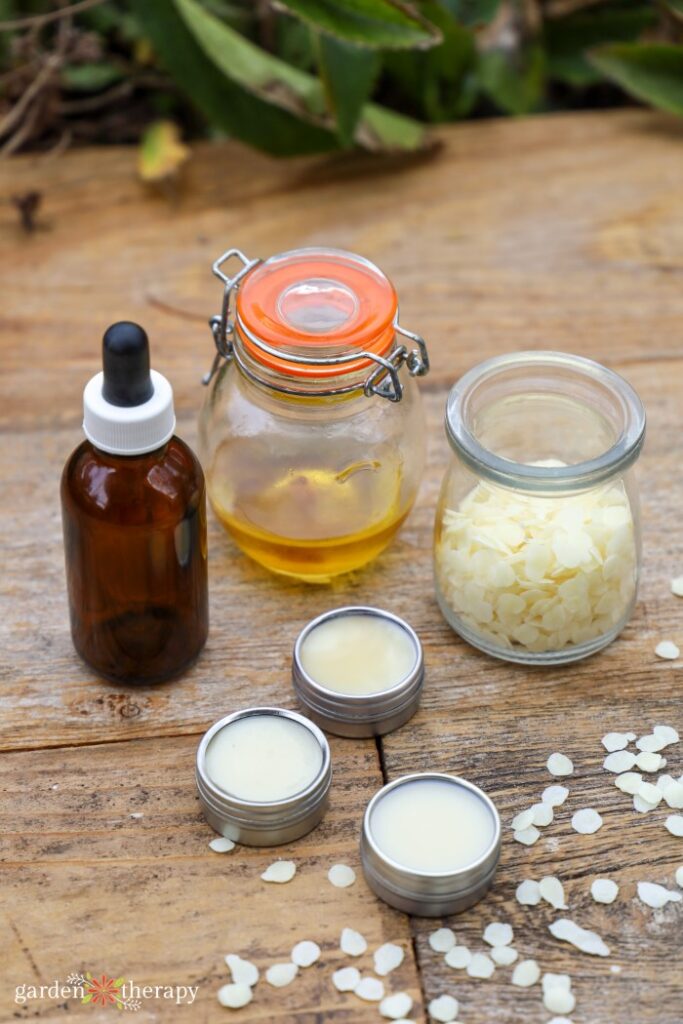
Ingredients
Makes 135g. See the recipe card for exact measurements.
Jump to Recipe- Olive oil (infused with calendula)
- Grapeseed oil (infused with chamomile)
- Cocoa butter
- Beeswax
- Essential oil of choice (optional)
Make It!
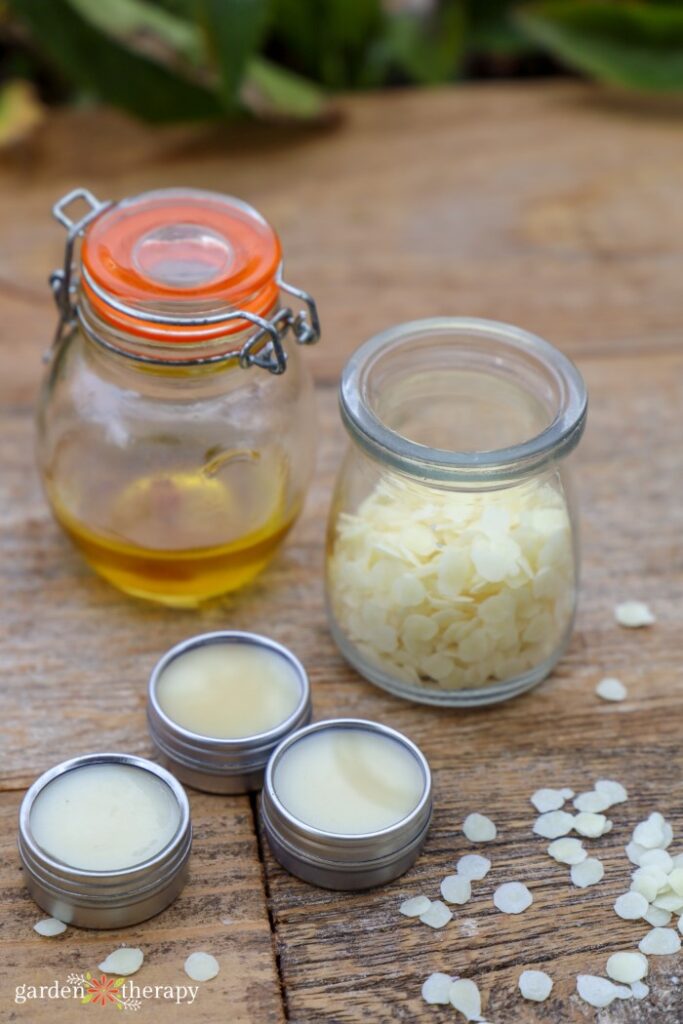
Before you get started making your DIY lip balm, you’ll need to infuse your olive oil with calendula and grapeseed oil with chamomile. I have a few methods on how you can do that!
When your oils are ready to go and you are ready to get crafty, roll up your sleeves and measure your ingredients with a kitchen scale.
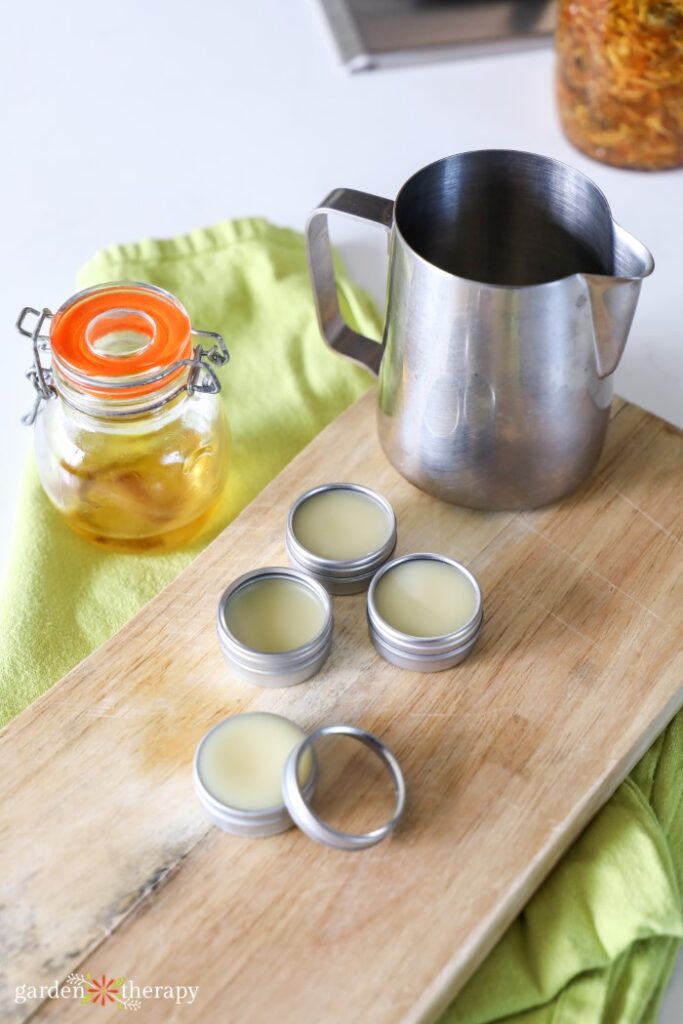
Use a Turkish coffee pot or a double boiler (I like anything with a pour spout) and melt together your oils, butter, and beeswax over medium heat. Stir constantly.
You want your oils just to be melted and combined. Overheating means they can lose some of their valuable properties.
Once melted, add in your essential oil. Choose whichever oil you like to add some scent to the lip balm, or leave it out for a naturally scented balm. Stir in essential oils well.
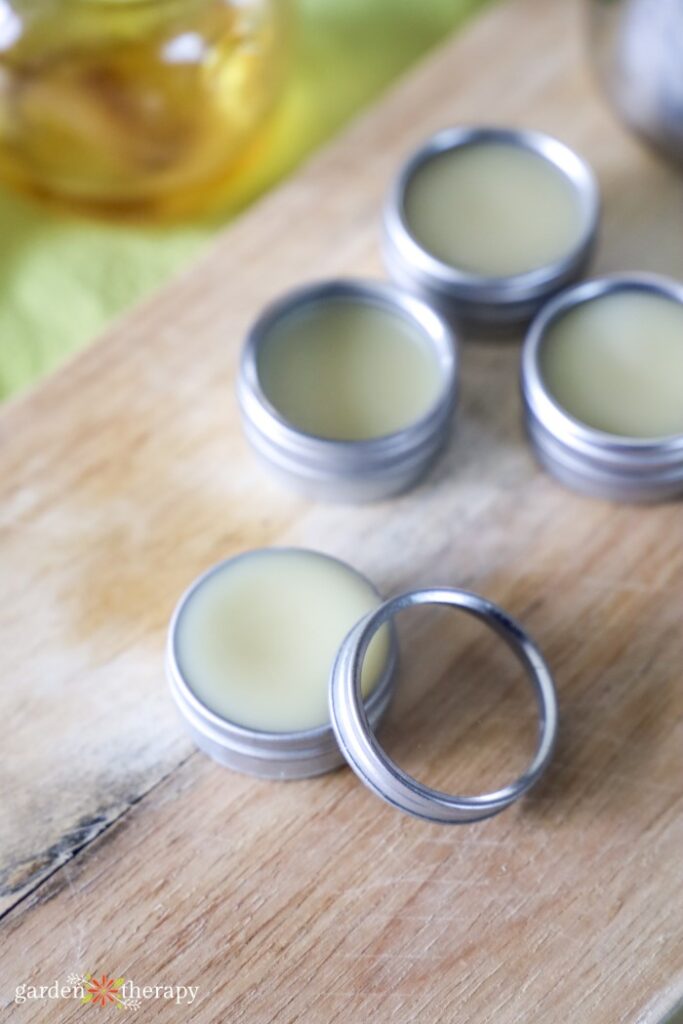
Now for the pouring! I poured mine in small tin containers, but you can also use lip balm tubes. If you use a tube, only fill the container halfway and let it slightly cool. Then, fill the rest of the way and let a small convex curve form at the top. This prevents any holes from occurring and will cool with a flat top.
If pouring in a tin, pour until full and let it sit untouched until fully cooled.
Use It!
This is a 100% natural product that works for all skin types. However, because of the beeswax, I recommend testing for allergies before use. Perform a patch test on the arm and look for any redness, swelling, itching, or burning sensation. Wait for 24 hours before applying to the lips.
And while I apply lip balm multiple times throughout the day, it’s also important to let the skin breathe. Don’t wear lip chap 24/7. The lip balm should work so well that you’ll have soft lips even when you’re not wearing it!
Frequently Asked Questions About DIY Lip Balm
The expiration date will depend based on the ingredients you used to make the lip balm. The ingredient with the earliest expiration date is when the lip balm will expire. Typically, beeswax does not go bad. Discard the lip balm after one year or if you notice any discolouration or odour.
The skin on the lips is the thinnest in the entire body. It also does not contain any sebaceous glands which emit our bodies’ natural oils. This means our lips easily become dry, cracked, and chapped.
Lip balm helps to add back moisture and retain it. Most lip balms also offer some degree of SPF protection to prevent any lip sunburns.
Those who sleep with their mouth open will notice how fast their lips dry out. Applying lip chap before bed is the best way to avoid this.
Others can also benefit from wearing lip balm overnight. During the night, the restorative properties of the lip balm can sink in and do their work undisturbed. While resting, your body will flush out toxins and work on producing new skin cells.
Yes! Ideally, you should put on lip balm before bed, after brushing your teeth in the morning, and after any meals.
Be careful not to overapply lip balm. It’s important to allow the skin to breathe without any kind of products on it too.
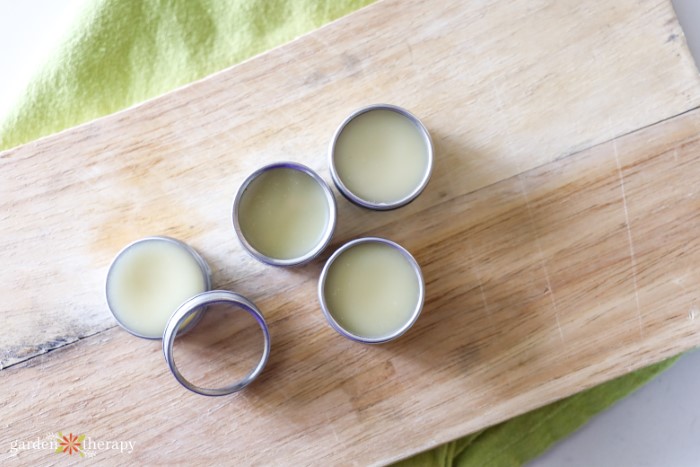
That’s all you need to do! Enjoy your lip balm, and make sure to bookmark this page for when you need to make your next batch. If you have any more questions, leave them in the comments down below.
More DIY Beauty Recipes
- Homemade Hand Salve Recipe for Dry Skin
- Romantic Beeswax Massage Balm Recipe with Rose
- Soothe Dry Skin with a Homemade Dandelion Salve
- How to Make Lotion + 9 Moisturizing Recipes
DIY Beeswax Lip Balm Recipe
Equipment
- Double boiler or Turkish coffee pot
- 3 small metal tins or lip balm pots
Supplies
- 70 g olive oil infused with calendula
- 15 g grapeseed oil infused with chamomile
- 20 g cocoa butter
- 30 g beeswax
- 10 drops essential oil (optional)
Instructions
- Infuse your olive oil with calendula and your grapeseed oil with chamomile.
- Measure out your ingredients on a kitchen scale.
- Over medium heat, melt your oils, cocoa butter, and beeswax. Stir constantly.
- Once melted, add in your essential oils if you want to add some scent to your lip balm.
- Pour your mixture into metal tins and let it sit untouched until fully cooled. If using a lip balm tube, pour until half full, let cool, and then fill the remaining tube to avoid air bubbles.

